Baldur’s Gate 3 has an average completion time of 75 to 100 hours. If you’re looking to hit every side quest, that number will easily reach 200 hours. That means even Act One is going to take a while.
Well, we wandered for hours so you can know with certainty what should be done before moving on to Act Two in BG3.
Baldur’s Gate 3 Act 1 checklist: The Nautiloid
If you’re already through the introductory Nautiloid Mission, feel free to skip to the next chapter, as this obviously cannot be returned to without starting a new character. There isn’t a ton to do on the Nautiloid, however, there is one massive thing.
Primary Checklist for The Nautiloid
- Kill Commander Zhalk and loot the Everburn Blade.
This is the absolute best weapon you can find during Act One (including Adamantine weapons. Yes, I think it’s better). The Everburn Blade is a greatsword that deals additional fire damage on hit.
Killing Commander Zhalk is a little difficult alone, which brings us into the secondary checklist for The Nautiloid.
Secondary Checklist for The Nautiloid
- Free Shadowheart
- Recruit Us
These secondary tasks are only really designed to make killing Zhalk easier—you’ll get Shadowheart in your party after the Nautiloid crashes, even if you don’t rescue her at this point, and much to our collective dismay, the quadrupedal brain companion Us will not survive long. They’re both great to have for the Commander Zhalk fight, but that’s about all.
Baldur’s Gate 3 Act 1 checklist: Nautiloid Crash Region
We’re counting the crash region as everything before Emerald Grove for the sake of organization. There isn’t too much to do here, but the action list in this region includes ones you definitely don’t want to miss out on.
Primary checklist for Nautiloid Crash Region
- Recruit Lae’zel
- Recruit Astarion
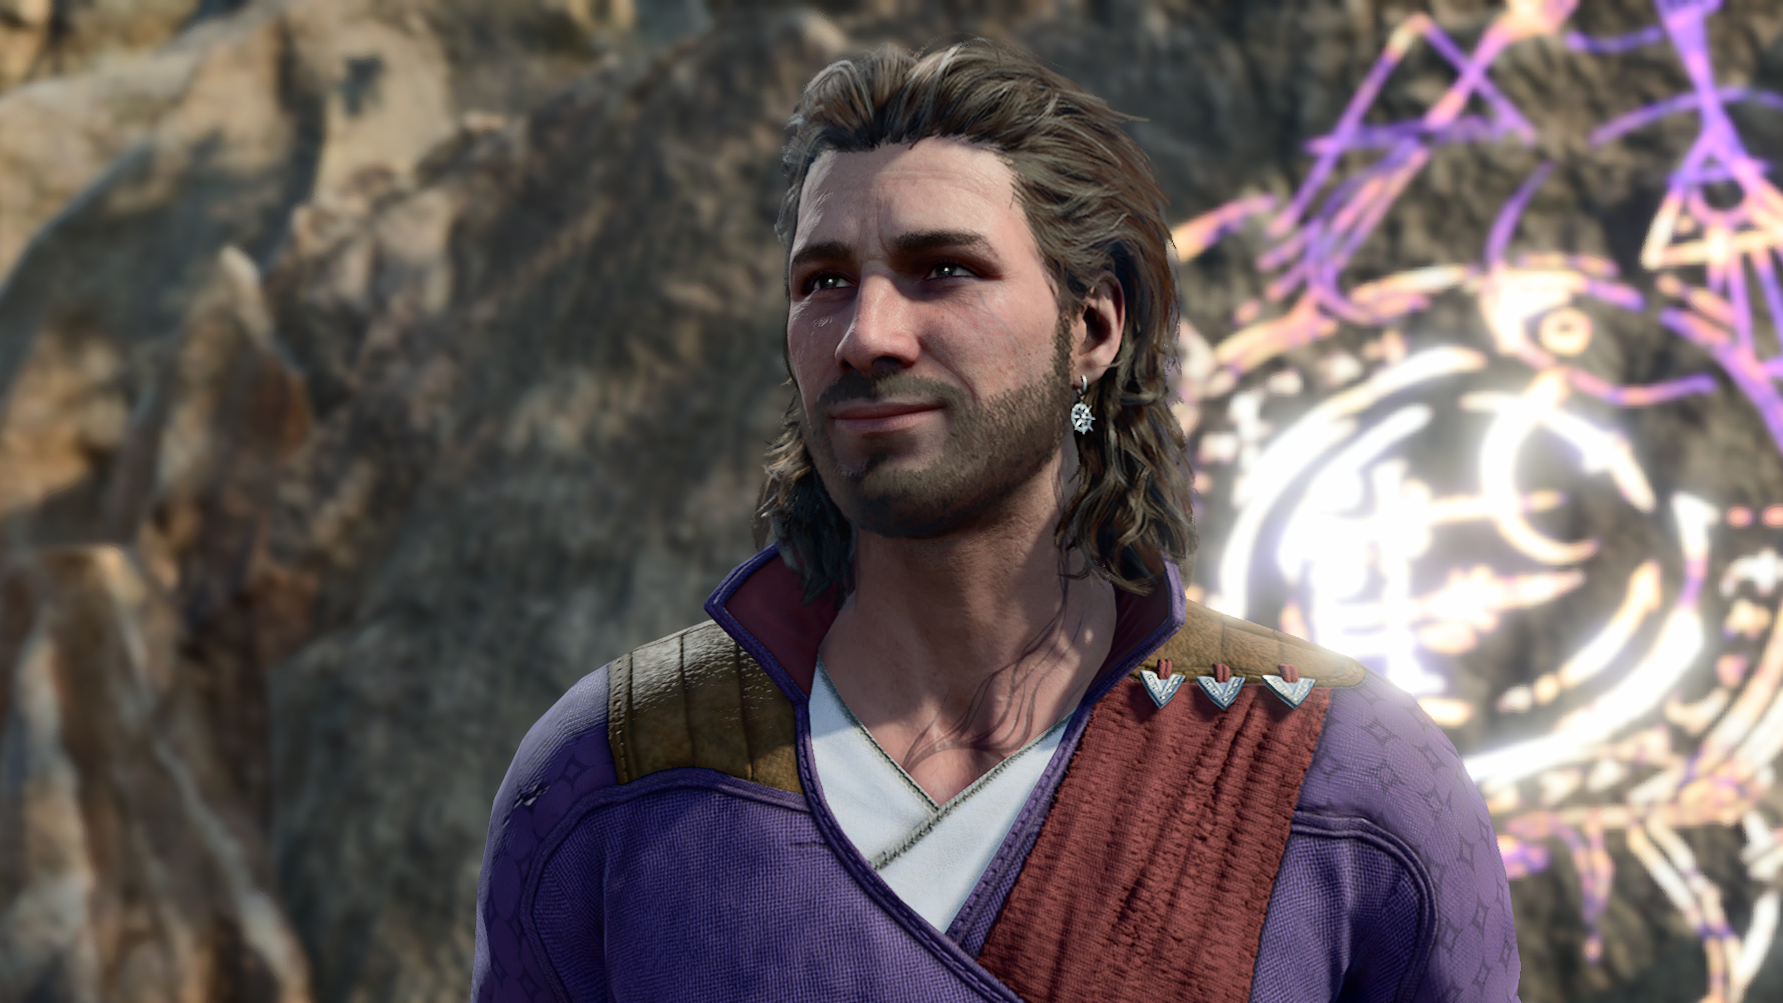
- Recruit Gale
- Recruit Withers
Team-building is the name of the game here. None of these Companions are difficult to find, with the exception of Withers.
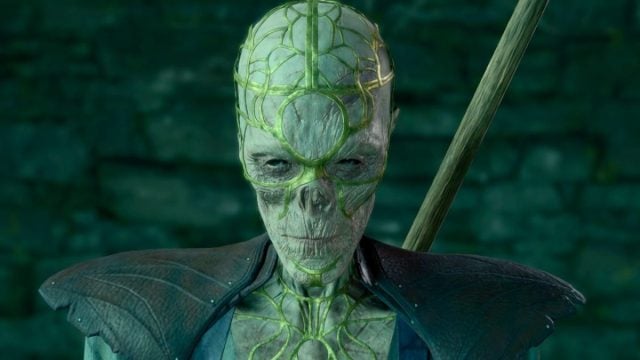
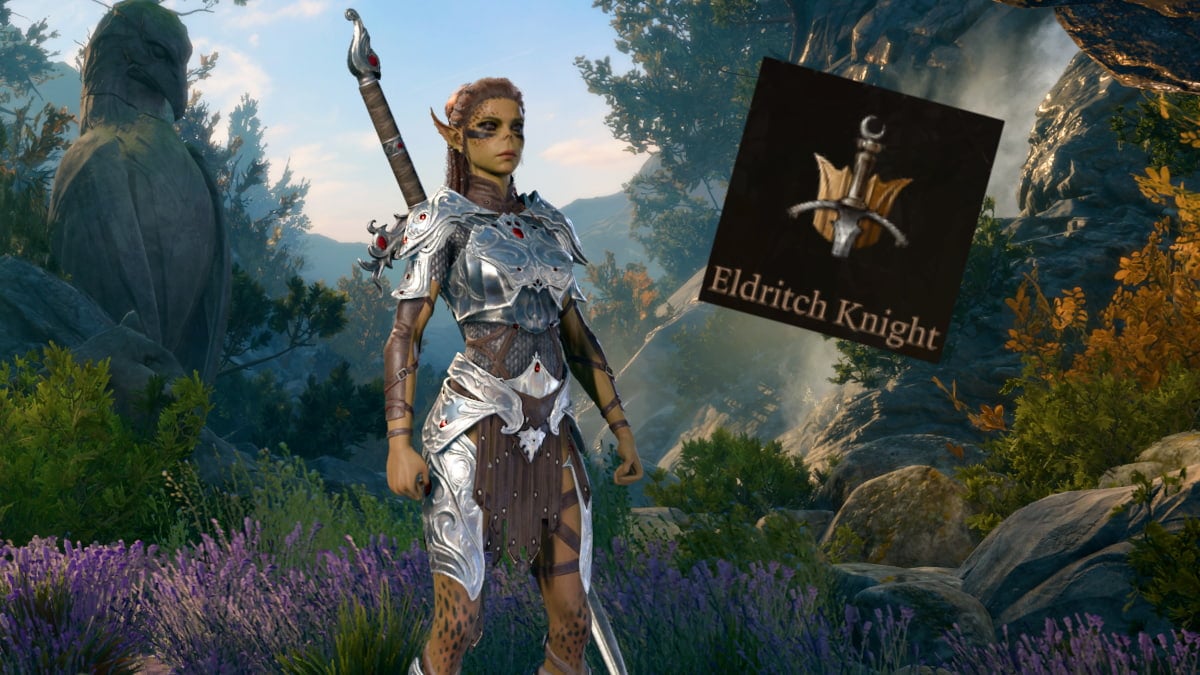
Lae’zel is just northwest of the Nautiloid Crash Site, suspended in a cage. You can either kill the two Tieflings hunting her, or talk them down. Once you’ve planned you’re approach, you’ll need to get Lae’Zel down from the cage by shooting it with a nearby bow.
Astarion is directly south of the Crash Site on a hillside. He will attack you at first, but he’s easy to talk down and convince to join you.
Gale, in a most Gale-like fashion, will come crawling out of the first fast travel Waypoint you encounter, just north of the Crash Site. I initially passed over this Waypoint—since it looks like a purple trap—but you won’t want to make the same mistake as me, or else you’ll completely miss out on adding the Mage to your party.
Withers can be found in the Dank Crypt, and will require some fighting and diplomacy to reach. We recommend recruiting the others first, because he isn’t easy to reach on your own.
While you can happily complete Baldur’s Gate 3 with or without many of the game’s companions, your playthrough will be much, much, smoother if you make sure to recruit Withers. For a reasonable price, Withers can resurrect fallen party members, change your character class, and perform a few other immensely useful functions. While he can’t join your party, finding Withers should be one of your highest priorities.
Baldur’s Gate 3 Act 1 checklist: Emerald Grove
This is where things really start to open up. The Emerald Grove is the main adventuring area in Act One of Baldur’s Gate 3, and will bring you to almost every other area in Act One even if you only focus on the main questline.
Primary checklist for Emerald Grove
- Meet Wyll
- Investigate Kagha
- Investigate the Beach
- Save Arabella
- Meet Mol
- Fix Karlach‘s Heart
Wyll is a part of the battle against the goblin cultists when first entering the Grove. Once you have defeated the cultists and entered the grove, you’ll be able to speak to him and get a better understanding of his situation.
Investigating Kagha is an optional questline that directly ties into the main conflict surrounding Emerald Grove. This quest can be started by searching her trunk in Druid’s Grove.
Investigate the Beach is a side quest that requires the player rescue a child from a group of Harpies. This quest is obtained by heading northeast from Emerald Grove, and is important for building trust with the children of the Tiefling Hideout.
Saving Arabella is optional when the player first enters Druid’s Grove, but we highly recommend doing so. Not only does this help with meeting Mol, but Arabella also has very intriguing quests down the line.
If you complete the two side quests above, you’ll meet Mol, who will task you with stealing the Druid’s Sacred Idol. Personally, we don’t recommend doing so.
Fixing Karlach’s heart will come up a few times on this checklist, as it involves many areas. However, Dammon, the NPC that eventually fixes her heart, is located in Emerald Grove.

Secondary checklist for Emerald Grove
- Investigate the Strange Ox
- Speak with Dammon
- Steal the Druid’s Sacred Idol
- Speak with Alfira
- Kill or save Sazza
You’ll want Speak with Animals for the Strange Ox, who can be found just behind the first vendor in at the entrance of Emerald Grove. You’ll meet this weird cow-like creature again later on in your playthrough, but we recommend speaking to it here to influence the quest later on.
Dammon is located in the back of the Grove and will tell you to collect Infernal Iron for Karlach’s heart.
Stealing the Sacred Idol is an arduous side quest, potentially causing more trouble than its worth. Definitely an interesting one, though.
Alfira can teach the player how to play a musical instrument. If you’re using The Dark Urge background, ignore this one.
Sazza is a goblin and member of The Absolute’s cult that is imprisoned in Emerald Grove. Whether you kill or save her will not have any tremendous impact on things, but makes for a fun encounter.
Baldur’s Gate 3 Act 1 checklist: Blighted Village
Blighted Village is likely your next area after Emerald Grove, and there is a ton to do here—both for the main questline and otherwise.
Primary checklist for Blighted Village
- Complete the Masterwork Weapon
- Speak with Lump the Enlightened
- Find Scratch
- Find the Necromancy of Thay
- Find Infernal Iron for Karlach
The Masterwork Weapon quest is started in Blighted Village, but requires access to the Underdark to complete. It will grant a powerful weapon that silences foes on hit. You can choose from a dagger, greatsword, or sickle.
Lump the Enlightened is an ogre with an unnaturally high intellect. You can either recruit him to fight for you, or loot a Headband of Intellect, which grants an Intelligence score of 17.
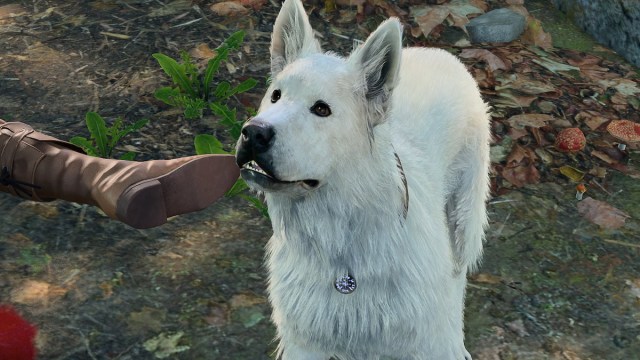
Scratch needs no further introductions. You want Scratch, trust us. You’ll find him guarding the body of his deceased master, but you can convince him to join your camp by speaking to him.
The Necromancy of Thay is a Cursed Tome that will grant a permanent bonus of +1 to all Wisdom checks.
Secondary checklist for Blighted Village
- Kill the Phase Spider Matriarch
- Rescue the Gnome on the Windmill
- Explore the Owlbear Cave
- Open the barn in northeast corner of the village
The Phase Spider Matriarch drops a decent robe for Wizards and Sorcerers. You’ll be in its layer regardless for part of the Necromancy of Thay quest—why not stick around for some bug hunting?
The Gnome on the Windmill is a fun side quest that does not greatly effect anything plot wise in game. Be careful when freeing him, however, because you can accidentally kill him in the process if you pull the wrong lever.
The Owlbear Cave has a great Speak With Animals option, as well as an interesting lore dump if you bring Shadowheart with you into the cave.
The barn… oh, the barn. You really just have to see for yourself on this one. It has virtually no impact on your playthrough, but it’s well worth checking out. You won’t regret it.
Baldur’s Gate 3 Act 1 checklist: Risen Road/Waukeen’s Rest
This is technically two areas, but they’re both so small and close to one another that we’re considering them as one. Here, you’ll find the single greatest companion in BG3—Karlach. People may try to tell you Shadowheart or Astarion is better, or that it’s a subjective topic. Don’t fall for this, Karlach is the best.
Primary checklist for Risen Road/Waukeen’s Rest
- Find Karlach
- Kill Anders
- Explore the Burning Inn
- Complete Find the Missing Shipment
Anders, a fake Paladin, is a fun and challenging side quest/Karlach bonding experience who also drops great loot.
The Burning Inn will start the Rescue the Archduke quest, which just so happens to double as rescuing Wyll’s father.
The Missing Shipment quest begins by fighting a pack of Gnolls on the Risen Road, and ends when you reach the Zhentarim Hideout.

Secondary checklist for Risen Road/Waukeen’s Rest
- Complete Free the Artist
- Find the Wedding Dowry
Free the Artist is a side quest of a side quest (The Missing Shipment), and is simply a fun world building mini adventure.
Baldur’s Gate 3 Act 1 checklist: Goblin Camp
Goblin Camp is just above Blighted Village, and involves a good chunk of Act One story. You’ll be sent here to kill the three Goblin Leaders, although you can side with them if you so choose.
Primary checklist for Goblin Camp
- Rescue Volo
- Free the Owlbear Cub
- Rescue Halsin
Volo is imprisoned within the Goblin Camp, and is worth rescuing as he can offer upgrades to your character later on.
The Owlbear Cub is, well, adorable. Rescue it and it will join your camp and become buddies with Scratch.
Secondary checklist for Goblin Camp
- Speak to the Priest of Loviatar
- Take part in the Owlbear Race
Each of these is purely for flavor, although you can make a decent bit of gold from the Owlbear Race.
Baldur’s Gate 3 Act 1 checklist: Putrid Bog
Surprisingly, there’s no main quest in this area, meaning you can miss it altogether potentially. It is located in the southwest corner of the map, and has some awesome content.
Primary checklist for Putrid Bog
- Save Mayrina/Defeat Ethel
- Investigate Kagha
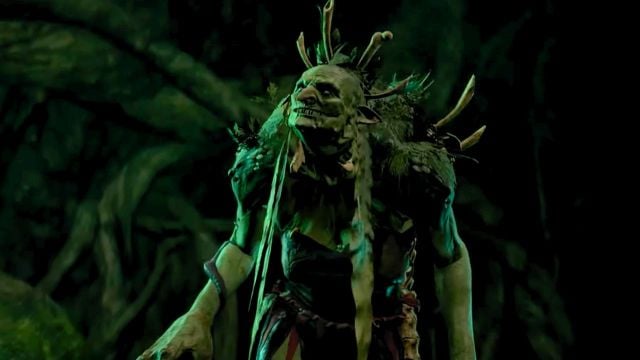
Fighting Ethel the Hag and saving Mayrina is one of the most atmospheric, creepy, and just plain fun sidequests in Act One of Baldur’s Gate 3. You definitely don’t want to miss this one.
The quest Investigate Kagha, which starts in Druid’s Cove, will take you to the Bog for its completion.
Secondary checklist for Putrid Bog
- Speak to the man hunting Astarion
Baldur’s Gate 3 Act 1 Checklist: The Underdark
This area is a giant, and could almost be an act all by itself. It’s one of two ways you can progress into Act Two, meaning that despite its size, it can be skipped altogether.
Primary checklist for The Underdark
- Find Sussur Bark to complete the Masterwork Weapon
- Save Thulla
- Defeat the Duergar
- Side with a Sovereign
- Find the Mushroom Forager
With the exception of the Mushroom Forager, all of these quests actually tie directly into the main progression through the Underdark. If you choose this route, you will automatically encounter them.
Secondary checklist for The Underdark
- Explore the Selunite Outpost
- Explore the Arcane Tower
- Craft Mourning Frost
- Find the Noblestalk Mushroom
These are all interesting side quests that will not have any significant plot impact. There are decent rewards to be found here, but they will be replaced fairly quickly.
Baldur’s Gate 3 Act 1 checklist: Grymforge
We’re nearing the end of Act One now, as well as one of the most rewarding areas. Grymforge is rich with loot.
Primary checklist for Grymforge
- Use the Adamantine Forge
- Take Nere’s boots
- Rescue the Grymforge Gnomes
All three of these main objectives are really just ways to get awesome loot. The Forge is also an epic side quest.
Secondary checklist for Grymforge
- Explore Shar ruins
- Find the Cursed Monk’s Amulet
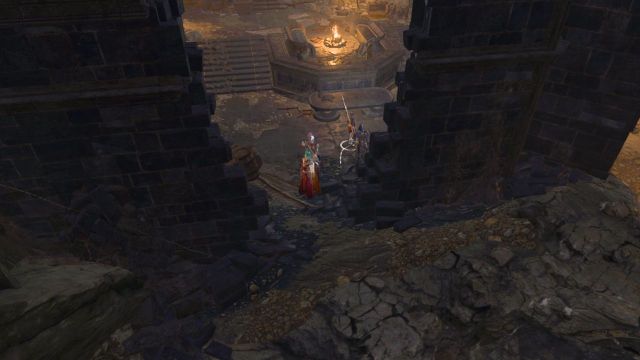
While there aren’t any significant rewards associated with doing so, there’s a great deal of lore to be uncovered within the Shar Ruins. If you’re a fan of Shadowheart, don’t skip this. The Cursed Monk cannot be completed for quite some time, but is worth doing.
Baldur’s Gate 3 Act 1 checklist: Mountain Pass
The Mountain Pass is significantly shorter than The Underdark, and does not offer nearly as many rewards. We recommend playing the Mountain Pass, then circling back and completing the Underdark and Grymforge before moving on to Act Two.
Primary checklist for Mountain Pass
- Complete the Gith Egg Quest
- Complete Lae’zels Quest
- Loot Blood of Lathander
The Gith Egg Quest, as well as the Gith Creche Quest for Lae’zel, are pretty difficult to miss. The Blood of Lathander is a legendary mace that you won’t want to pass up.
Others Asked
What parts of the game must be completed before reaching the city of Baldur's Gate in Baldur's Gate 3?
Players must complete the first two acts, which involve finding a way to remove the Illithid parasite in Act One and settling the Moonrise Towers issue and stopping cultist operations in the Shadow Cursed Lands in Act Two, before reaching Baldur's Gate.
What area becomes a major questing location in Act Three of Baldur's Gate 3?
The city of Baldur's Gate becomes a major questing area in Act Three of Baldur's Gate 3.
What significant decision must players make in Act Two of Baldur's Gate 3?
Players must decide whether to save or kill the Nightsong.






Published: Jul 26, 2024 12:03 pm