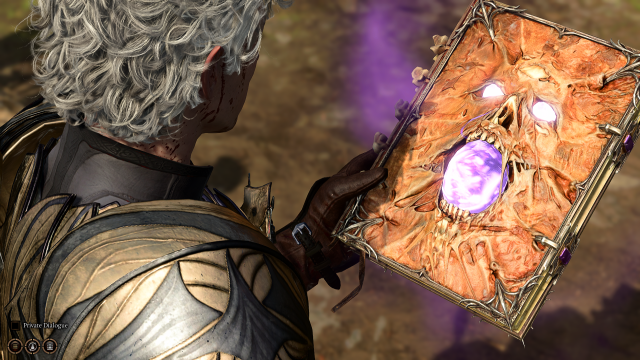
The Necromancy of Thay is a quest related book in Baldur’s Gate 3 and you can either give it to a companion, destroy it or read it yourself to unveil its dark secrets.
To open the Necromancy of Thay, you will need the Dark Amethyst found in the Whispering Depths. Read on to see all of the options for the Necromancy of Thay.
How to find the Dark Amyethyst in Baldur’s Gate 3
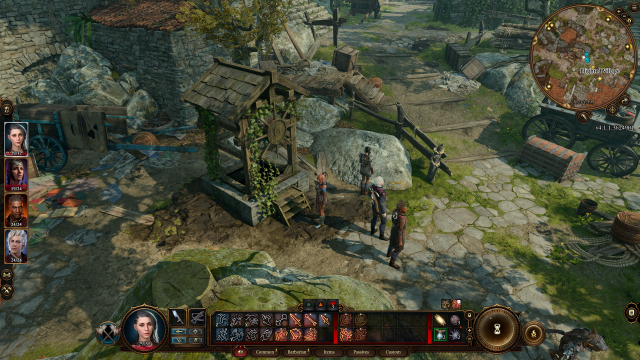
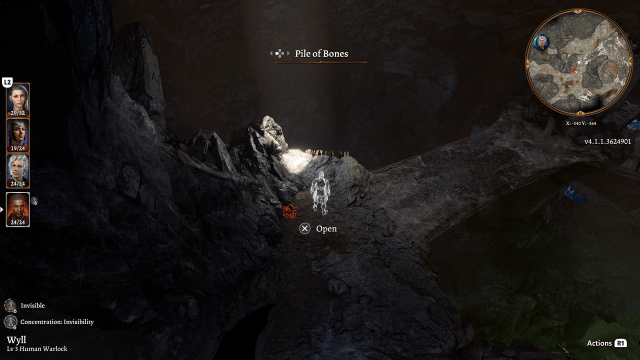
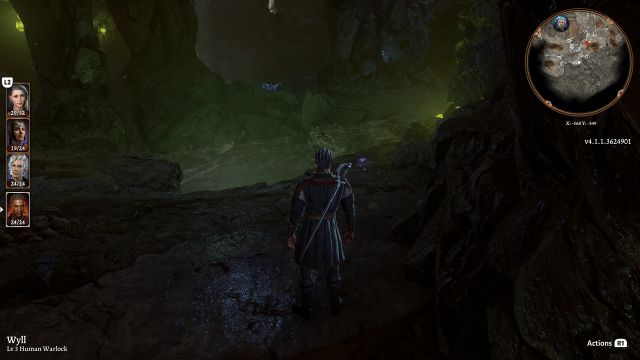
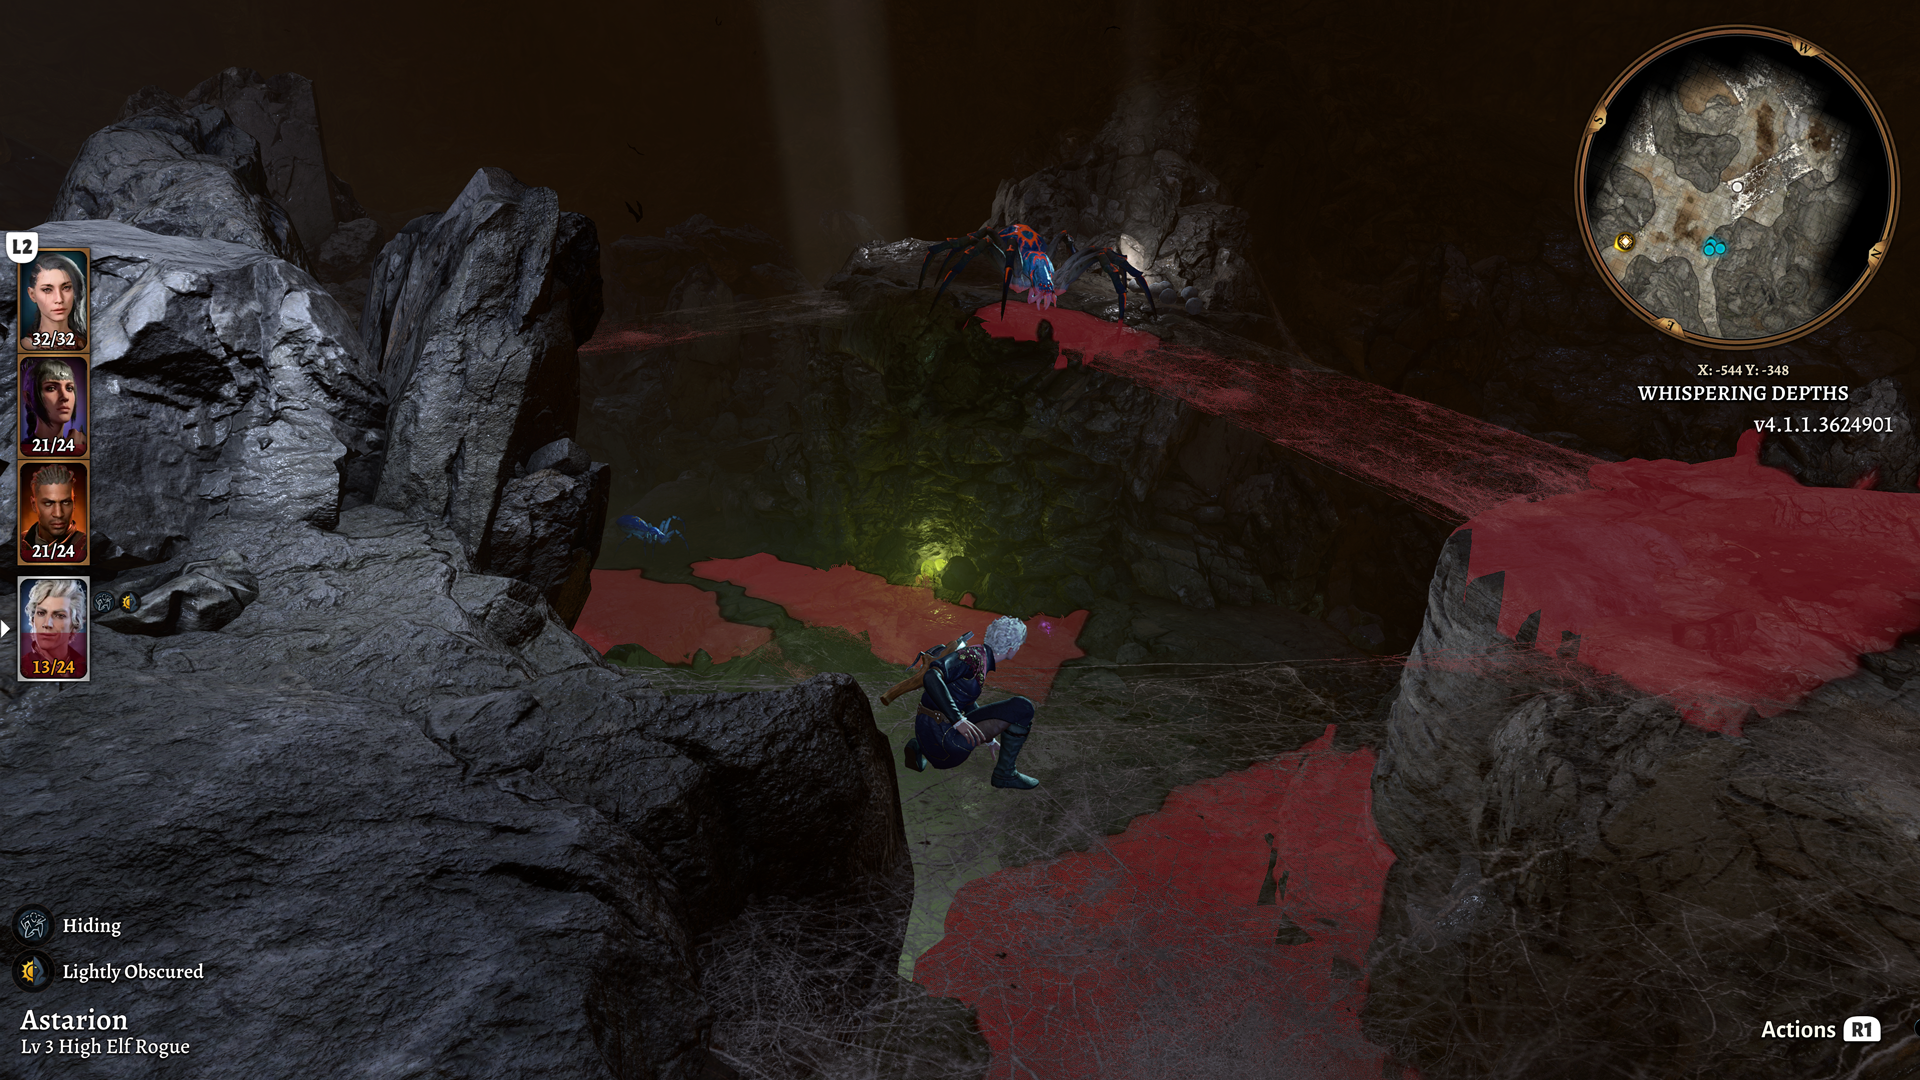
To open the Necromancy of Thay, you’ll need the Dark Amethyst. You can find the Dark Amethyst in a cavern called the Whispering Depths. This place is littered with spiders but the good news is that you won’t have to travel far to find it.
If you step outside the apothecary’s shop, it’s just a few paces away near the windmill. Investigate the well and you’ll be able to climb down. More specifically, the coordinates are: X: -550 Y: -350.
How to obtain the Dark Amethyst without fighting in BG3
The Dark Amethyst is on the far side of the cavern. There’s just one problem—lots and lots of spiders. If you suffer from arachnophobia, we recommend the first method: being super sneaky.
The best way to do this is with Wyll. You will need a leveled up Wyll to level three and have his invisibility spell unlocked to do this method.
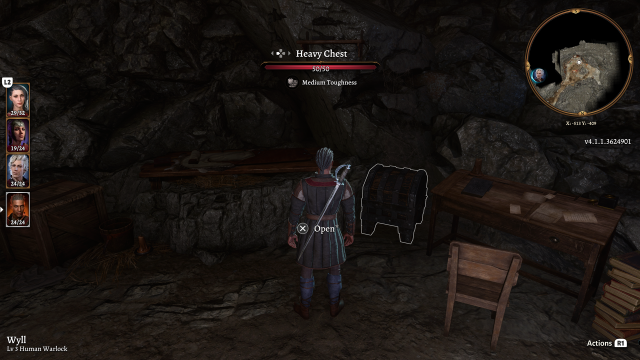
Separate Wyll from the party and take control of him. Stick close to the cave wall and keep left, which will lead you into a makeshift camp. Some journals left behind show that this was the former residence of a mad sorcerer who got the novel idea to transform themselves into a giant spider; you’ll have the chance to get acquainted shortly.
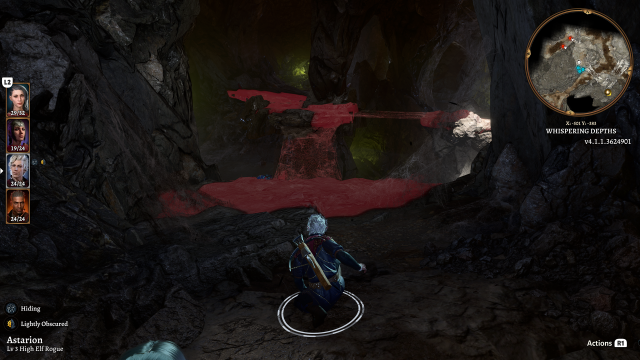
The most important object for the stealth approach is the heavy chest in this room. Inside you’ll find Spiderstep Boots, a pair of boots that will allow you to walk over spiderwebs without getting stuck or alerting the spiders. Without these boots, you won’t make it ten feet.
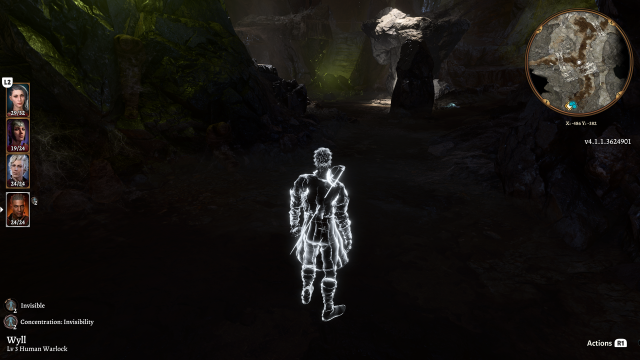
With your web-proof boots equipped, go ahead and cast invisibility on yourself. You won’t need to sneak and you can run right past all of the enemies without being seen. Just note that picking anything up or interacting with any objects will cause the spell to break and you’ll become visible again.

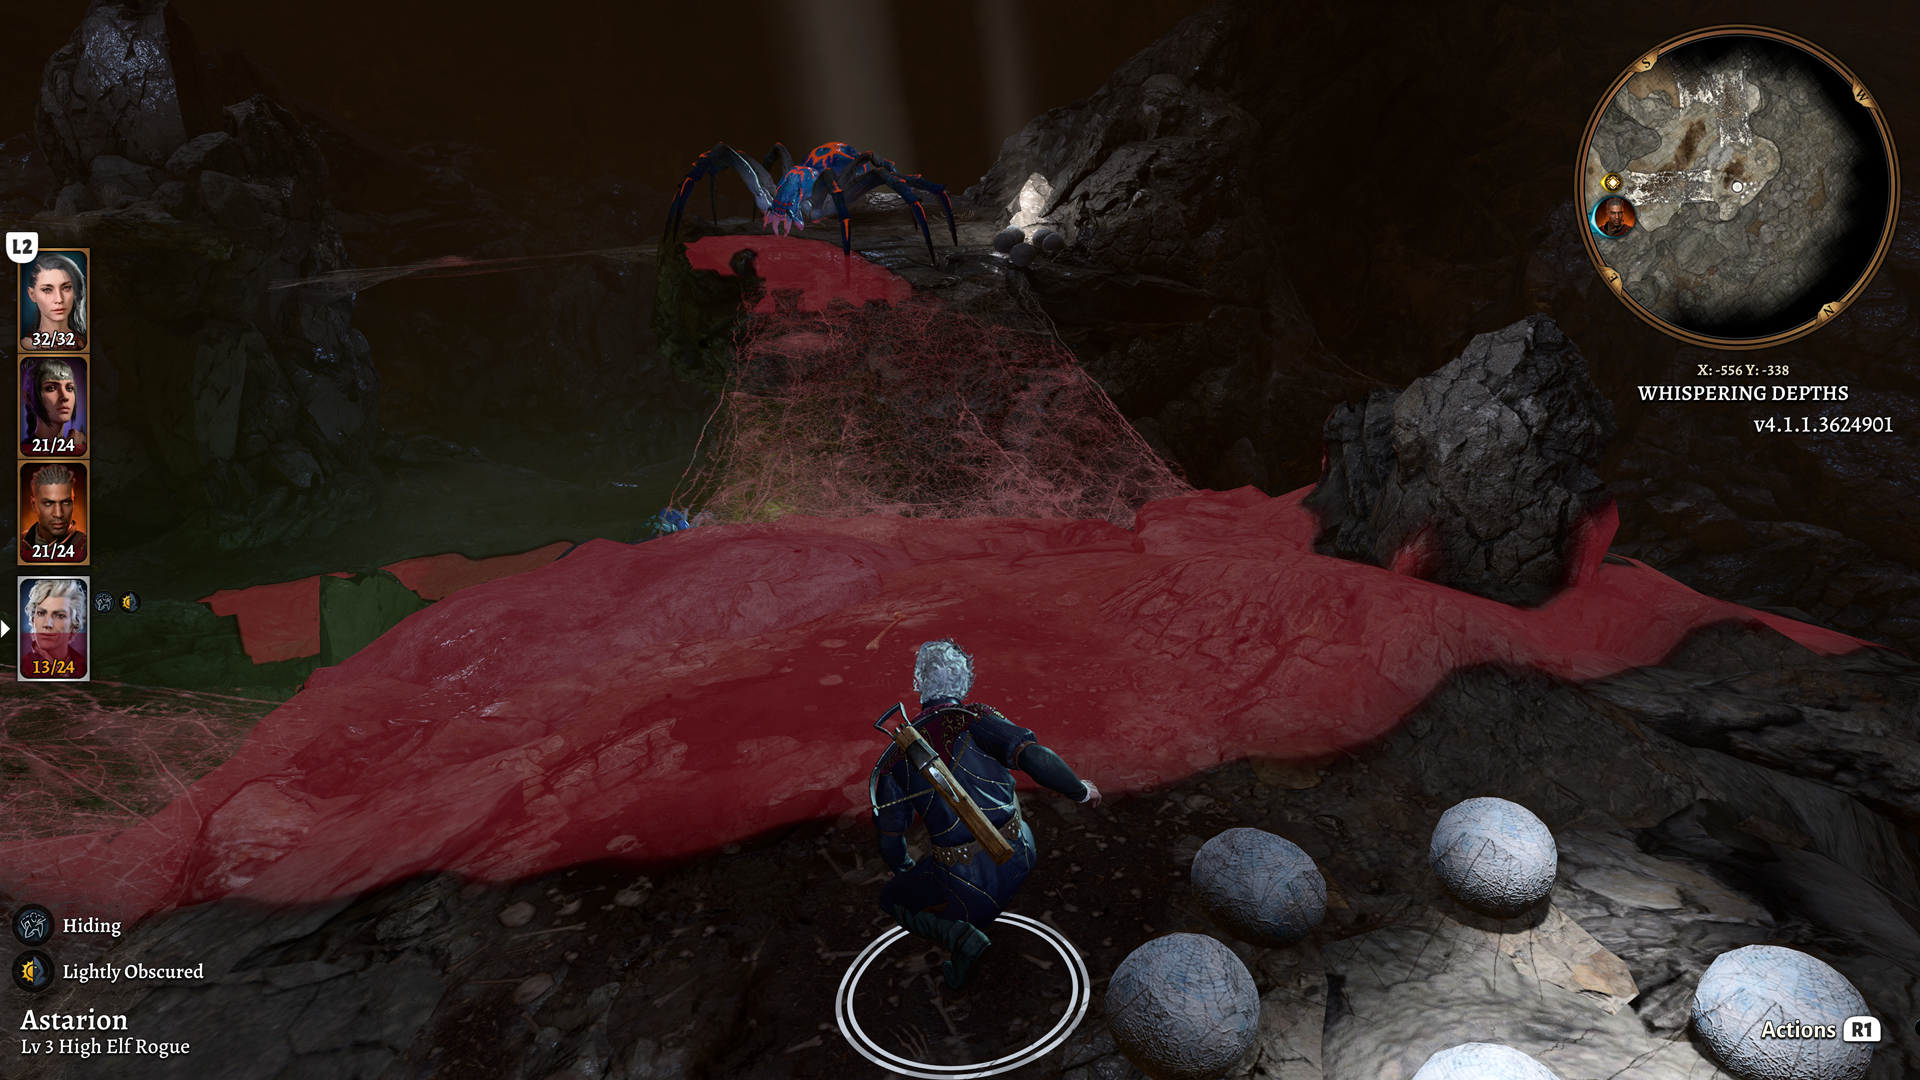
Run through the first room and go straight past the enemies. You’ll see a large circular opening—run through it and stop. Turn left and go towards the edge. Here you’ll find some old vines you can climb down. Climb down them and run right. Be careful though, as there are a number of spiders in this area, including the giant one we mentioned earlier.
The Dark Amethyst is just below the second column of the three stone pillars that are all connected by web bridges and patrolled by the Queen spider. Remember to move quickly, as you’ll need to use one casting of invisibility to get to the Amethyst and another to get back.
By the time you get to the Amethyst, your invisibility will run out. Let it expire and stay out of the sight of the nearby patrolling spider. If you go past the Amethyst, there’s a blind spot where you can safely wait.
Going into sneak mode will also highlight the sightlines of nearby enemies in red. Get ready to dash back to the entrance with your shiny new Amethyst in tow. Sneak over to the Amethyst, grab it, and then cast invisibility on yourself. Run back to the entrance.
And there you have it, you got the Amethyst without firing a shot or swinging a sword.
How to get the Dark Amethyst by fighting in Baldur’s Gate 3
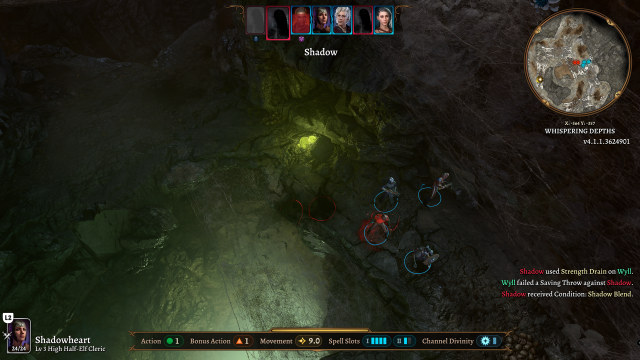
The spiders that are in this battle can all teleport. You are going to want to use ranged and fire attacks. To prepare, we recommend stocking each of your party with several health potions.
We advice killing every spider you see rather than focusing on stealth. You will get a lot of XP from killing a ton of spiders.
If you can find poison-resistance potions or antidotes, be sure to pack those as well. Make sure everyone is at full health and is well-armed and armored (without equipping any armor that might leave a party member unable to cast their usual spells).
The enemies you face will probably be your toughest yet. Each spider can do up to 20 damage from one of their poison shots and can damage multiple party members at once.
If you have Lump’s Horn and a good amount of gold, you call in Lump and his troll friends to aid you in this battle.
Before venturing into the Whispering Depths, however, you’ll need to recruit some unlikely allies. In a building near the well in the Blighted Village, you’ll find a trio of ogres. Pass a speech check and they’ll give you a horn you can blow that will summon them and bring them into the fight. You will need them to win your upcoming spider royal rumble.

Fighting from the high ground gives you an automatic advantage in combat. Take your party forward and stick to the cave wall and go left. Just before the room with the Spiderstep Boots, you’ll find a scalable wall. Climb it. At the top, you’ll see ahead a network of web bridges. Taking your party across them (except for whoever’s wearing the web-proof boots) will inevitably get them stuck. Do not cross the bridges until you’ve killed all the enemies.
Send Astarion ahead in stealth mode and take a sneak attack against one of the spiders. Combat will begin with your enemies surprised—they’ll lose a turn as a result. Move your party forward slightly to give them an angle at the enemies below and start raining down projectiles and magic.
In each round, put Astarion in sneak mode by hiding and take another shot at an enemy. This will keep him off the radar of the spiders while the rest of your party forms a wall in front. This will force the spiders to take you head-on. Wear them down until they’re all dead.
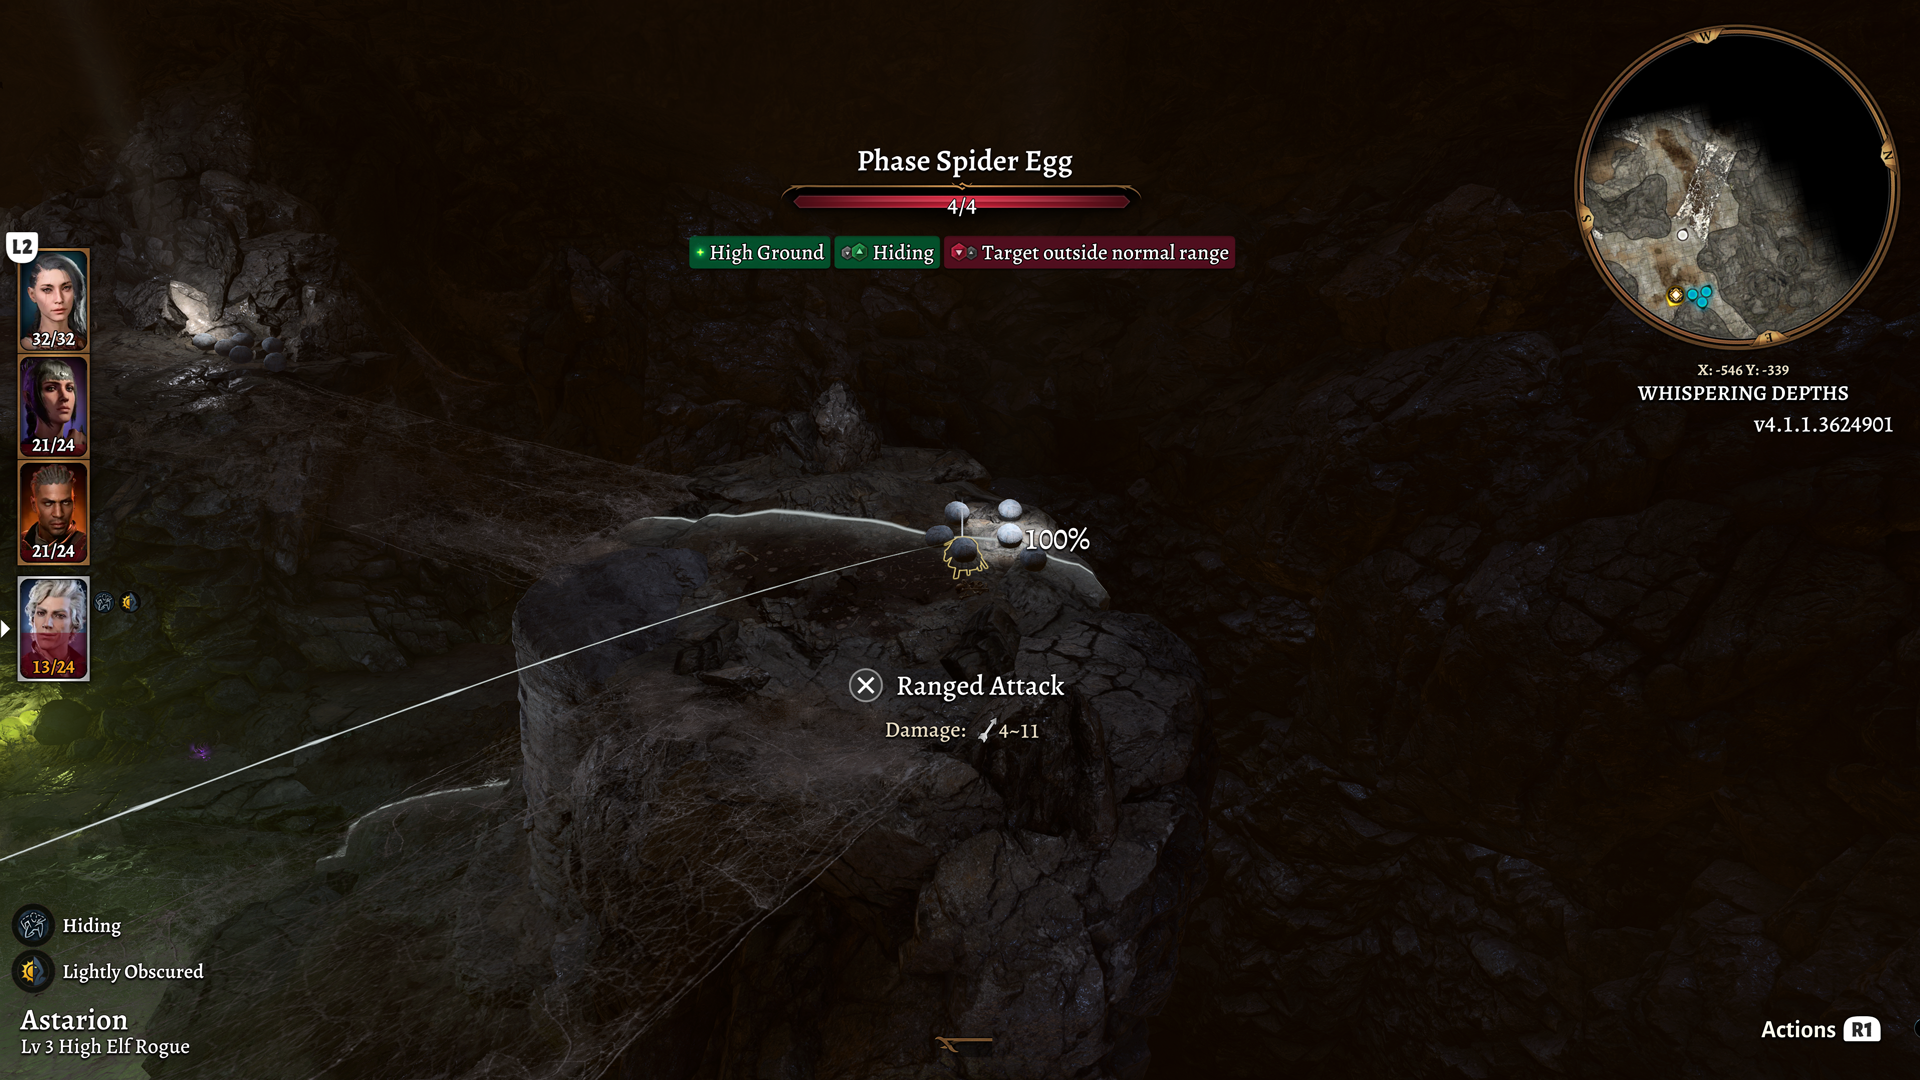
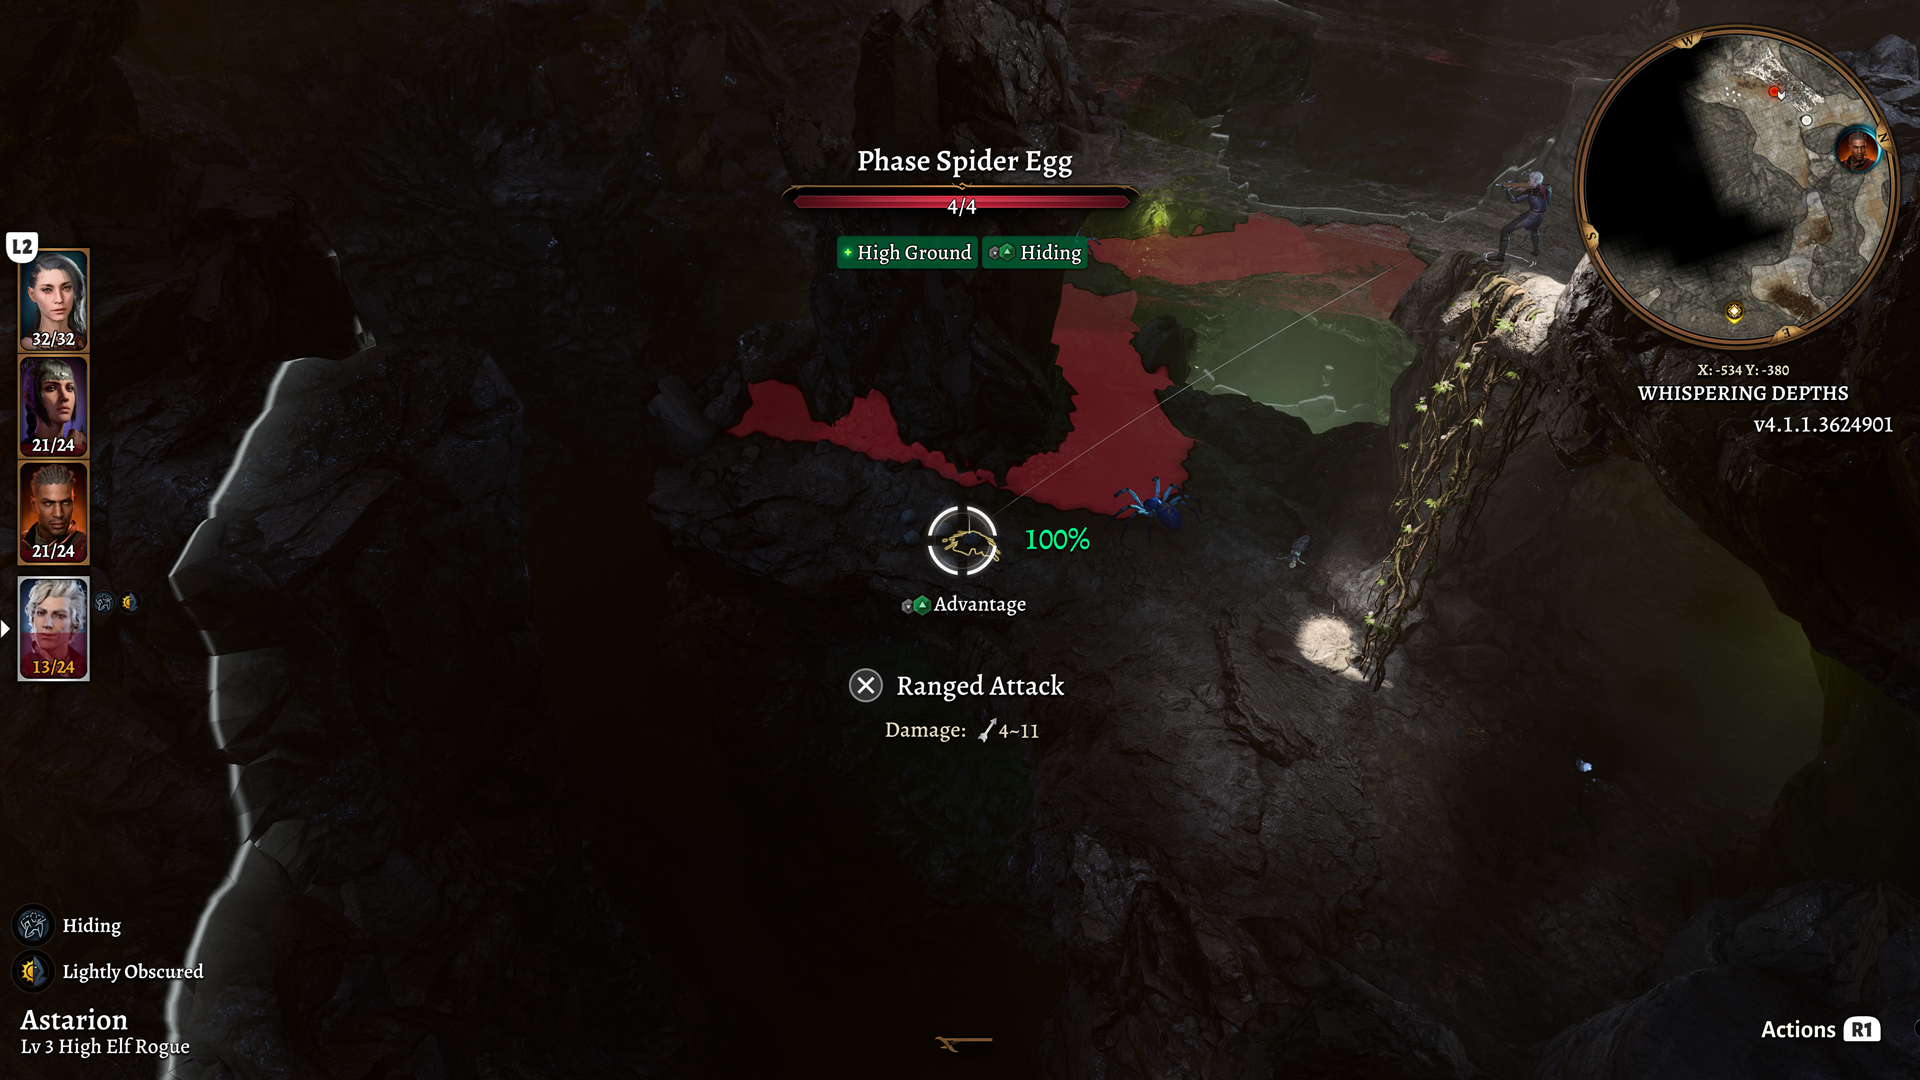
You’re now ready to take on the spider Queen. You’ll need to do some prep work first, however. There are three patches of spider eggs that the Queen can awaken and get into the fight. These smaller spiders aren’t much of a threat, but you’ll waste valuable turns clearing them out while the big spiders take potshots at you with poison projectiles.
Send one of your party ahead and have them shoot each spider egg. This will kill them before they can get into the fight. There are three patches: two of them are on the stone pillars connected by web bridges in the large cavern. The first patch is easily taken care of by firing across the chasm. Be careful taking out the second patch, as the Queen spider will spot you if you’re not careful.
The final patch is visible from the climbable roots to the left.
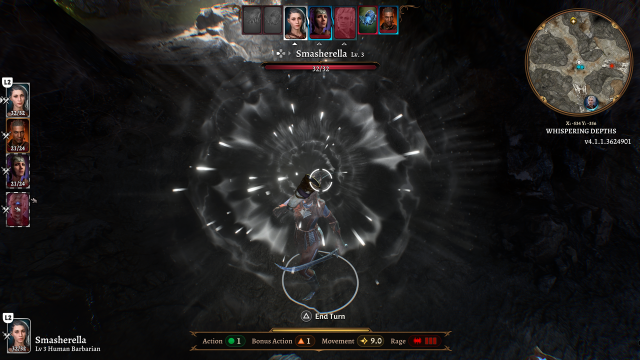
With the spider eggs cleared it’s time to take on the Queen. Position your party in the large opening that connects the room to the Queen’s chamber. This will cover your flanks—enemies will only be able to come at you from the front or rear. Go into your inventory, find the horn the ogres gave you and blow it.

With the ogres to back you up, the odds of survival for your fledgling band of adventurers just went up. Use them for cover as the spiders close in to attack. If possible, try and get the queen onto one of the web bridges. If you have a fire-based throwable, toss it at the Queen and it will burn the bridge from under her, causing her to fall. The fall can deal up to 50 points of damage.
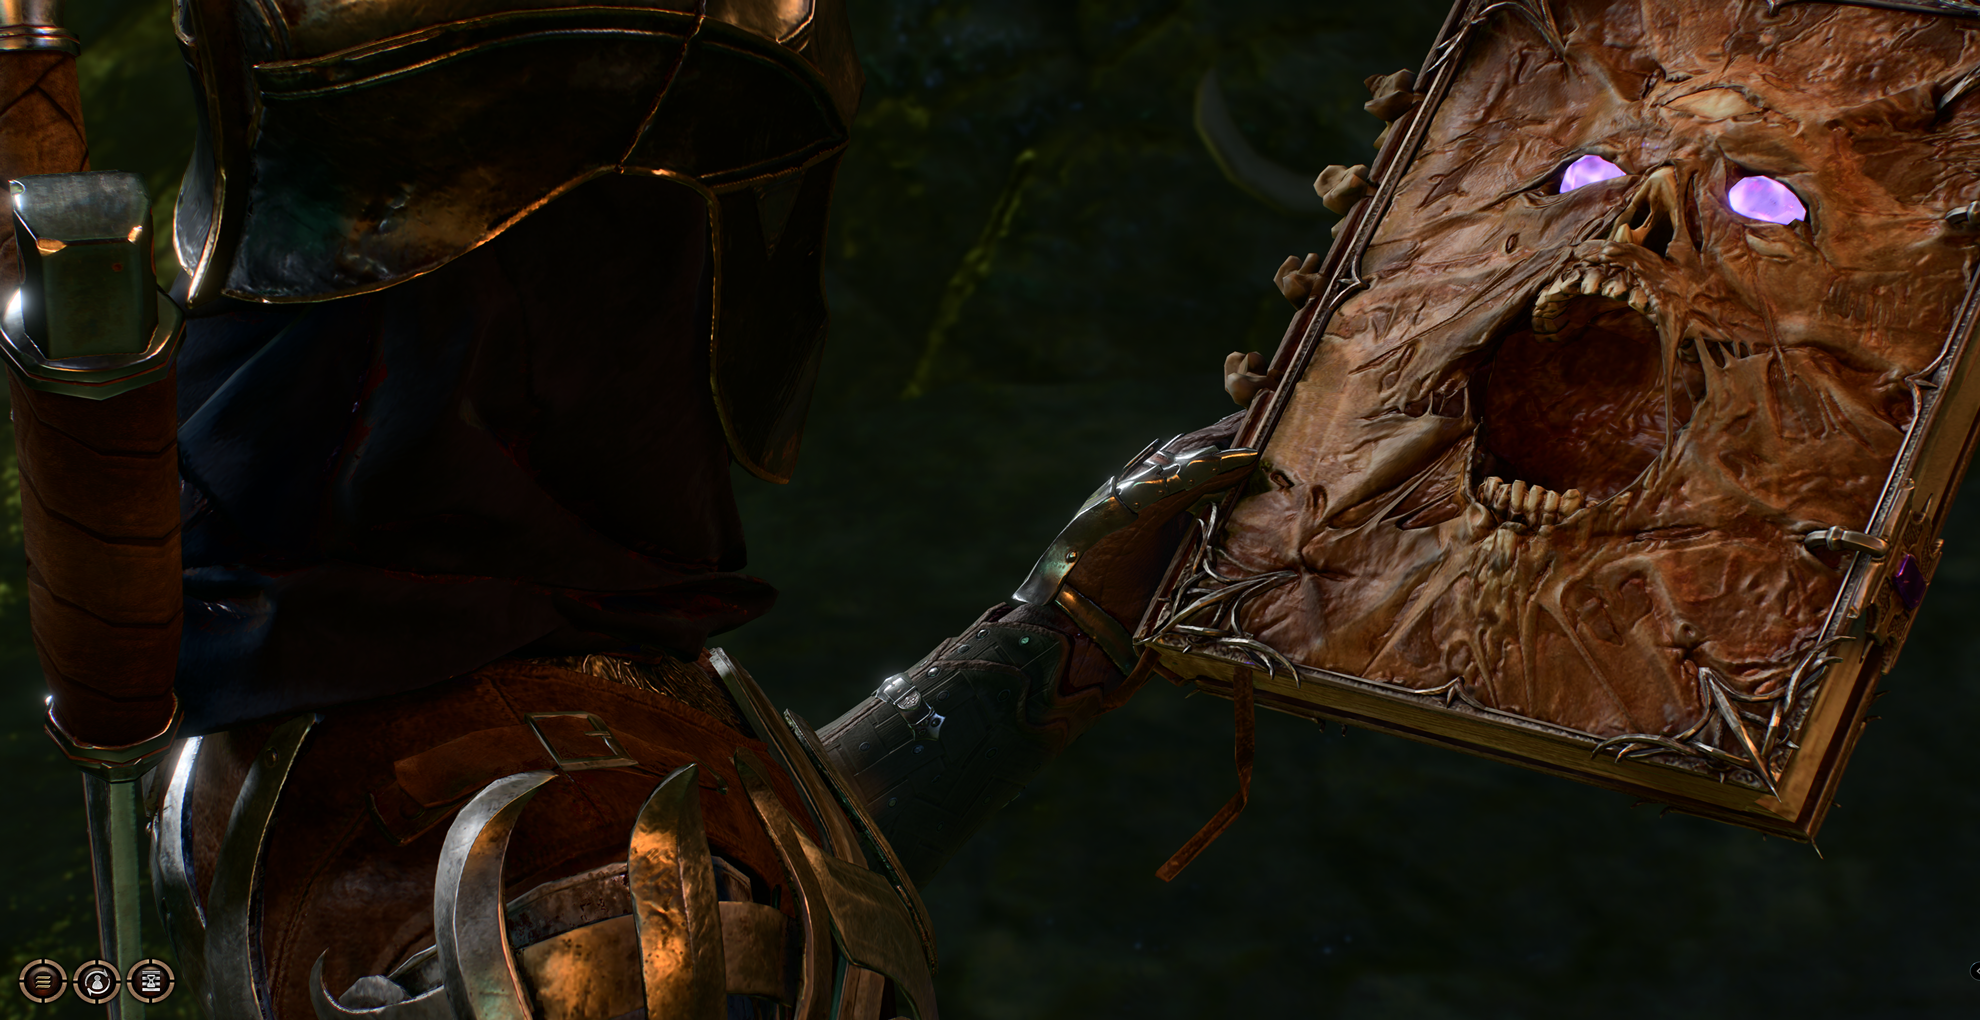
Should you read or destroy the Necromancy of Thay in BG3?

You should not read the Necromancy of Thay in BG3. We recommend that you destroy the book. Sure, it gives you the ability to speak to the dead and a nice little buff, but knowing Larian Studios and how they make games there will be consequences if you read the book. Maybe not today, maybe not tomorrow, but one day reading from this Demon Reader’s Digest will come back to haunt you.
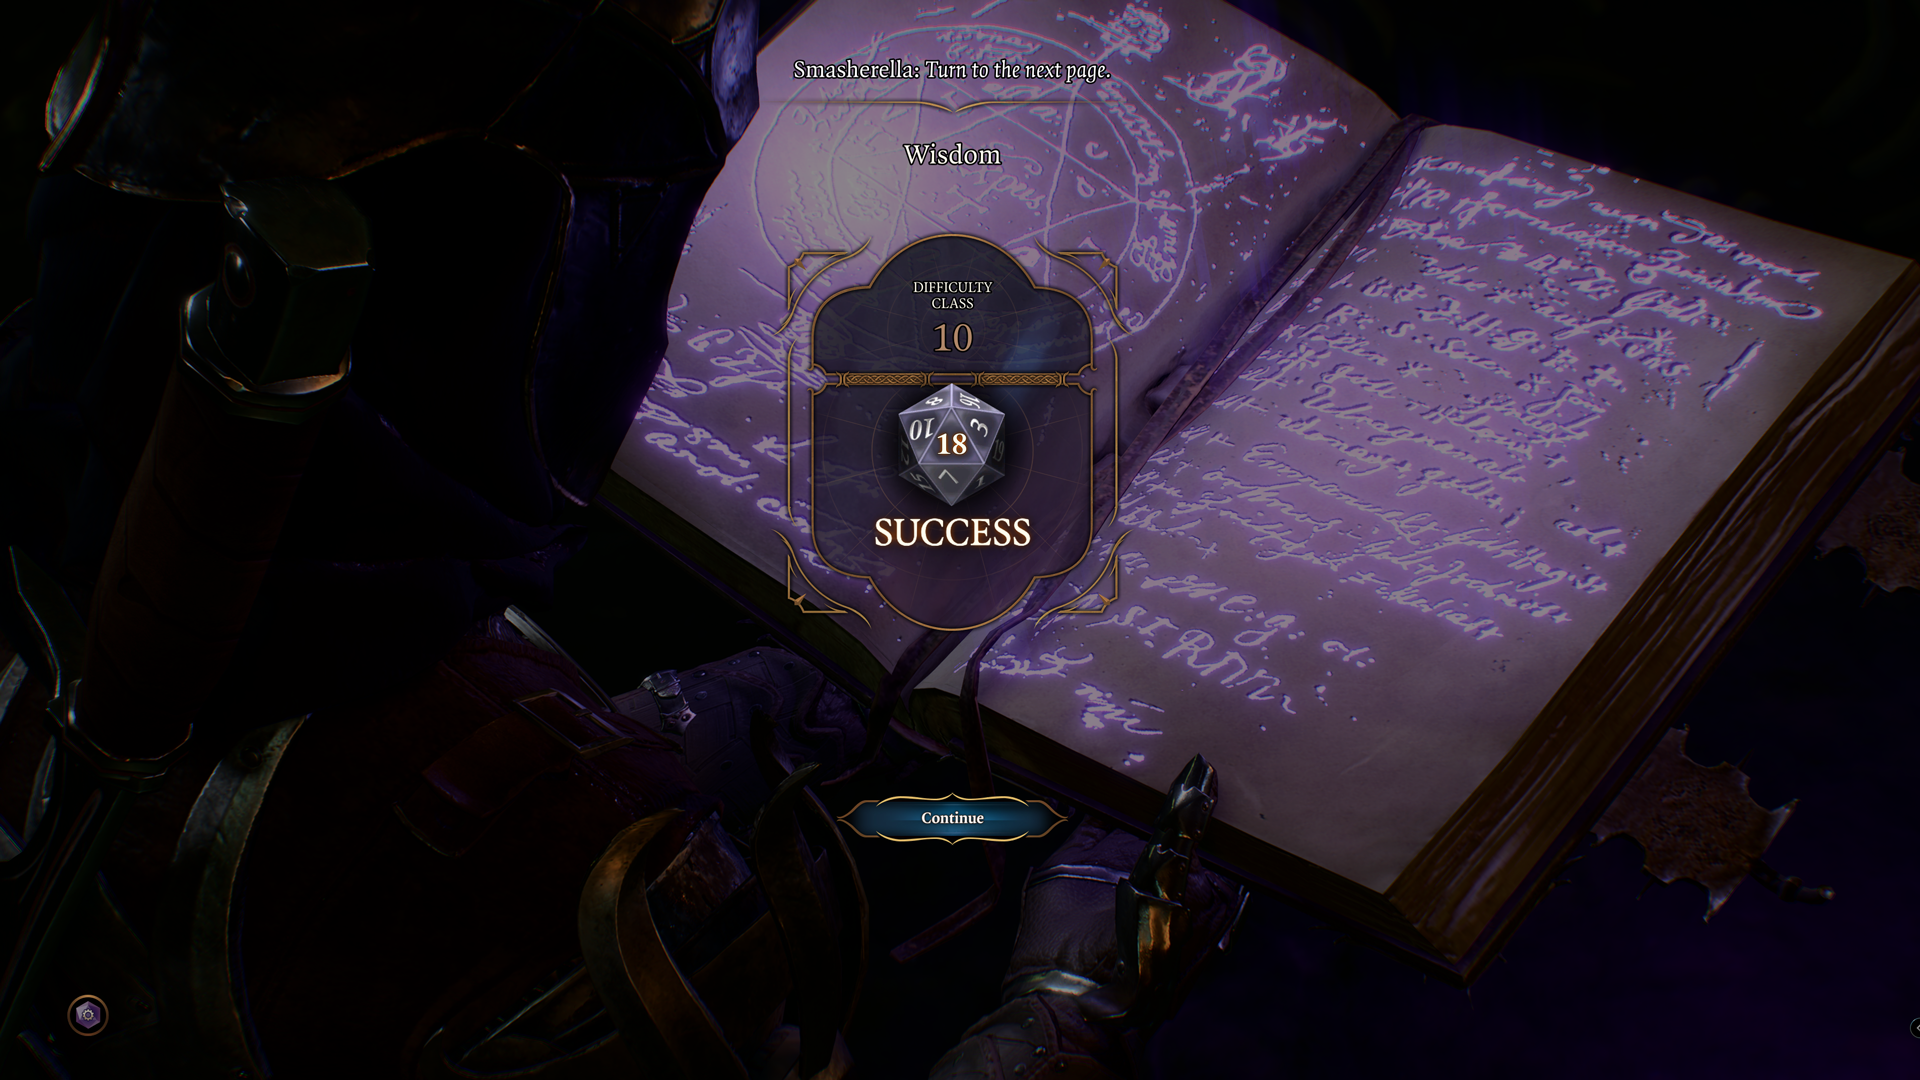
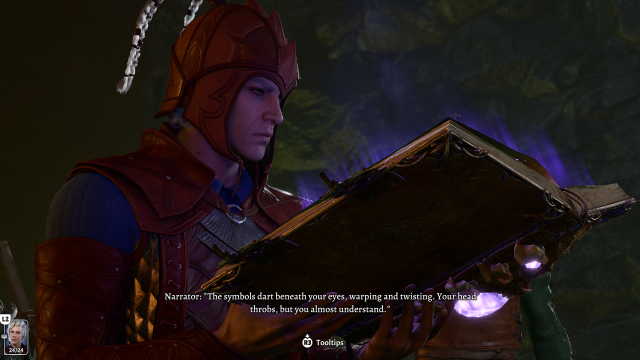
But, if you’re deadset on reading (pun intended) you’ll need to pass two out of three Wisdom checks to gain from the book’s secret knowledge. If you’re a Wizard, Druid, or Cleric, then this should be easy enough.
However, if you have low Wisdom, you’ll need to hit some high rolls to pass. We recommend saving before attempting to read the book. Failing the first roll will give you a temporary debuff. Failing the second will give you a permanent one.
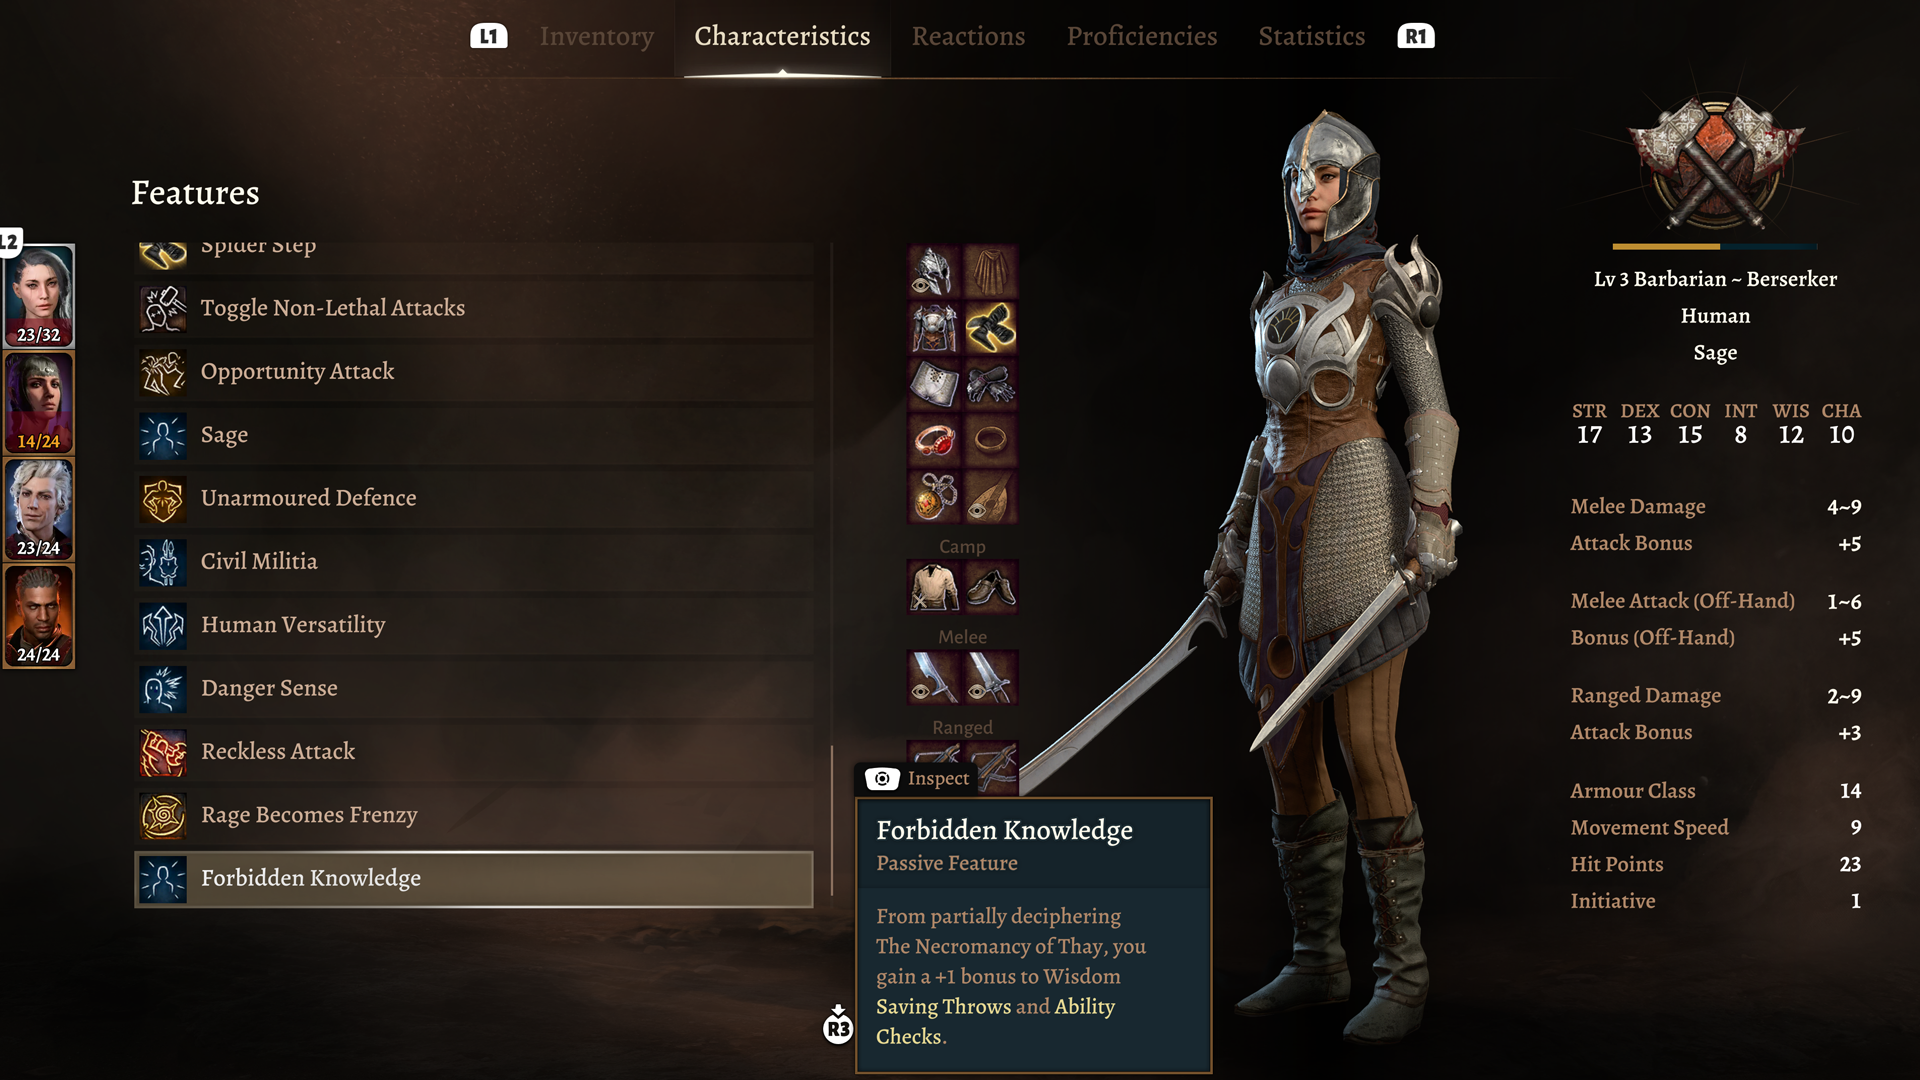
Pass two out of three checks and you’ll gain “forbidden knowledge” as a notable feature, giving you a +1 bonus to Wisdom saving throws and ability checks; there’s an argument to be had for cracking open the book. If you also happen to have the sage inspiration, you’ll get an inspirational event added to that perk called “Secrets of the Necromancer.” Inspiration can be used to reroll ability checks.
Necromancy of Thay consequences: Who should read the book?
Out of all of your companions, Astarion should read the book. He has special lore and camp cutscenes available when you allow him to read it. He also will react to the book in Act Three. If your goal is to gain points with Astarion as well as extra lore from his story, you should let him read the book.
Letting Astarion read the book means you will not be able to read it yourself.
What happens if you give the book to Astarion in BG3?
Astarion expresses an interest in the book when you first find it and letting him doesn’t seem to trigger any passive or active bonuses at first. He reads a few pages and says he’ll finish the rest later. If you take control of Astarian, however, and activate the book from his inventory, he’ll need to go through the same three Wisdom checks to pass.
Passing two out of three Wisdom checks will grant him the Forbidden Knowledge notable feature.
If you want to romance Astarion, giving him the book will help, and if reading the book has consequences down the line he’ll be the one to deal with them and not you. Once you give the book to Astarian, there’s no getting it back. You will gain a small amount of XP and gain inspiration from him reading it, but not the bonus to Wisdom checks and saving throws.
What happens if you give the book to Gale in BG3?

You can go two routes with Gale. The first option you can take is to put the book in his inventory, take control of him, and have him read it. The result will be the same—pass two of the three Wisdom checks and he’ll gain the forbidden knowledge buff.
The second route is to have him destroy it. Gale needs to consume magical items as part of his quest line. Giving him the Necromancy of Thay will destroy it permanently, but you won’t be able to trigger this event until you’ve started his quest line.
Note that there is apparently a bug that if Gale and Astarion are both in your party when you find the book, you won’t be able to give it to Astarion.
What happens if you destroy the Necromancy of Thay in BG3?
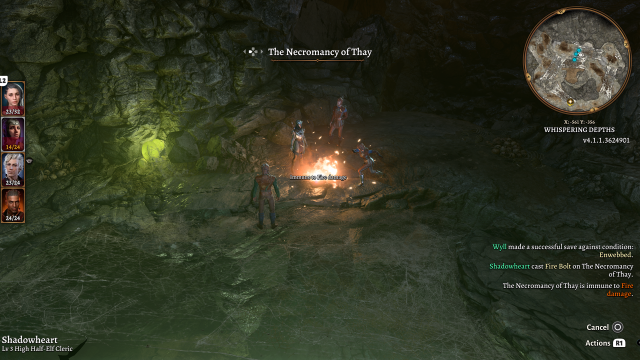
The book is immune to all kinds of damage except holy damage. To destroy the book, have Shadowheart cast Guiding Bolt on it and the book will be toast. Doing this, however, will cause three shadow enemies to spawn and attack.
You won’t be able to see them and they deal huge amounts of damage. We recommend if you do want to destroy the book simply keep it in your inventory until you gain abilities to help you detect hidden enemies. Also, remember that you can also have Gale consume the book and this should spare you a fight.
Once destroyed, you won’t gain anything except the approval of Wyll and Shadowheart, but you’ll have spared yourself from the potential future consequences of reading from a book that looks like it lives on Satan’s coffee table. Giving the book to Gale to consume will give you a large amount of approval from him.
Others Asked
How can you obtain the Necromancy of Thay in Baldur's Gate 3?
You can find the Necromancy of Thay in Act One, in the Blighted Village, specifically in the basement of the ruined Apothecary building during the 'Search the Cellar' quest.
What benefits does Astarion gain if you allow him to drink your blood in Baldur's Gate 3?
Astarion gains the Vampire Bite action, which allows him to drink the blood of a creature and regain 2d4 hit points, while the target takes 2d4 Piercing damage. Additionally, Astarion receives a Happy status effect the next day, granting him plus one in Attack Rolls, Saving Throws, and Ability Checks.

What happens if you choose to help Minthara in Baldur's Gate 3?
Helping Minthara involves obliterating all of the innocent Tieflings, which is considered a morally bad choice, but it allows you to earn her trust, recruit her as a companion in Act Two, and opens the possibility of a romance.


Published: Dec 11, 2023 02:14 pm