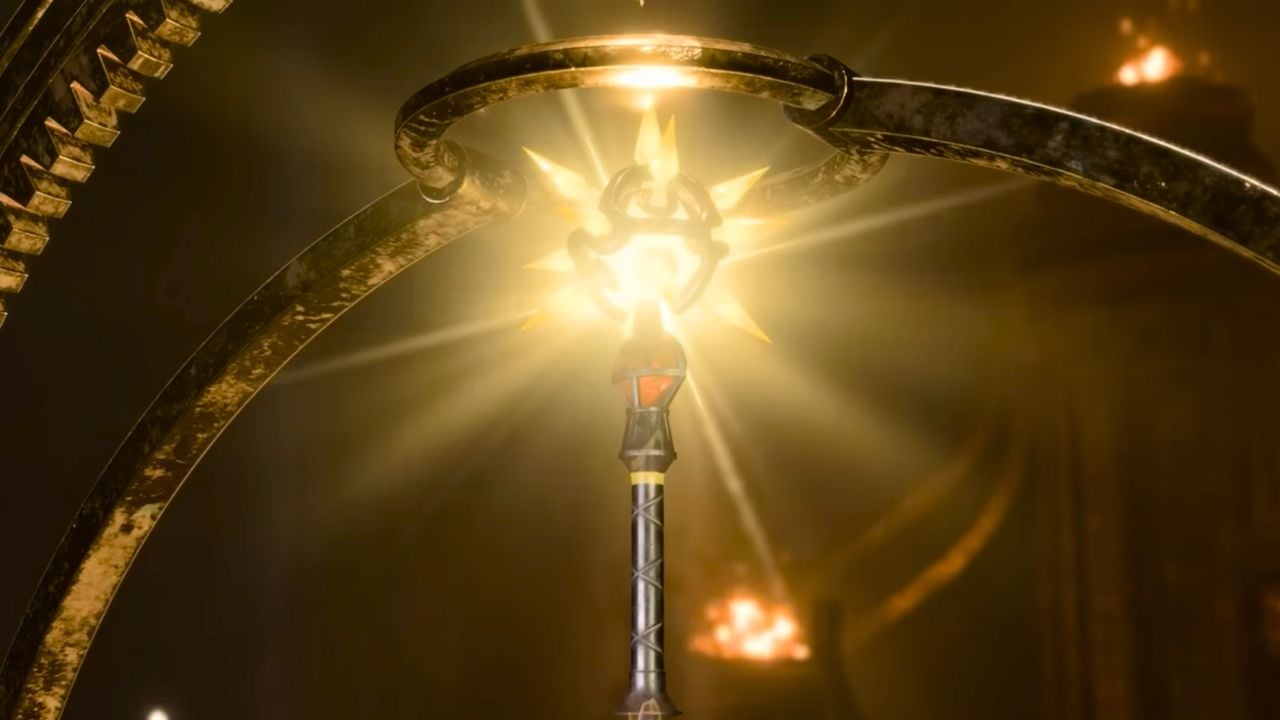
The Blood of Lathander is a powerful legendary mace that is hidden within the Gith’yanki Creche in Baldur’s Gate 3. It does 1d6 damage, additional hit points, and can blind the undead and fiends, so it’s worth the effort. Here’s everything you need to know to get the Blood of Lathander in BG3.
Blood of Lathander stats in BG3
Here are the stats for The Blood of Lathander Mace in BG3. The Blood of Lathander, is a commendable magical weapon and is super strong.

| Stats | Legendary-tier +3 mace 1d6 + strength Bludgeoning |
| Description | Weapon Enchantment: +3 Lathander’s Blessings: You gain 2~12 hit points after one Long Rest instead of dying along with allies gaining 1~6 hit points Lathander’s Light: Beams holy light in a 20ft radius. While in combat, standing fiends and undead within the holy light are Blinded unless they complete a Constitution save. Proficiency in the weapon will grant you Concussive Smash. Grants Sunbeam (Level 6 Evocation Spell) |
How to get the Blood of Lathander Mace in BG3, explained
You will get the Blood of Lathander in BG3 inside the Rosymorn Monastery during the Find the Blood of Lathander quest, in the Githyanki Creche questline.
If you’ve already unlocked the Monastery, you can skip to that section, or if you’ve unlocked the Githyanki Creche, navigate to the waypoint and start there.
How to start the Githyanki Creche questline
Go to the Mountain Pass or the quest marker named “Mountain Pass” on your map. It is where you will find the Githyanki Patrol.
The Gith’yanki Creche questline will lead you to the Find of the Blood of Lathander quest.
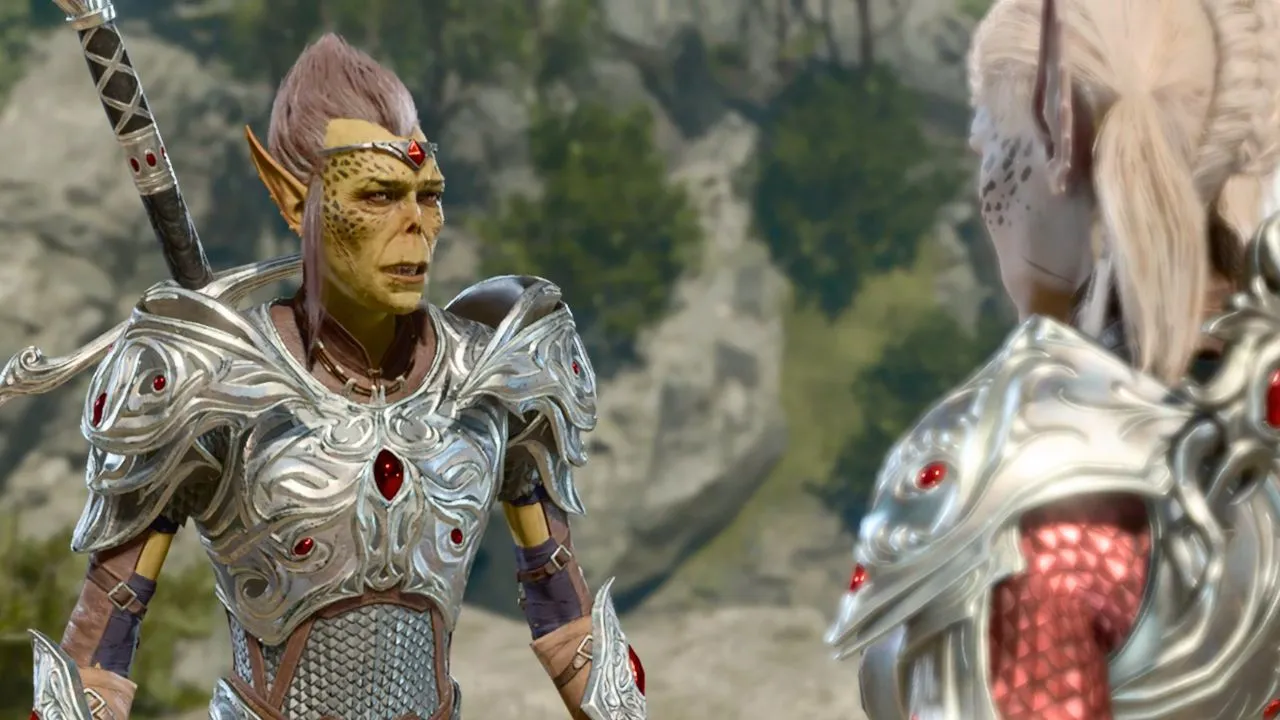
During the cutscene, you must side with Lae’zel and her plans for finding the solution to your tadpole problem after saving her from the Tieflings or she will turn against you.
Once you’ve dealt with the Githyanki situation, you must head across the bridge and into the Mountain Pass.
If you never recruited Lae’zel in your party prior to this visit, she will be here with the Githyanki Patrol where you will have one more chance to recruit her before they kill her.
How to find the Rosymorn Monastery
After entering the Mountain Pass, you’ll see on your map a waypoint called Trielta Crags, and the Rosymorn Monastery is directly North-East of here.
You need to follow the path heading in that direction, and you’ll come across a Cable Car—roughly at the coordinates: X:-46 and Y:85.
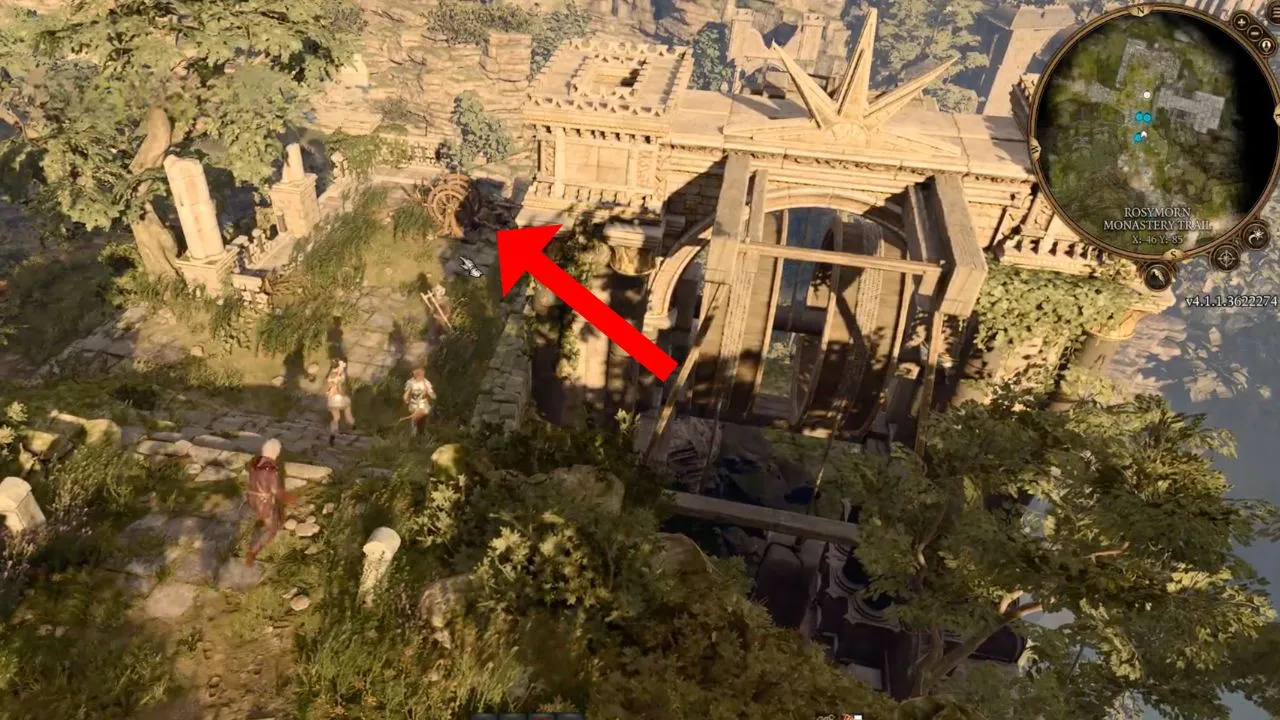
To work the cable car, you must activate the cable car wheel with a Strength ability check. You need at least 15. Karlach is a great pick to do so since she has high Strength.
If you fail the Strength check, you can use your Inspiration to try again, or if you have a save point just before this, load it, and try again.
Hop on the cable car to take go across the ravine. After arriving, go down the hill and make a U-Turn, following the path until you can see and activate the Rosymorn Monastery waypoint roughly at the coordinates: X: 20, Y:12.
How to enter the Rosymorn Monastery
Right next to the waypoint, you’ll see a stone “bridge”—make your way across it and down the steps. This will trigger a cinematic cutscene where some Githyanki are beating up elderly halflings who happen to mention a mysterious weapon and the one you’re looking for.
When the cutscene is over, you can enter the Rosymorn Monastery through the archway to your left and through the door at the bottom of the hallway.

Finding Lathander’s statue in the Rosymorn Monastery
Inside the Monastery, you’ll see quite a few bodies on the ground. Bypass them and head to the back of the building and up the stairs to your left.
From here, you’ll need to:
- Jump across to the stone platform
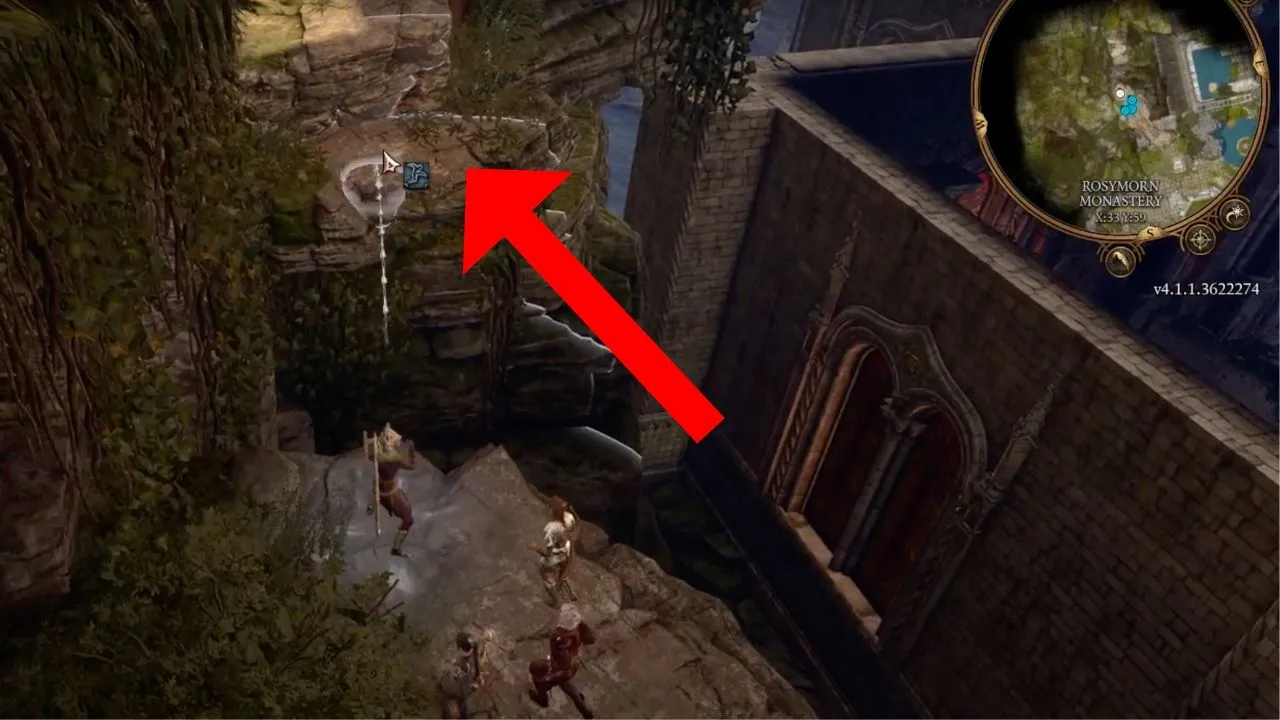
- Climb up the cragged rock.
- Jump onto the stone roof.
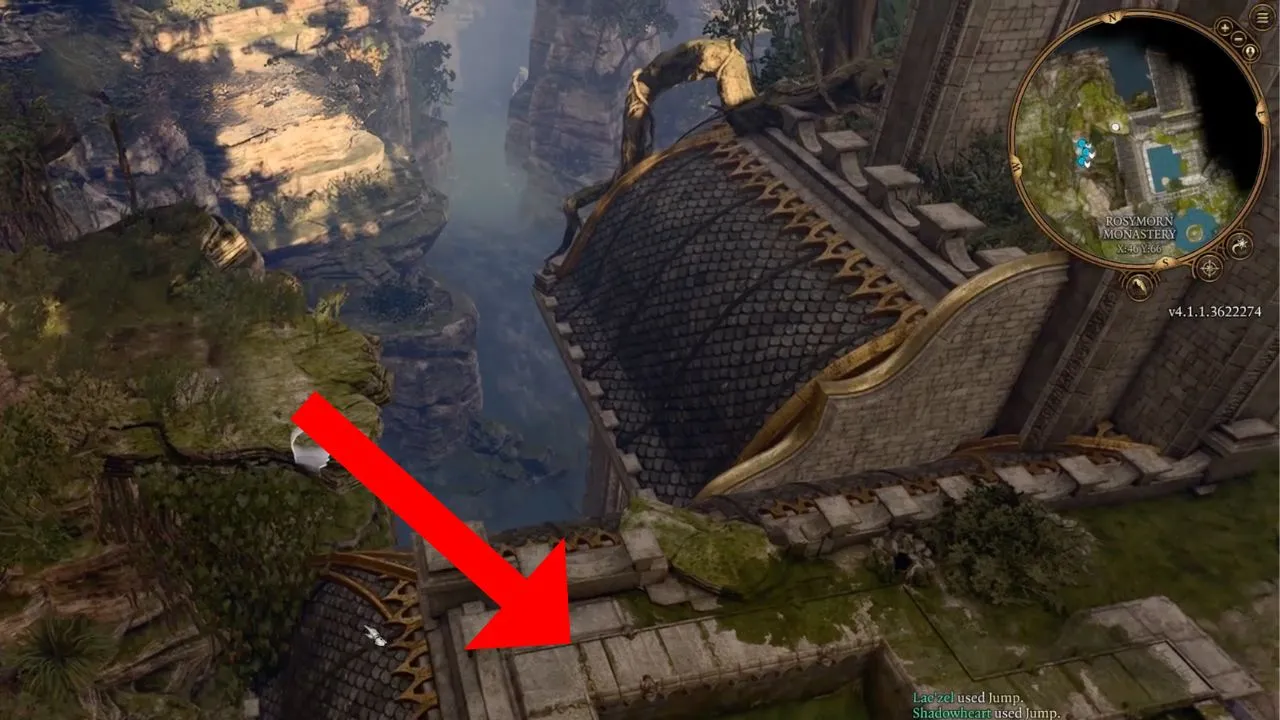
Once you land, you can enter the building by destroying the wooden barricade to the right of the staircase. Then, you will turn left and head straight until you reach a broken path, which you must jump across.
On the other side, you’ll head right and then through the wooden door at the end of the path. Descend the stone stairs and jump down to the next section at the broken part.
At the bottom of the staircase, turn right and follow the path until you reach another wooden barricade to your left, which you must also destroy.

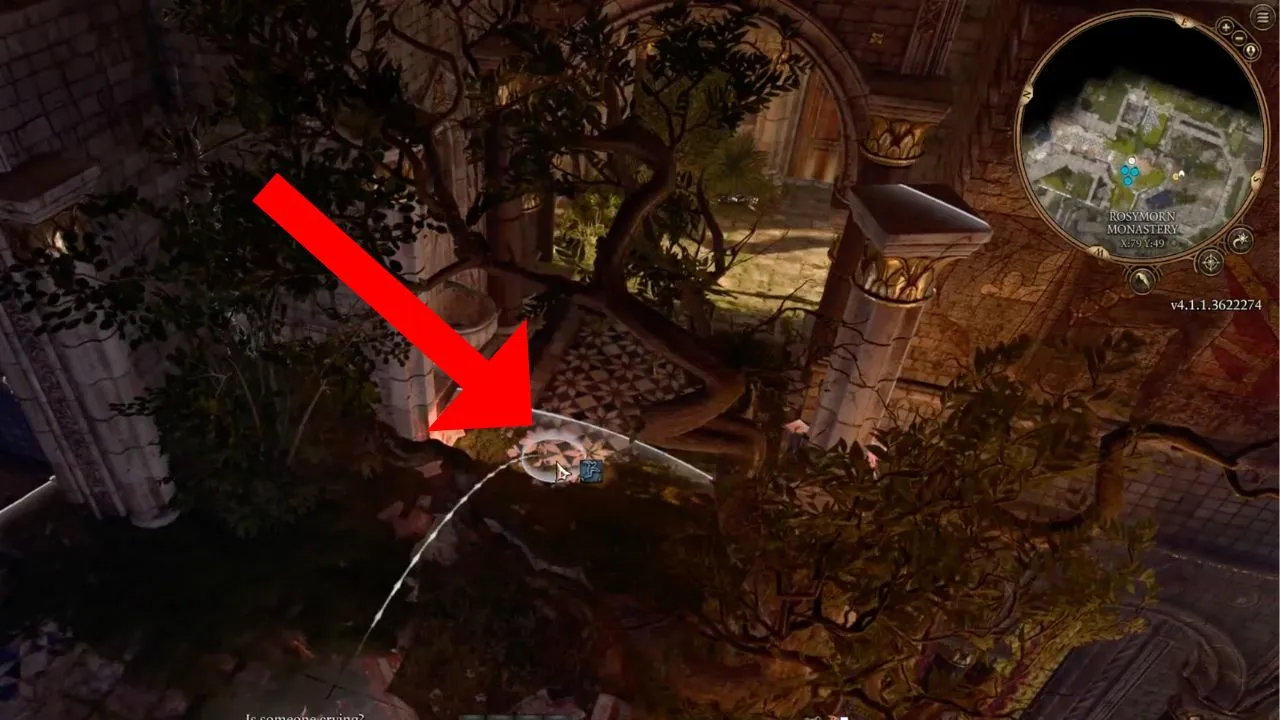
Walking through, you’ll perform a Perception check, and if successful, it will highlight a door to your right. Go through the door, down the stairs, and head left, where you’ll see the statue of Lathander covered in plants with gold detailing branching off.
At the base of this statue is a plaque called the Holy Blood of Lathander, coordinates at X:72, Y:65. By interacting with the Holy Blood of Lathander plaque in Rosymorn Monastery, you will receive the quest, Find the Blood of Lathander, under the main questline, Githyanki Creche.
From this point, you must explore the Monastery and solve a puzzle of the missing Legendary weapon.
How to solve the Stained Glass Window Puzzle: Finding the three weapons
To find the three weapons, you must head back through the door you came through (X:93, Y:46) and begin your search through the Monastery, as they’re located in different places.
Where to find the Rusty Mace in Rosymorn Monastery
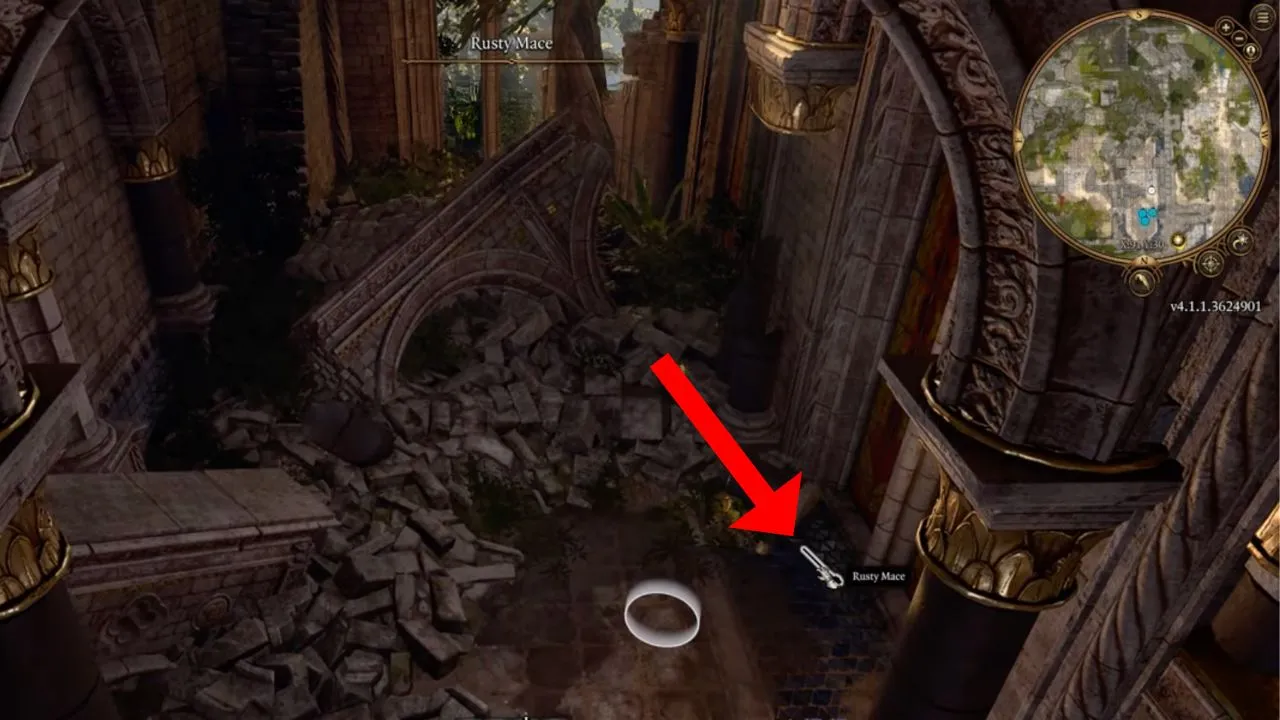
The first weapon is easy to find as you need to continue straight towards the rubble, and you’ll find the Rusty Mace on the ground at X:91, Y:30.
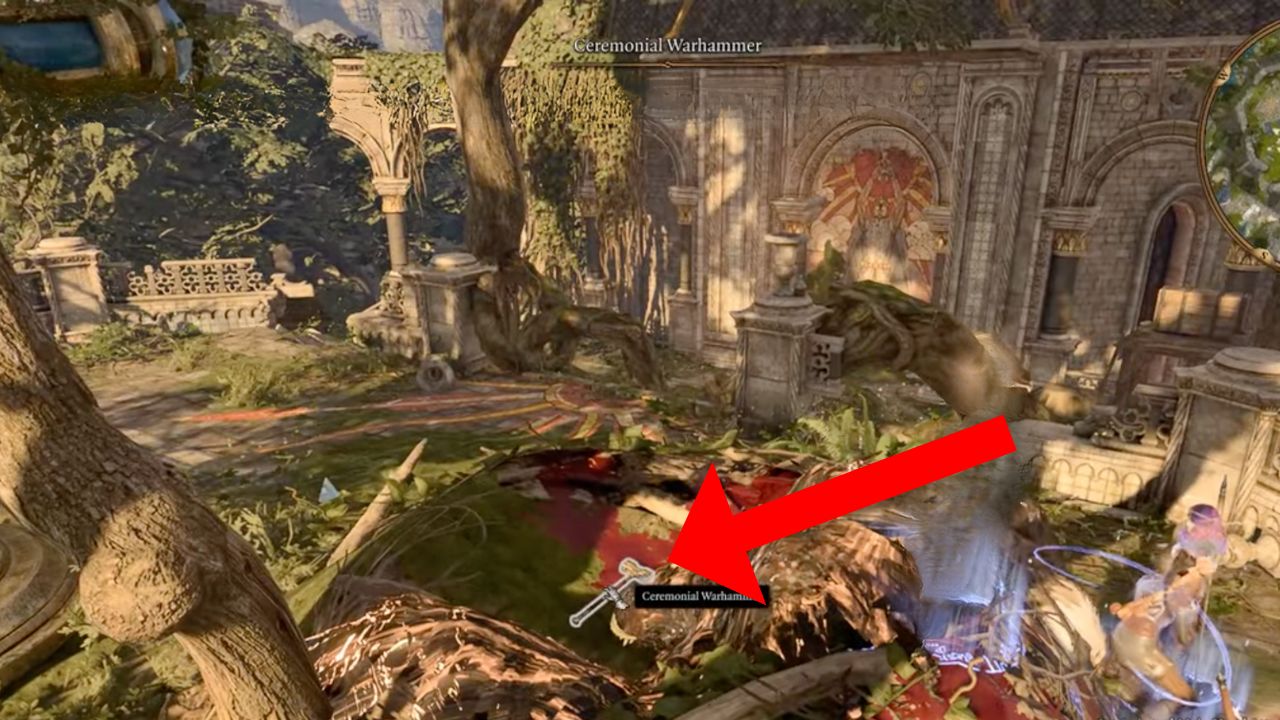
Where to find the Ceremonial Warhammer in Rosymorn Monastery
To get the second weapon, the Ceremonial Warhammer, you must:
- Head back up the stone staircase, the one with the broken path
- Climb the Knotted Roots to your left at the coordinates X:90, Y:39
- Kill the Ancient Eagle and the Giant Eagle
You’ll find the second weapon, the Ceremonial Warhammer, within the nest, roughly at the coordinates of X:80 and Y:39.
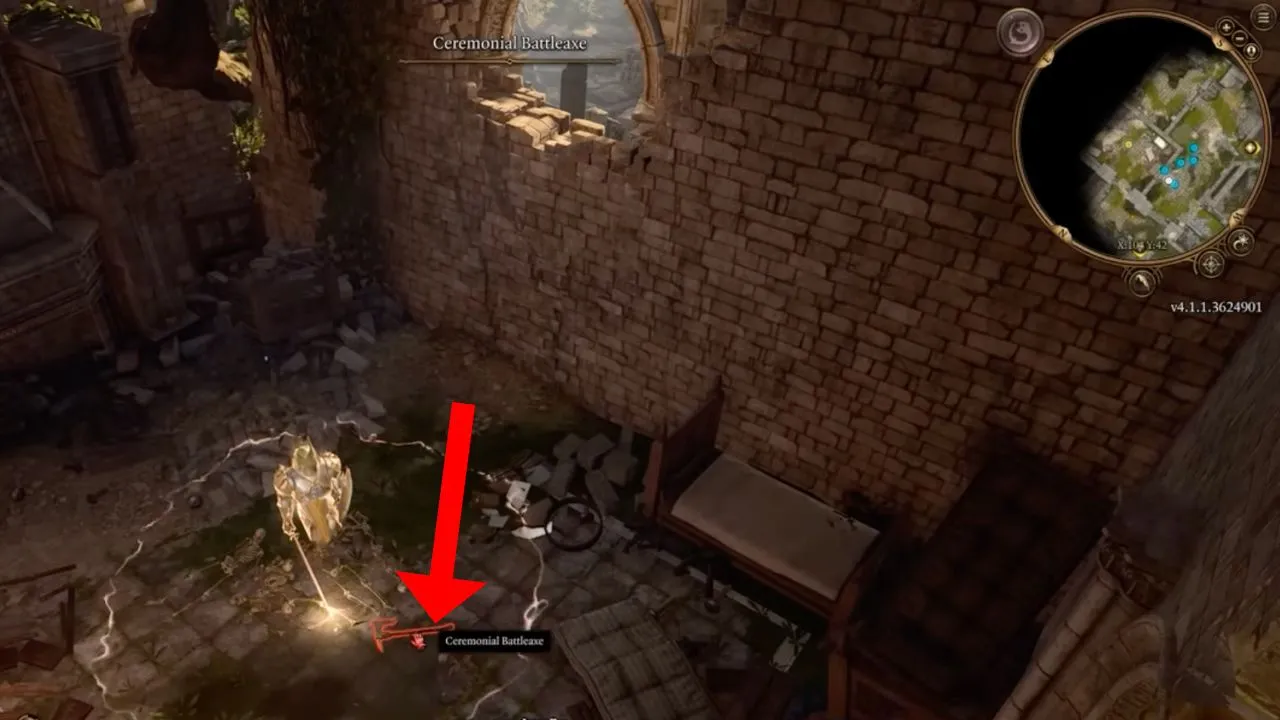
Where to find the Ceremonial Battleaxe in Rosymorn Monastery
To get the third weapon, the Ceremonial Battleaxe, you must:
- Head down the Knotted Roots and head toward the red stained glass window
- Lockpick the Enchanted Door on your right—it’s gold and glowing and at the coordinates X:95 and Y:47. To lockpick this door, you must successfully roll a 15 or more—and this is with Dexterity.
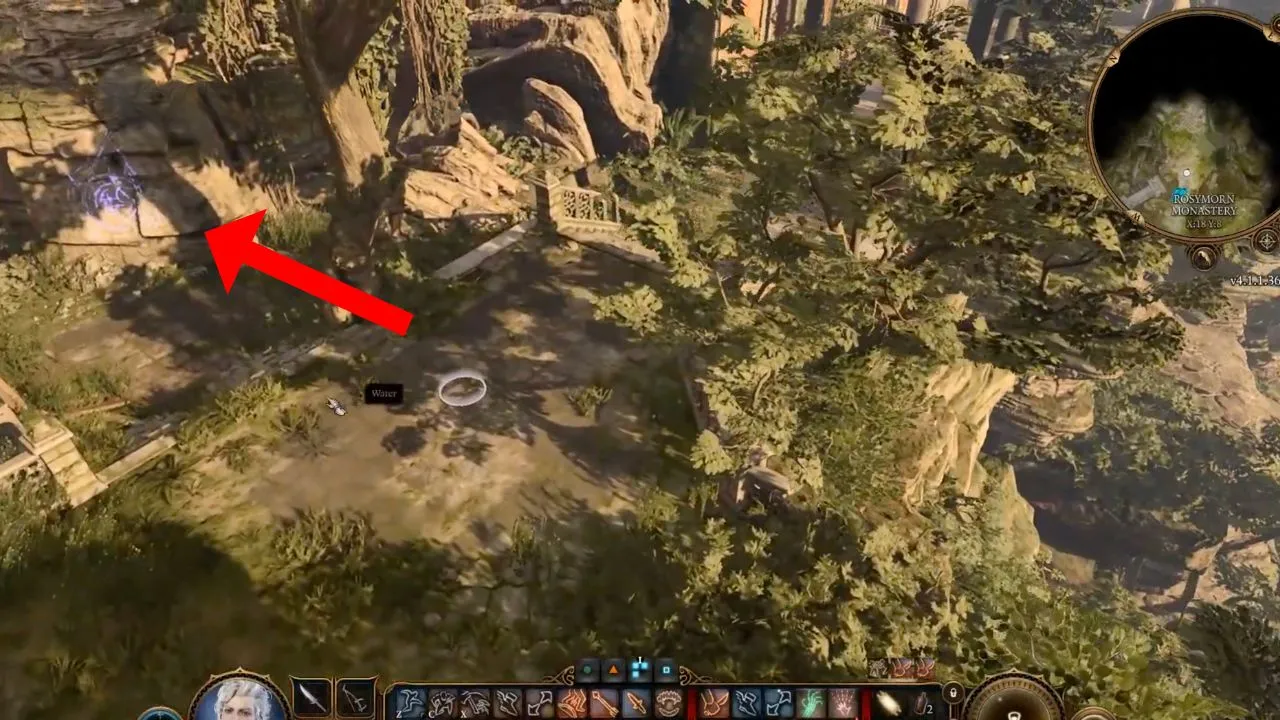
- Inside the room, you’ll notice an active Guardian of Faith spell. And if you enter the ring on the ground, you will automatically enter battle. So it’s best to perform the first attack. Specifically, a ranged one.
- Defeat the Guardian
The third weapon, the Ceremonial Battleaxe, is on the ground.
With all three weapons in your main character’s inventory, you can jump over the beds blocking your path and leave the room.
How to get the Dawnmaster’s Crest in BG3: solving the Stained Glass Window Puzzle
Once you have the three weapons in your inventory, you must place them correctly in the room with the Stained Glass Windows and the dial on the floor.
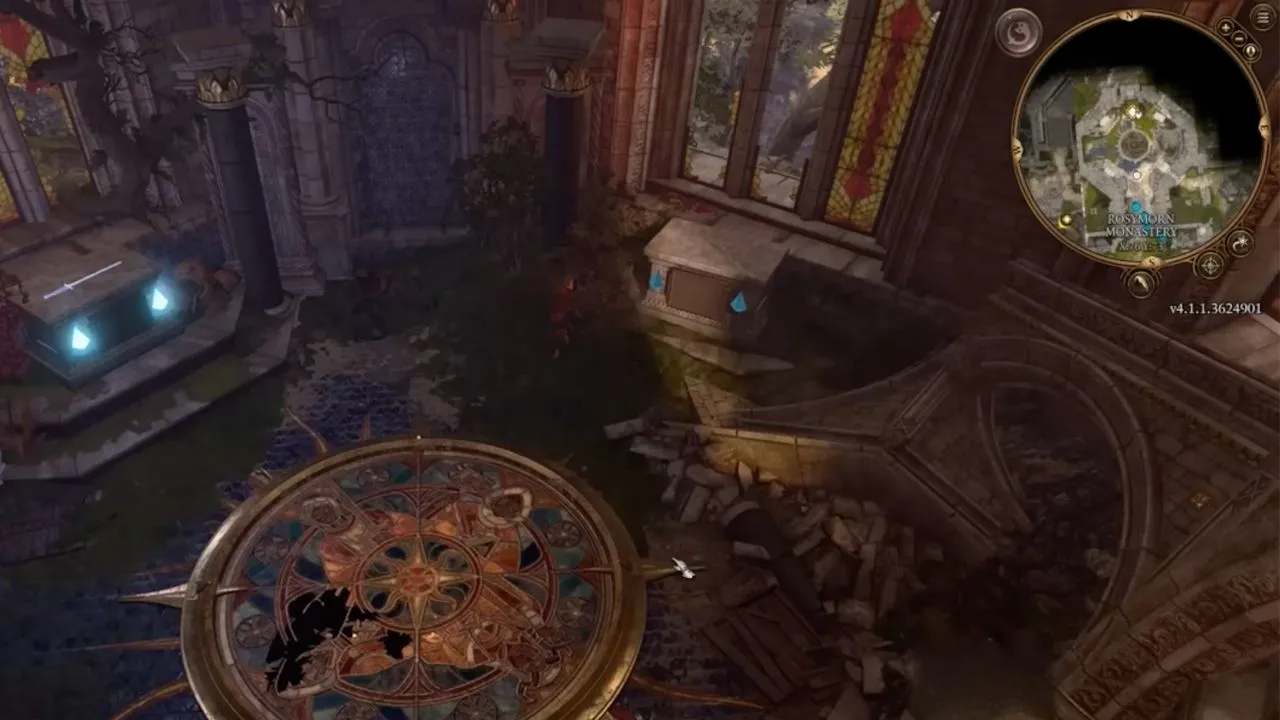
From the Guardian’s room, head straight ahead, where you must jump back across the broken walkway. Instead of going straight, you’ll turn right and make your way into a room with a dial on the ground and stained glass windows.
You’ll notice a stone platform below each of the three windows, and you’ll “throw” each weapon in the following spots:
- Ceremonial Warhammer—Left of the entrance
- Rust Mace—Right of the entrance.
- Ceremonial Battleaxe—Directly in front of the entrance
If you accidentally put the wrong weapon on the platform, don’t worry, as you’ll just get knocked down for a few seconds, and you can try another weapon.
But once all three weapons are in the correct positions, the platforms will glow, and a hidden space will open with a pouch inside.
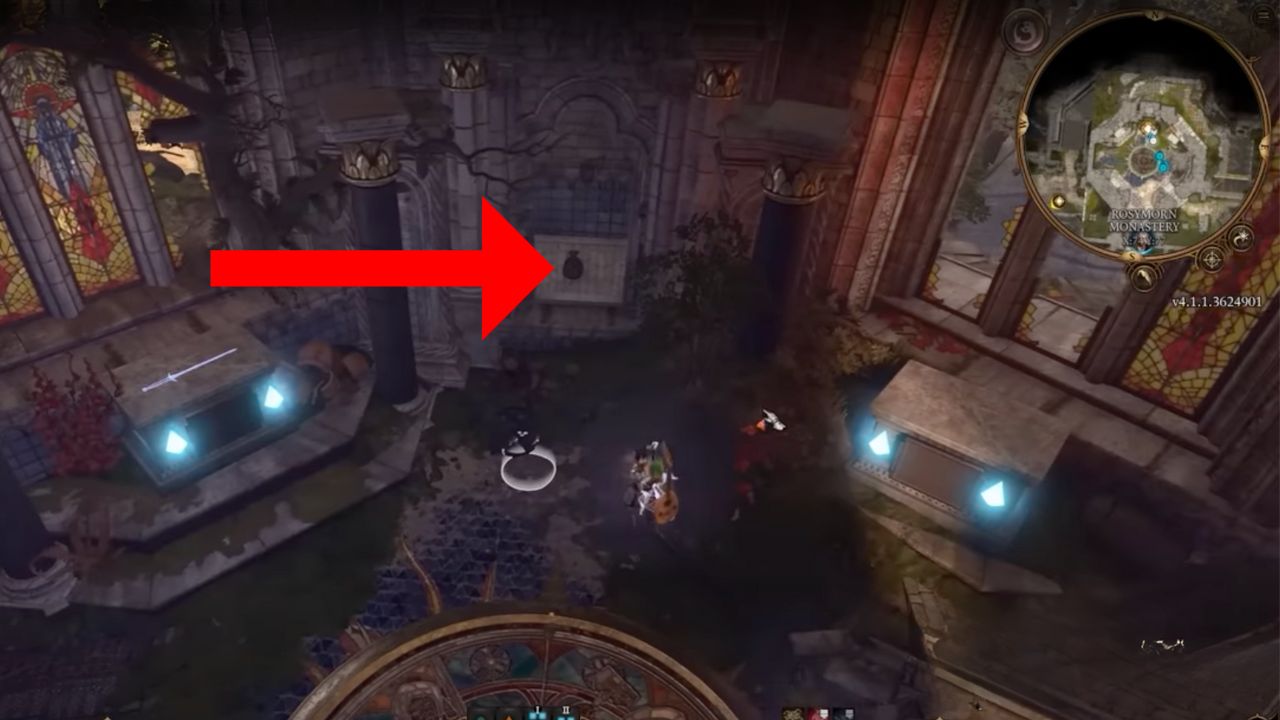
Take the letter and the “Dawnmaster’s Crest” from the pouch, and you’ll notice your quest has been updated with new information, which will lead you back to the room with the Holy Blood of Lathander plaque.
So you’ll need to make your way back across the broken path, take a right at the Guardian’s door, and back down the broken stairs.
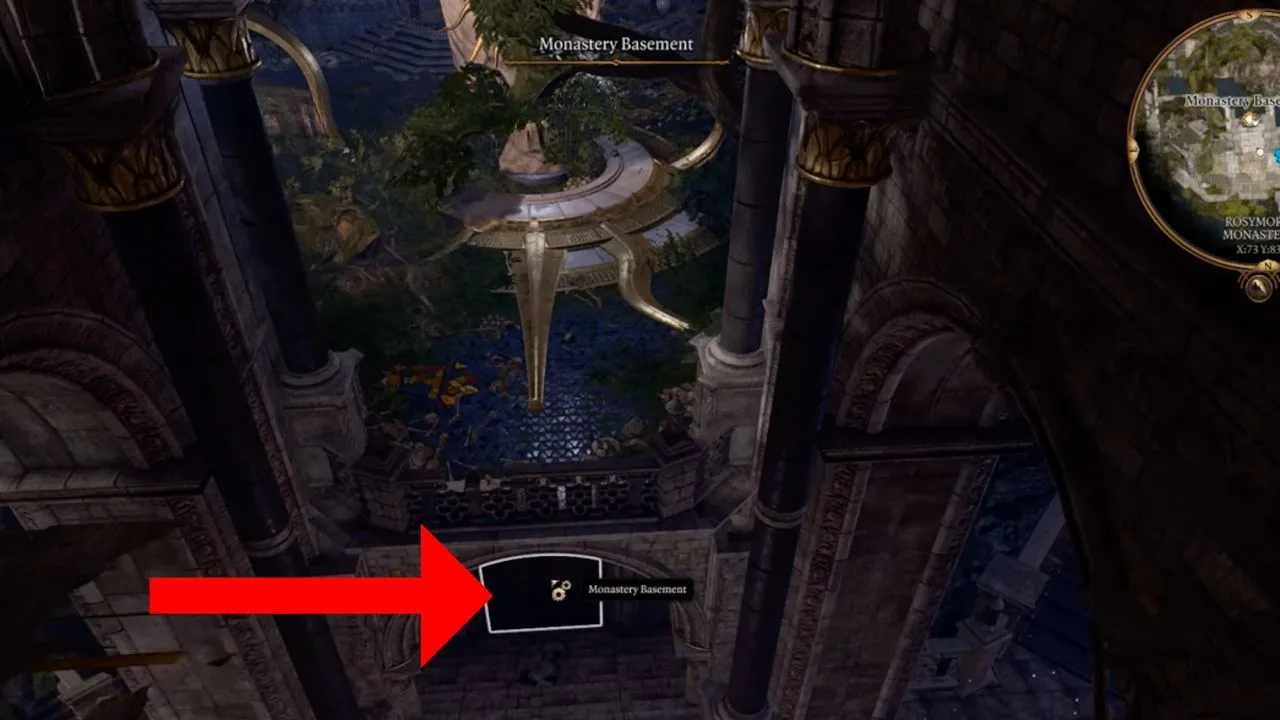
Entering the Monastery Basement in Rosymorn Monastery
Behind the moss and vine-covered statue bearing the Holy Blood of Lathander plaque is a secret room. To get to it, head down the stairs to your left and open the door called Monastery Basement.
Inside, you will notice that you’ve entered the secret home of the Creche, and you’ll have unlocked the Creche Y’llek waypoint. From here, head to the back of the Creche, where you must solve your next puzzle.
Before entering the room, it is recommended that you switch to a companion with high levels of Dexterity and Acrobatics.
Turning the Statues Puzzle in Rosymorn Monastery
Inside the room, you’ll notice two statues—one on the left and one on the right. To solve the puzzle, you must turn the statues in the following order:
- Turn the statue on the right—once
- Turn the statue on the left—three times
- Turn the statue on the right—twice
You’ll know the statues are in position when the narrator says, “Lathander blesses the rising, bountiful sun,” and a secret passageway opens up. There may be other ways to solve this puzzle, but as long as the left statue faces toward the back of the room and the right statue faces toward the room’s entrance, you should be able to unlock the passageway.
Once the secret room opens up, head into it, and prepare for your next puzzle.
How to solve the secret chamber puzzle in Rosymorn Monastery
From the entrance of the secret room, head down the stairs and through the Gate, which leads you to a secret chamber. To solve the secret chamber puzzle, follow these steps:
- To the left of the glowing door is a chandelier with blue crystals. Use ranged attacks on the blue crystals until it breaks.
- The glowing door will now fade away, and you can pass through.
- On your left is a Dawnbreaker device you must disarm, so ensure you’re piloting the companion with the highest Dexterity levels. But first, you must destroy another blue energy crystal.
- To destroy the crystal, climb the stone stairs to the device’s left—it’s very dark, so you may need to get in close to see it.
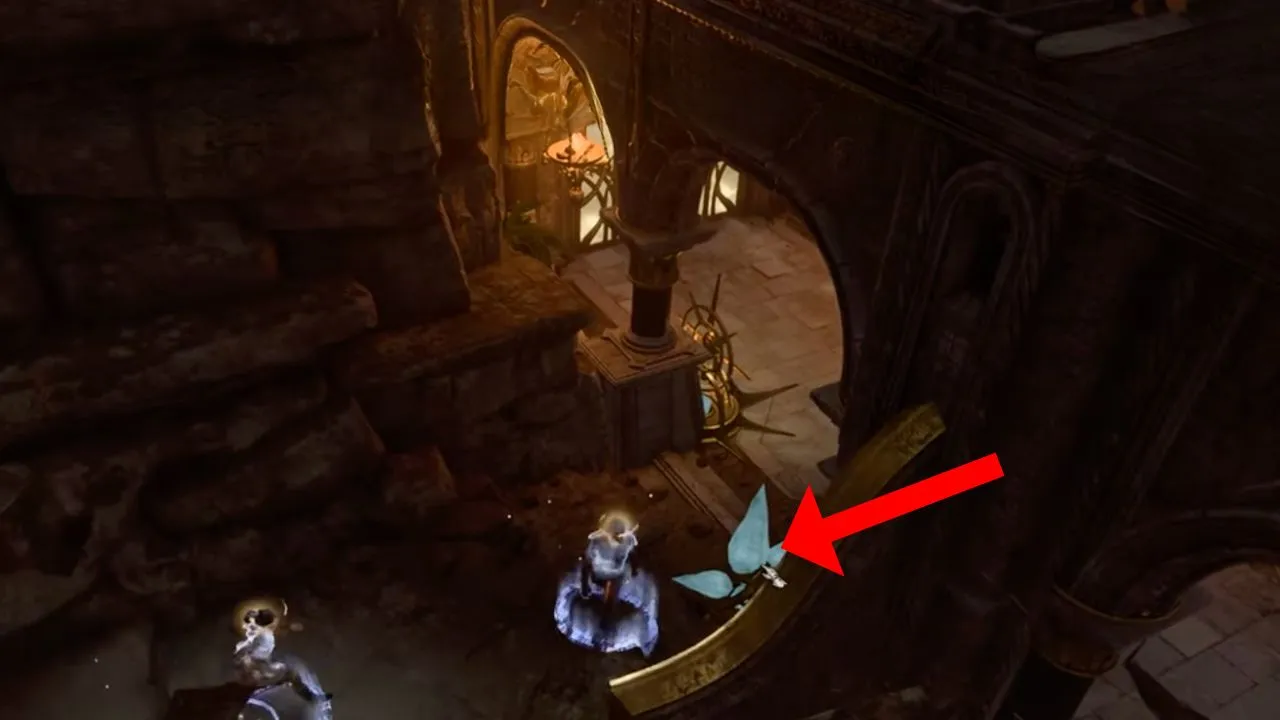
- Continue on the path until you can’t move any further and jump across to the stone ledge.
- Follow the path, and you’ll notice another blue crystal, the door’s Energy Source, which you must destroy.
- Hop back down.
- Interact with the device, and you’ll undergo a Sleight of Hand Dexterity check—which you only need a roll of 14 to pass. If you pass, the weapon will be disarmed. If not, use your Inspiration, try again (if it allows you to), or reload your save and try once more.
- There’s another Energy Crystal you must destroy, located on a cliff side, directly in front of the device.
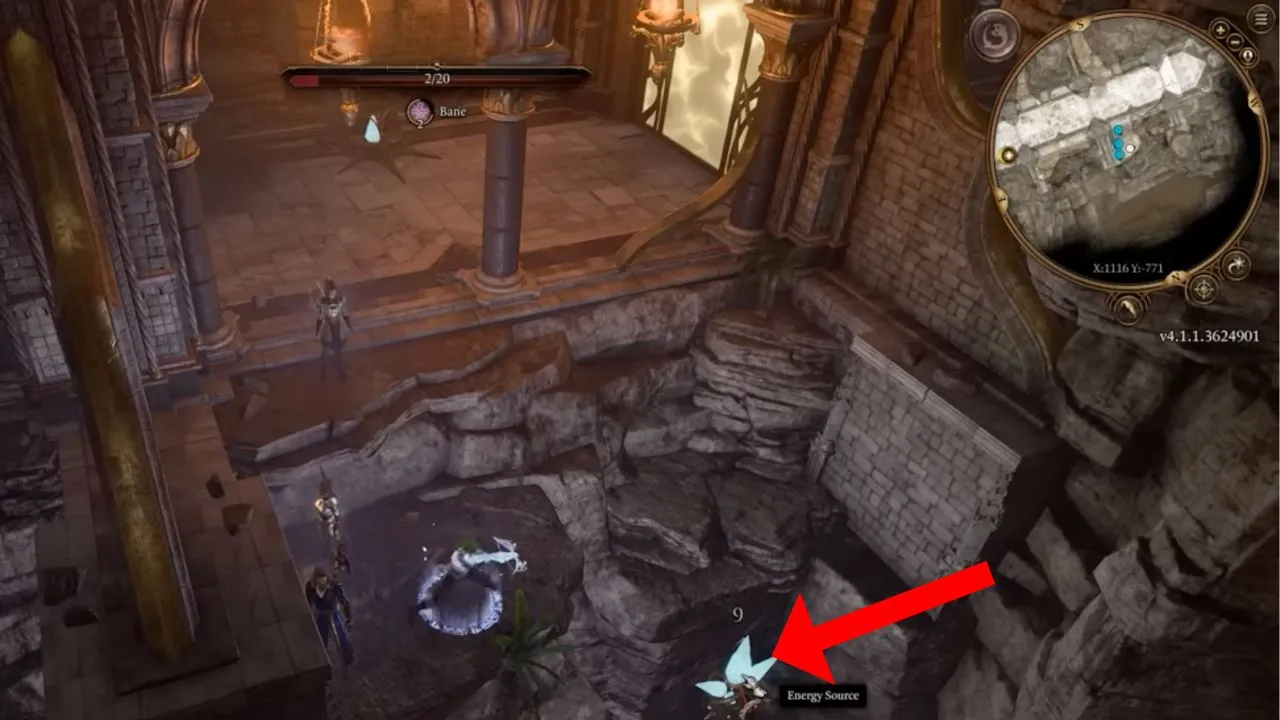
- You can move into the next room after destroying the crystal with your ranged attack.
Collecting The Blood of Lathander in BG3
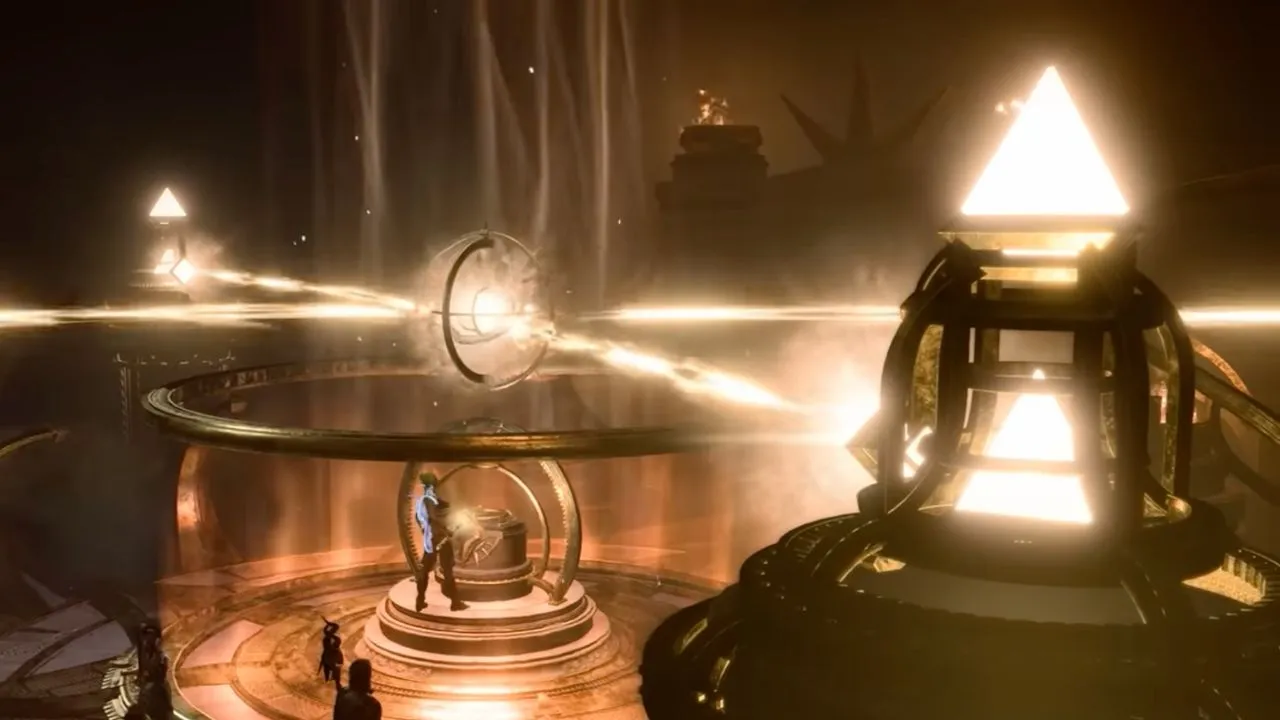
Inside this next room, you’ll see a red staircase, and at the top of it is a glowing pedestal bathed in a brilliant light, which houses The Blood of Lathander.
Before you walk up to it and get it, there are a few things you must do:
- Before interacting with it, switch to the companion with the highest History (your Intelligence), like Shadowheart.
- Now you can interact with the Mace, which will start a cutscene. You’ll automatically perform a History check.
- If you fail the history check, don’t worry because your choice options aren’t affected.
- If you decide to take the Mace, you “recall” that something disastrous might happen if you do, and you’re asked whether you still want to take it.
- Taking the Mace will trigger a weapon mechanism that will destroy the room—unless you act fast and disarm it in four turns.
If you take the Mace, Shadowheart, Lae’Zel, and Gale disapprove of this. So, if you’re trying to romance any of these companions, this may not be the best option.
- You must destroy the four Energy crystals on the pillars to disarm the weapon. Each crystal has 30 health, so you’ll need to choose the best-ranged attacks to destroy them because you will be at a disadvantage from the lower ground.
- Once all the crystals have been destroyed, the weapon will disarm, and the pillars will disappear. And then you can safely take your Mace.
To ensure you aren’t wasting your movement, jump around the platform as much as possible and move just close enough that your attacks will land.
How to avoid blowing up the Githyanki Creche
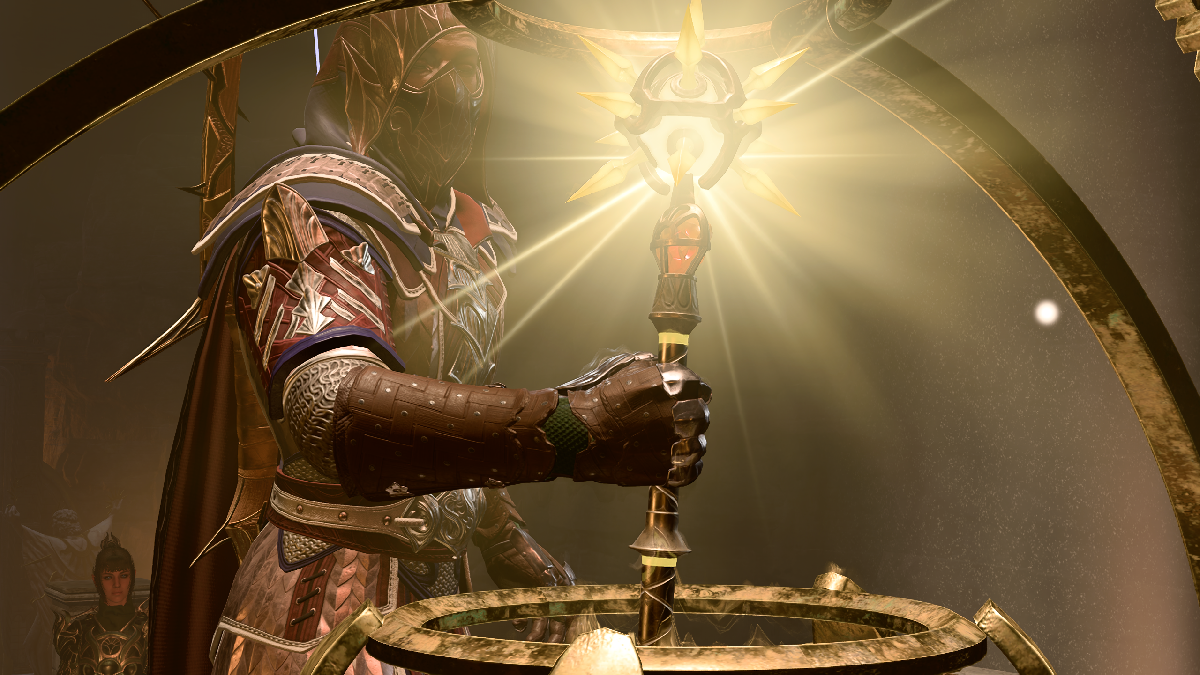
- In the middle of the room, the Blood of Lathander Mace should be sitting on a pedestal with a golden platform.
- Before carelessly snatching the mace, go into your inventory and retrieve the Dawnmaster’s Crest obtained earlier.
- Click on the pedestal with the desired weapon and click the empty box when prompted.
- Drag the Dawnmaster’s Crest from your inventory menu and into the empty box.
- Take the Blood of the Lathander Mace and close out the quest.
And that’s it! You finally have your Legendary Mace after all your hard work. Taking the mace without doing these very important steps will result in the mass obliteration of the creche, the Githyanki, and your team within four turns.
Unlike romancing, which is as easy as breathing in BG3, getting The Blood of Lathander is tedious. But this is worth it if you’re after a good mace and don’t want to purchase one from a vendor.
Others Asked
What is the first Legendary weapon you can obtain in Baldur's Gate 3?
The Blood of Lathander is the first Legendary weapon you can obtain in Baldur's Gate 3.
How can players obtain the powerful weapon known as the Blood of Lathander in Baldur's Gate 3?
Players can obtain the Blood of Lathander by solving a puzzle in the monastery area of the Githyanki Creche quest, turning statues to open a path to a secret underground chamber, and disabling traps before placing the Dawnmaster's Crest.
Where must players wait until they can reach the city of Baldur's Gate in Baldur's Gate 3?
Players have to wait until Act 3 to reach the city of Baldur's Gate.


Published: Dec 8, 2023 11:46 am