As you travel the Underdark of Baldur’s Gate 3, you’ll eventually encounter Sovereign Spaw, the ruler of the Myconids, and Sovereign Glut, a ruler without anyone to rule. You have to choose between these two characters and side with one of them.
Both NPCs offer various pros and cons depending on your decisions. Consider these choices seriously, though; you won’t have an opportunity to return to the Underdark as you progress closer to Moonrise Tower and Act Two. Make sure you decide to work with one of them before you depart. But which of the two is the better choice? Should you choose Sovereign Glut or Sovereign Spaw in BG3?
Sovereign Spaw versus Sovereign Glut in BG3 explained

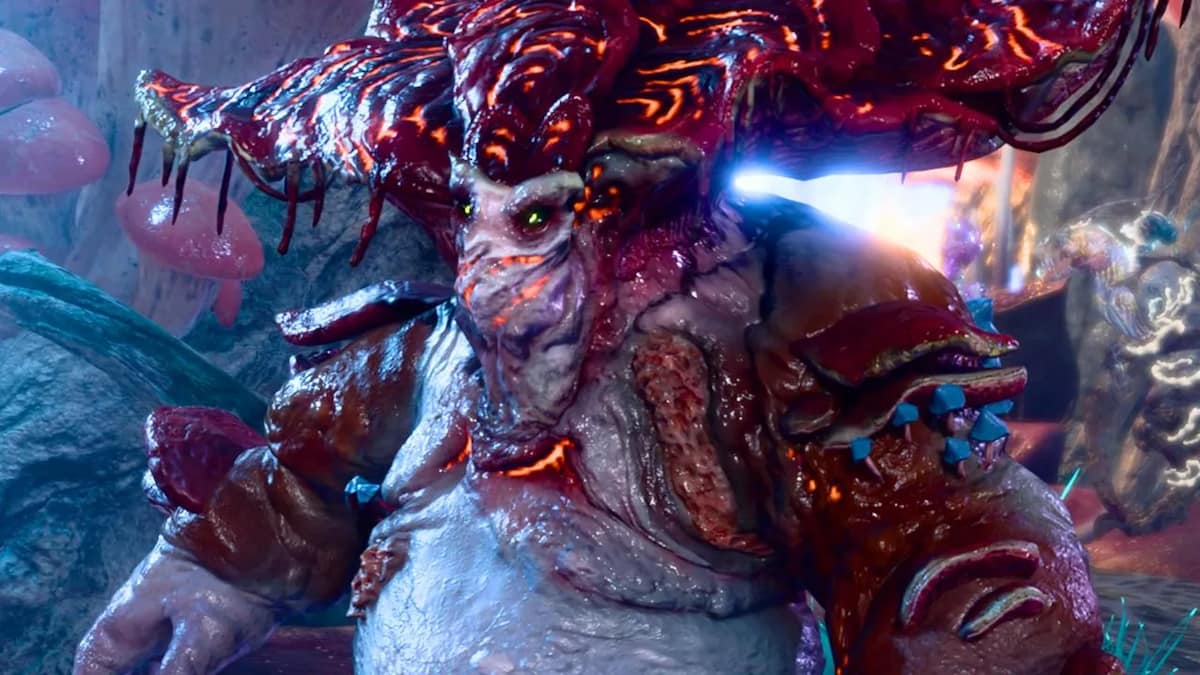
You initially meet Sovereign Spaw when you enter the Myconid Circle in the Underdark. Spaw shares with you that his circle requires protection against the Duergars, who are outside the village, and you can later take their boat to advance to the next location.
Should you accept the quest, you’ll be able to leave the village and dispatch them, or you may have already done so, and you can receive a reward for your trouble. However, after your first meeting, Sovereign Glut appears and shares his story about how Duergars destroyed his circle, and the current circle does not welcome him.
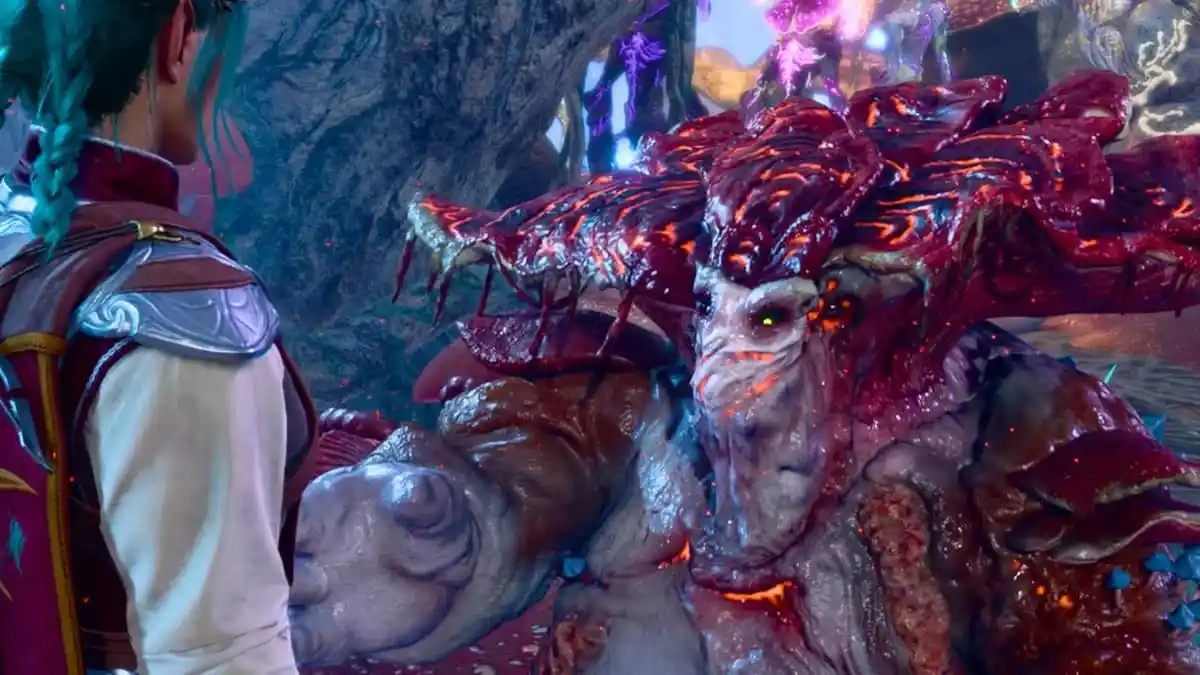
Regardless of whether you’ve destroyed them, Glut offers to join you with the Duergar. Here, he tells you of his plan of where he wants you to defeat Sovereign Spaw and allow him to become the Sovereign of the Circle. Both options have advantages and consequences, with unique rewards depending on who you side with in Baldur’s Gate 3.
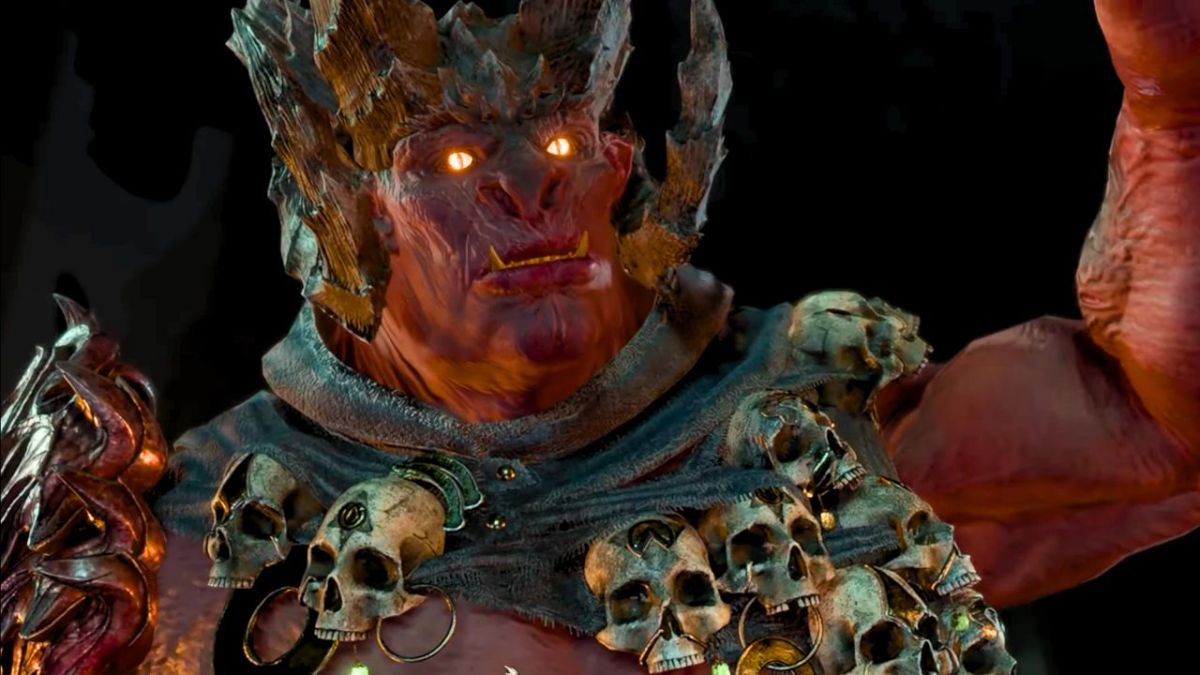
What happens if you side with Sovereign Glut and kill Sovereign Spaw in Baldur’s Gate 3?
After defeating the Duergars and helping Sovereign Glut get his revenge in the quest, “Avenge the Sovereign,” he gives you a choice of either going back to Spaw and killing the Myconid or dying by his hands.
If you choose to return to Spaw and kill him, you must also kill the entire Colony. Although it’s easy enough to say, “kill everyone in the Colony,” it’s pretty tricky to actually do. So, you’d better rest at your camp and prepare before attempting this hazardous battle.
There are three items you get for siding with Sovereign Glut. You will also receive the Featherlight Boots which grant movement speed if your Hit Points are below 50 percent. You also get the Winter’s Clutches gloves that allow you to inflict two turns of Encrusted with Frost when dealing cold damage. Finally, you get the Ring of Fire that adds one Fire damage to your Fire-damage actions, as your reward for making this choice.
What happens if you side with Sovereign Spaw and kill Sovereign Glut?
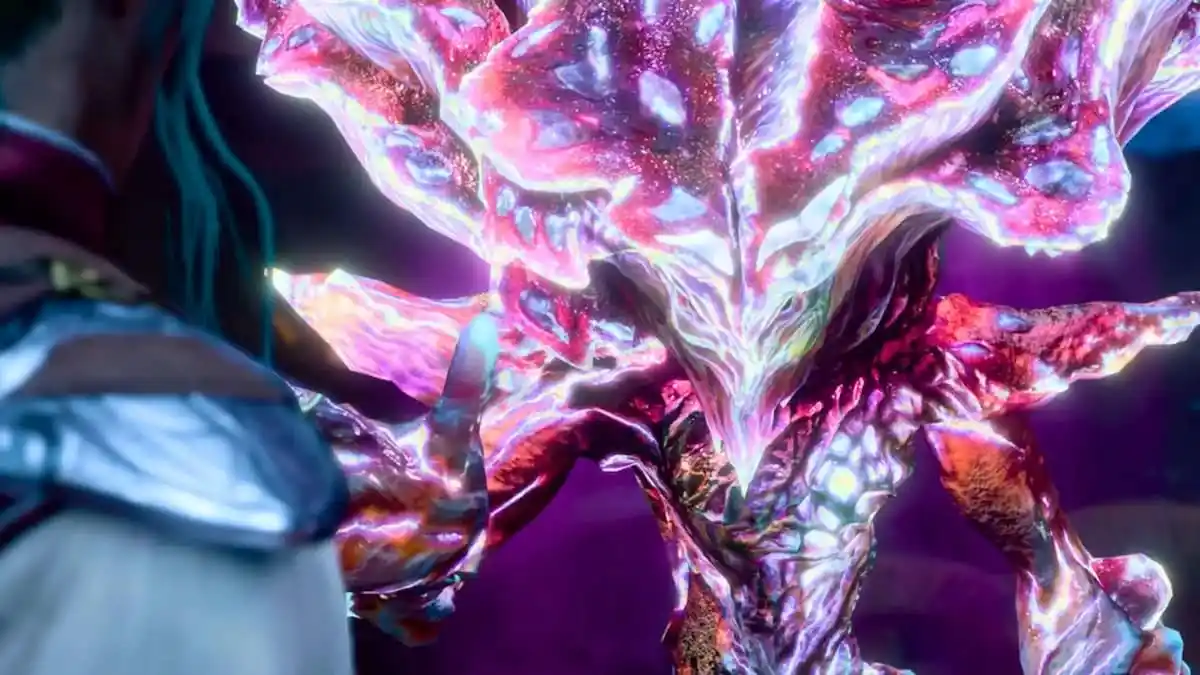
When given your dialogue options, you can tell Sovereign Glut that you want no part in his schemes or that if he’s eager for blood, you’re happy to give it to him—which is quite dramatic. Regardless of your choice, you will immediately battle him with your BG3 party.
If you do decide to take down Sovereign Glut, you’ll be able to make quick work of him if you’ve got some firepower. Literal firepower, that is, as Glut is vulnerable to fire in all its forms.
Once he’s dead, you can loot Sovereign Glut’s body and get items such as a Scroll of Blur, Scroll of Hold Person, Hastening Spores, Lump of Myconid Flesh, Bonecap, Nightlight Frond, Poison Spores, and Rogue’s Morsel. His death will also end his quest. None of these are the rewards he would have given you for working with him.
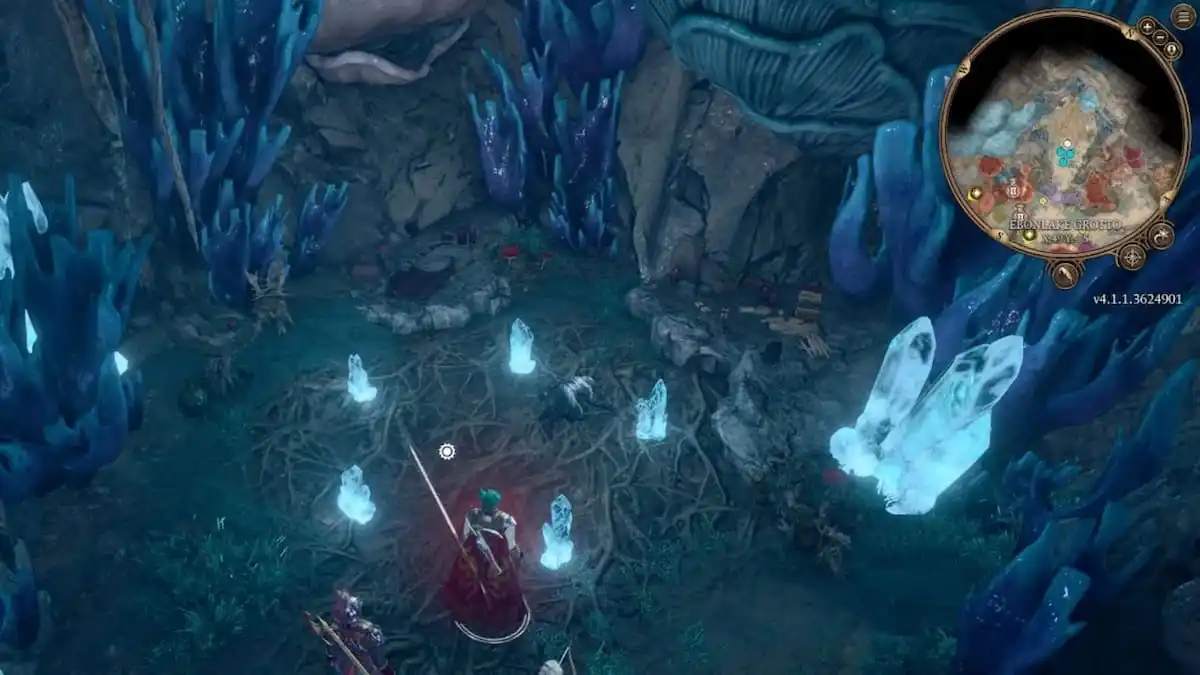
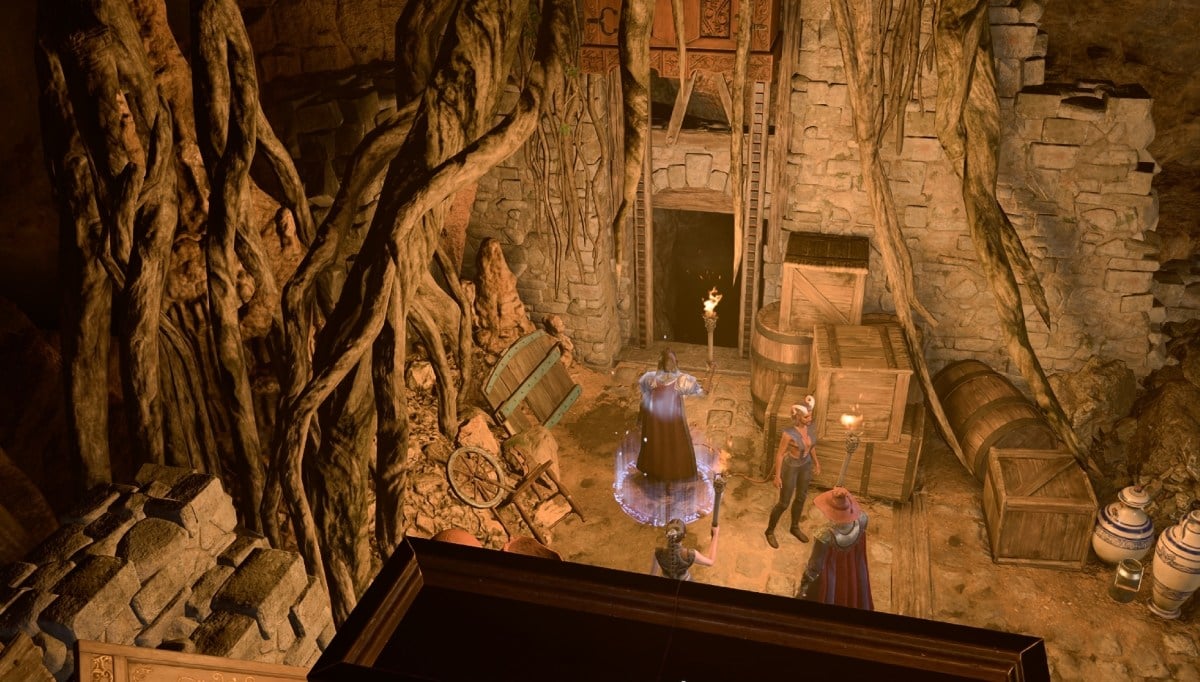
After returning to Spaw, he opens a secret room filled with items such as Gold, Wood Bark, Scrolls, Blushcap Mushrooms, and the Shadow of Menzoberranzan. It’s a rare helmet that gives the wearer the “Shrouded in Shadow” action, letting you turn invisible once per long rest. Additionally, he gives you the title of Kin Spirit.
Should you side with Sovereign Spaw or Sovereign Glut in BG3?
Even though Sovereign Glut’s plight and anger at Spaw are understandable, considering they offered no help as his people were being killed, siding with Spaw means you gain several unique items and the Shadow of Menzoberranzan, so it’s the best choice in terms of rewards. But if you love a good villain arc, you may want to side with Sovereign Glut.
All rewards for siding with Sovereign Glut:
- Winter’s Clutches
- Featherlight Boots
- Ring of Fire
All rewards for siding with Sovereign Spaw:
- Gold
- Consumables
- Scrolls
- Shadow of Manzoberranzan
Does choosing either Sovereign Glut or Sovereign Spaw impact the overall story in BG3?
There are no serious long-term consequences for which side you choose for your BG3 playthrough. You can safely go for which rewards you like the most and forget about the rest. However, regardless of your choice, Glut and Spaw request that you hunt down Nere, the leader of the Duegars, and bring his head back to them. If you do this, you can earn another reward for loyalty to these characters, which is always good as you work toward completing Act One in BG3.
Others Asked
What choices does a player have when creating a character in Baldur's Gate 3?
Players can choose their character's race, class, subclass, abilities, proficiencies, and background when creating a character in Baldur's Gate 3.
What significant decision must players make in Act Two of Baldur's Gate 3?
Players must decide whether to save or kill the Nightsong.
What options do players have when encountering characters in Baldur's Gate 3?
Players can have characters join them in their adventure or they can choose for the characters to perish, giving full control over the story.


Published: Oct 17, 2024 9:47 PM UTC