Dragon’s Dogma 2 focuses on providing a world that feels lived in, featuring environments and locations that change based on how you play. Every area you visit has something unique to offer as you grow into your role as Arisen and alter the course of the NPCs you meet.
Right after you’re freed from slavery and learn about the existence of Pawns, you’re free to explore the world of Dragon’s Dogma 2 to your heart’s content—and at your own peril. Whether you plan on following the main story right away, completing side quests, or trying to hunt for secrets along hidden paths, here’s everything you need to know about the game’s key locations and side objectives on the map.
All Dragon’s Dogma 2 map region locations
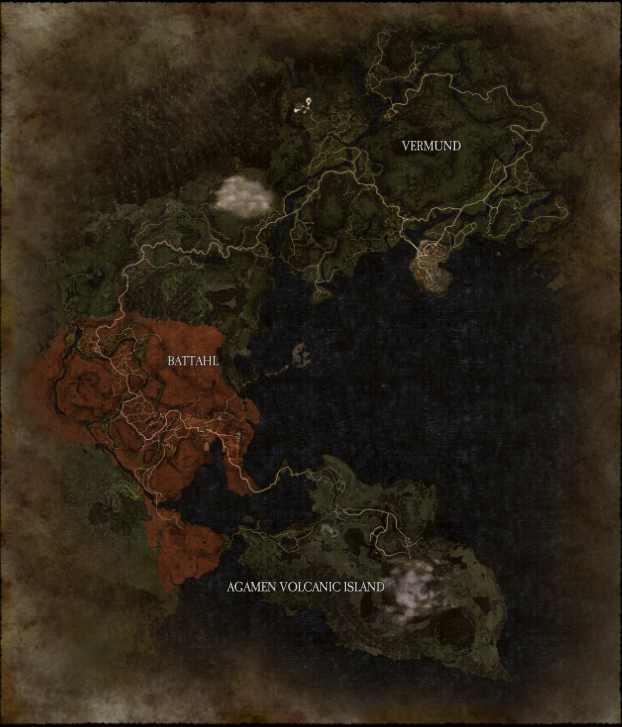
- Vermund: One of the two main regions in Dragon’s Dogma 2 that’s mostly inhabited and governed by humans, with an Arisen ruling over the land as Sovran. Elves can also be found here, though they largely avoid contact with other races and remain in the Sacred Arbor.
- Battahl: The second of DD2’s main regions that houses the Beastren. It’s built on Beastren culture and traditions that flourish in the harsh environment making up the nation surrounded by ruins.
- Agamen Volcanic Islands: The place where your journey begins in DD2 before fleeing for Vermund. It’s also the place you’ll return to as the main story progresses. This mountainous landscape is home to several strong creatures and key NPCs you’ll need to unlock things like the Magick Archer and Warfarer Vocation
All major towns and cities in Dragon’s Dogma 2
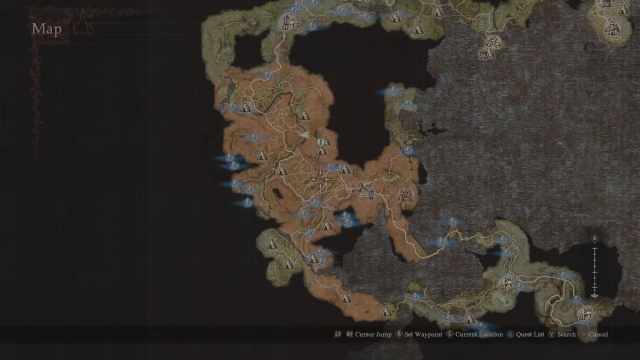
All key Vermund locations
- Borderwatch Outpost
- Melve
- Vernworth
- Nameless Village
- Sacred Arbor
- Harve Village
- Checkpoint Rest Town
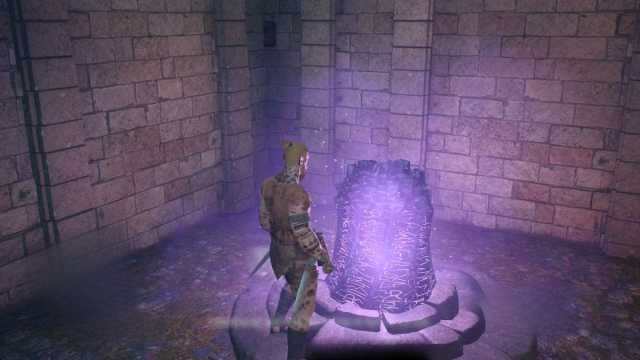
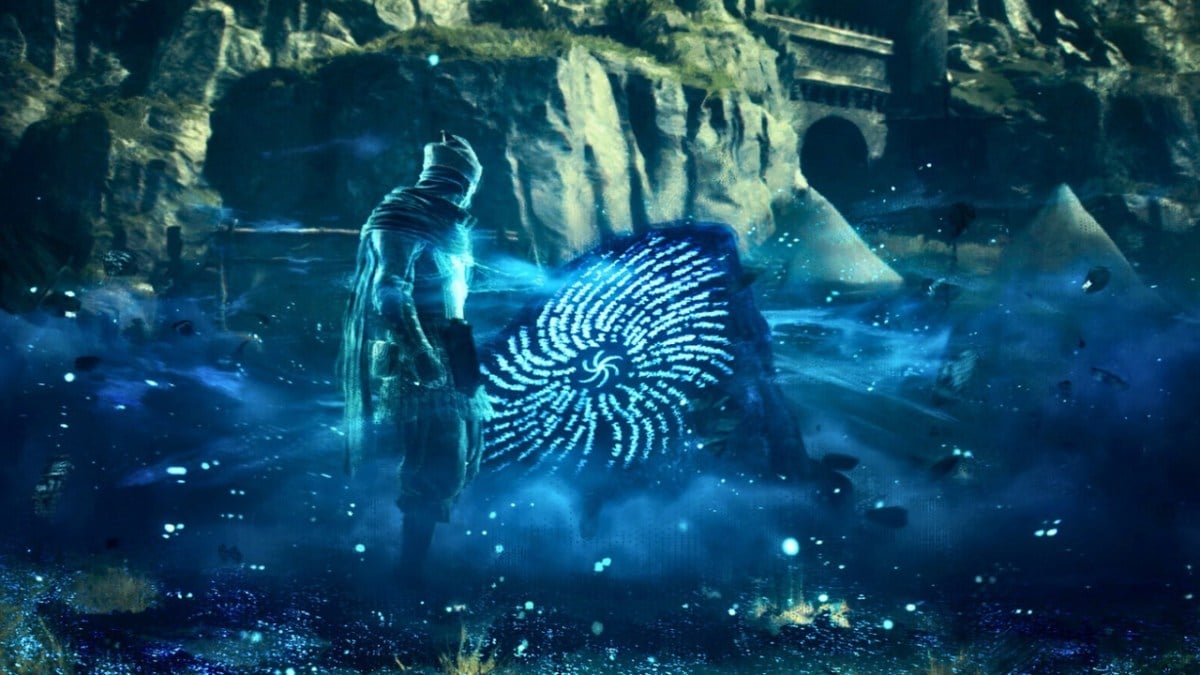
- Seafloor Shrine – Sacred Grounds
All key Battahl locations
- Bakbattahl
All key Agamen Volcanic Islands locations
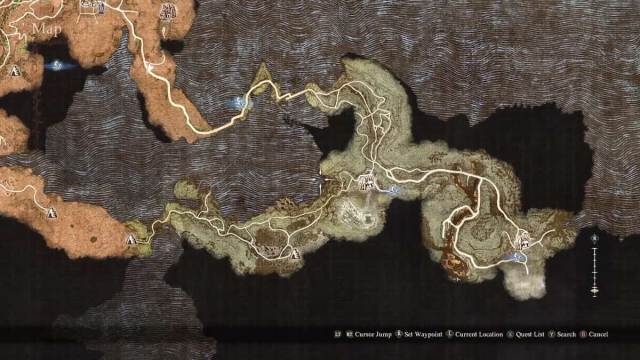
- Volcanic Island Camp
- Excavation Site
All Portcrystal locations in Dragon’s Dogma 2
Fast Travel is a limited feature in Dragon’s Dogma 2 due to the developers wanting players to spend more time traveling from place to place. As a result, Portcrystals, which act as fast travel points on the map, are limited—unless you get more to make your own fast travel spots.
While Portcrystals are an item you can use to place your travel points on the map, there are a set number of static locations you unlock during your travels. There are only three fast travel spots set in key locations in Vermund, meaning you’ll need to use your Portcrystals to open up quick movement in the early game before reaching Battahl and the Volcanic Islands.
It isn’t hard to find all of the Portcrytal locations in Dragon’s Dogma 2, though the one in Sacred Arbor is fairly well hidden and the Volcanic Island Camp point is hard to unlock if you don’t know how to reach it.
All Ferrystone locations in Dragon’s Dogma 2

Tied directly to Portcrystals, Ferrystones are the items you need to use to fast travel in the first place. Unlike the Portcrystals, however, these are entirely consumable and are not set locations on the map you can interact with—though you can purchase them from shops.
Traveling merchants, vendors in settlements, and other shops can sell the items in different areas across the map, while certain enemies also have a chance to drop them after you defeat them. There are also some static chests or story quests you can complete to get Ferrystones in Dragon’s Dogma 2.
All Wakestone Shard locations in Dragon’s Dogma 2

Wakestones are one of the most important items in Dragon’s Dogma 2, purely because they can save you from certain death and reloading a save. You need to collect Wakestone Shards to craft the key item—which you’ll want multiple of to revive yourself and dead NPCs.
You can collect Wakestone Shards in multiple ways, such as using a Dragon’s Gaze to find them in the overworld, purchasing them from specific shops when the item is in stock, or as quest rewards. You need three Wakestone Shards to make a Wakestone, and an improved version called the Eternal Wakestone is also available—and even harder to get.
All Grimoire locations in Dragon’s Dogma 2

There are several items you’ll need to locate for quests during your journey, with collecting Grimoires being one such task that’s split between multiple NPCs and questlines. Grimoires are rare items that can only appear under specific circumstances, though you can easily find all of them if you know where to go.
Whether you’re looking to complete the Sorcerer’s Appraisal for Myrddin and unlock the Sorcer Vocation or help Trysha get her start in magic by gathering the powerful items in the Spellbound quest, you have several options to go for like Fulminous Shield, Howling Blizzard, Nation’s Death Knell, Towering Earth, and Let There Be Light. You can play around with forgery to get around giving away these powerful spells, too.
All Golden Trove Beetle locations in Dragon’s Dogma 2
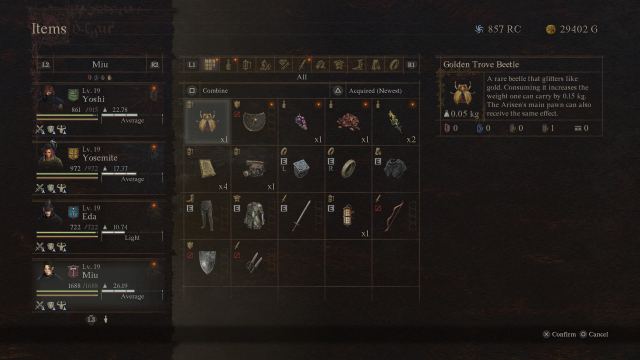
Golden Trove Beetles are some of the most valuable collectibles you can find in the Dragon’s Dogma 2 overworld because they help you carry more items in your inventory.
As you travel, you’ll constantly need to manage your inventory to ensure that your Arisen—and Pawns—aren’t carrying too many items and weighing themselves down. You can help mitigate this by increasing your carrying capacity, which means you’ll need to find Golden Trove Beetles spread across the map.
If you aren’t interested in focusing on one single area of Dragon’s Dogma 2, you can just go with the flow while completing every quest and side mission the game throws at you. Just be aware that there are some quests you can easily miss or missions that run on timers once you accept a mission, meaning you need to act fast to finish them.


Published: Mar 29, 2024 01:07 pm