A tricky little girl in northern Vermund is wants learn a bit of magic, starting with the most deadly tomes ever devised. What a self-starter. Let’s help her out so we can reap some juicy rewards from her Dragon’s Dogma 2, quest Spellbound.
Where does the Spellbound quest start in Dragon’s Dogma 2?

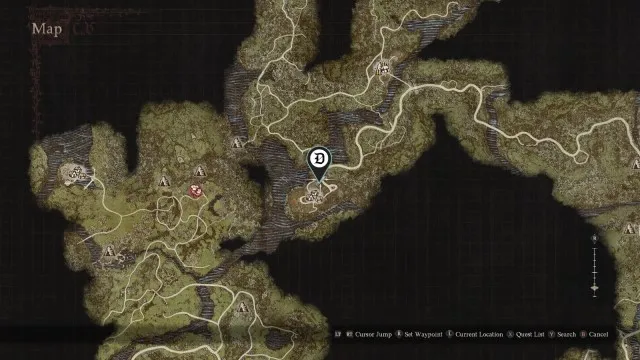
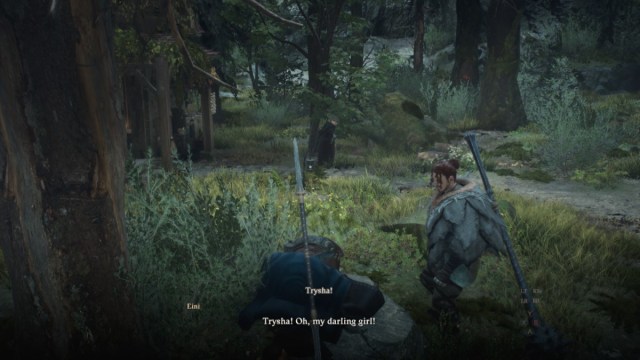
Spellbound is located in the northernmost part of the continent in Dragon’s Dogma 2, past the starting outpost of Borderwatch. Trysha and her grandmother live in a small cottage this far north, just southwest of the Mountain’s secret dungeon. As soon as you talk with the young girl and her grandmother, you’ll be able to start Spellbound.
Trysha is secretive about her desire to begin her tutelage, so make sure Eini walks out of the building—or just carry her out—before you talk with Trysha. If Trysha is still not willing to talk about grimoires, you may need to reload the game with the Return to Title Screen option, or reset the area with the help of the campsite to the northwest.
Where to find all five Grimoires in Dragon’s Dogma 2
Trysha’s quest asks you to donate five legendary grimoires to her. She says any old tome will do, but she truly means Let There Be Light, Fulminous Shield, Nation’s Death Knell, Howling Blizzard, and Towering Earth. And she doesn’t accept any alternatives. You can bring them to her in any order, though delivering multiple at a time gives you a bonus ring, which is very much worth it. The locations of these tomes are as follows.
Let There Be Light

Let There Be Light is located in Checkpoint Rest Town, in the southernmost manor. This manor belongs to Myrddin, a Sorcerer Maister. He holds the tome in his bedroom itself, though sneaking into this building is not easy. He’s constantly watching the stairs, making a fight inevitable. And you won’t want to fight him if you want to make use of Maelstrom.
Instead, climb the outer wall to the north of his building. This leads to a small jump over to his balcony. Enter his room and pick up the books littering the desk. One of them is Let There Be Light, our grimoire of choice.
We recommend forging this once at Ibrahim’s Scrap Store in the rest town for the Maister’s quest. He doesn’t care about being given forgeries, unlike Trysha.
At Ibrahim’s Scrap Store in the northwestern part of Checkpoint Rest Town, you can create forgeries of any item in your inventory. These don’t have any special qualities, but can be used to replace key items and trick specific characters.
Fulminous Shield
Fulminous Shield is similarly easy to grab, though you’ll need to cough up some dough. Head to Melve and talk with Dudley, the traveling merchant who typically stands near the front of the town itself.
Dudley is a bit of a wanderer—he can travel up and down Melve’s road, so you may need to hunt him down. He’ll always sell Fulminous Shield for 5,000 gold. He only has one in stock, of course, so be careful about losing this tome.
This is the only grimoire of the five where forging it once is required to complete the quest. You’ll need a forged copy for the penultimate tome on our list. We recommend forging it twice so you can give one to Myrddin, though.
Nation’s Death Knell
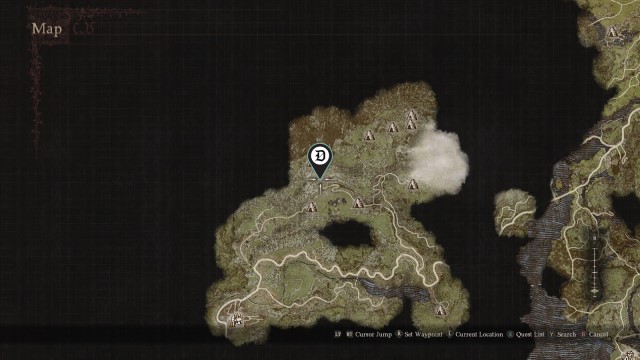
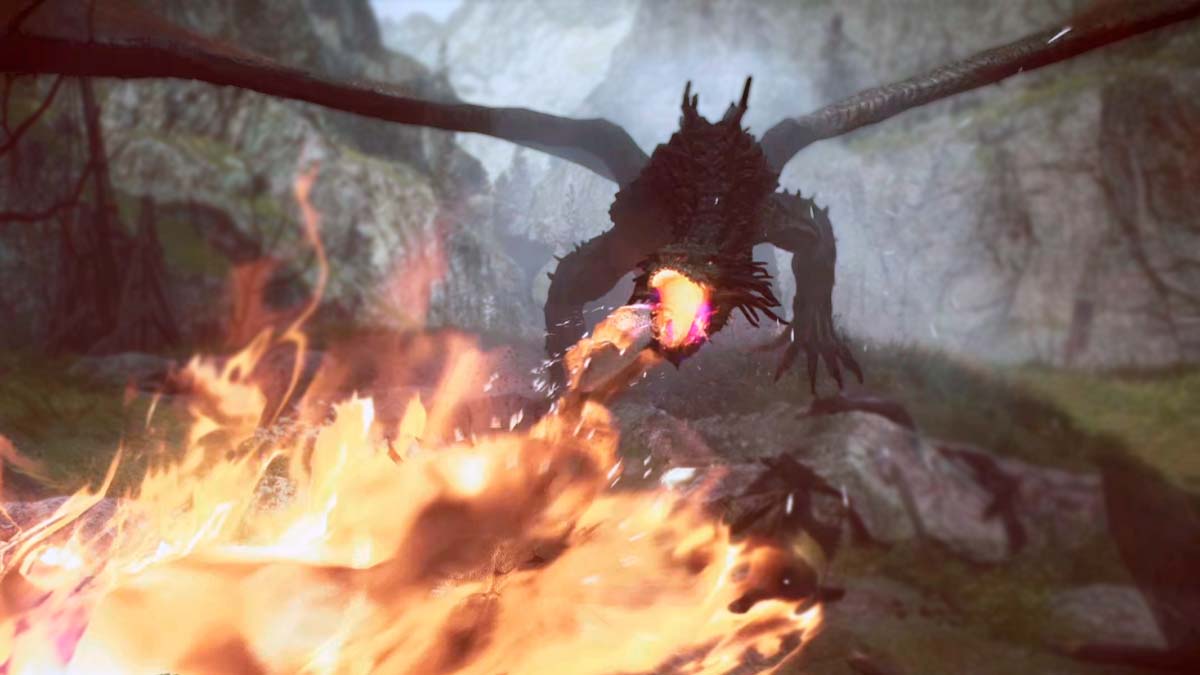
Nation’s Death Knell is one of the most involved. You’ll be heading up north to the Ancient Battleground, a deadly dungeon. There was a Drake and Cyclops brawling when we went there, though some siege weapons are scattered about as well—useful if you want your first Drake kill. Alternatively, you can run past them, though watch out for the other powerful enemies that dot the landscape—like a Headless Horseman at night.
Nation’s Death Knell is inside the ruins proper, though fairly early on. To unlock it, you’ll have to head west from the entrance and climb up the parapet. Walk east a short while to see another hole in the roof. Drop down and you’ll be on the other side of the locked door to the east, which you can open with a simple weapon swing.
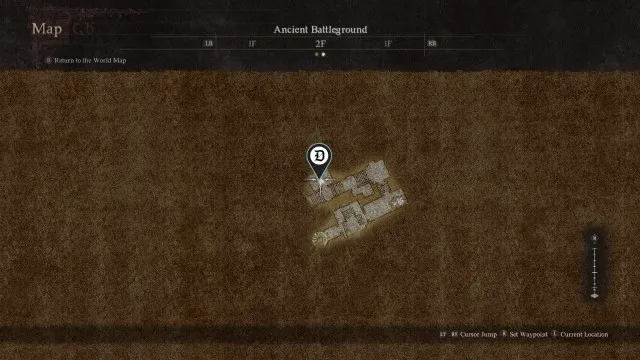
You’ll find the book to the west of where you drop down, inside a Cenotaph. You can grab it without breaking a sweat, though mind the nearby skeletons and other annoyances.
You may want to leave it there, depending on how many side quests you want to do. A man named Oskar is outside the battleground, and he wants to ring the bell at the Cenotaph. If Nation’s Death Knell is not there, he’ll ask for it. Thankfully, you can finish Oskar’s quest without ruining Trysha’s, so try and get Oskar done before bringing the tome to the sorceress. Alternatively, if you can’t find him outside the battlefield, feel free to forge the grimoire once and bring the forgery back at some point.
Howling Blizzard
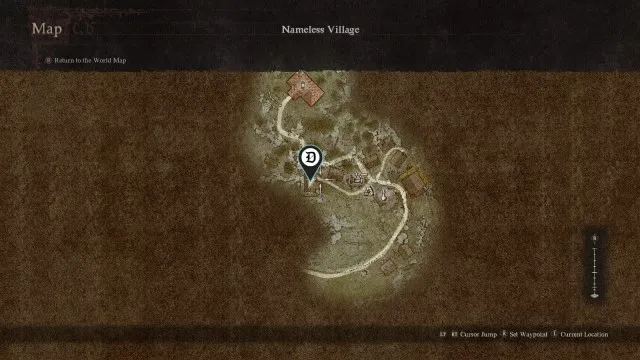
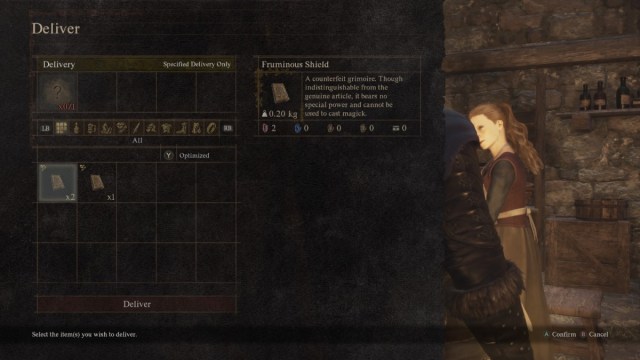
Howling Blizzard is both more and less annoying than the previous entries. To get it, you simply need to talk to Wendy in The Nameless Village and complete her trade deal. She wants to trade it for Fulminous Shield, meaning you need to forge Fulminous Shield at least once to complete Spellbound.
Once you have Fruminous Shield—our counterfeit book—talk with Wendy in the marked building. She’ll accept the trade without a hitch, giving you Howling Blizzard in return. You can forge this for the Maister’s quest if you want, but it realistically doesn’t matter.
Towering Earth
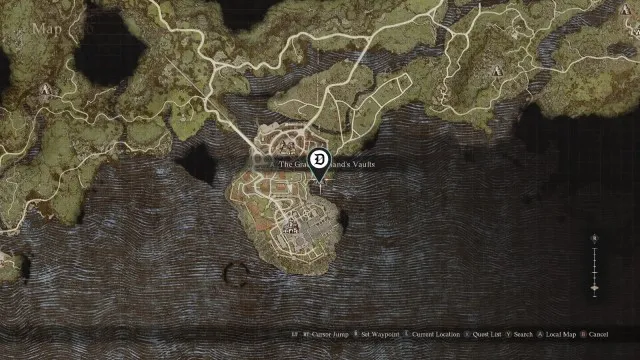
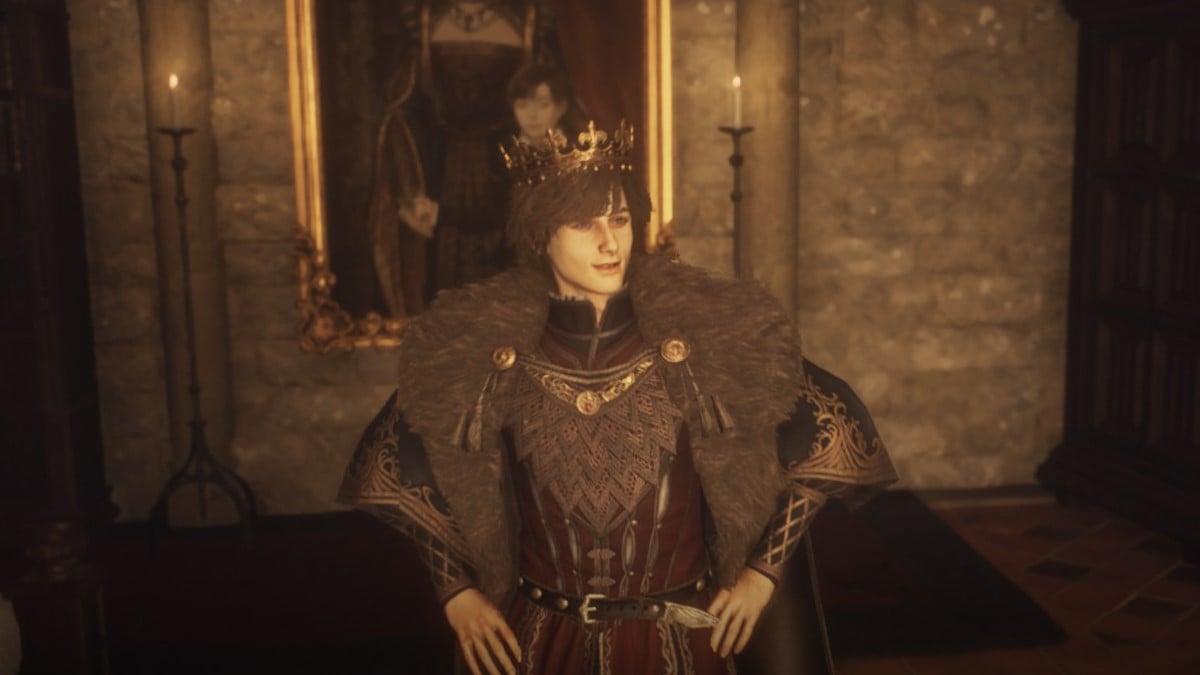
Towering Earth is given to you by the Magistrate in the Gracious Hand’s Vaults. This means you must first complete The Caged Magistrate before you can complete Spellbound. Thankfully, once he’s in the Vault, Magistrate Waldahr hands Towering Earth over to you with no sweats.
We recommend you forge this once for the Maister’s quest. It’s super easy to get.
Should you give Trysha the true Grimoires in Dragon’s Dogma 2?
You should give Trysha the real grimoires in Dragon’s Dogma 2. If you give Trysha forgeries, you receive massively reduced rewards, making the quest very much not worth it. In addition, forgeries work perfectly for every other instance the grimoire is needed, making Trysha the only person to actually care about the magic within the tomes.
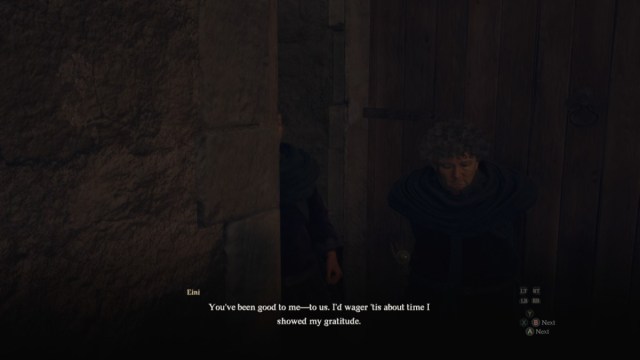
Once you have all five books, head back up to Eini’s Home and, when Eini isn’t home, give them to Trysha. As a reward for actually giving her at least three grimoires at a time, she’ll hand over a Turquise Ring—a symbol of friendship with a huge sell price. She’ll study for a few days, and tell you to come back. If the quest works properly, you should be able to camp in the campsite just west of Eini’s Home for a full day to trigger the next step.
This part of the quest can be buggy, since both of the old ladies must be alive for it to continue. If you don’t see any progress here, check the Vermund Morgue and see if you need to revive any important NPCs.
Keeping Trysha alive in Dragon’s Dogma 2
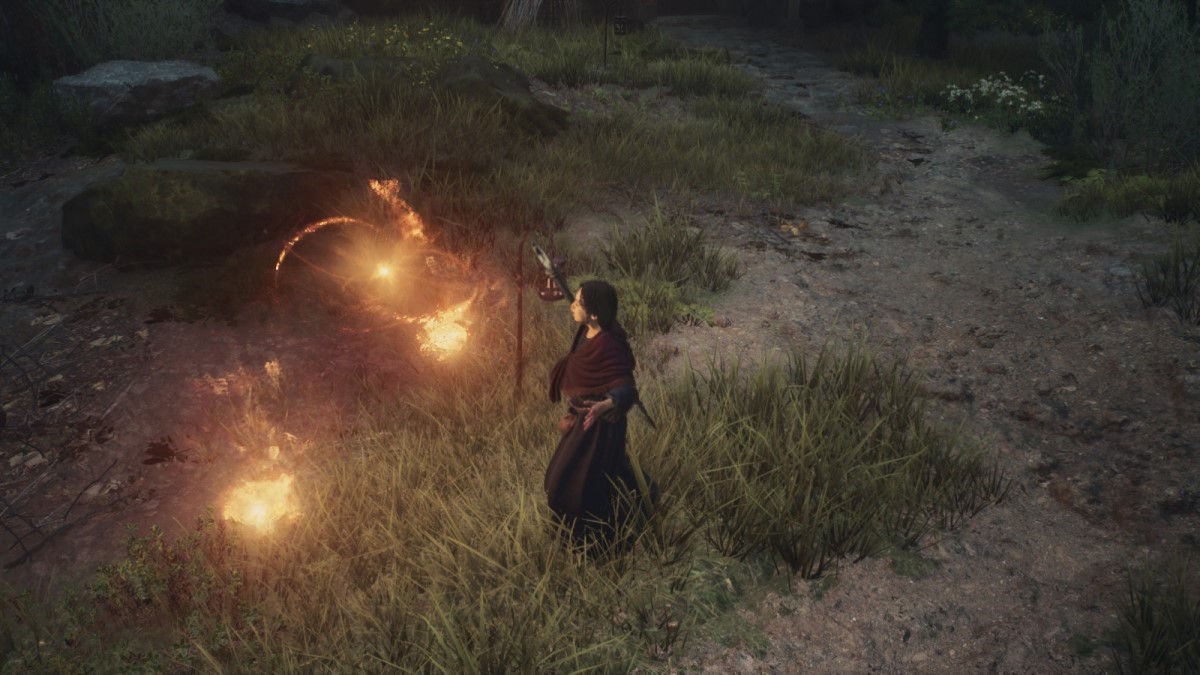
Trysha has erupted into magical potential, and you must avoid her attacks and then tackle her if you want the full reward. She leaves herself open after a few barrages of magic, entering a panting animation where she can be tackled safely—using the grapple button or RT, R2, or E, similar to how you arrest Elena in Saint of the Slums. If you do this right, Eini will console the poor girl and bring her in.
Classes like the Mystic Spearhand or Fighter can use their defensive options to endure the barrage, while others like the Thief or Archer might need to get more creative. Eini grants a Stamina regeneration buff, so you can sprint or spam skills to your heart’s content—as long as they don’t hurt the girl. Running away is also valid, but try to be close enough to tackle Trysha when she’s ready. We also recommend telling your Pawns to Wait a fair distance away to avoid taking unnecessary damage.
You’ll then be told to wait a few days before checking up on Trysha. For us, that was just another campfire day.
Rewards for completing Spellbound in Dragon’s Dogma 2
Once you’ve pacified Trysha, she’ll reward you with 3,000 gold, 2,000 EXP, the Cast Stone Mage Staff, and the Conjurer’s Jottings Maister Scroll. Talk with her grandmother Eini to get the Enchanter’s Almanac Maister Scroll.
Trysha herself quickly gets adept at her magic, all things considered, and will give you the first part of the reward herself. Conjurer’s Jottings are another Sorcerer Maister skill that lets you cast Meteoron, a barrage of fireballs from the sky that are excellent at removing large monsters from existence.
Eini is more shy about her reward, so be sure to walk up to her to get this Scroll. The Enchanter’s Almanac gives your Mage the ability to create an aura of stamina regen with Celestial Paean, an excellent support spell. But it does knock the caster down, making it risky if you don’t know what you’re doing. I’m looking at you, Pawns.


Published: Mar 25, 2024 09:26 am