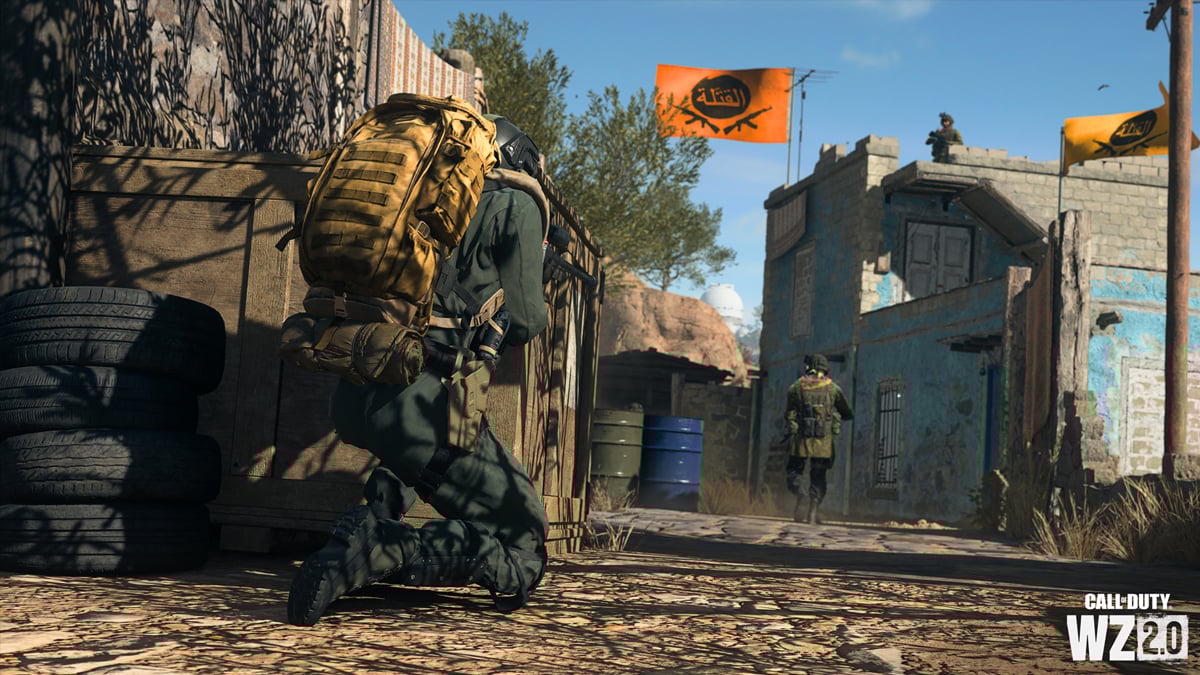
Season three of Warzone 2 has finally arrived, and with it, a new faction to work for in the extraction-style DMZ mode. The [REDACTED] faction is surrounded in mystery—even their actual name remains unknown—but nevertheless, they’re needing work done, and it’ll be up to you to complete their challenging new missions.
The Redacted faction missions will also guide you through some of the newest features of DMZ in the season three update, including the new Secure Supplies Contract, upgraded Backpacks, and plenty more.
Related: All factions in DMZ, updated for season three
Here’s a guide to each Redacted faction mission, how to complete them, and the shiny DMZ rewards you’ll claim after successfully completing Redacted’s dirty work.
All Redacted Faction Missions in DMZ
Redacted Tier One missions
Upgraded Arsenal
To kick off the missions, you’ll have to go dark. The Upgraded Arsenal mission requires you to find a workbench, where you’ll have to attach a suppressor to a weapon. From there, you’ll need nine AQ or Cartel kills with a suppressed weapon, then extract from the deployment with two suppressed weapons.
Your reward: a cool 5,000 XP and the Crane Control Room Key.
Dealmaker
For this mission, you’re going to need backpack space. Fill up your backpack with an Electric Drill, a Gas Can, and a Golden Skull, then trade for a Secure Backpack at a Buy Station on the map to earn the RAAL MG Contraband weapon and another 5,000 XP.
Cartel Investigation
More XP and a Double XP Token are up for grabs with this Redacted faction mission. After dropping into Al Mazrah, find the Cartel in Hafid Port and kill five Cartel soldiers, then extract two Large Contraband Packages from Cartel-occupied territory.
Well Supplied Soldier
Time to put pen to paper. Pick up a Secure Supplies Contract when you deploy via the green contracts on your map, then complete the Contract by finding three Supply Boxes. But there’s no time to wait: You only have two minutes and 30 seconds to finish the Contract.
Unstoppable Force
For this tier one mission, you’ll need to destroy three vehicles using any of the two trains on Al Mazrah. Any vehicle will do, and you won’t have to destroy all three in one go: simply find a vehicle, park it on the tracks, and watch it go boom. Three vehicles destroyed get you the completion, 5,000 XP, and the X12 Contraband Handgun.
Calling Card
It’s hunting season. For the Calling Card mission, you’ll need to find Scavenger calling cards from the bodies of three of his victims—his calling cards will have replaced the regular dog tags. After that, you’ll get his true location. Hunt him and take him down to complete the mission and obtain the Sawah Hotel Room 302 Key.
Zero Tolerance
The final tier one Redacted mission can only be completed once you have completed five other tier one missions. Head to Hafid Port again, and along the way, pick up a Tactical Camera. Once in Cartel territory, use the Tactical Camera to mark a Cartel member in the Camera menu, then make your way to the Sattiq Cave Dead Drop.
It’s heavily guarded, but once you make it to the Drop, pick up the Cartel Recon Report, then successfully exfil from the deployment to complete the mission.
Redacted Tier Two missions

In Good Health And Spirits
The first tier two Redacted mission requires a unique bit of kit—the Revive Pistol. You can find these in the field, but you can also Barter for one.
However, you won’t be using this on your teammates. You’ll need to successfully revive an enemy with the Revive Pistol to complete this mission. Might be a good idea to finish them off again afterward.
Smoking Gun
Keys unlock doors, and for this Redacted faction mission, you’ll need three keys in particular. Clear out the air traffic control tower at Al Mazrah International, the city post office, and the U.S. Embassy to complete this task. You’ll be rewarded with more XP and the Sattiq Poppy Farm Key.
Reconnaissance By Fire
For this faction mission, you must use the Kastov 762 assault rifle and take down AQ and Cartel enemies at different ranges. You’ll need seven kills with each gun sight: the DF105 Reflex Sight, a VLK 4.0 Optic, and a DrexSom Prime-90 Thermal Optic.
Up for grabs after finishing the kill mission is your very own Contraband Kastov 762, of course.
Dark Water
Hope you brought your swimsuit, because you’ll be underwater for this mission—which means a rebreather is a must. Once you’ve got your rebreather, you’re heading to the “eastern-most sunken ship” in E8 on your map, then dive down into the ship’s center.
The Cartel Warehouse Key will be glowing blue—pick it up, then exfil out. In your next game, head over to Hafid Port and infiltrate the Cartel Warehouse in the center of the town, and pick up the Las Almas Laptop on the shelves in the corner. Extract out, and the mission is complete.
Flight Risk
Your only way out this time is by air. To complete Flight Risk, you’ll need to pick up some Heavy Chopper Fuel, which can be found around the airport or on the cargo train. Then, find and refuel the Heavy Chopper. This will take some time, so be prepared to fight your way off of Al Mazrah.
Once fuelled, jump in and fly to the edge of the map to complete your exfil and the mission for 7,500 XP and a Double Weapon XP Token.
Chaffeur
You’ll need to start this mission solo. Infiltrate Al Mazrah alone and pick up a Personal Exfil at a Buy Station, then in the same deployment, seek out another player and exfil together via your Personal Exfil to earn a Contraband TAQ-V Battle Rifle.
Left High And Dry
Like the tier one mission Zero Tolerance, you can only start this mission after completing five tier two Redacted missions first. Begin this mission on any of the DMZ maps and obtain a Skeleton Key.
The next step of the mission needs to be done on Al Mazrah, so if you’ve got your key anywhere else, exfil out. Jump into Al Mazrah and head to the Akhdar Village with your Skeleton Key. The building you’re looking for is in the northwest of the center of the village. Enter the room with your key, pick up the Dossier, and exfil out to complete the mission.
Redacted Tier Three missions
Friendly Fire
When it gets hot, will you be able to stay in the kitchen? You’ll need to seek out the Pyro Commander for the first tier three mission and take him down. In the process, you’ll need to kill three of his guards using fire—Molotovs, explosive barrels, whatever makes them go boom.
Gear Up
Time to load up, big time. To complete Gear Up, you’ll have to fully spec out three Active Duty operators. Throw on a large backpack, a 3-Plate Carrier, a Durable Gas Mask, a Self Revive, and any Killstreak. You’ll land a City Hall Hideout Key and 10,000 XP for your work.
Double Cross
Off to Ashika Island, where this mission needs you to seek out the Bombmaker and acquire his signature Crossbow. Take the Crossbow to any Dead Drop on the island, drop it, and exfil out—you’ll be rewarded with more XP and the Research Center Room Key.
Rain And Hellfire
Take to the skies. For this Redacted mission, you’ll need to board a Heavy Chopper. From there, it’s time to go full AC-130. Kill 5 Cartel or Al Qatala soldiers with Launchers from the Heavy Chopper, then kill an Operator or Juggernaut, then blow up two Vehicles. Up for grabs is a Contraband Taq-V, plus another 10,000 XP.
One Shot, One Kill
This mission will need you to board one of the trains, so gear up and be ready for a fight. Battle your way towards, then through the train, and drill the safe to pick up the Train Manifest.
Extract the Manifest via a Secure Backpack, then take it to Ashika Island and find a Buy Station, where you’ll then trade the Train Manifest for an MCPR-300 Sniper Rifle. You’ll be rewarded with a sweet emblem and more XP.
Fair Fight
This one is best done with a teammate or two. You’ll need to acquire a weapon from an enemy Operator. The best approach to this part is to find and complete a Hunt mission, then loot the opponent’s weapon.
Hang onto the weapon, because you’ll need to use it to hunt and kill the Scavenger. Take down the miniboss to earn a Double XP Token.
Excavation
The final tier three mission once again can’t be started until five of the previous six have been completed.
Drop into Al Mazrah and head straight to the south of Al Mazrah City at G3. On one of the taller highrises, you’ll want to zip line up and find the shade cloth sails and a metal stairwell on the roof. Under the stairwell is the Sniper Team’s Note.
Find and read the note, then head to the Al Bagra Fortress Dead Drop and pick up the three tracking devices inside. From there, you’ll need to plant the tracking devices at the three bunkers.
The first bunker is back at Al Mazrah City to the southeast of the sniper nest building. Head into the bunker and find the wall with the orange spray-painted arrows and plant the tracker next to it. The second tracker will need to be planted at the bunker underneath the bridge, just southeast of Taraq Village. Finally, the third tracker will go down in the center of Rohan Oil underneath the train tracks.
Once all the trackers are planted, the mission is complete, and you’ll earn yourself the Shadow Warrior Operator skin and a massive 20,000 XP.
Redacted Tier Four missions
Bedrock
Things begin to heat up as you reach the tier-four missions. Bedrock requires you to enter the hidden underground Koschei Complex and find the Chemical Treatment Plant. You can enter the complex via the bunkers you went to for the Excavation mission back in tier three.
Once inside, investigate the facility and find the treatment plant. The best way to find it will be to follow the red arrows, and it’ll be in the center of the facility behind a giant bunker door. To open the door you may need a few items, all depending on which bunker you used to enter the facility from.
After you’ve opened the bunker door, you’ll need to exfil out via the Koschei Complex elevators: A regular exfil won’t fully complete the mission. These are dotted around the underground facility. Once out, the mission is done.
Archaeologist
This belongs in a museum. For this faction mission, you’ll want to head to Al Qatala’s Oasis dig site, out at the northwesternmost point of the map. Inside the ruins is an underground passageway that acts as a secret entrance to the Koschei Complex. Simply enter the complex to complete this mission.
Leaked Documents
While a bunch of these faction missions are better completed with a friend or a group, this is one you can start alone. Head back to the Rohan Oil bunker entrance, where you’ll find a set of Bunker Schematics on top of a toolbox nearby.
This part might be where you need a friend. Take the schematics to the Building 21 Dead Drop dumpster in the basement of the facility and drop them in to complete the mission.
Tunnel Rats
It’s huntin’ season. Arm yourself with your best weapon and kit and head into the Koschei Complex, then find and kill 10 AQ Soldiers and 10 Cartel Soldiers. Pretty straightforward, and an easy 15,000 XP and a Contraband Lockwood 300 for your troubles.
Brothers in Arms
Back to the Koschei Complex once more, where you’ll want to find and enter the Factory Wing. To do this you’ll first need an Admin Key, which can be found in the Chemical Room. You’ll want to be quick here—there are only two keys per lobby which means you’ll need to restart if you miss out on picking one up.
Once done, you’ll need to fight two mini-bosses in the Koschei Complex. The Rhinoceros and The Sniper can be found in the Factory Wing. Ideally, it’s best to team up with a group and rush down both bosses at close range.
When you’ve defeated both bosses, you’ll receive a huge XP bonus and a Restricted Zone Key, completing the mission.
Abandoned Operator
For this mission, enter the Koschei Complex, and head to the Chemical Treatment Plant once more. After opening the bunker door, find the Admin Factory Wing and look for a large office and a door with “Shop” written nearby.
The Shopkeeper inside will give you a list of items scattered around the complex. Find, grab, and bring these items back to the Shopkeeper to access his Secure Buy Station. Buy something from this station and your job is done.
Infrared
The final tier four mission will need a little setup before you enter the Koschei Complex. Grab two jumper cables, two car batteries, and an L2 Restricted Access Card—you’ll need these later on. Enter the complex and follow the “A/1” markings until you enter the External Ops center and find the upload station.
Once you’ve interacted with the station, you’ll see a “Security System Reset” indication, which means you’re ready for step two. Open the bunker door and enter the Chemical Plant. If you keep to the right of the first passageway you’ll come across another bunker door requiring power to open. Pull out those jumper cables and a car battery to power up the door and open it.
This lets you access the Alpha Cluster, which is full of heavily armored enemies and doors requiring the L2 Access Card. Clear out the room and use the access card to open the doors, with one of the rooms full of lasers and a locked case. Avoid the lasers and open the case, grab the Building 21 Evidence documents, and extract out from the mission alive to complete this grueling mission.
Redacted Tier Five missions
Case The Place
The first tier five mission will require you to exfil with two weapons cases. Drop into Al Mazrah and hunt for the first weapon case. It could be in numerous spots, but once you’ve got your hands on the case, the second one is deep inside the Koschei Complex.
Enter the complex, find and kill the Rhinoceros and the Sniper, collect both keys from the bosses, and head to the locked door in the Chemical Plant to collect the second case, then exfil out with both to complete the mission and earn a Pristine Skeleton Key.
Chemical Sourcing
This mission isn’t too difficult but might be time-consuming. Head to Koschei Complex and find two Jugs of Sulfuric Acid. The best place to find these will be around the complex’s barracks inside of random cases. Exfil out with both jugs.
Then, return to Al Mazrah and dead drop a Jug of Sulfuric Acid into any dead drop location. Exfil again and repeat the process on Ashika Island.
Pet Rescue
Start this mission on Ashika Island. You’re looking for two specific items: A Cat Statue, and a Dog Bank. We found these around the military installations and the gym on the island in various containers. Extract both out, then return to Al Mazrah.
Head back down to the Koschei Complex and find the Shopkeeper from the Abandoned Operator mission. Trade the Cat Statue and the Dog Bank to the Shopkeeper, and in return, you’ll be given the Crown Instructions. Exfil out with the instructions and you’ll be done.
Unrestricted Access
Once more you’ll return to the Koschei Complex, and this time, you’ll need to clear out four Restricted Zones in the underground facility. You should have a couple of L2 Restricted Access Keys from your previous missions to assist in opening doors.
Three of the zones can be found via the locked L2 doors near the Alpha Cluster, while the fourth is in the Factory Wing with the Rhinoceros and the Sniper. Clear out enemies from all four zones, defeat the minibosses, and exfil out with notes dropped from each to complete this mission.
Dry Eyes
Bring a cloak and goggles, because you’ll need some protection from the weather. For this mission you’ll need to head straight for the sandstorm on Al Mazrah. The storm moves slowly across the map but eventually will hit the main city. Kill 10 enemies in the sandstorm, as well as two Operators or Commanders to earn a Skeleton Key and 20,000 XP.
Irradiated Waters
For this mission, grab a Geiger Counter and head to the Flooded Barracks in the Koschei Complex. Using your Geiger Counter to guide the way, find all four Nuclear Fuel Rods. Some of these may be underwater in side rooms away from the main barracks, but your Geiger Counter will spike when you get close to one.
Once you’ve picked up all four rods, extract out, and you’re done.
Red Smoke
The final story mission is pretty simple, really. Head to Ashika Island and find the town center dead drop. Inside will be four flares—these don’t stack in your inventory so make sure you’ve got enough backpack space to carry these.
Once you’ve extracted the flares, drop into Al Mazrah, head down to the Koschei Complex, and enter the Chemical Plant once more. Inside the Chemical Plant, you’ll need to find the four main bunker doors. Once you’re close enough to the door, a prompt will pop up telling you to place a flare at the bunker door.
Repeat for each door, and you’re done!


Published: May 14, 2023 11:15 pm