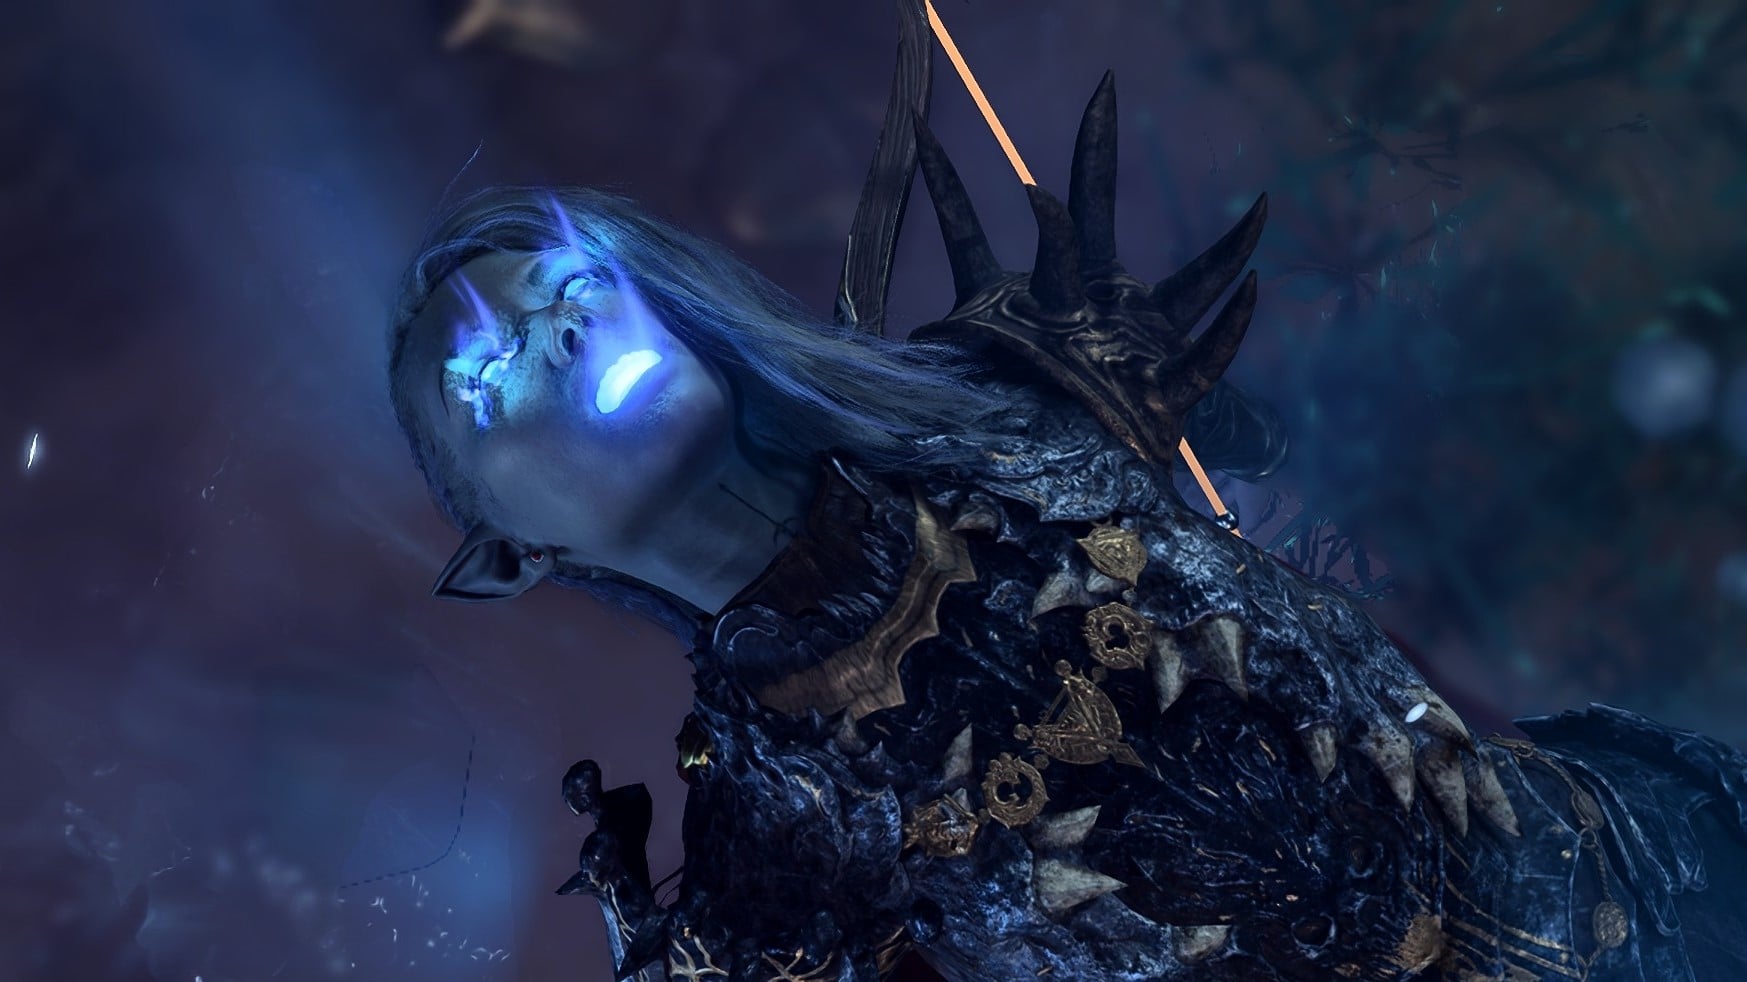
Baldur’s Gate 3 has plenty of hidden secrets, including the fact that, somehow, Ansur the Dragon is beneath an entire city without anybody knowing. You’ll find him in Act Three, and when you encounter him, you’ll be fighting against him with your party.
Ansur is a larger dragon that you’ll have to defeat, and this powerful, undead enemy has several tricks up its scales. You might not be expecting to fight it after making your way through the various trials created by Balduran, whom you discover is The Emperor, during this sequence. Thankfully, we can put some tips and tricks together to make this battle easier. Here’s what you need to know about how to find Ansur and how to beat him in Baldur’s Gate 3.
How to find Ansur in Baldur’s Gate 3
The entry to Ansur’s Lair is in the Wyrm’s Rock Fortress prison. There are a few different ways to enter Wyrm’s Rock, but the easiest way is to do the following:
- Find the coordinates X:32 and Y:159 in Wyrm’s Crossing.
- Once you’re there, you should find a wooden balcony.
- With Feather Fall or plenty of healing spells or potions, jump your way down from the balcony to the fortress.
- Walk around the outside of the fortress until you find a crack in the wall.
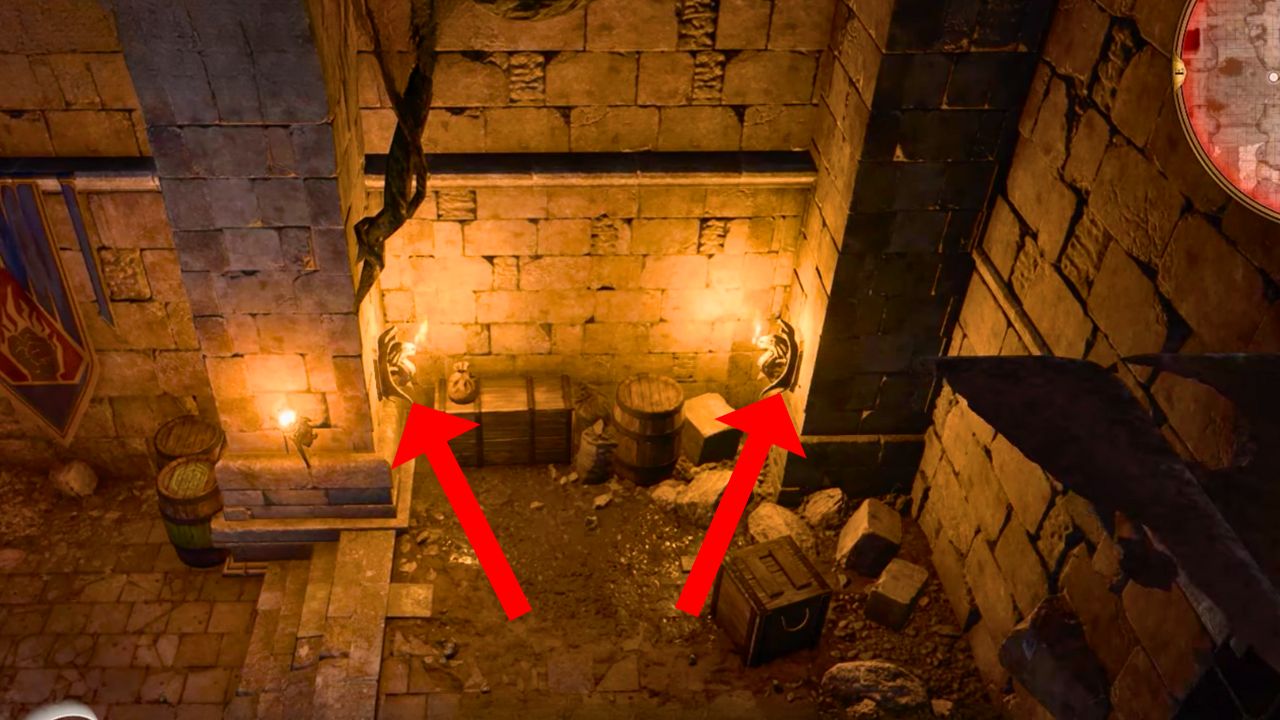
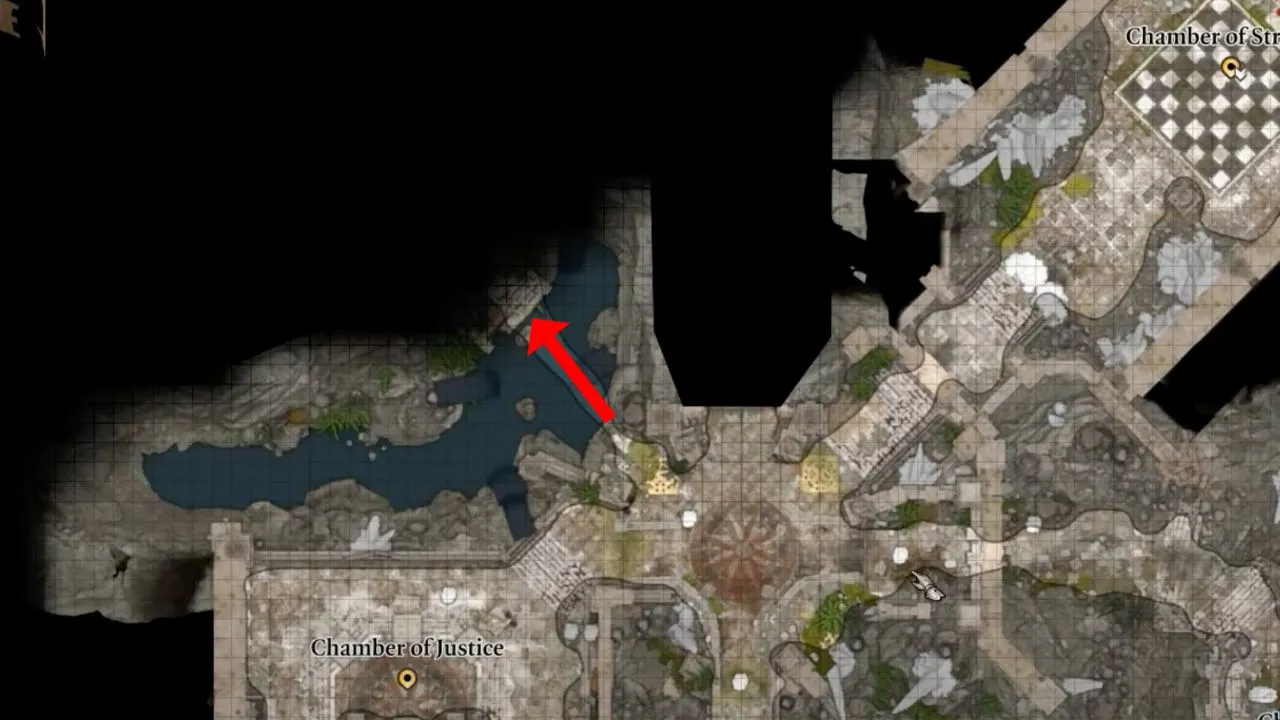
Now that you’re inside the Fortress, you’ll have to find the entrance to Ansur’s Lair. Head to the coordinates X:36 and Y:-732, where two Dragon’s Head torches are on the wall. To open the secret passageway, you must cast a lightning attack, like Lightning Bolt or Witch Bolt, on both. For this, I used Jaheira. However, you can also use Gale.
After opening the passageway:
- Follow the path and pass through an Iron Gate (X:17 and Y:-701).
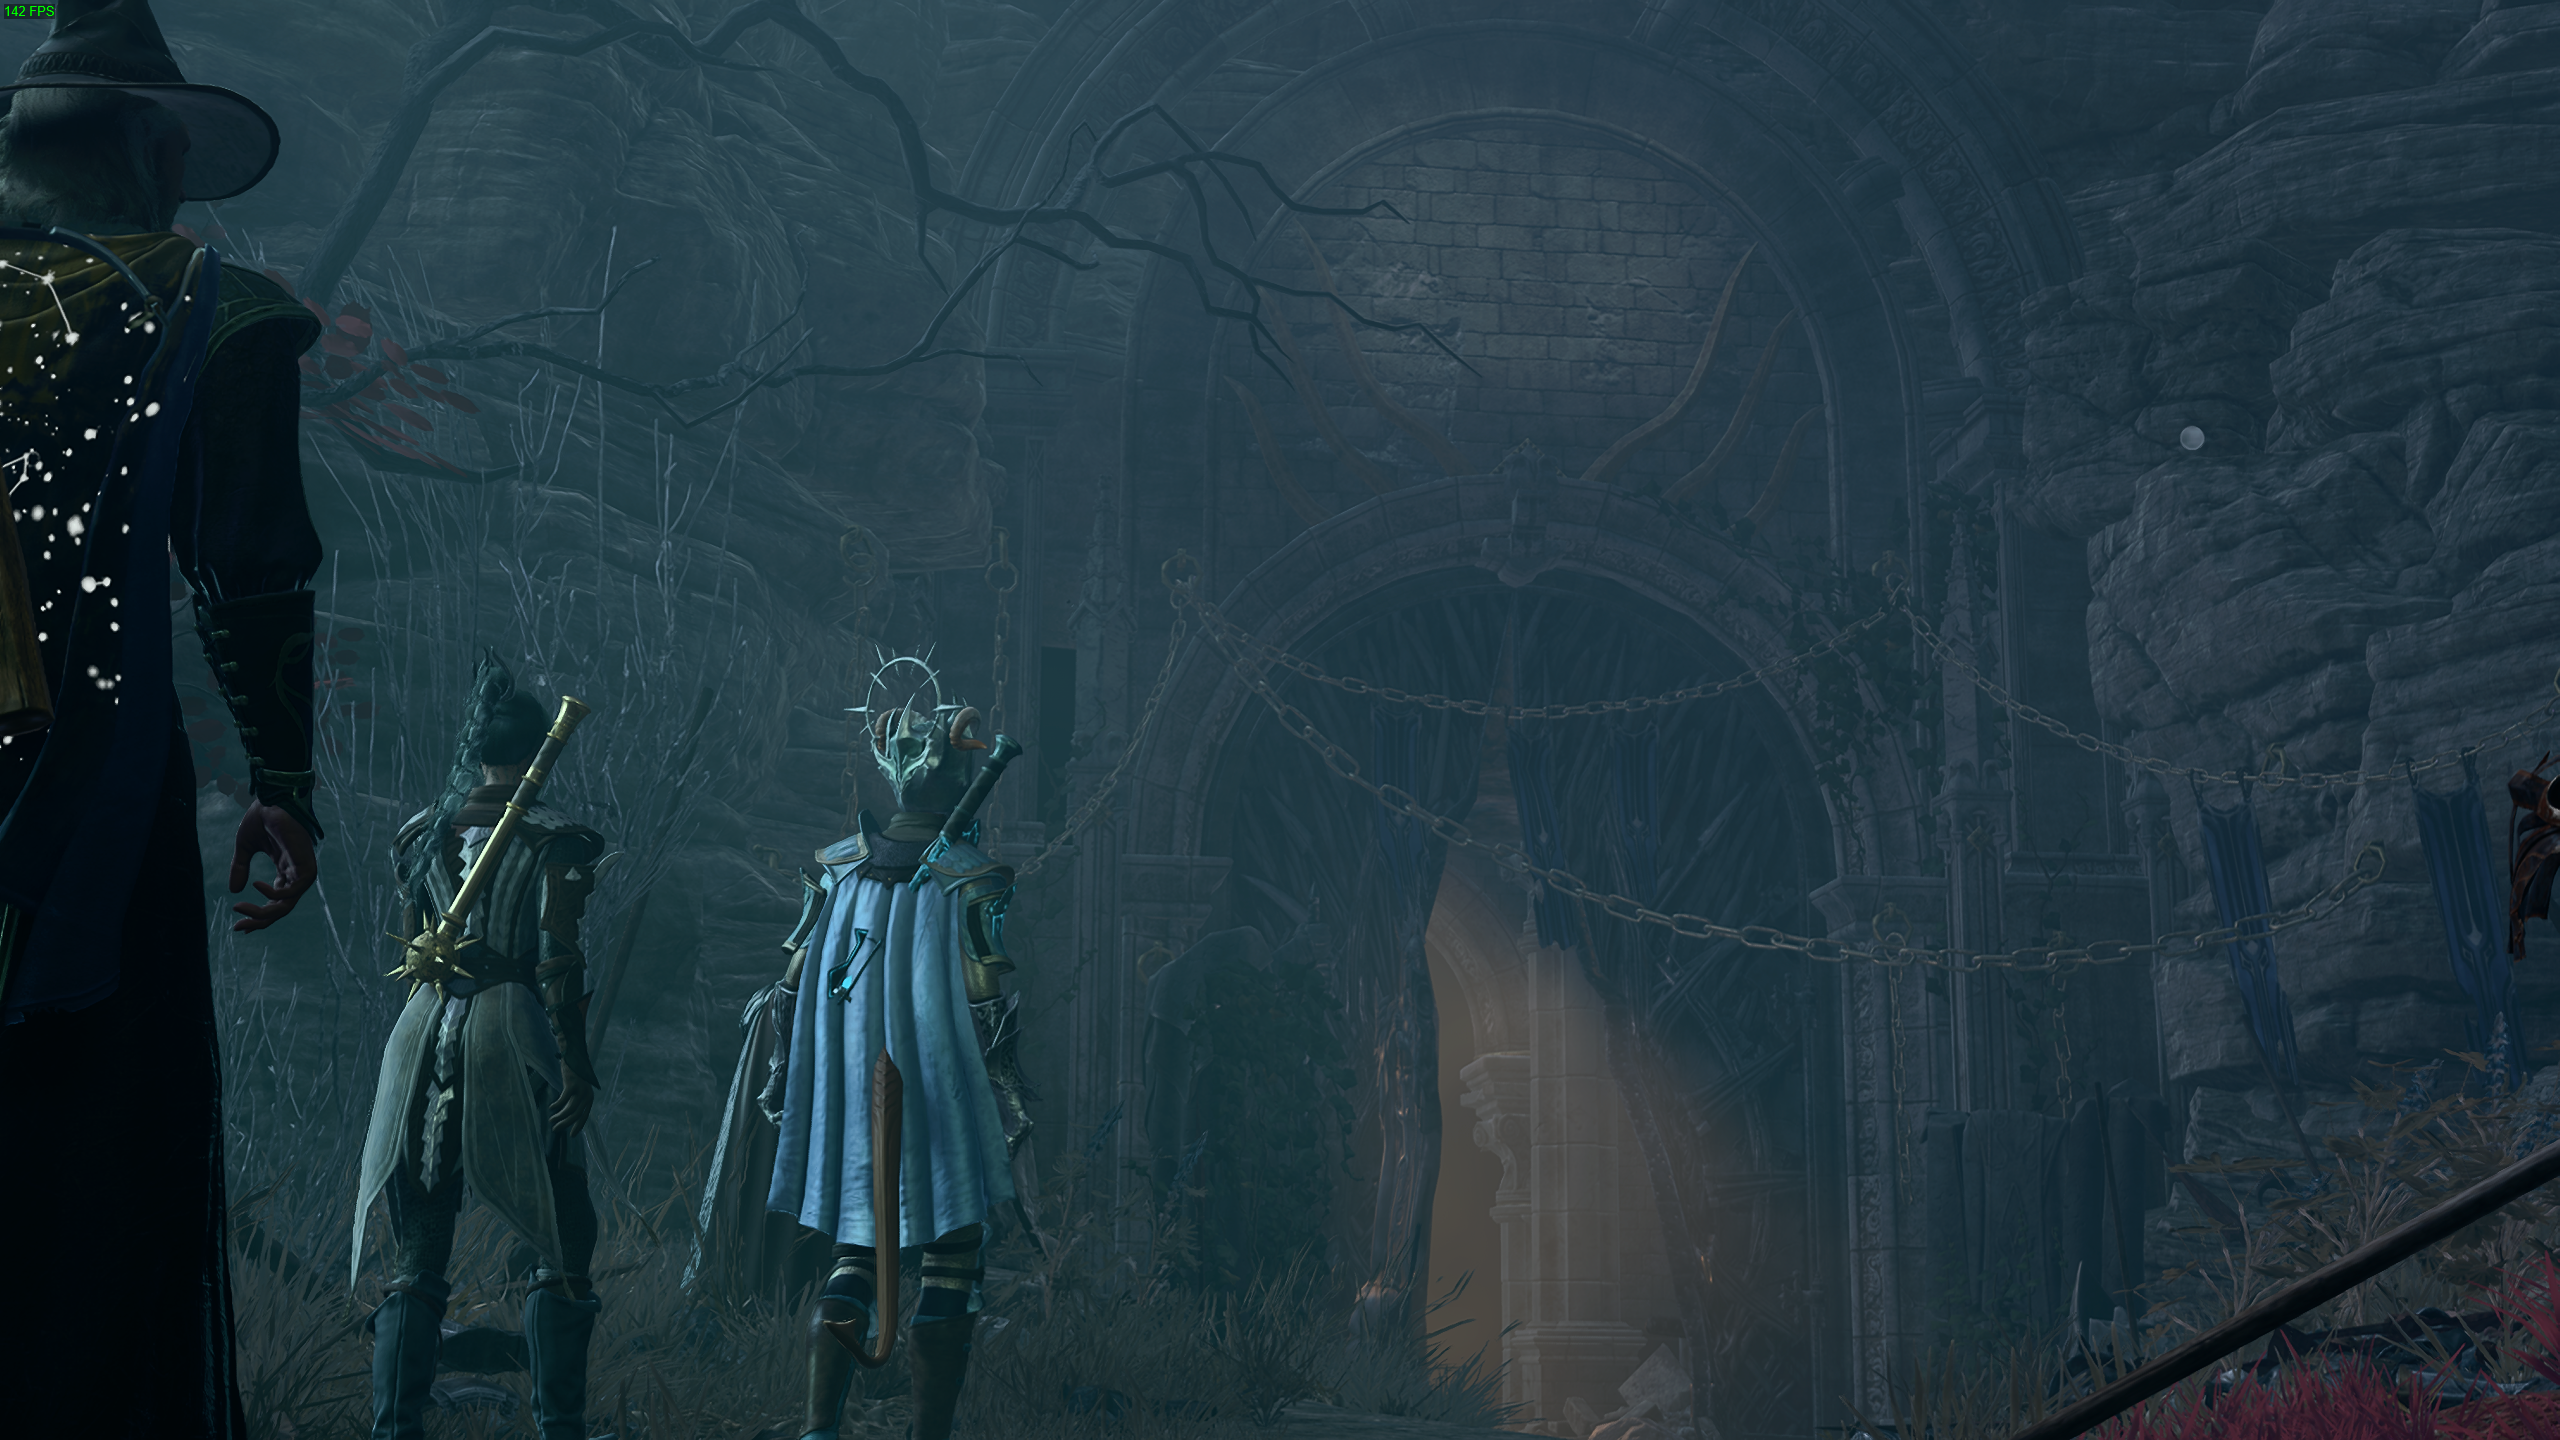
- Interact with the statue of Balduran, who will tell you the four challenges you must face.
- Ask him to open the door and head inside.
The four rooms are to be completed in any order, with puzzles to complete.
How to complete the Chamber of Courage puzzle in Baldur’s Gate 3
Interact with the statue of Balduran and take the torch, which results in a fight against Elementals and other spawned enemies. You do not need to defeat them; if you do, more will spawn. Instead, you need to survive for four turns.
Before you start the puzzle, you can summon elementals or animal companions, if you have any, to help take some of the aggro away from your party. This can be a great way to reduce the amount of damage that will head your way.
Once completed, the statue will glow—as will a statue back outside by the locked door, which marks the completion of each puzzle.
We recommend the character with the highest armor class (AC) take the torch. For my party, it was Shadowheart, and it was difficult for the enemies to try to hit. Although the goal is only to survive four turns, defeating the elementals to ensure they don’t knock the torch out of the character’s hand is key.
How to complete the Chamber of Justice puzzle in Baldur’s Gate 3

In the Chamber of Justice, several paintings are on the walls. Ignore those and locate the Shrouded Paintings in the middle of the room. The best way to highlight them is to hold the Alt key. To solve this puzzle, follow these steps:
- Cast Remove Curse on each of the Shrouded Paintings to clear the Shroud from the paintings. Shadowheart is a good choice for this.
- Once all three paintings have been cleared, locate the painting called The Cell and right-click it.
- Select the option to pick it up.
- On the opposite side, you’ll find an empty stone niche—interact with it and add The Cell painting to the empty slot.
After you’ve placed in the final painting, the riddle is over, and you will have completed this trial. You can move on to the next one, and we recommend going with the Chamber of Strategy to make your Baldur’s Gate 3 journey easier.
How to complete the Chamber of Strategy puzzle in Baldur’s Gate 3
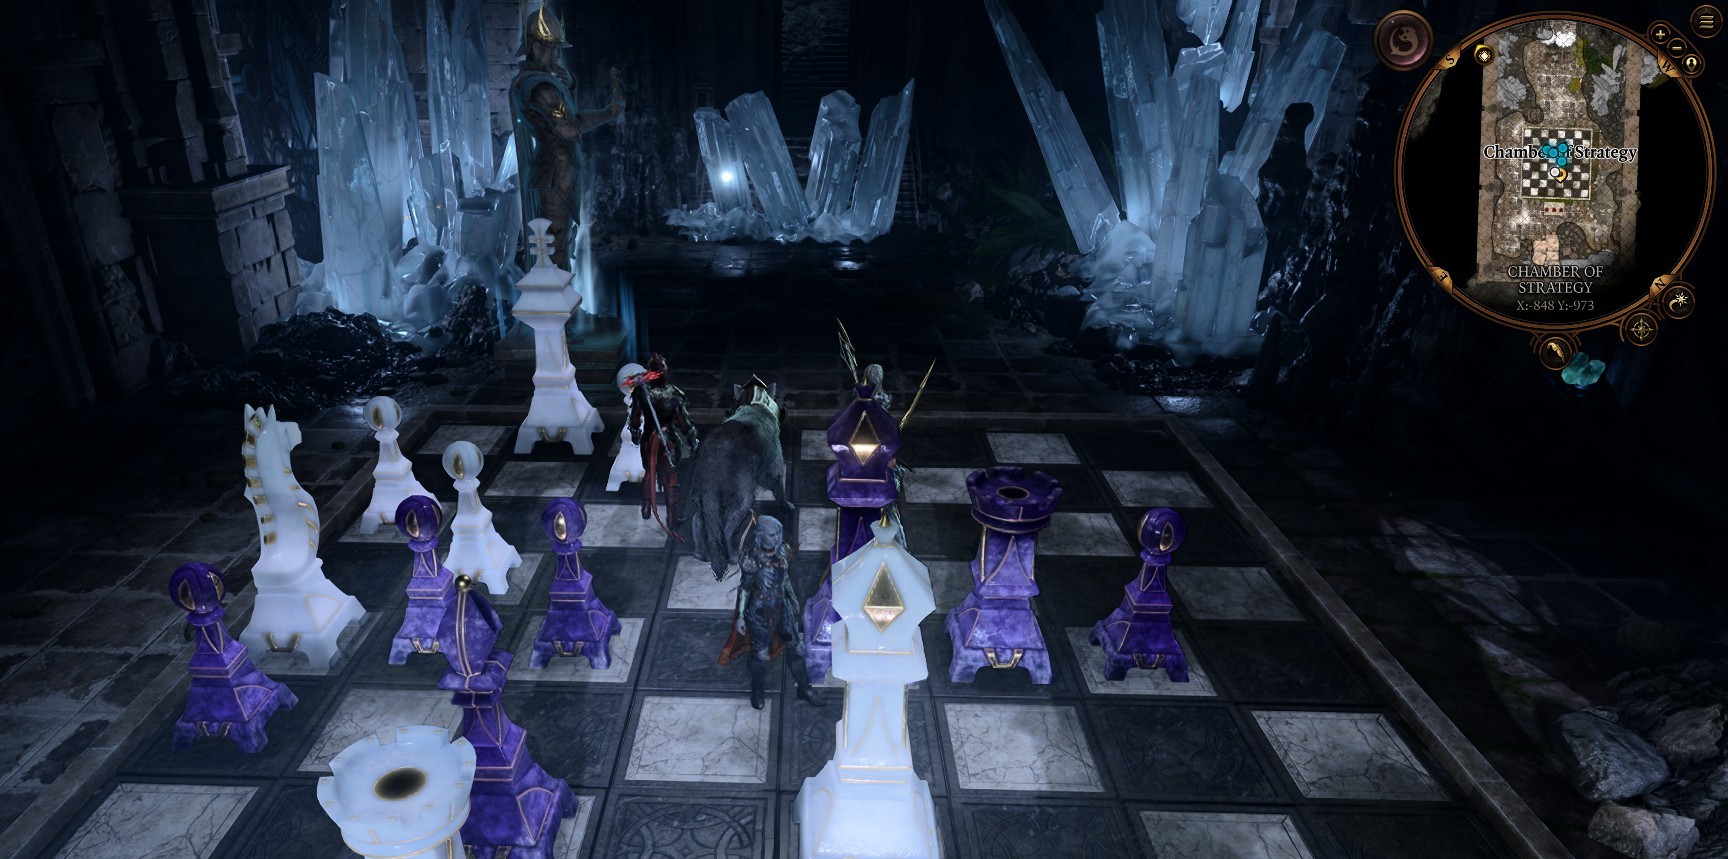
Upon entry to the Chamber of Strategy, you’ll see the stairway blocked by some crystals. I tried to break them with attacks but had no luck, though you can jump over them, which is what I did. Your task in this room is to destroy the Black King chess piece in three moves. If you are well-versed in chess, this should be an easy task.
The Black King chess piece is located at the back of the chessboard and is the furthest piece from the Balduran statue.
The solution for this riddle is to move the white Queen chess piece to the closest purple pawn. If you’re standing on the chess board, move your Queen to the closest purple Pawn piece and claim it. After you’ve done this, move the white Queen again to claim the purple King and win this game, completing the Chamber of Strategy in Baldur’s Gate 3.
How to complete the Chamber of Insight puzzle in BG3
In the Chamber of Insight, several books provide information on the three red figures at the end of the room. You need to destroy the one with the most evil tendencies. To stop the books, you can use a spell like Hold Monster, which is a level five enchantment spell Wizards, Bards, Sorcerers, Warlocks, and War Domain Clerics can use. However, you can bypass the books and attack Suelto to complete the puzzle and save time.
Suelto is the red figure on the very left (the furthest from the statue), and you can use a ranged attack to kill him.
How to beat Ansur the Dragon in BG3
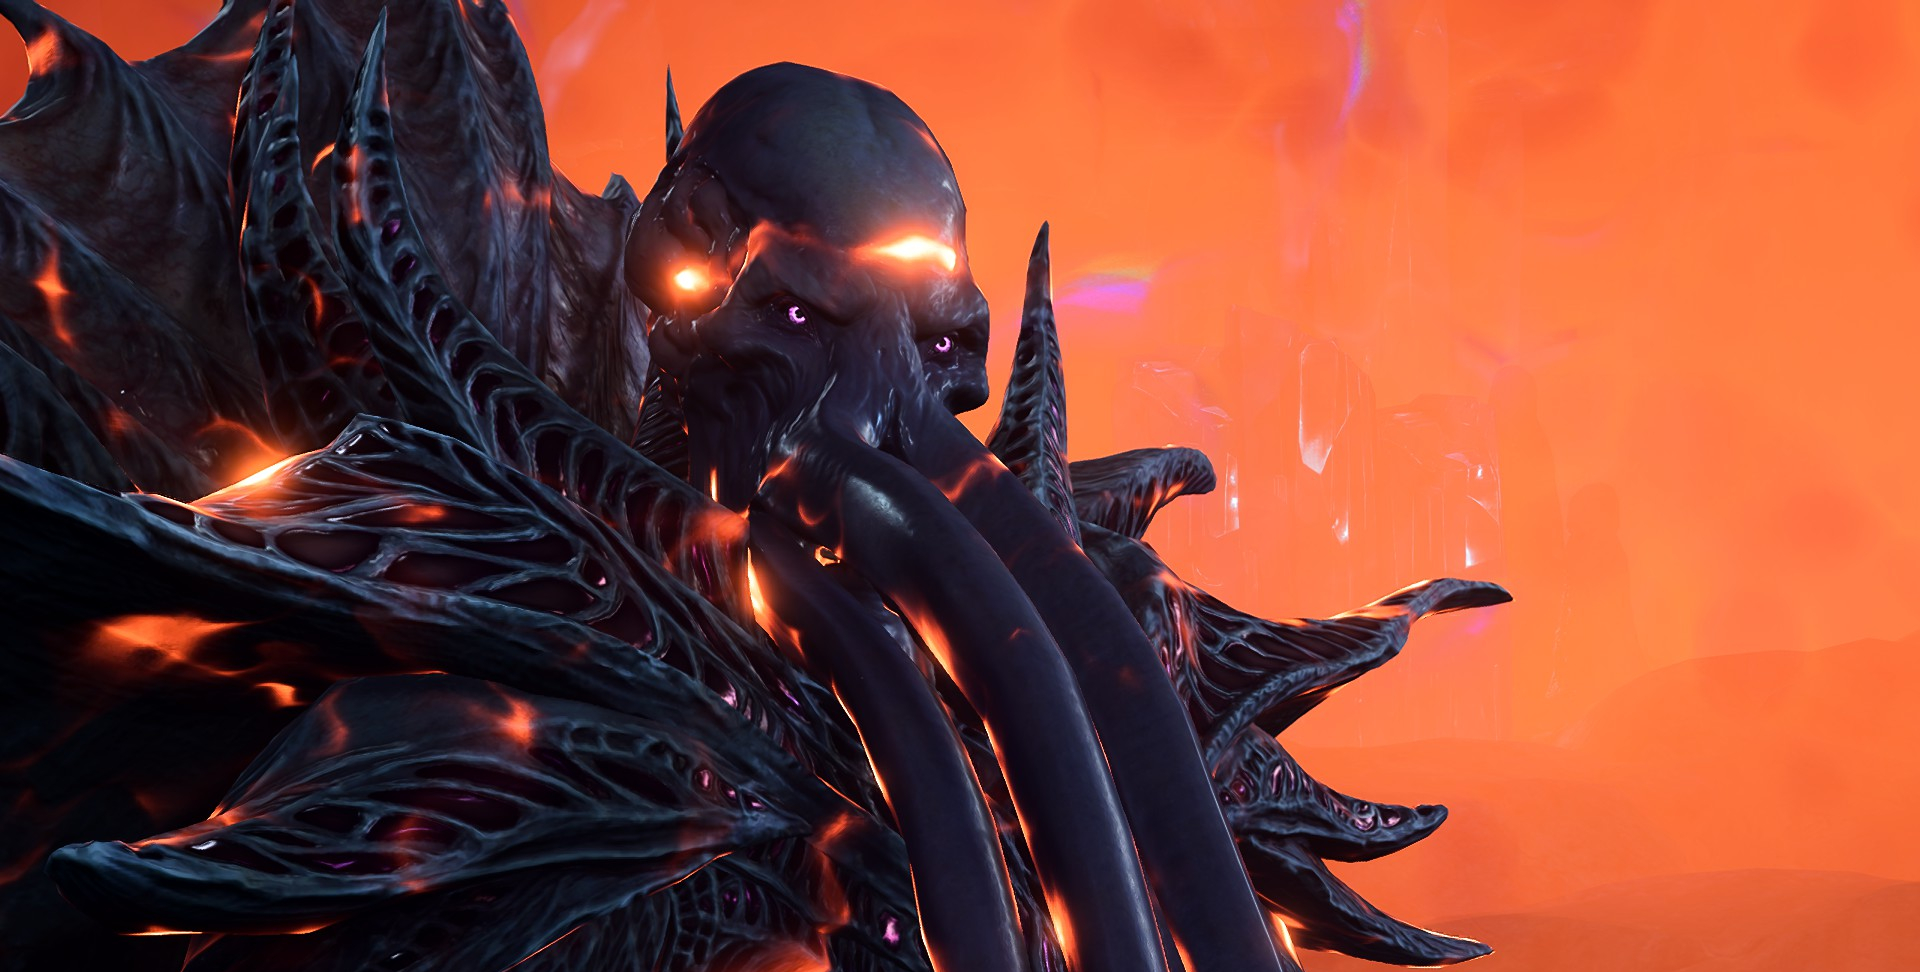
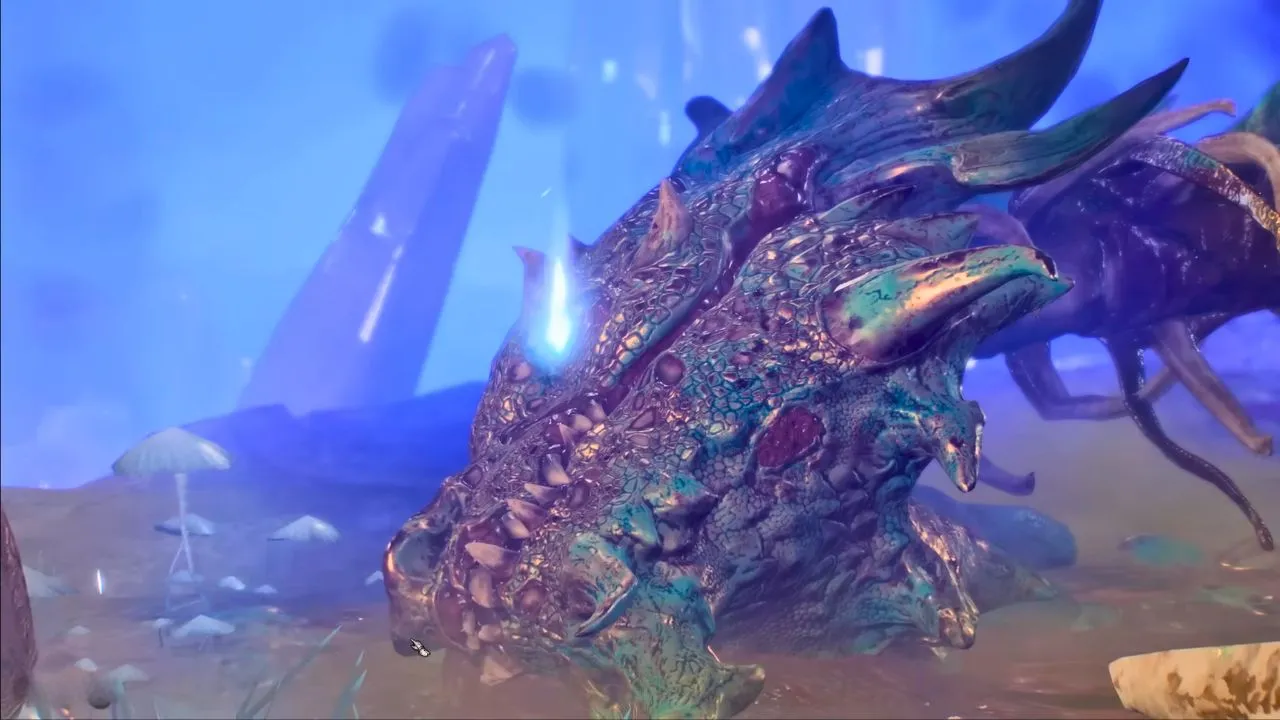
Once you have completed all chambers in Baldur’s Gate 3, all four statues by the locked door will light up. Head to that locked door at X:-885, Y:-999, and it will open. By going through this door, you will speak to the statue, which opens another door. In the vast room, you can see Ansur’s skeleton. Upon interacting with it, a cutscene will begin, and you will learn about Ansur’s history with somebody very familiar to you—the Emperor Mindflayer.
At the end of the cutscene, you will need to fight Ansur’s reanimated skeleton. As he is a challenging foe, you should know a few things, including his stats and what consumables you should bring and use in the fight against Ansur.
All Ansur the Dragon stats, resistances, and weaknesses
- HP: 400
- AC: 19
- Type: Undead
- Resistances: Lightning, Necrotic, Poison
- Weaknesses: Melee attacks, Ranged attacks.
- Passives: Immutable Form, Magic Resistance, Attack of Opportunity, Turn Resistance
How to prepare for the fight with Ansur

You can better prepare for this boss fight now that you know Ansur’s stats, weaknesses, and resistances. As Ansur deals considerable Lightning damage and is a dragon, there are four essentials you should bring or equip for this fight, outside of healing potions, including:
- Arrow of Dragon Slaying: This is a very rare item you can purchase from specific vendors in Acts Two and Three. But, as the name suggests, they deal double the damage to dragons, which means they’re perfect for this fight, even if Ansur is Undead.
- Vendors who occasionally sell this item include Quartermaster Talli (Last Light Inn—Act Two), Fytz the Firecracker (Stormshore Armoury in Baldur’s Gate’s Lower City—Act Three), and Enthral Danthelon (Wyrm’s Crossing—Act Three).
- Elixir of Lightning Resistance: This will make you more resistant to Lightning damage.
- Vendors who sell this item include Knoll the Red (Watch Citadel—Act Three).
- Spells that offer Lightning resistance include Protection from Energy: Lightning—a level three Abjuration Spell, which provides Lightning Resistance (can be learned by Clerics, Bards, Sorcerers, and Wizards).
- How to craft: Combine Salt of Copper Shavings with any suspension to create the Lightning Resistance elixir.
- Haste spell: You will gain an extra action and be harder to hit. However, once it wears off, you will become Lethargic for one turn. This can be learned by Sorcerers, Druids, Bards, and Warlocks.
- Globe of Invulnerability or Misty Step: The Globe of Invulnerability will create a dome of protection around all inside it, making them invulnerable. Sorcerers and Warlocks can learn this. You can also use Misty Step to escape the AoE blase from Ansur on the battlefield. Teleport or Dimensional Door are good alternatives as well.
Pre-boss fight checklist
By now, I’m sure you’re ready and raring to go. But before you enter Ansur’s lair, make sure you’ve completed the following because as soon as you finish the dialogue with him, you will start combat:
- Take a Long Rest—this will restore your health, and you’ll regain your spell slots and hit points.
- Equip your Arrows of Dragon Slaying to those with the best ranged weapons.
- Summon any elementals or animal companions who will assist you in your fight.
- Cast all resistance spells on your companions. Or consume elixirs.
- Ensure your companions have a minimum of three health potions.
- Create a save file.
Once you’ve completed this checklist, you’re ready for your fight with Ansur.
Ansur boss fight guide: Phase One: Stormheart Nova
The main thing to worry about when fighting Ansur is his incredibly powerful 18d10 Stormheart Nova attack. While it may sound counterintuitive, you’ll want Ansur to use said attack as soon as possible so that you can use it to your advantage and off the beast for good.
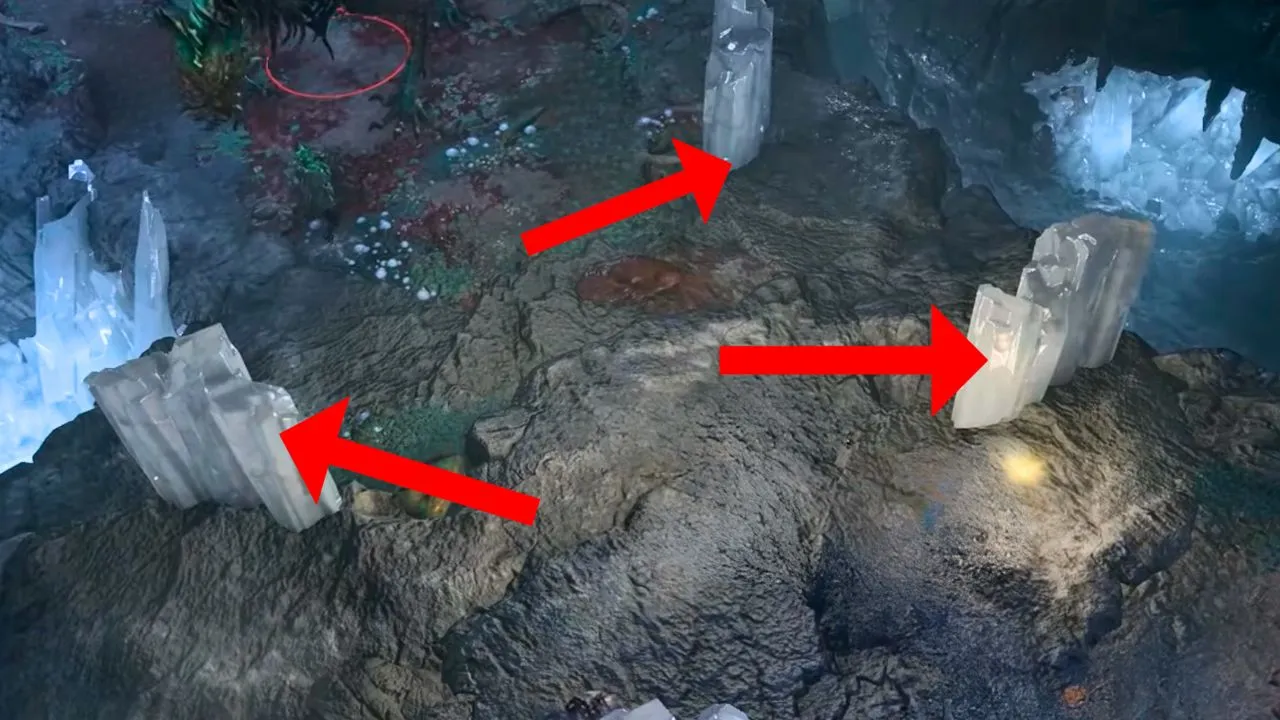
Ansur typically uses this attack pretty early. What’s nice is that he does spend a turn charging it, and you can see him charging it as he flies in the air. Although it takes a turn, instead of outright attacking him, you want to place your Baldur’s Gate 3 party behind any white crystals you see in the chamber. These are an excellent way to protect yourself from this oncoming attack, but they do disappear, which means you can only reuse this tactic for a while.
Thankfully, there are other ways to avoid the blast. Here are some other choices you can go with to protect your Baldur’s Gate 3 party from Ansur’s heavy lightning attack.
- Globe of Invulnerability—This is a great AoE barrier and can protect several companions simultaneously.
- Misty Step to leave the battlefield. However, those who do not have Misty Step will need to use either the Globe or hide.
- Take cover behind any of the ice pillars in the room. Hopefully, there aren’t too many myrmidons hiding behind pillars, either.
Ansur boss fight guide: Phase two: Sigils, Slam, and Lightning Breath
After the initial outburst of Stormheart Nova, every two turns, Ansur will return to the area of the arena where he previously lay and begin to Gather Power for his Stormheart Nova once more.
Additionally, sigils will appear on the ground after each wave of Stormheart Nova, and they’ll blast whatever happens to be in their radius with lightning once their turn ends. So, ensure your Lightning resistance spells or Mage armor are still active.
These sigils can be tricky, but you should be fine if you stay mobile and use your protective spells and powers strategically. The most important thing to remember for this fight is that you constantly want to damage Ansur. You can also use Haste to give yourself an extra action to increase the damage you deal. However, be wary of your positioning if you break concentration or become lethargic, as you won’t be able to move or perform an action.
In addition to his Stormheart Nova, Ansur will jump around the arena with Slam to inflict 6d8+7 Bludgeoning damage within 4m of wherever he lands. He’ll also spew a bit of 12d6 Lightning Breath, which you’ll want to avoid.
Shadowheart’s Protection from Energy, Death Ward, and Feign Death spells are a good way of protecting your team, and her mass healing spells are vital to keeping yourself alive to fight and beat Ansur the Dragon.
I attempted the fight three times before I was successful, with the two failed attempts coming due to his second massive attack. Therefore, you should try to beat Ansur before he can unleash his attack for the second time. A good way to optimize on Ansur’s overall playstyle is to continue fighting him and stick close. If you have your Baldur’s Gate 3 party members on several sides of Ansur, you can take advantage of him being able to only focus on one at a time, except when he uses his large AoE moves.
All Ansur the Dragon loot in Baldur’s Gate 3

Slaying Ansur is an incredible feat for which you’ll get two items as your reward, and they include the following:
- Balduran’s Giantslayer—This is a Legendary two-handed weapon you loot from Ansur’s corpse.
- Helm of Balduran—This is a Legendary helm you can pick up from the altar behind Ansur
When you have both items, equip them to worthy party members and prepare for the next step in your adventure. Although this was not a main quest in Baldur’s Gate 3, you will have proven to your party you are capable of great things, and you can prepare to face off against the final enemy: the Netherbrain.
Others Asked
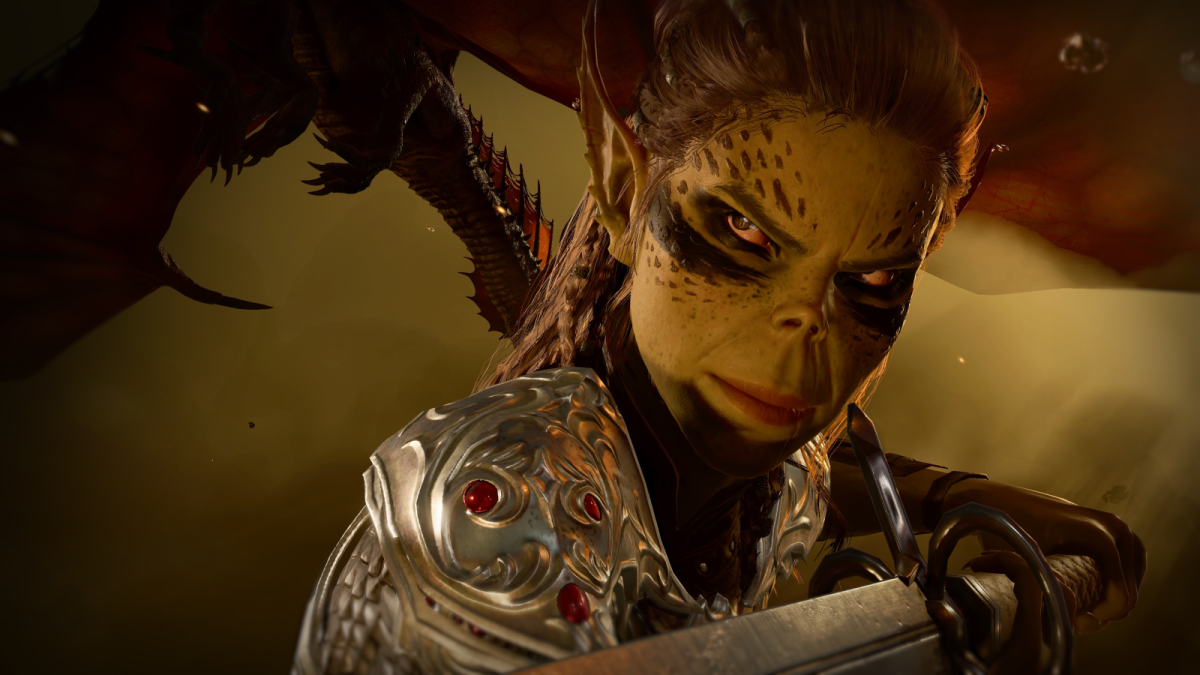
What character was the player trying to romance in Baldur's Gate 3?
The player was trying to romance Lae'Zel.
Who do Baldur's Gate 3 players consider the hottest character in the game?
Baldur's Gate 3 players consider Dammon to be the hottest character in the game.
What unique strategy did a player use to defeat a boss in Baldur's Gate 3?
A player used a strategy involving pickpocketing the boss, giving them 15,000 gold, and then attacking with a Morningstar called Twist of Fortune, which deals extra damage based on the target's gold.


Published: Oct 15, 2024 05:37 pm