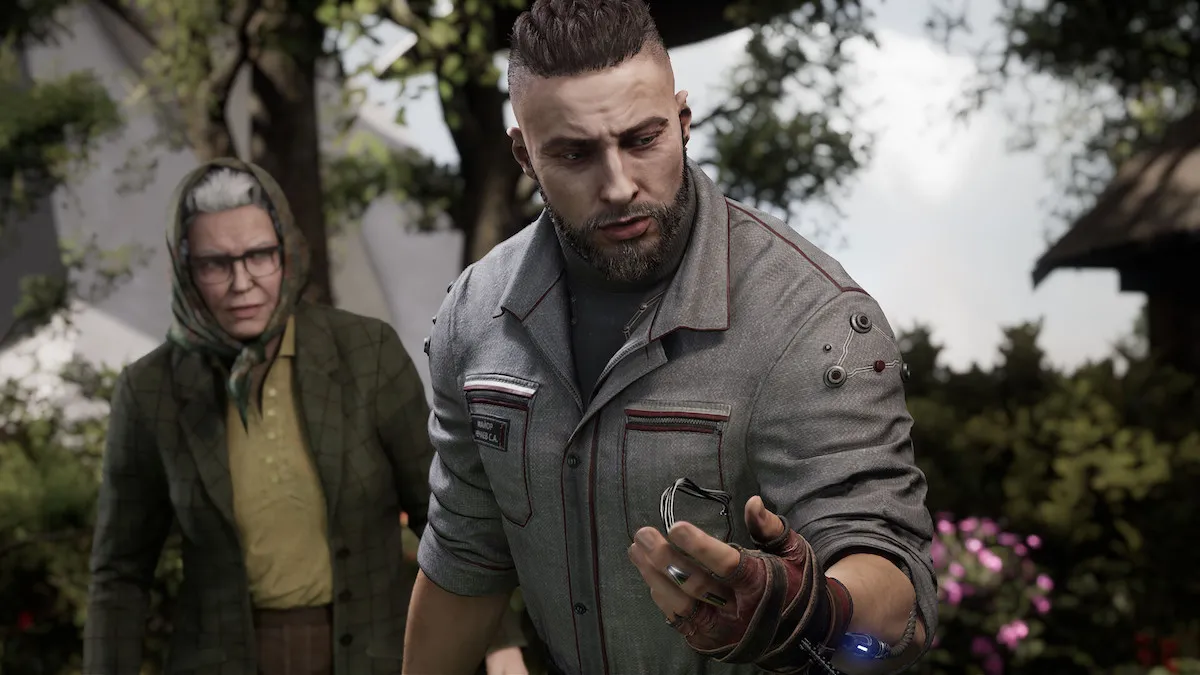
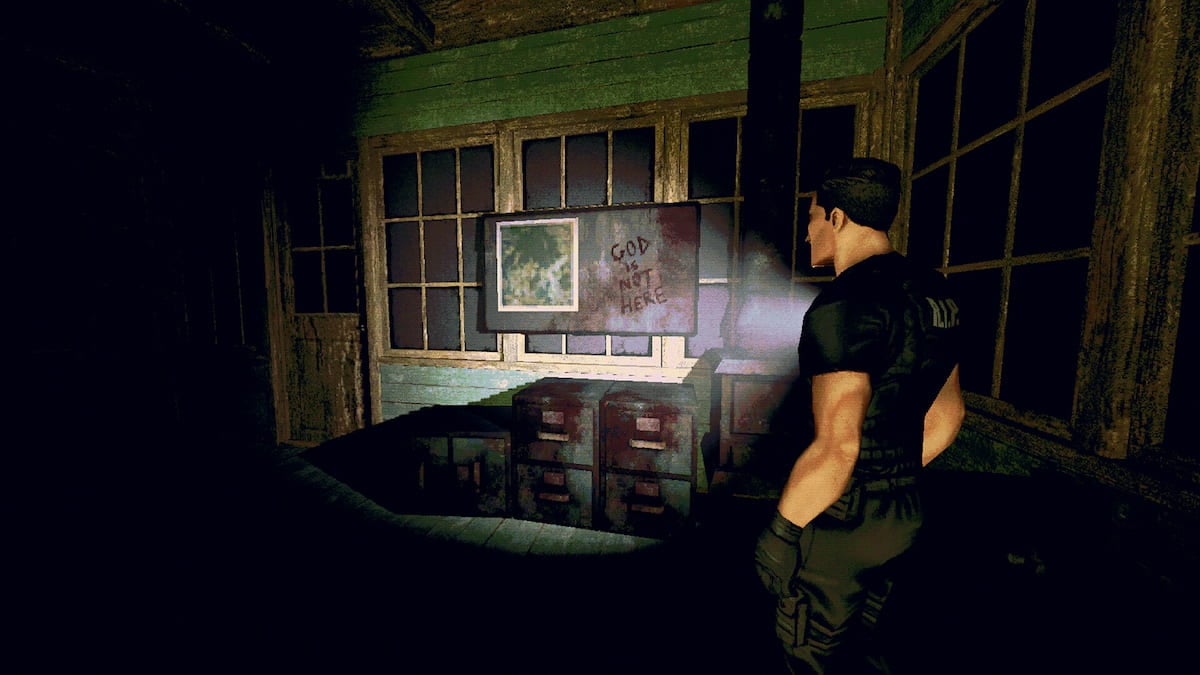
When players load into Atomic Heart for the first time, they’ll first need to go through the game’s tutorial before they can start trophy hunting. Serving as the first introduction to Atomic Heart, the tutorial does a decent job of explaining all the details, but players are getting stuck during the intro.
When it’s time to use the scanner, the information on the screen doesn’t do justice to the overall complexity of the process, causing players to press all the buttons on their controllers, and wander around the settings panel.
How do you use the Scanner in Atomic Heart?
On PlayStation
- Double tap R1.
- Then hold down R1 after the second press of the double tap.
On Xbox
- Double tap RB.
- Then hold down RB after the second press of the double tap.
Is the Scanner tutorial broken or bugged in Atomic Heart?
The scanner tutorial in Atomic Heart isn’t broken, but the explanation text of the task is quite confusing.
Before using the scanner for the first time, players are told to hold “R1+R1” or “RB+RB.” This explanation makes it feel like there could have been a typo since it reads like there should be a second key.
Hold R1+R1 or RB+RB basically means players will need to double-tap these buttons and continue to hold them down after the second tap. Upon successfully executing this key combination, the scanner will start working, and you’ll be able to proceed with the tutorial.
How does the Scanner work in Atomic Heart?
The scanner in Atomic Heart has four color codes as indicators. Blue marks drawers, chests, and loot containers. Orange marks enemies and White indicates items/objects that players can interact with. On the other hand, Purple marks items important to the story.
With the tutorial out of the way, you’ll be on your way to various adventures. Early upgrades will play an important role when it comes progressing, and you’ll also get to unlock new guns through recipes.






Published: Feb 21, 2023 10:47 am