The Abyssal Zenith is beneath Challenger’s Deep and is accessed by following a trail of glowing, purple seaweed-like plants after completing the quest in Challenger’s Deep and leaving through the entrance. Unlike previous layers, simply descending through the Veil won’t be enough to reach the new area in Fisch.
Table of contents
Fisch Abyssal Zenith guide
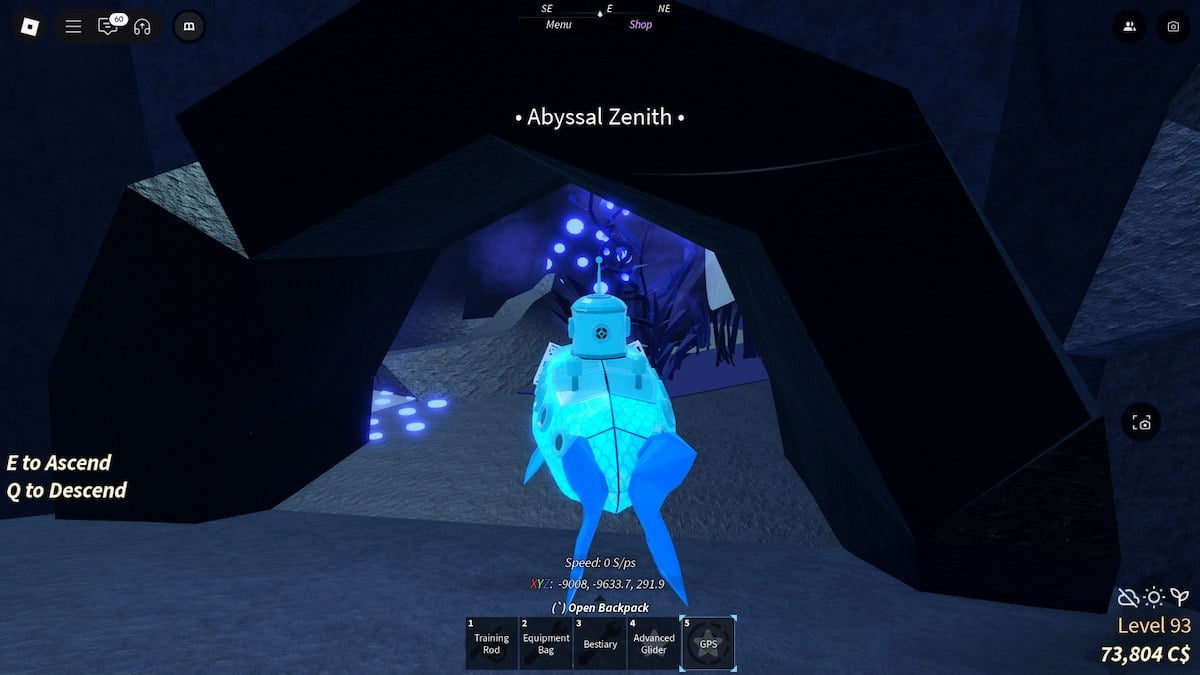
After you descend far enough and get the alert that you’ve reached the Abyssal Zenith at (-9008, -9633, 291), you might see a purple Anglerfish going past the first archway that acts as the entrance. These Anglerfish are particularly dangerous as they can knock a submarine backward upon contact, and you’ll have to start from the layer’s entrance all over again.
How to get through the Anglerfish

To get through the Anglerfish tunnel safely, it’s important to take note of the archways between each layer of the tunnel. Five archways can serve as safe points as you cross through the Anglerfish tunnel, but patience is key to getting through this area. But be sure to wait inside each archway for the Anglerfish to pass before making a quick move to the next one. Don’t take unnecessary risks, and angle your submarine to fit in the archway while moving your camera to spot the next archway.
Once the fifth archway is cleared, there’s a long passage that leads to the surface of the Abyssal Zenith at (-13420, -11050, 110).
Points of interest in the Abyssal Zenith
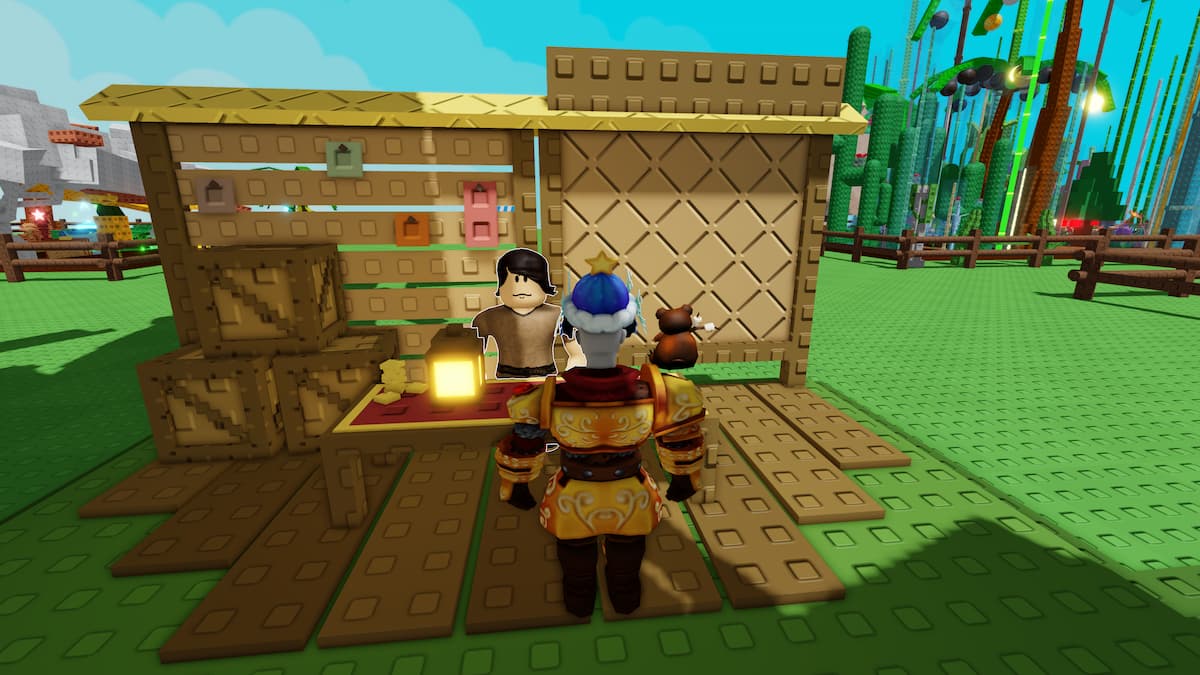
Upon arrival in the Abyssal Zenith, you will find a small area containing an Innkeeper and a Submariner NPC. The Innkeeper is crucial as they allow you to set your spawn point in this cavern. Doing so is highly recommended, as completing this section of the event may require returning to the surface. The portal back to Roslit Bay is positioned next to the Innkeeper at (-13515, -11050, 175).
For those looking to acquire the Rod of the Zenith, it is somewhat hidden in the southwest corner of the cavern at (-13625, -11035, 355). To find it, stay on the ground level and move past the portal toward the rock face. You can purchase this rod for 10,000,000C$.
How to get the Angler’s Lantern

Progressing further into Mariana’s Veil requires that you complete the quest hovering above the altar next to the Innkeeper. Part of this quest is to retrieve the Angler’s Lantern, found in a deep pond opposite the cavern’s entrance. However, retrieving it is not a simple task. Three large Anglerfish guard the lantern, and any player who enters the water without preparation will be attacked (you’ll die almost immediately).
To safely retrieve the Angler’s Lantern, you need to put the Anglerfish to sleep. This can be done by holding an Orca or The Kraken while in the water to feed them. Once the Anglerfish are asleep, they will sink to the bottom, giving you a short window of time to interact with the lantern. Since the pond is deep, bringing a Water Bubble or Advanced Diving Gear is highly recommended to prevent drowning while retrieving the item.
Both the Orca and Kraken are Exotic fish and are not easy to obtain.

| Fish | How to obtain | Difficulty | Bait required |
|---|---|---|---|
| Orca | Found in the Ocean during the Orca Migration event. | Moving event, so you have to focus on steering your boat and fishing. Orcas also move erratically. | Shark Head |
| Kraken | Found in the Kraken Pool under Atlantis after completing all Atlantis trials. | Requires significant effort to get to the fishing area for Krakens. Krakens are also extremely difficult to catch because they move erratically. | Truffle Worm |
The Orca Migration event occurs one hour after a server starts and then once every hour after the last migration ends. This event is announced server-wide, and orcas appear along a marked migration route. There are only five orcas per migration event, so competition can be fierce. The event lasts for just 15 minutes.
The Kraken, on the other hand, requires extensive progress through Atlantis to get to. You need to complete four separate trials in the area and activate their respective Mythological Clocks before unlocking the Kraken Pool. The final Mythological Clock, located beneath the Atlantis Lobby, opens the door to this area, where the Kraken can be caught when a server-wide Kraken Hunt is announced.
Since the anglerfish remain asleep for five minutes per fish used, it is wise to bring multiple Orcas or Krakens if attempting to collect the Angler’s Lantern alone. Alternatively, you could try to coordinate with other players in the Fisch Discord server to complete the challenge together.
Fishing in the Abyssal Zenith

Once the Angler’s Lantern is acquired, You can finish collecting the required items for the Deep Upgrade by fishing in the Abyssal Zenith pool (or fish first and deal with the Lantern last; I’m not your boss). The fishing area is conveniently located in the same body of water as the Angler’s Lantern, making it easy to catch everything needed.
The following additional fish are required for the upgrade:
- Abyssal Bearded Seadevil
- Voidglow Ghostfish
Fishing here can take some time, but these two fish are essential to the upgrade process.
Completing the Deep Upgrade

With the Angler’s Lantern, the Abyssal Bearded Seadevil, and the Voidglow Ghostfish in hand, you can go to the upgrade altar in the Abyssal Zenith. The fourth item needed is the Level 2 Glimmerfin Suit you got in Challenger’s Deep.
Once all four items are submitted, you will get the Submarine Deep Upgrade and the Level 3 Glimmerfin Suit, allowing you to dive even deeper into Mariana’s Veil.
After acquiring the upgrades, you can descend further beneath the Abyssal Zenith. If you’re sticking around, you can complete the Bestiary for this area, but otherwise, this marks the completion of the Abyssal Zenith layer.


Published: Feb 25, 2025 04:11 am