
Mariana’s Veil is a vast underwater cave system deep beneath Roslit Bay in Fisch, packed with quests, puzzles, and upgrades that allow players to explore its mysterious depths. To explore the area, you’ll need a Submarine, which requires some parts before you can dive into this adventure.
Table of contents
- How to Start the Mariana’s Veil Event in Fisch
- Step 1: Obtaining the Drill
- Step 2: Collecting Submarine parts
- Step 3: Constructing the Submarine
- Step 4: Descending into Mariana’s Veil
- Volcanic Vents – The first cave layer
- Challenger’s Deep – The second cave layer
- Abyssal Zenith – The third cave layer
- The Calm Zone – The final cave layer
- How to unlock the Veil of the Forsaken
- How to beat the Scylla boss
How to Start the Mariana’s Veil Event in Fisch

To begin the new Fisch event, head to Roslit Bay and find Dr Glimmerfin at the Submarine Depot on the northwestern part of the island at coordinates (-1305, 130, 310).
Step 1: Obtaining the Drill
When you speak to Dr Glimmerfin for the first time, he’ll give you a Drill, which is needed to extract Submarine Parts from rocks in Roslit Bay’s coral reef.
Step 2: Collecting Submarine parts
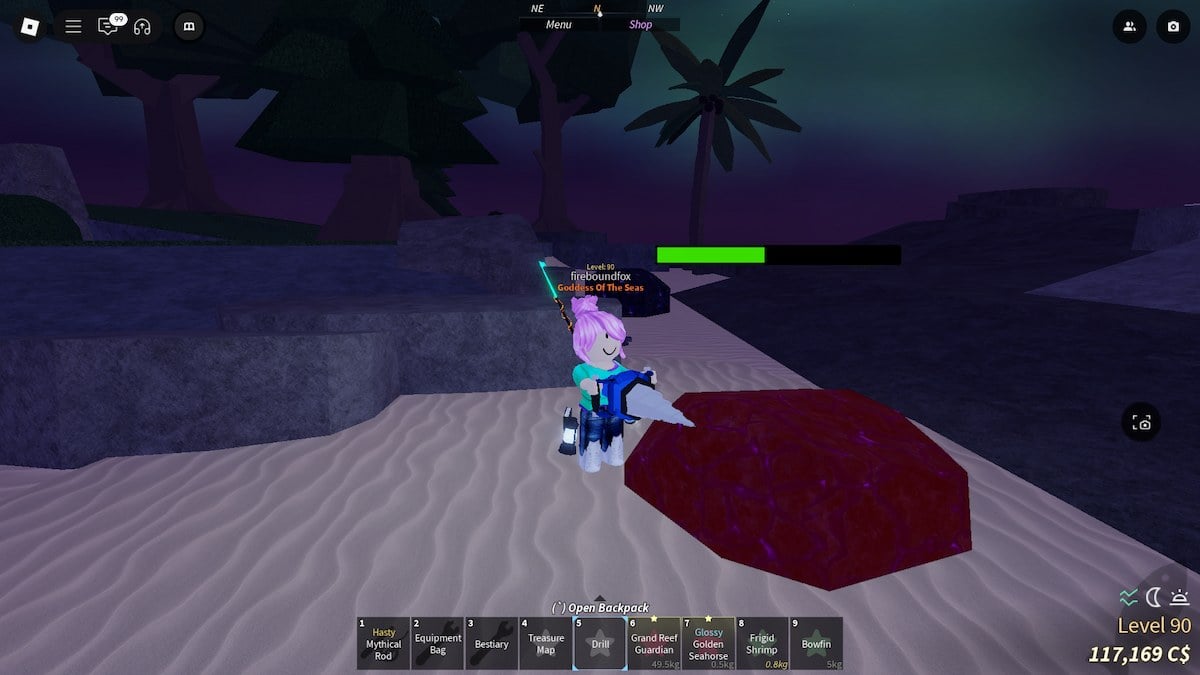
To construct the Submarine, you need to drill rocks around Roslit Bay’s coral reef. Each rock takes 10 drill hits to break, and when broken, it will sink before resurfacing in a few seconds—allowing you to drill again.
The following 5 Submarine Parts are required, each with a 5% drop chance from drilled rocks:
- Windows
- Submarine Top
- Side Fins
- Metal Panels
- Back Fins
Step 3: Constructing the Submarine
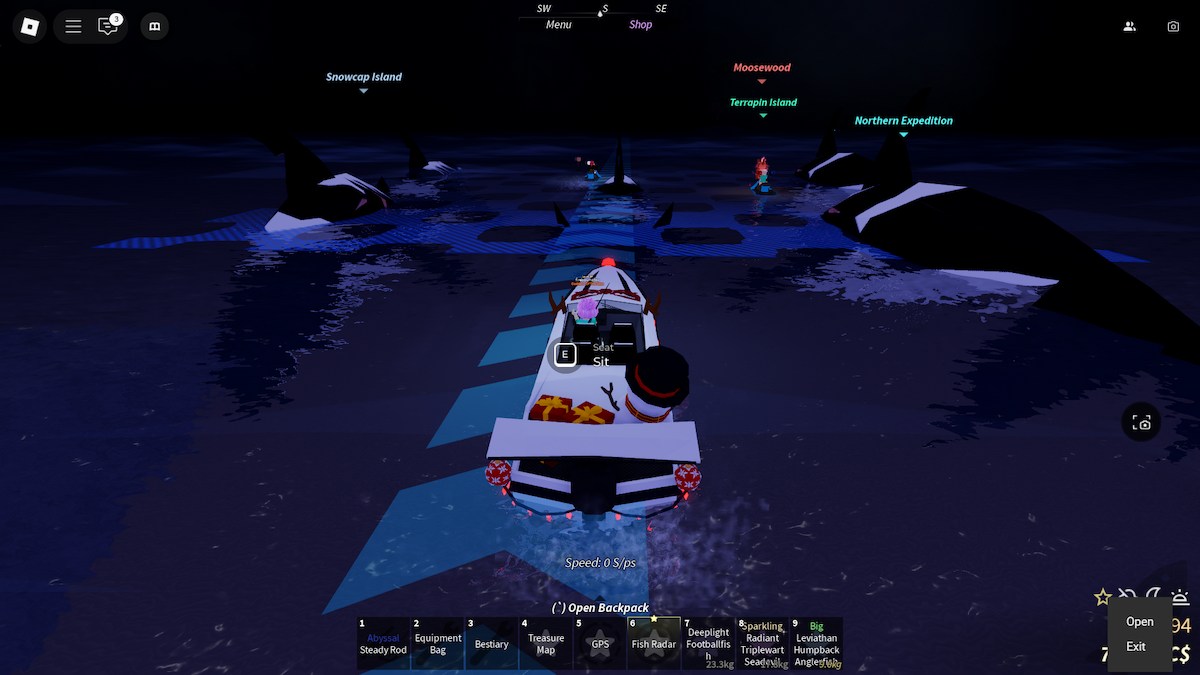
Once you’ve collected all five parts, return to the Submarine Depot and put each one on the transparent Submarine near Dr Glimmerfin. A cutscene will play, clearing the magma beneath the reef and unlocking the Submarine as a spawnable boat. Yours will spawn automatically, right by the depot. Unfortunately, if there are other players there, it’s hard to tell which one is yours—go inside through the hatch at the top and check the seats to find your in-game name.
Step 4: Descending into Mariana’s Veil
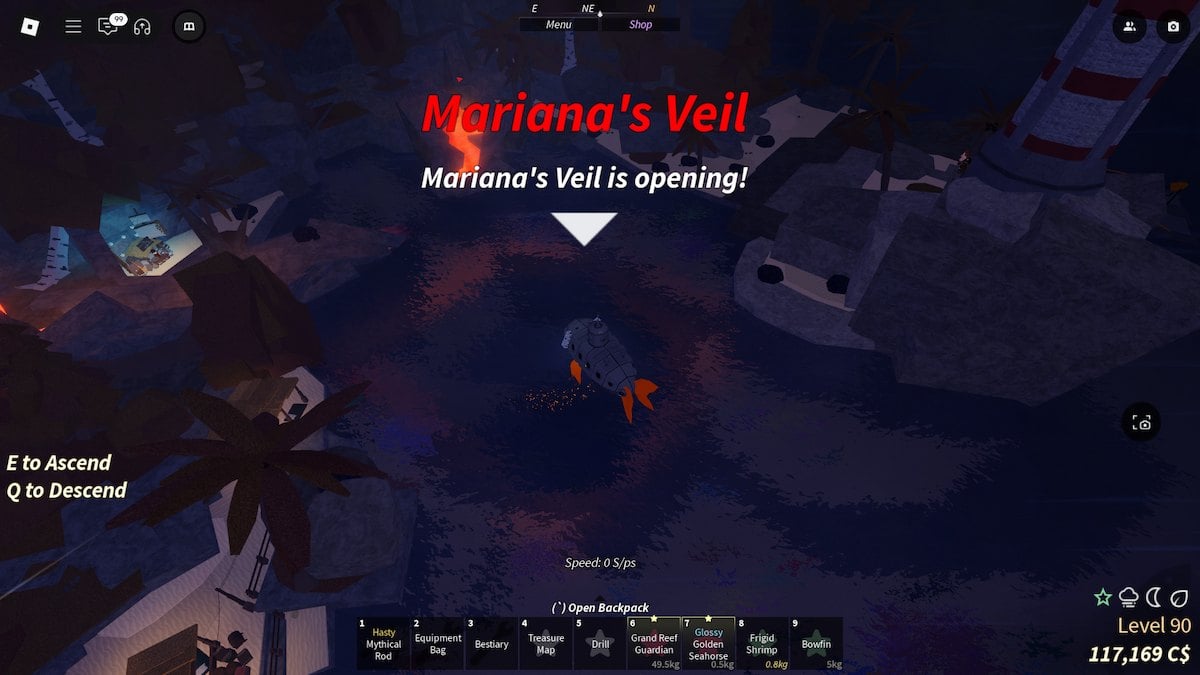
Sit in your Submarine and steer it into Roslit Bay’s cove. Look for the underwater rock border—this is where you need to descend.
Fisch Mariana’s Veil walkthrough
Controlling the submarine is straightforward, with E and Q used to ascend and descend, while standard boat controls allow for horizontal movement. Each layer of the cave is blocked by rocks, which break once the required upgrades are obtained. These upgrades are essential, as attempting to descend without them results in instant death. The Glimmerfin Suit helps with temperature resistance but does not allow free movement in the water without a submarine.
Volcanic Vents – The first cave layer
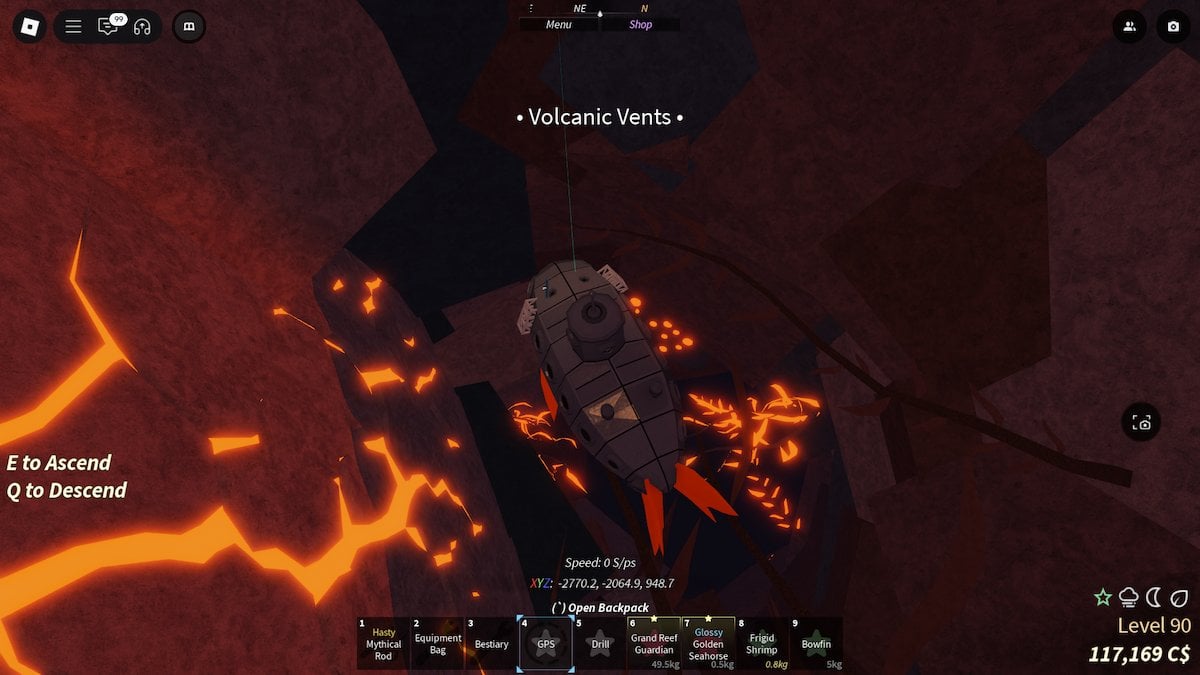
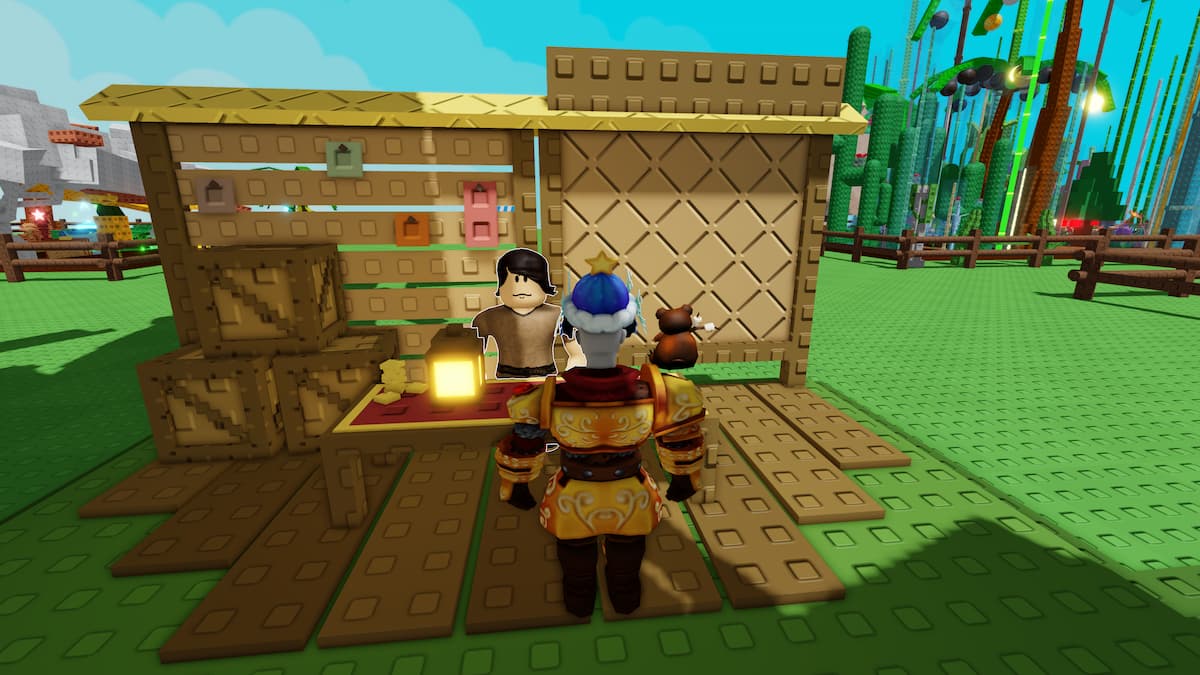
The entrance to the Volcanic Vents is located at (-2745, -2325, 865), and players can find the entrance easily by following the orange seaweed-like plant down through the tunnels. Progression through this layer requires the Heat Upgrade for the submarine, and you can find the quest for that upgrade by following the horizontal tunnel to the southeast and surfacing when there’s an expanse of water above you again. This will reveal a large cave at (-3420, -2275, 3765), where an Innkeeper and Submariner can be found. A portal back to Roslit Bay is also available next to the Innkeeper.
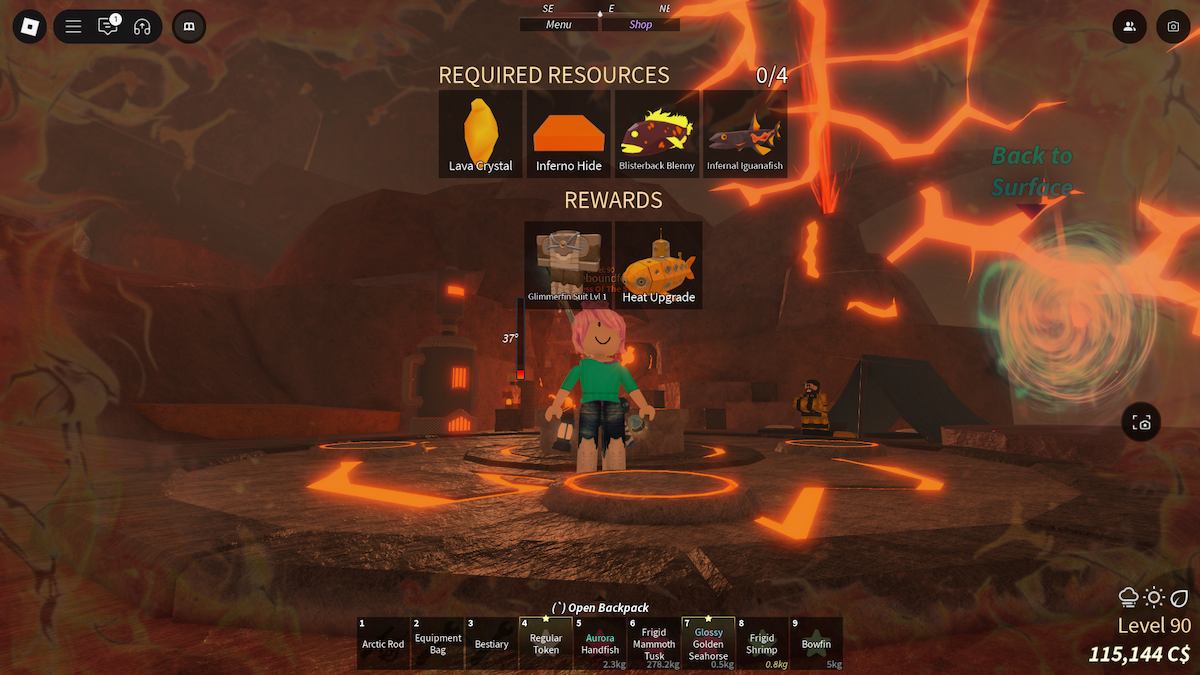
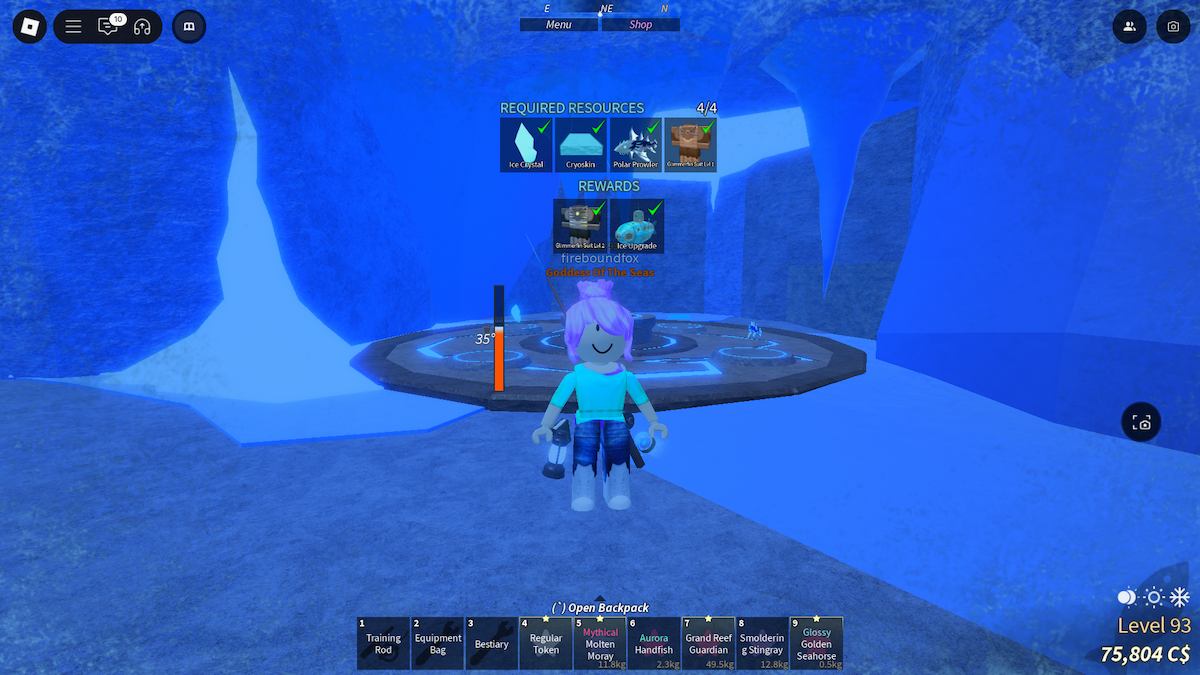
Your focus point should be the altar in front of the Innkeeper, which shows images of the four items that you must obtain to be rewarded with the Heat Upgrade for your Submarine and a Level 1 Glimmerfin Suit. The items you need are:
- One Lava Crystal
- One Inferno Hide
- One Infernal Iguanafish
- One Blisterback Blenny
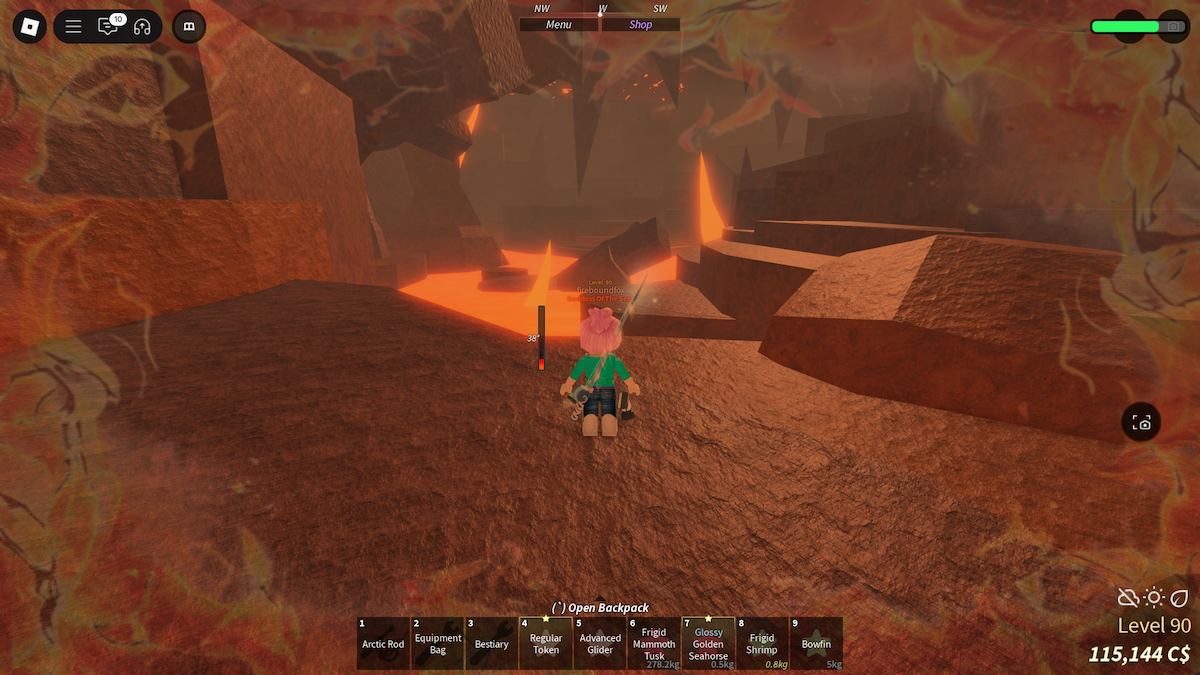
Orange crystal rocks near the shore where the submarine docks contain Lava Crystals when drilled, while fishing in the lava pond at (-3343.3, -2028, 4076) provides the Inferno Hide, Infernal Iguanafish, and Blisterback Blenny. If you’re struggling with the GPS, simply follow the path south from the shore and complete the obby using a Glider or Advanced Glider. It’s a straightforward path, though you can get burned by the obstacles.
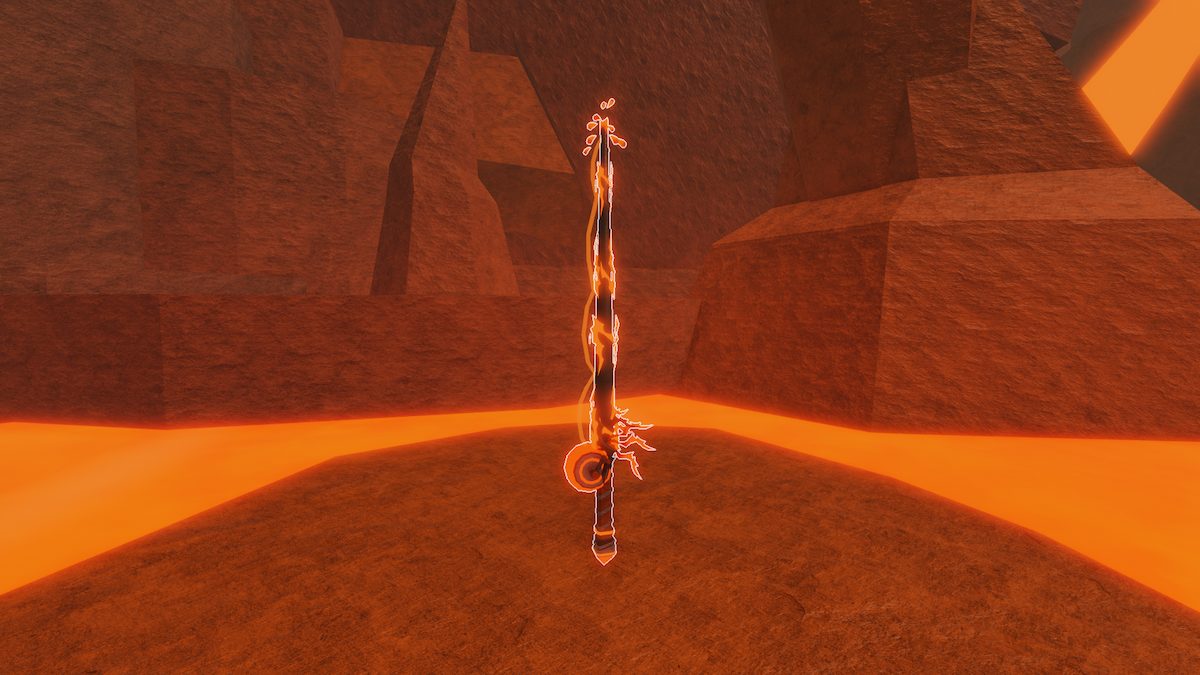
At the center of the volcanic fishing area, the Volcanic Rod can be purchased for 300,000C$.
Once all materials are collected, return them to the altar near the Innkeeper for the Heat Upgrade for the submarine and the Level 1 Glimmerfin Suit, which provides resistance to the extreme temperatures of the Volcanic Vents. This will allow you to stay in the area longer to complete the Bestiary and descend to the next area which will now be open to you.
Volcanic Rod stats
- Lure Speed: 30 percent
- Luck: 90 percent
- Control: 0.1
- Resilience: 15 percent
- Max kg: Infinite
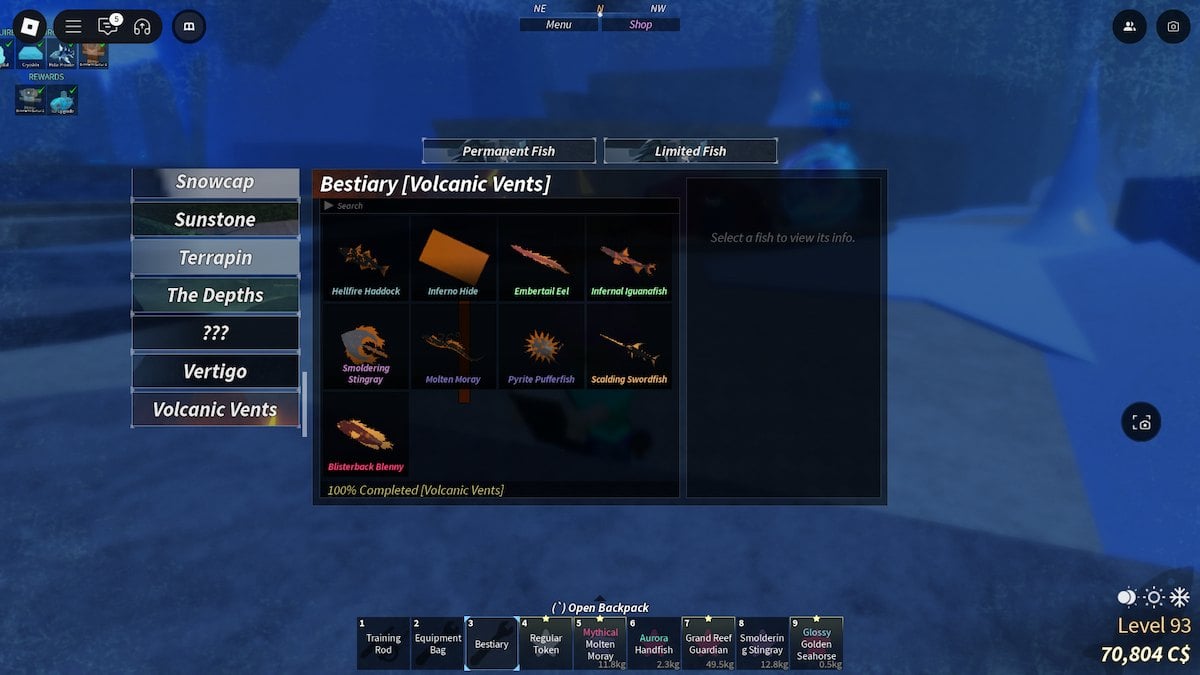
Volcanic Vents full Bestiary
| Fish | Rarity | Weather | Season | Time of Day | Bait |
|---|---|---|---|---|---|
| Hellfire Haddock | Common | Rain | Summer | Night | Worm |
| Inferno Hide | Common | Any | Any | Any | Any |
| Embertail Eel | Uncommon | Any | Spring | Night | Flakes |
| Infernal Iguanafish | Uncommon | Windy | Any | Night | Insect |
| Smoldering Stingray | Unusual | Any | Spring | Night | Seaweed |
| Molten Moray | Rare | Rain | Spring | Any | Minnow |
| Pyrite Pufferfish | Rare | Any | Autumn | Night | Shrimp |
| Scalding Swordfish | Legendary | Clear | Summer | Day | Truffle Worm |
| Blisterback Blenny | Mythical | Clear | Summer | Day | Fish Head |
| Magma Leviathan | Secret | Foggy | Summer | Day | Truffle Worm |
Challenger’s Deep – The second cave layer
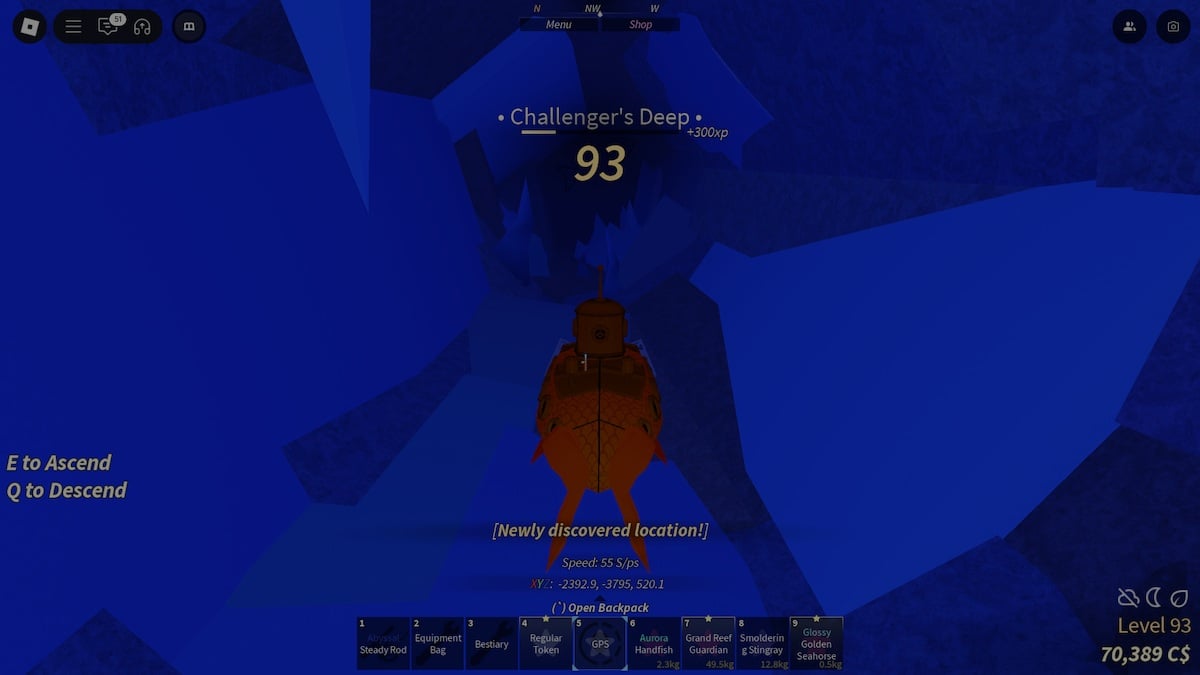
Beneath the Volcanic Vents lies Challenger’s Deep, with its entrance at (-2630, -3830, 755). You can follow the blue seaweed-like plant down from the Volcanic Vents entrance to get there. Similar to the previous layer, a tunnel to the northwest must be navigated to get to the Ice Upgrade so you can explore deeper. The tunnel ends at an ice-themed cave at (-835, -3295, -625), where an Innkeeper and Submariner await. Another portal to Roslit Bay is available near the Innkeeper, and there’s a new altar for you to complete.
Challenger’s Deep introduces a temperature mechanic similar to the Northern Summit. The Winter Cloak (from the Northern Summit) or the Level 2 Glimmerfin Suit (this area’s quest reward) is required for your character to stay warm. There is a campfire near the portal at (-760, -3280, -715) that offers temporary relief, but it’s kind of pointless considering how much time you’ll be spending in a completely different area.
The items you need for the upgrade are:
- One Ice Crystal
- One Cryoskin
- One Polar Prowler
- Your Level 1 Glimmerfin Suit
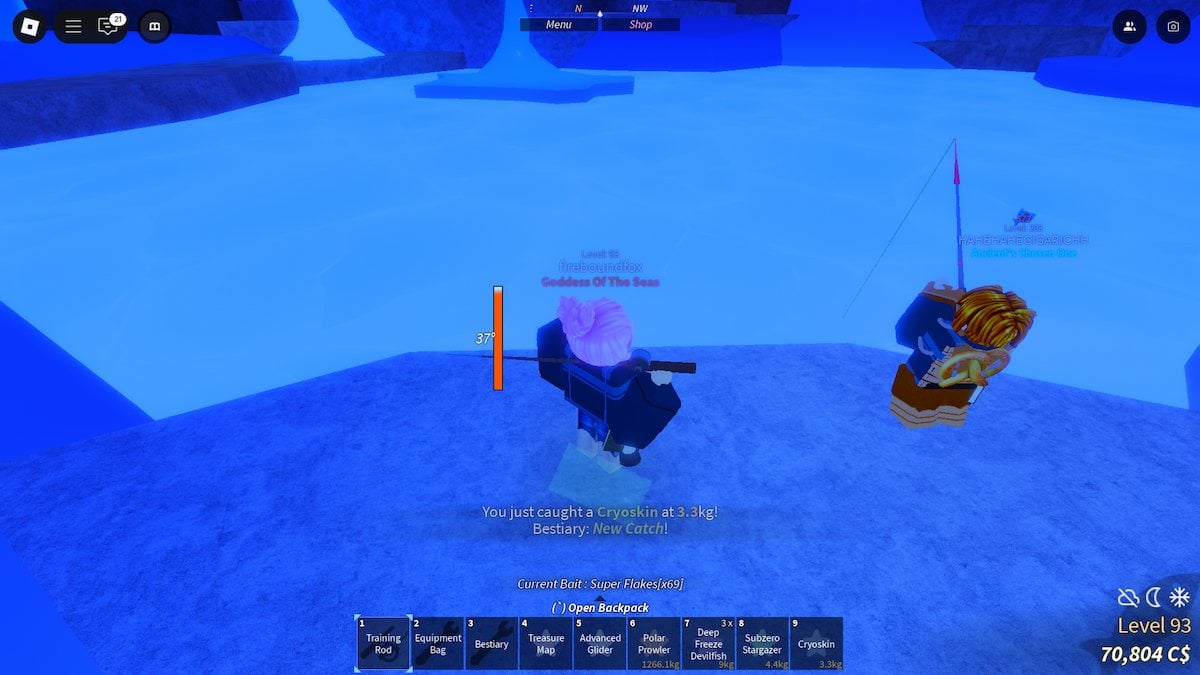
To acquire the Ice Upgrade, drilling the blue crystal rocks near the quest altar provides Ice Crystals, and fishing in the Ice Tunnel (found by following the path to the northwest) will give you the Cryoskin and Polar Prowler you need—if you can catch them.
The Challenger’s Rod, priced at 2,500,000C$, can be purchased in the Ice Fishing Cave near the entrance at (740, -3355, -1530).
Once you have the Ice Upgrade and Glimmerfin Suit Lvl 2, the path to the next cave layer opens and you can head to the Abyssal Zenith.
Challenger’s Rod stats
- Lure Speed: 80 percent
- Luck: 110 percent
- Control: 0.2
- Resilience: 30 percent
- Max kg: Infinite
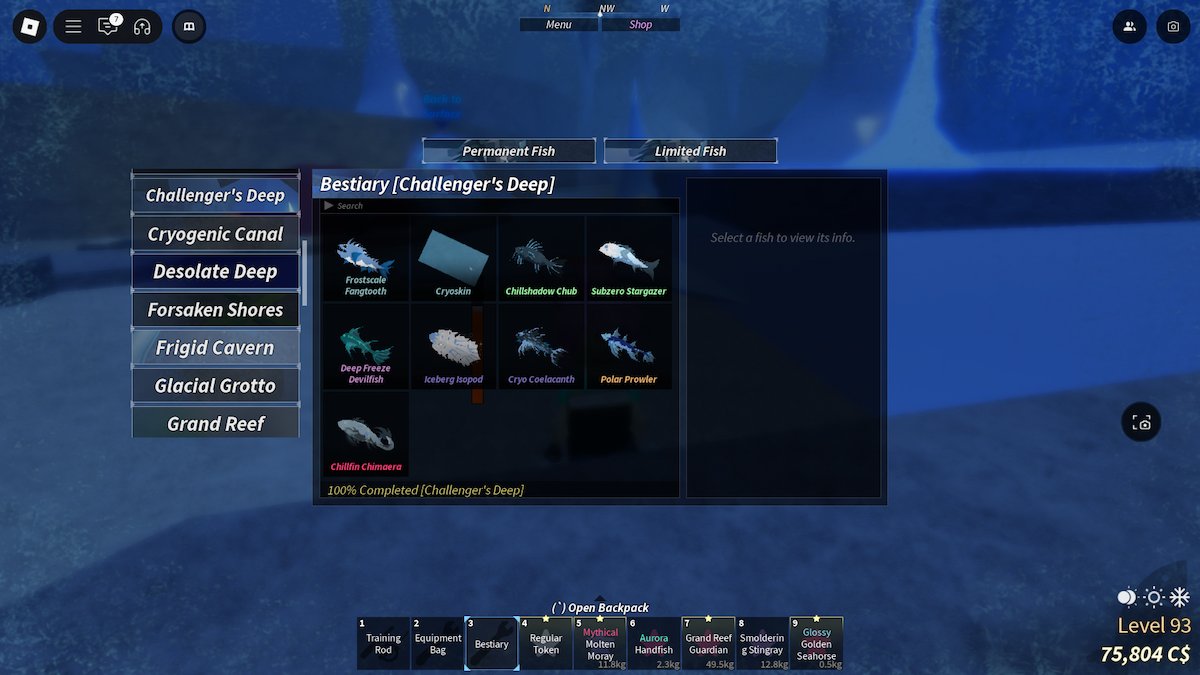
Challenger’s Deep full Bestiary
| Fish | Rarity | Weather | Season | Time of Day | Bait |
|---|---|---|---|---|---|
| Frostscale Fangtooth | Common | Any | Winter | Day | Bagel |
| Cryoskin | Common | Any | Any | Any | Any |
| Chillshadow Chub | Uncommon | Clear | Any | Day | Insect |
| Subzero Stargazer | Uncommon | Any | Winter | Day | Flakes |
| Deep Freeze Devilfish | Unusual | Rain | Autumn | Any | Squid |
| Iceberg Isopod | Rare | Windy | Winter | Night | Minnow |
| Cryo Coelacanth | Rare | Clear | Autumn | Any | Shrimp |
| Polar Prowler | Legendary | Clear | Winter | Night | Truffle Worm |
| Chillfin Chimaera | Mythical | Any | Winter | Night | Fish Head |
| Frozen Leviathan | Secret | Clear | Winter | Night | Truffle Worm |
Abyssal Zenith – The third cave layer
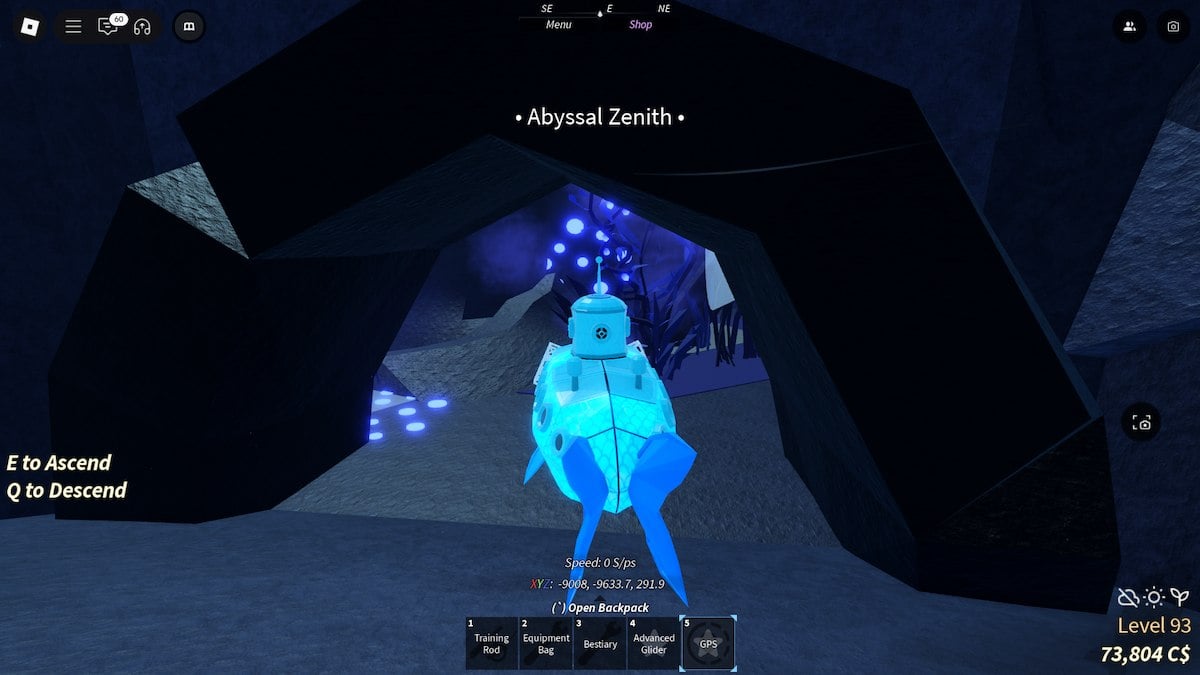
The entrance to the Abyssal Zenith is located at (-9008, -9633, 291), found after following the purple seaweed-like plant down from Challenger’s Deep. Unlike previous layers, getting to the quest area involves avoiding obstacles, including horizontal tunnels patrolled by large anglerfish. If an anglerfish hits the submarine, the player is thrown backward.
There are five archways that you need to pass through to continue on your way to the quest and fishing area of the Abyssal Zenith. The best thing to do is wait in each archway for the anglerfish to pass, and then immediately drive your Submarine out and into the next one. After the fifth one, you’ll enter a long tunnel that you need to navigate through until you can resurface around (-13420, -11050, 110).
A portal back to Roslit Bay is available at (-13515, -11050, 175), next to an Innkeeper, which I would advise speaking to so you can set this cavern as your spawn point because you may need to go back to the surface to complete this part of the event.
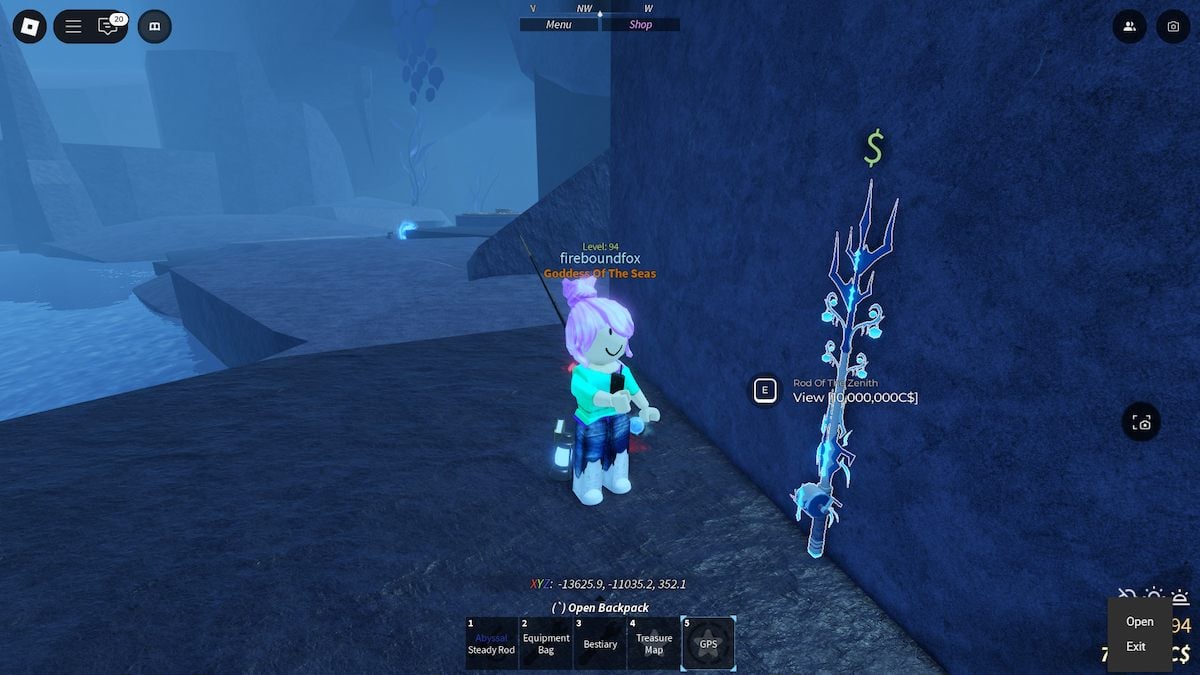
The Rod of the Zenith is sold for 10,000,000C$ in this area, and can be found at (-13625, -11035, 355) on the southwest side of the cavern—it’s weirdly hidden, but you need to stay on the ground level and walk past the portal towards the rock face.
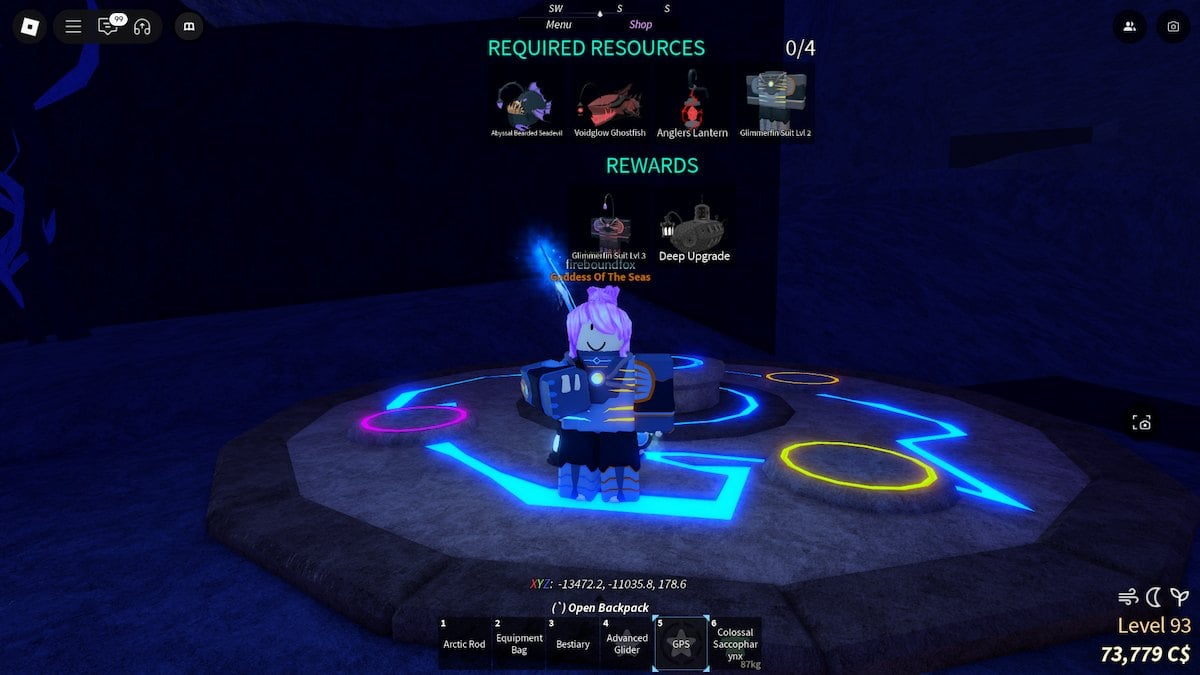
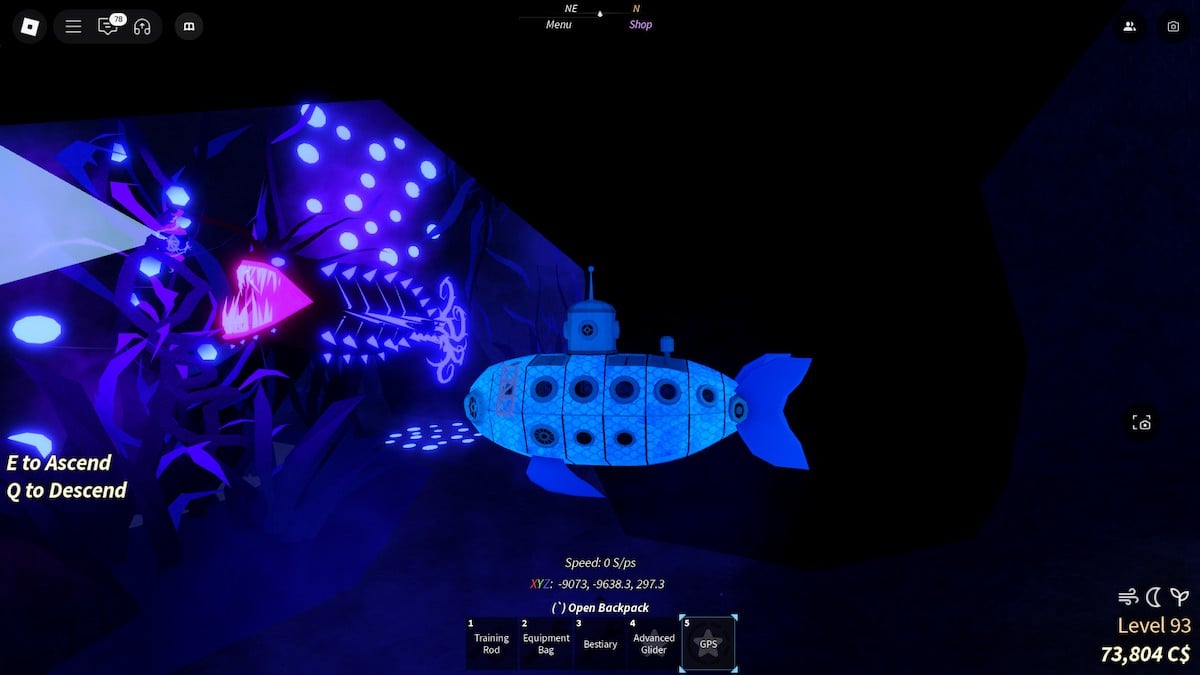
To obtain the Deep Upgrade from the altar here, you’ll need an Angler’s Lantern and your Level 2 Glimmerfin Suit. This Angler’s Lantern is guarded by three large anglerfish in a deep pond. Holding an Orca or The Kraken temporarily puts the anglerfish to sleep, allowing safe retrieval of the lantern. Bringing a Water Bubble or some Advanced Diving Gear is highly recommended to avoid drowning.

You’ll also need an Abyssal Bearded Seadevil and a Voidglow Ghostfish. Thankfully, the fishing area for the Abyssal Zenith is right near the entrance to the cavern (in the same body of water that you use to get the Angler’s Lantern, shown in the screenshot above).
An Orca is the more accessible option, found in the Ocean during the Orca Migration event. Locations are marked on the Fish Radar, and a blue arrow path shows the Orcas’ migration route. It’s quite a sight, and the event is announced server-wide, so you won’t easily miss it. A Kraken, on the other hand, requires the completion of all of the areas in Atlantis.
Once you’ve got all four items and given them in to the altar, you’ll get the rewards. With the Deep Upgrade and Glimmerfin Suit Lvl 3 in hand, your final descent can begin.
Rod Of The Zenith stats
- Lure Speed: 85 percent
- Luck: 145 percent
- Control: 0.15
- Resilience: 15 percent
- Max kg: Infinite
Abyssal Zenith full Bestiary
| Fish | Rarity | Weather | Season | Time of Day | Bait |
|---|---|---|---|---|---|
| Leviathan Humpback Anglerfish | Common | Rain | Summer | Any | Worm |
| Titanic Black Seadevil | Common | Rain | Any | Night | Bagel |
| Colossal Saccopharynx | Uncommon | Windy | Any | Any | Flakes |
| Abyssal Bearded Seadevil | Uncommon | Any | Winter | Any | Insect |
| Radiant Triplewart Seadevil | Unusual | Clear | Autumn | Any | Shrimp |
| Deeplight Footballfish | Rare | Clear | Spring | Any | Seaweed |
| Infant Giant Seadevil | Legendary | Clear | Autumn | Any | Truffle Worm |
| Voidglow Ghostfish | Legendary | Foggy | Spring | Night | Squid |
| Giant Seadevil | Mythical | Clear | Autumn | Any | Fish Head |
| Crowned Anglerfish | Secret | Foggy | Autumn | Night | Truffle Worm |
The Calm Zone – The final cave layer
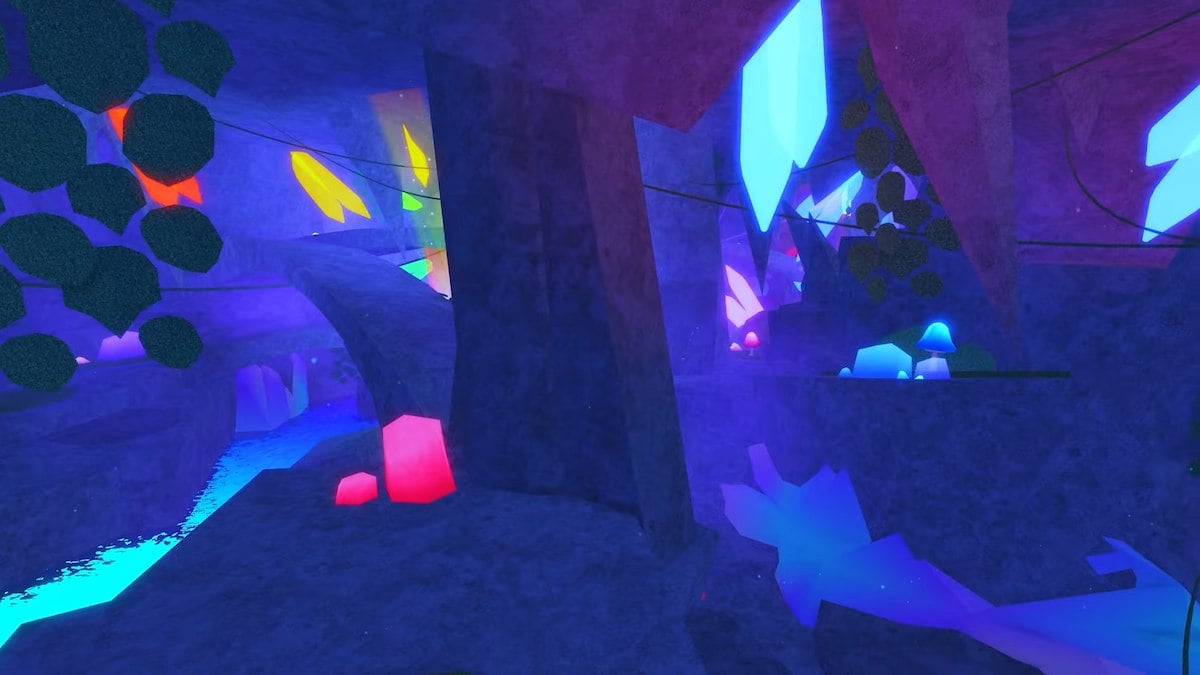
Located at (-4145, -11210, 1395), the Calm Zone is the lowest point of Mariana’s Veil. Submarines are no longer used, and all exploration must be done on foot. The rainbow river here contains the last set of fish needed to complete the Calm Zone Bestiary. It’s a bit confusing because there are two sections to The Calm Zone: this one, and one beyond an underwater tunnel. The Bestiary below is specifically for the rainbow river in the first section.
Calm Zone full Bestiary
| Fish | Rarity | Weather | Season | Time of Day | Bait |
|---|---|---|---|---|---|
| Quartzfin Queenfish | Common | Clear | Summer | Day | Insect |
| Emerald Elephantnose | Uncommon | Clear | Summer | Day | Bagel |
| Diamond Discus | Uncommon | Clear | Winter | Day | Flakes |
| Sapphire Stargazer | Unusual | Clear | Spring | None | Seaweed |
| Prismatic Parrotfish | Rare | Clear | Spring | None | Minnow |
| Ruby Rasbora | Rare | Clear | Winter | Night | Squid |
| Crystal Corydoras | Legendary | Clear | Autumn | Night | Truffle Worm |
| Shimmering Silverside | Mythical | Clear | Spring | Night | Truffle Worm |
| Crystallized Seadragon | Secret | Windy | Spring | None | Shark Head |
How to unlock the Veil of the Forsaken
The Veil of the Forsaken is the final area, where the Scylla Boss Fight takes place. To access it, players must solve a series of puzzles, starting in the Calm Zone.
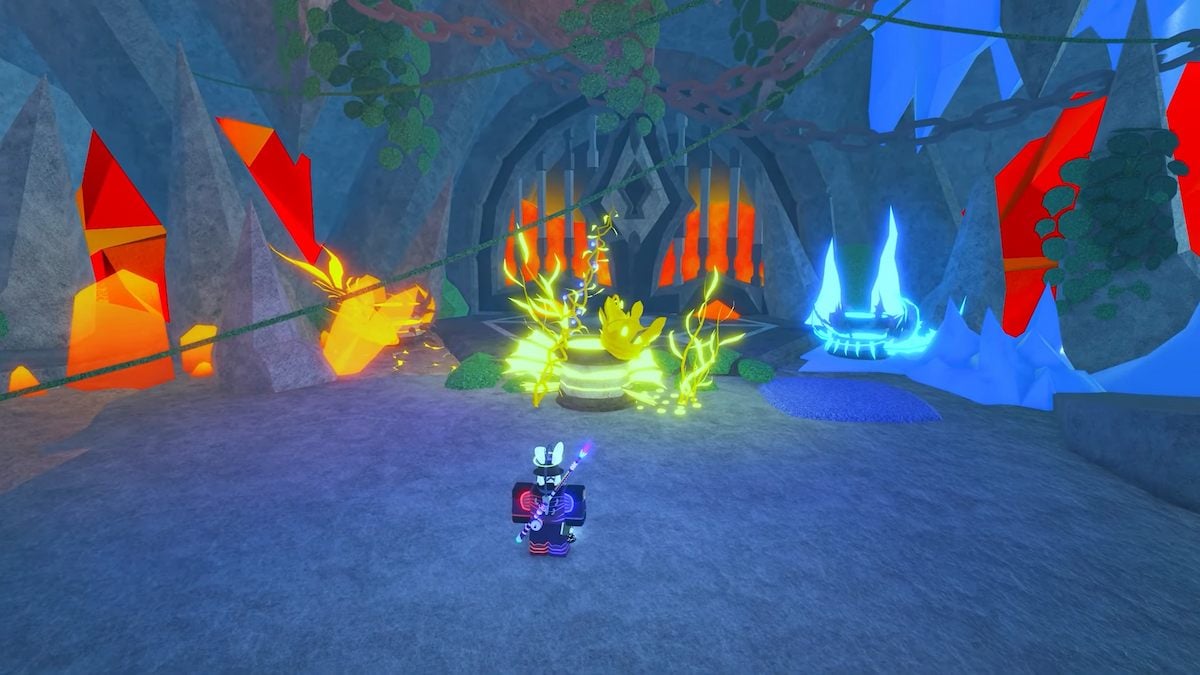
At the south end of the Calm Zone, where the rainbow river ends at (-4305, -11230, 1955), you need to dive underwater and follow the tunnel to the end. Eventually, you’ll resurface in an area with three altars and a large barred gate.
To unlock the gate, three secret fish must be placed in designated slots:
- Magma Leviathan from the Volcanic Vents
- Frozen Leviathan from Challenger’s Deep
- Crowned Anglerfish from Abyssal Zenith
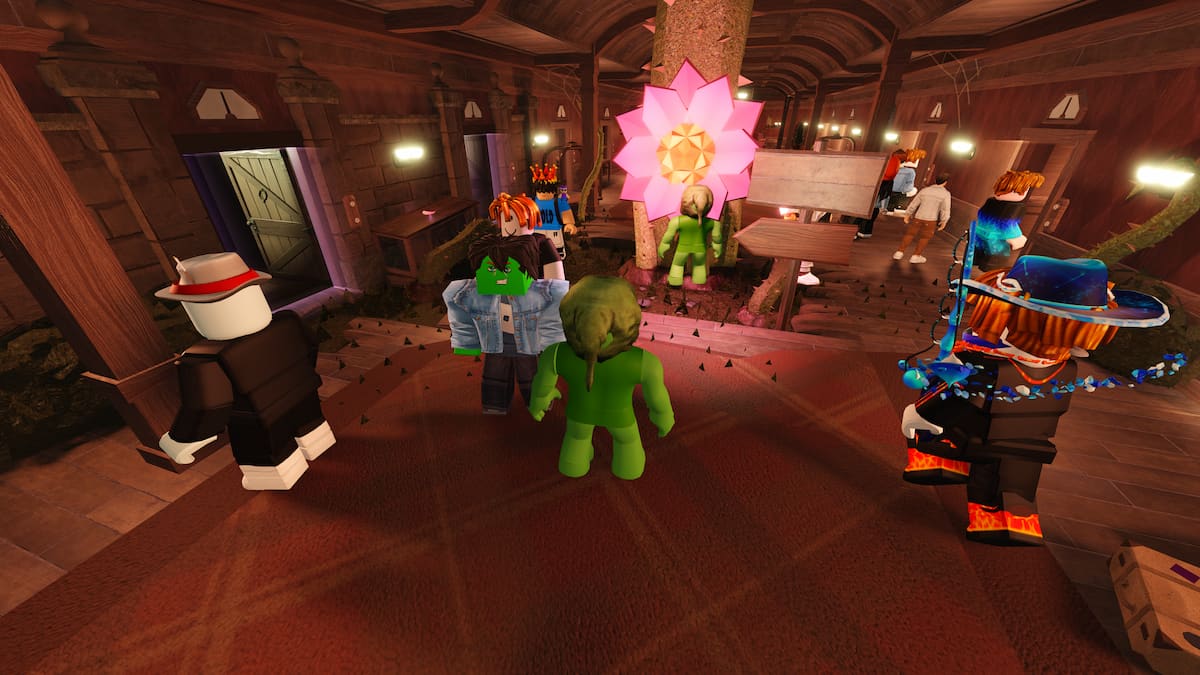
Once the gate is open, go through it to the “waiting room“—another area with rainbow waters where you can complete the Veil of the Forsaken Bestiary.
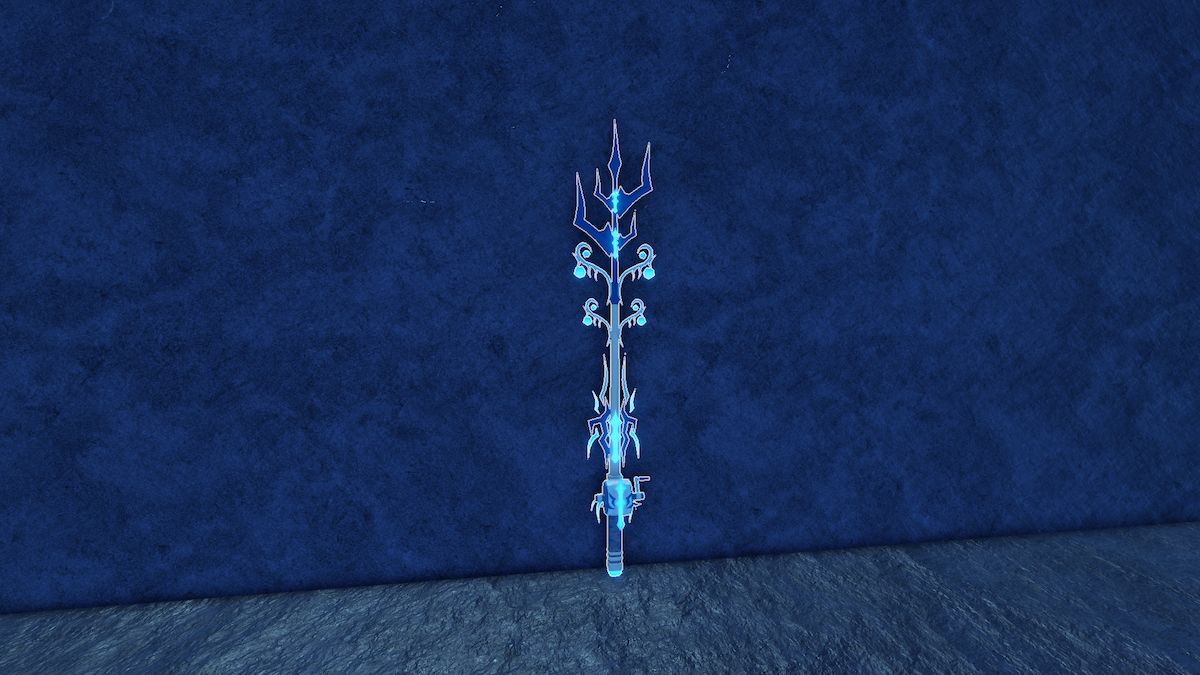
In the new area, you can also find the Ethereal Prism Rod for 15,000,000C$. The coordinates are (-4360, -11175, 3715), and if you’re struggling to see it, it’s on the center island in the middle of the cavern.
But the Bestiary and the Ethereal Prism Rod aren’t the only things in the waiting room. The puzzle to activate the boss fight is here, too. Look for the large chessboard puzzle with four Scylla heads and complete this to unlock a trapdoor that reveals a portal to the boss fight.
To solve the final puzzle, all four statues must be in their correct positions. However, each statue has a new “correct position” every time the puzzle is started. The statue will light up green when it’s in the right place, and you have just one minute to complete the puzzle.
When you’re ready, jump down into the portal to fight Scylla.
Ethereal Prism Rod stats
- Lure Speed: 95 percent
- Luck: 195 percent
- Control: 0.25
- Resilience: 40 percent
- Max kg: Infinite
Veil of the Forsaken full Bestiary
| Fish | Rarity | Weather | Season | Time of Day | Bait |
|---|---|---|---|---|---|
| Hydra Haddock | Common | Windy | Any | Any | Insect |
| Serpent Surgeonfish | Uncommon | Foggy | Any | Any | Bagel |
| Kraken Koi | Uncommon | Clear | Any | Any | Worm |
| Gorgon Grouper | Unsual | Clear | Any | Any | Minnow |
| Siren Sculpin | Rare | Windy | Any | Any | Squid |
| Cyclone Scorpionfish | Rare | Rain | Any | Any | Seaweed |
| Typhoon Tailfin | Legendary | Rain | Any | Any | Truffle Worm |
| Twilight Tentaclefish | Mythical | Clear | Any | Any | Truffle Worm |
| Scylla | Secret (Scylla Hunt only) | Any | Any | Any | Shark Head |
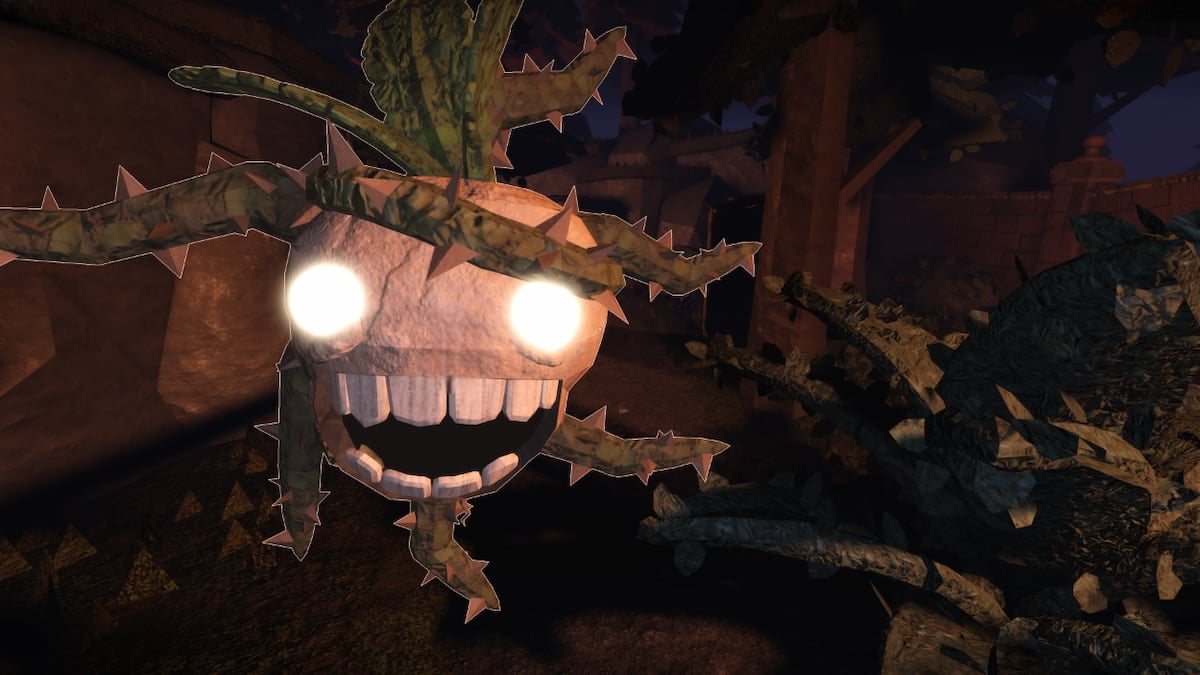
How to beat the Scylla boss
The fight against Scylla can have multiple players at once, making it possible to battle the boss as a group. This is highly recommended, as the fight is designed to be one of the most dangerous encounters in Mariana’s Veil.
Scylla has four heads, each capable of launching a different type of fireball. If you are struck by all four types, you will die instantly and respawn at the chessboard puzzle. To avoid this, move constantly, dodge projectiles, and time your actions carefully.
How to assemble the Crossbow
Scylla is invulnerable to regular attacks, so you need to build a powerful weapon to take it down. Scattered throughout the chamber are the three parts of a large Crossbow, and finding them is the only way to win.
- The Crossbow Base is located on the north side of the chamber at (-4345, -11155, 6490).
- The Crossbow Bow can be found on the northeast side near (-4800, -11185, 6610).
- The Crossbow Arrow is on the northwest side at (-4035, -11185, 6510).
You need to get all three parts while avoiding Scylla’s fireballs. Once collected, return the pieces to the large Crossbow positioned above the entrance at (-4360, -11090, 7140).
After assembling the Crossbow, a cutscene will play, showing you launching a powerful shot that slays Scylla. With that, the boss fight will be complete, and you will permanently unlock access to the Veil of the Forsaken.
After you defeat the Scylla, you will be able to buy the Leviathan’s Fang Rod near the entrance at coordinates (-2300, -11190, 7140) for 1,000,000C$.
Leviathan’s Fang Rod stats
- Lure Speed: 70 percent
- Luck: 180 percent
- Control: 0.1
- Resilience: 5 percent
- Max kg: Infinite
Now that you’ve completed Mariana’s Veil, you can take part in Scylla Hunts when they are announced on your server. Scylla fish enjoy Shark Head bait, so be sure to have some on you if you attempt to capture one!


Published: Feb 23, 2025 03:08 pm