
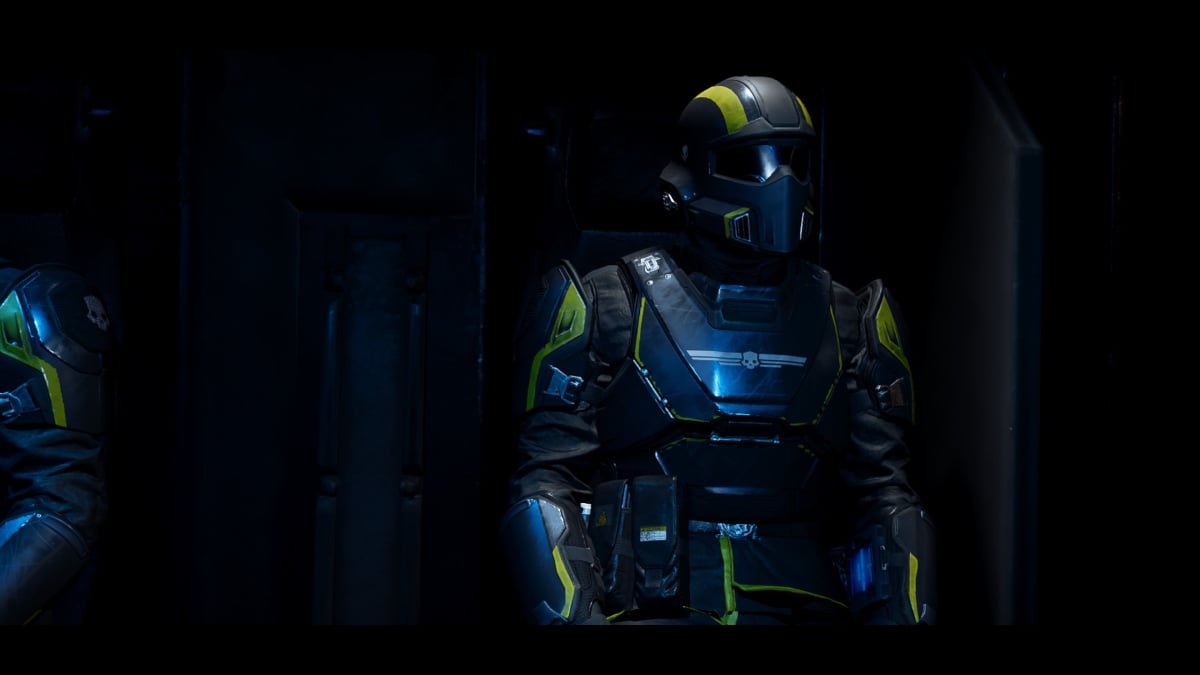
Solo Helldivers can easily feel like their efforts are futile without comrades by their side. If you’re trying to avoid high treason or mission failure, here are our eight tips for solo players starting out their career in Helldivers 2.
Helldivers 2: Solo player guide for beginners
Best missions to complete for Medals and XP

Mission selection plays a huge part in whether you succeed in Helldivers 2, regardless of your chosen difficulty level or unlocked weapons, armor, and Stratagems.
Here are the best missions to complete as a solo player, ranked from easiest to hardest, to missions you should completely avoid if you’re playing alone. Some missions are easier to complete with teammates, while others feel downright impossible to finish on your own within the 40-minute timeframe.
- Upload Escape Pod Data: Collect data from the pod.
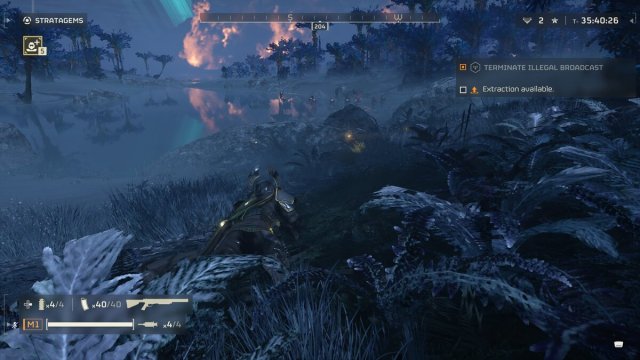
- Terminate Illegal Broadcast: Turn off illegal broadcasts inside enemy territory.
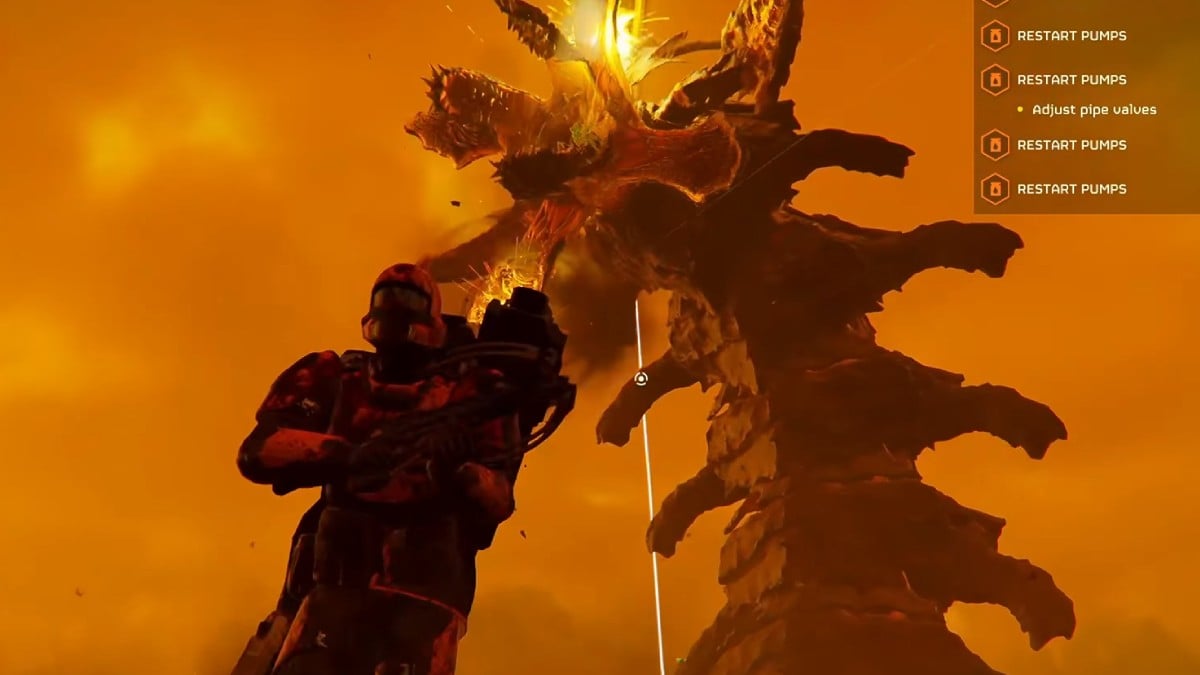
- Activate E-710 Pumps: Turn valves to reactivate the pumps.
- Destroy Transmission Network: Turn off the Transmission Stream.
- Spread Democracy: Raise multiple Super Earth flag(s).
- Launch ICBM: Find shells and place them in the ICBM to activate.
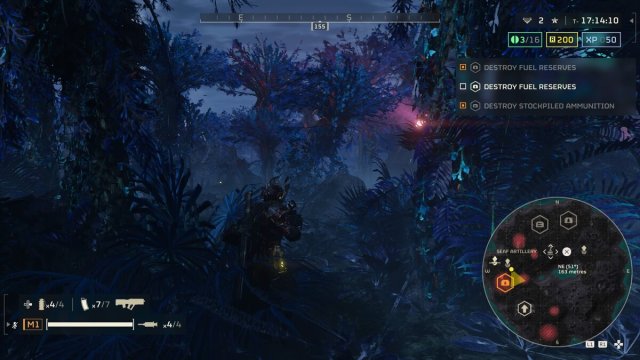
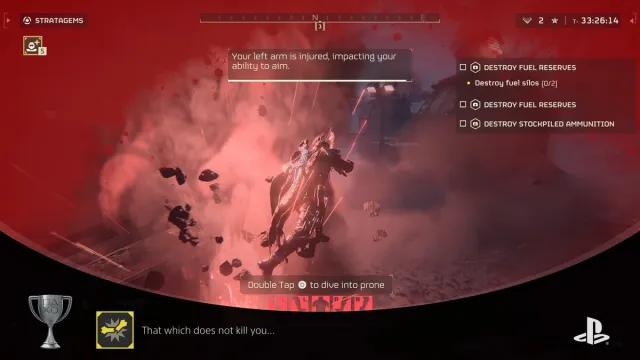
- Sabotage Supply Bases: Destroy fuel and munitions in the area.
- Sabotage Air Case: Destroy Air capabilities in the area.
You can complete all of our recommended missions very quickly once you learn where objective items are located.
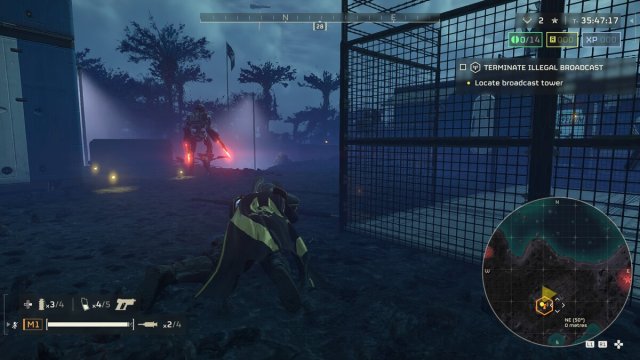
Use stealth on Terminate Illegal Broadcast missions if the terminal is clear from enemies.
Missions to avoid as solo players:
- Purge Hatcheries: Destroy all Terminid eggs.
- Blitz: Search and Destroy: Destroy all Terminid structures.
- Eliminate Missions: Find the strong target and destroy it.
- Conduct Geological Survey: Find valuable ore veins through a survey.
- Eradicate Forces: Kill Terminid swarm or Automaton forces (small time-to-complete.)
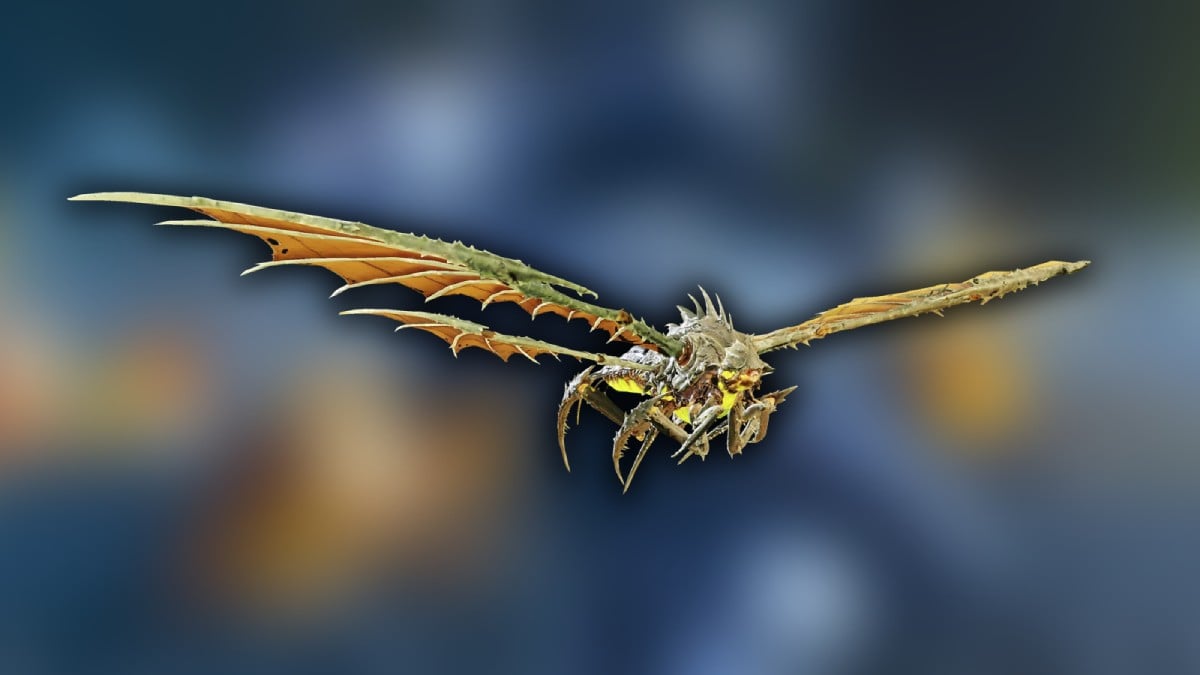
I personally found more success when tackling the Automaton over Terminid missions. Automaton missions can typically be completed far quicker than the Terminid. I’ve made more errors and died more often against the Terminid due to the overwhelming swarms.
Target low-tiered enemies first
Take out any low-tiered enemies as soon as you enter enemy territory. These enemies have the highest spawn rate and are the smallest threat level to you. You can differentiate between the two factions by their attacks. Low-tiered enemies often have one way to attack you. These are either with melee attacks or single firearms. You must target these first to stop any breaches.
A bug or an Automaton breach are reinforcements. Enemies will either emerge from the ground or descend from above via an aircraft. Both factions have multiple opportunities to call in reinforcements. Keep an eye out for a red flare or red smoke around the low-tiered enemies, as this signifies that a breach is about to be activated.
Choose heavy artillery Stratagem over support weapons

When developing your Stratagem list, you’ll want to pick heavy artillery such as Orbital Strikes and drones over support weapons. This is because you can find multiple support weapons as ground loot. What you cannot find are random orbital strikes on the ground like a Call of Duty killstreak in Warzone.
Take this time to develop your playstyle using the support weapons found on the ground during missions. This tells you what the best Stratagems are for you, letting you save up on cash while you level up to unlock more of them in the Ship Management.
Keep an eye on the minimap throughout the missions
The mini-map is an essential tool in every mission. It tells you where patrolling enemies are at all times, especially in close proximity to mission objectives and the extraction point. It also pinpoints any areas of interest for supplies and resources, along with possible support weapon drops. Secondary objectives can appear here, too, but you must be close enough or have already passed it for the objective icon to show on the map.
You can use the mini-map to plan your route to and from objective markers. Place markers for resources, and retreat from battle if you are low on supplies where a path can be planned to the extraction zone or away from any enemy line of sight. Enemies won’t follow you if you keep moving. So you can keep backing away from a fight and reposition at another marker without being followed. BE sure to watch your stamina bar, too. You can walk to regenerate your stamina.
Don’t neglect the Supply Drop Stratagem

The Supply Drop is a great Stratagem to resupply on ammunition and stims. While less common, you can find stims at Salute for Freedom ground caches. As you start with four stims in your inventory (unless you have armor with a stim upgrade passive), it is best to use the Supply Drop Stratagem as often as you can during a mission to replenish your supplies. Stims are the only way to heal yourself.
Do not pick everything up from a Supply Drop immediately. Pick up one supply first, reload your grenades and ammunition, then pick up another. Place the Supply Drop in a convenient area, somewhat close to the objective but not too close that enemies can easily overwhelm you or destroy the Stratagem. You can revisit the Supply Drop and pick up another pack if you still have extra supplies lying around.
Be careful of your environment
The environment in Helldivers 2 can kill you instantly. Avoid any brightly colored blue plants or red devices on the floor, as these are landmines. These can quickly punish you if you accidentally step on them and your health isn’t full. Enemies can trigger these too, so use the mines to your advantage and wait for them to walk over and shoot the mine from under their feet to take down multiple enemies at once.
You can also easily drown if you try to go into the water to reposition in a fight. The Helldivers, unfortunately, don’t know how to swim. So going into the water will result in your demise and another Helldiver’s respawn. Finally, be aware of the map perimeter by checking the mini-map. Going outside of the combat area will result in a mission failure if you stay out there too long.
Complete everything in a mission

Helldivers 2 often gives you a 40-minute timer to complete the main objective. Complete it as fast as you can and use the rest of the time to complete other objectives while looting up on resources. Remember that you don’t always need to call the extraction shuttle. All you need to do is make sure that you’re close by when the ship is landing.
The extraction shuttle will always appear at the end of a mission.
Stay back in a fight
Nothing is forcing you to get close to swarms of enemies. If you are spotted, keep a safe distance and pick off the lower-tiered enemies first before they call for reinforcements. Use this space to drop a well-placed grenade or call in air support against higher-tiered enemies. Staying back also lets you target enemy weak spots using the first-person mode.
You can also take this time to assess your situation and determine whether you can get to the objective by luring the swarm elsewhere or if you have enough supplies to take it out by yourself. You should use a combination of all of these tips so they work in harmony with one another. These increase your chances of survival, lower the risk of respawn and enemy reinforcements, and offer the most mission rewards after extraction.


Published: Feb 11, 2024 02:02 pm