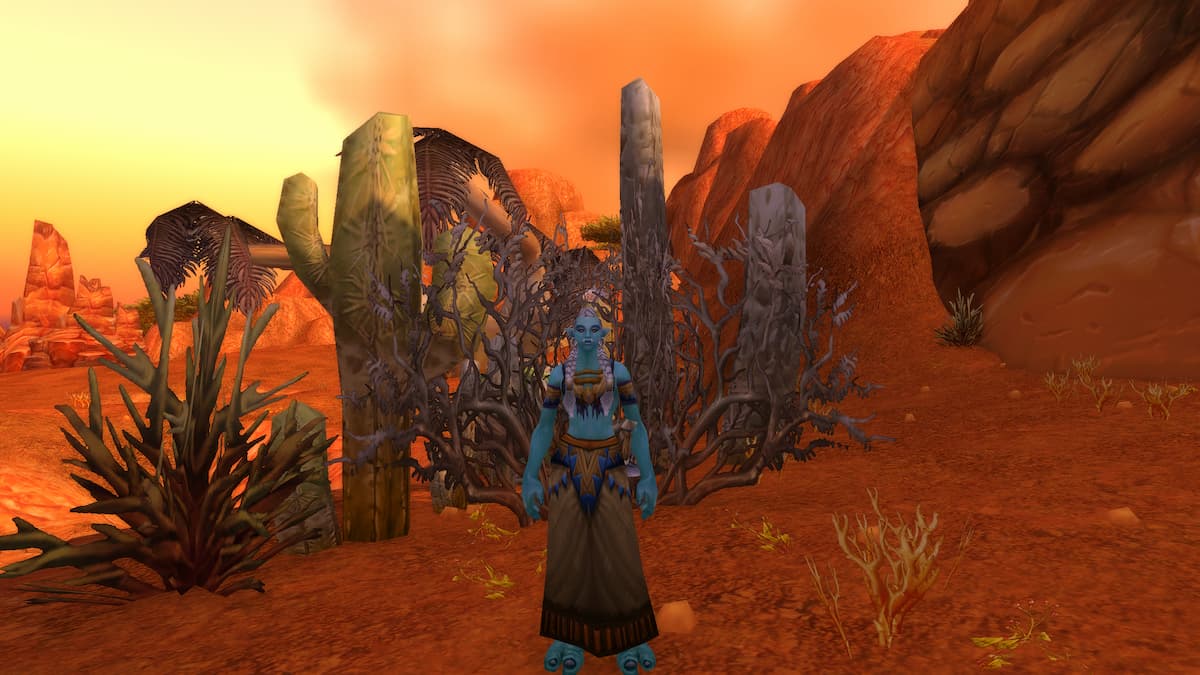
Shamans got a bunch of new abilities in World of Warcraft Classic Season of Discovery. But these new abilities, or Runes, first need to be unlocked and then engraved into your gear slot.
Each new Rune can drastically change your playstyle. In Season of Discovery, Shamans can take on the role of a melee DPS, ranged DPS, healer, and even a tank. Naturally, you can mix and match Runes as you like, and once you learn them, you don’t have to go back into the world to seek them out again.
Here are all Shaman Runes available in WoW Classic Season of Discovery.
WoW SoD Shaman Runes, listed

In Season of Discovery, Shamans can learn up to 12 Runes. During the first phase, you can only use three new abilities, and each new update will introduce three additional Rune slots.
Here’s the list of all Shaman Runes in Season of Discovery and how to get them.
| Rune | Ability | Location |
|---|---|---|
| Dual Wield Specialization (Chest) | Increases your chance to hit with both spells and melee attacks by five percent while dual wielding, and your Stormstrike ability now hits with both weapons while dual wielding. | You can purchase this rune from Grizzby in Ratchet in The Barrens (coordinates 61.8 and 39.4). However, you must be level 20 and complete these three quests of his to do so: 1. Fish Oil 2. Dark Iron Ordinance 3. Shredder Turbochargers |
| Shield Mastery (Chest) | Each time you Block, you regenerate mana equal to eight percent of your maximum mana, and you gain Armor equal to 30 percent of your shield’s armor value, stacking up to five times. You also always gain a 10 percent increased chance to Block, and a 15 percent increased Block value. | Durotar: You must find the Galvanic Icon around Durotar (listen for a lightning sound). Once you find it, interact with it, and then kill 10 enemies with Lightning Bolt to learn the rune. Possible spawn locations in Durotar include: – 37 and 45.5 – 38 and 35.50 – 40 and 50 – 50 and 51 – 52 and 56.40 – 53 and 50.50 – 56.5 and 28.4 Mulgore You must find the Galvanic Icon around Mulgore (listen for a lightning sound). Once you find it, interact with it, and then kill 10 enemies with Lightning Bolt to learn the rune. Possible spawn locations in Mulgore include: – 36 and 10 – 37.5 and 53 – 38 and 60 – 42 and 56 – 54 and 56 |
| Overload (Chest) | Gives your Lightning Bolt, Chain Lightning, Chain Heal, Healing Wave, and Lava Burst spells a 33 percent chance to cast a second, similar spell on the same target at no additional cost that causes half damage or healing and no threat. | Trolls and Orcs (Durotar) 1. Get the level two quest, Icons of Power, from Shikrik, the Shaman trainer in Durotar (coordinates 42.4 and 69.0). 2. Kill Scorpid Workers (coordinates 45.0 and 72.6) until you get the Dyadic Icon. 3. Equip the Icon 4. You must take 10 rounds of nature damage until you get the Inspired Buff. You can fight another Shaman or continue fighting the Scorpids to get the buff. 5. With the buff, use the Dyadic Icon to learn the rune and return to Shikrik to complete the quest. Tauren (Mulgore) 1. Get the level two quest, Icons of Power, from Meela Dawnstrider, the Shaman trainer in Mulgore (coordinates 45.0 and 76.0). 2. Kill Bristleback Shamans in the Brambleblade Ravine (coordinates 64.8 and 78.8) until you get the Dyadic Icon. 3. Equip the Icon 4. You must take 10 rounds of nature damage until you get the Inspired Buff. You can fight another Shaman or continue fighting the Bristleback Shamans to get the buff. 5. With the buff, use the Dyadic Icon to learn the rune and return to Meela Dawnstrider to complete the quest. |
| Healing Rain (Chest) | Selects the area 15 yards around the target player and heals all of the target player’s party members within that area for (* 15 / 100) every second. | You can purchase the rune for two gold from any Durotar Supply and Logistics representatives. The easiest representative to find is Jornah in the Valley of Strength in Orgrimmar (coordinates 51.6 and 64.6) |
| Ancestral Guidance (Legs) | For the next 10 sec, 25 percent of your damage is converted to healing on up to three nearby party members, and 100 percent of your healing is converted to damage on your most recent Flame Shock target. | When you find the Adventurer’s Remains, you will need a healer to help you open the portal to summon the Adventurer’s Spirit. Durotar: – The remains are near the tree in Kolkar Crag, south of the Valley of Trials (coordinates 48.0 and 79.6). – Interact with the remains and then have your healer interact with the portal to summon the spirit. – It will then depart, and you can loot the rune from the drop. Mulgore: – The remains can be found on an overlook through the Venture Co. Mine cave (coordinates 60.4 and 33.6). – Interact with the remains and then have your healer interact with the portal to summon the spirit. – It will then depart, and you can loot the rune from the drop. |
| Earth Shield (Legs) | Protects the target with an earthen shield, reducing casting or channeling time lost when damaged by 30 percent and causing attacks to heal the shielded target for 100. This effect can only occur once every few seconds. Three charges. It lasts 10 min. Earth Shield can only be placed on one target at a time, and only one Elemental Shield can be active on a target at a time. | This rune requires you to enter the Blackfathom Deeps Raid, and you need to be level 25. 1. Enter the Blackfathom Deeps Raid and kill Baron Aquanis, the water elemental boss. He drops the Strange Water Globe, which you must right-click and start the quest. 2. Turn in the quest to the Je’neau Sancrea at the Zoram’gar Outpost in Ashenvale (coordinates 11.6 and 34.2) 3. Accept the quest, Elemental Distress from her, and defeat the three different elementals to get different motes: – Befouled Water Elementals at Mystral Lake (coordinates 48.0 and 69.4) – Enraged Stone Spirits in the Stonetalon Mountains (coordinates 33.8 and 66.6) – Burning Destroyers in the Stonetalon Mountains in the same areas as the stone spirits (coordinates 29.4 and 72.4) 4. Make or buy an Elixir of Wisdom and an Elixir of Water Breathing (you need it for this next part). 5. Return to Je’neau Sancrea at the Zoram’gar Outpost in Ashenvale (coordinates 11.6 and 34.2) and turn in the quest. 6. Your elixirs will fuse and turn into an Elixir of Insight. Drink it beside the bonfire and progress to the next part of the quest. 7. Find Hirzek in the Barrens, north of Razorfen Kraul (coordinates 41.8 and 79.4), and kill him. He is level 25, so you might need to bring a friend or two. 8. Once he’s dead, return to Je’neau Sancrea at the Zoram’gar Outpost in Ashenvale (coordinates 11.6 and 34.2) and turn in the quest to get the rune. |
| Way of Earth (Legs) | While Rockbiter Weapon is active on your main hand weapon, you deal 50 percent increased threat, gain 30 percent increased health, take 10 percent reduced damage, gain six percent reduced chance to be critically hit by melee attacks, and Earth Shock taunts targets to attack you and has a separate cooldown from other Shock spells but has its range reduced to melee range. | The Barrens: 1. Use Purge on a Desert Mirage in the Barrens, west of Ratchet (coordinates 57.6 and 35.8) 2. Loot it to get the rune. Silverpine Forest: 1. Kill Rot Hide Mystics mobs (coordinates 46.8 and 23.8) until you get the Rot Totem. 2. Use the Rot Totem to summon a level 15 elite. 3. Kill the elite and loot the rune. |
| Shamanistic Rage (Legs) | Reduces all damage you take by 20 percent and you regenerate mana every second for 15 sec. Mana regenerated per second is equal to 15 percent of your Attack Power, 10 percent of your spell power, or six percent of your healing power, whichever value is greatest. Your party and raid members within 40 yards will also receive 10 percent of the mana you receive this way. | Stonetalon Mountains: 1. In the Charred Vale, find the level 25 elite called Primordial Anomaly (good starting coordinates 29.6 and 72.0). 2. This elite shifts among its different forms: Fire, Frost, and Earth. You must use its weakness to kill it. – Fire is weak to Frost, so use Frost Shock. – Nature is weak to Fire damage, so use Flame Shock. – Water is weak to Nature, so use Earth Shock or Lightning Bolt. 3. The rune drops once you’ve killed it. |
| Water Shield (Gloves) | The caster is surrounded by three globes of water, granting one percent of your maximum mana per five sec. When a spell, melee, or ranged attack hits the caster, four percent of maximum mana is restored to the caster. This expends one water globe. Only one globe will activate every few seconds. Lasts 10 min. Only one Elemental Shield can be active on the Shaman at any one time. | The Barrens: – Loot the Kolkars Booty chests (coordinates 43.0 and 23.5, 44 and 38, or 53 and 42)with a Kolkar Booty Key (you get this from the Kolkar mobs at the coordinates 48.4 and 40.4) to get the Tempest Icon. – Equip it to your relic spot. – Hit 10 enemies (must be non-players) with three different elements (so Fire, Frost, and Nature). You must hit each of them with the three elements. You’ll know you’ve done this correctly when you have 10 inspired stacks. – With the stacks, right-click on the Icon to get the rune. Silverpine Forest: – Kill Grimson the Pale at the back of Deep Elem Mine (coordinates 57 and 45) to get the Tempest Icon. – Equip it to your relic spot. – Hit 10 enemies (must be non-players) with three different elements (so Fire, Frost, and Nature). You must hit each of them with the three elements. You’ll know you’ve done this correctly when you have 10 inspired stacks. – With the stacks, right-click on the Icon to get the rune. |
| Lava Burst (Gloves) | You hurl molten lava at the target, dealing (469 / 100 *) to (605 / 100 *) Fire damage. If your Flame Shock is on the target, Lava Burst will deal a critical strike. | Hillsbrad Foothills: – Get the Kajaric Icon by killing Mudsnout Shamans right of Southsore (coordinates 65.6 and 60.4) – Equip the Icon to your relic slot. – You must take damage from lava five times to learn this rune. Please don’t stand in lava as you will die. – Head to the Ragefire Chasm dungeon in Orgrimmar and move around until you get the Inspired buff. – Use the Icon and learn the rune. |
| Lava Lash (Gloves) | You charge your off-hand weapon with lava, instantly dealing 100 percent off-hand Weapon damage. Damage is increased by 20 percent if your off-hand weapon is enchanted with Flametongue. | Thunder Bluff: You must complete the three quests from the Stalk with the Earthmother questline. You can start this from Boarton Shadetotem, who is behind the Bag Vendor in Lower Rise (coordinates 39.6 and 65.6) Once you complete these quests, you will learn the rune. |
| Molten Blast (Gloves) | Blast up to four enemies in a cone in front of you for (* 72 / 100 + 5 / 100 * Attack power) to (* 108 / 100 + 5 / 100 * Attack power) Fire damage. This ability generates a high amount of threat. Flame Shock periodic damage has a 10 percent chance to reset the cooldown on Molten Blast. | Durotar: 1. Find the Frozen Makura east of Razor Hill (coordinates 58.8 and 45.4). 2. Attack it until you can loot the Sulfurous Icon. Equip the Icon. 3. Defeat 10 enemies with earth shock. Each kill with Earth Shock will give you an Inspired buff. 4. When you have 10 Inspired buffs, use the Icon to learn the rune. Mulgore: 1. Find the Artifact Storage chest at the Bael’Dun Digsite (coordinates 31.6 and 49.5). 2. Open it using an Artifact Storage Key, which you can get from the dwarves nearby (coordinates 34.8 and 46.6) 3. Loot the Sulfurous Icon from the chest and equip it. 4. Defeat 10 enemies with earth shock. Each kill with Earth Shock will give you an Inspired buff. 5. When you have 10 Inspired buffs, use the Icon to learn the rune. |
So, until phase two launches on Feb. 8, these are all the Shaman Runes available in WoW SoD and how to get them.


Published: Jan 12, 2024 09:59 am