Black Ops 6 Zombies is filled with Easter Eggs, and we’ve got all the details you need on how to solve the main secret of the Liberty Falls map.
The main Easter Egg in Liberty Falls for Black Ops 6 is split into several sections, which you must complete in order. I highly recommend having decent weapons and using the Pack-a-Punch machine before you start, as there are some difficult points.
Black Ops 6 Zombies Liberty Falls Easter Egg walkthrough
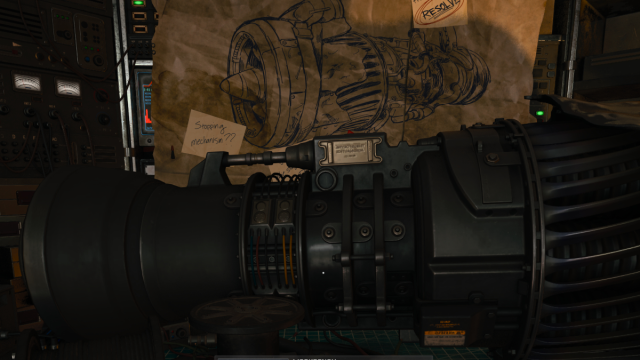
Before you get started on completing the Easter Egg, you must craft the Jet Gun Wonder Weapon. We’ve got a full guide detailing the method here if you’re unsure about the process, but the main gist is that three parts need to be collected. They are:
- Water Pressure Gauge
- Handbrake
- Electrical Wires
You can collect the components in any order, but I recommend starting with the Water Pressure Gauge because it’s the most challenging. I’d also keep the Electrical Wires until last, as you either need to craft a Mangler Cannon or wait until a Mangler Spawns—the latter doesn’t happen until round 10.
How to start the Liberty Falls Easter Egg and collect LTG parts in BO6
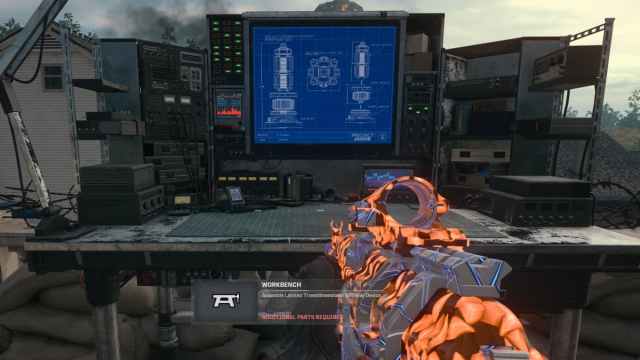
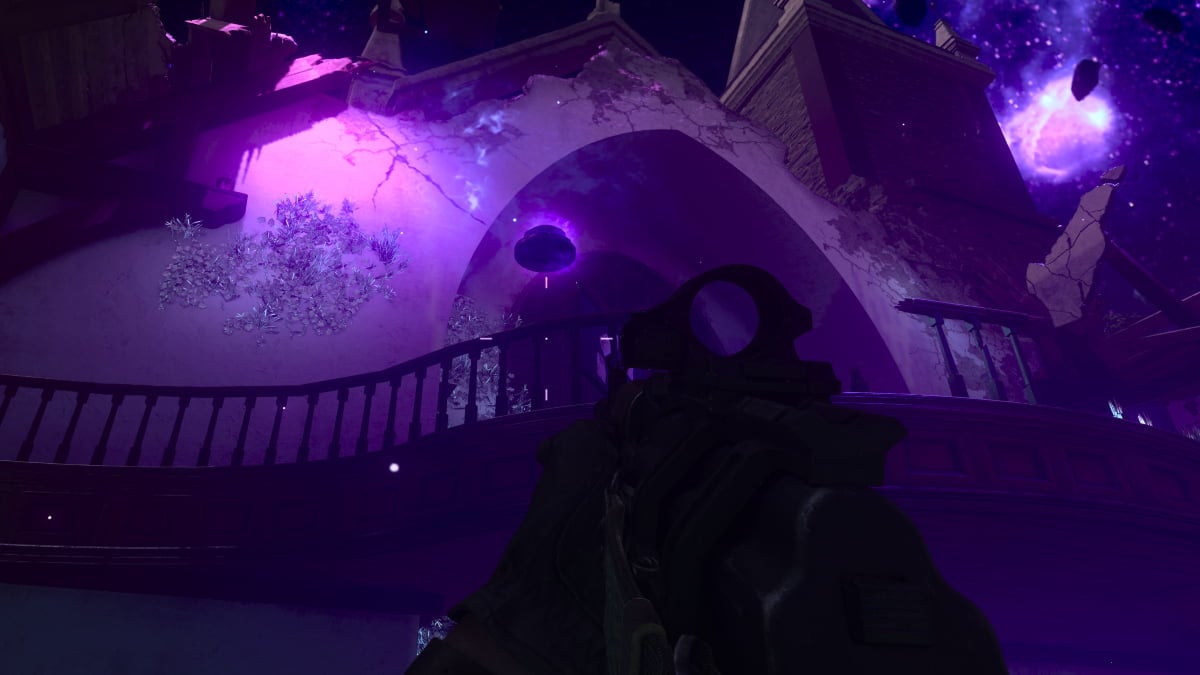
With the Jet Gun in your arsenal, head back to the Church where the Pack-a-Punch machine is located. Inside, interact with the large machine on the wall to the right of the Pack-a-Punch machine, the SDG Generator, which is used regularly in the Easter Egg—so don’t forget where it is.
Watch the brief cutscene and then search the map for the three missing components for the LTG device. We’ve got a detailed breakdown of the process here, but you can see the locations in the bullet points below. You need to use the Jet Gun to collect each component.
- Dark Aether inside the Church, left of Panos.
- Inside missing ceiling panel in Olly’s Comics.
- Second floor of Buzz’s Cuts, through an open window.
To construct the LTG device, head to the roof of the Alamo. This is the bank building in Liberty Falls, where the vault and Juggernog are located, accessible from various ziplines across the map.
Use the Workbench in the corner which, like the Jet Gun, takes a while to craft, so I recommend doing this once you’ve only got a single Zombie remaining or are being defended. Once the LTG device is assembled, pick it up and return to the Dark Aether inside the church.
How to find and use the Aether Canisters in BO6
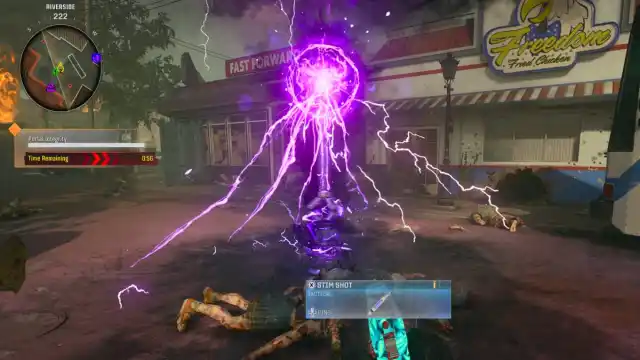
Interact with the SDG Generator again inside the Dark Aether to collect the first Aether Canister. Mobility is restricted when carrying the device, so I recommend doing this at the end of a round. Ideally, use a grenade to blow the legs off the remaining Zombies.
With the Aether Canister, head to the Gas Station near where you spawned at the start of the game. Drop the Aether Canister on one of the circular devices on the ground, connected to the Dark Aether Field Generator trap by cables.
Now, turn around and head down towards Olly’s Comics. Look for the purple cloud above the ground by a bus, and interact with the circular device on the floor to place the LTG device. Defend the LTG device while it charges by defeating nearby Zombies—paying particular attention to those with a purple aura, which will target the device instead of you.
After 60 seconds, a high value target will spawn. This will either be a named Abomination or Mangler. Deal as much damage to the enemy as possible, but don’t kill it. Instead, lure it back towards where you placed the Aether Canister.
Once the enemy has low health, activate the Dark Aether Field Generator trap, then focus your fire on the HVT. If done correctly, the Aether Canister will glow purple, and if it isn’t, you need to complete the process again.
If successful, pick up the Aether Canister and return to the Dark Aether inside the Church. You only have 90 seconds to return to the Church; otherwise, you must start the process again. Therefore, use the same process as before and keep at least one Zombie remaining—ideally, a crawler with no legs.
Interact with the SDG Generator to end the countdown and complete this step. Panos will then provide another short dialogue scene, telling you to find the final Aether Canister using the Strauss Counter.
How to use the Strauss Counter in BO6
Approach the SDG Generator and pick up the Strauss Counter, which replaces whatever you had in your Tactical slot. To use it, press and hold the Tactical button, but don’t worry about this until you reach the specific locations where you must use it.
There are three white projectors across Liberty Falls, with the locations for each listed below, along with their coordinates.
- Groundskeeper’s Yard (D4)
- Hilltop Stairs (D6)
- Yummy Freeze Rooftop (G5)
Activate each projector by hitting the interact button next to them, then align the light on top with a required color. Three options, red, green, and yellow, can be cycled on the projector by pressing the interact button again. To make it easier, we’ve got a key below for what color needs to be inputted based on what the Strauss Counter is showing—but the exact requirements are randomized each time you play.
- Red Strauss Counter: Green projector light.
- Green Strauss Counter: Red projector light.
- Yellow Strauss Counter: Yellow projector light.
Once the three projectors are aligned correctly, head to the Gas Station to find the second Aether Canister. Collect it and head to the Dark Aether Field Generator on Washington Ave, the road just above where Speed Cola is located, and place the Aether Canister on the circular device on the floor like you did for the first.
Now head to the storm portal in the Cemetary next to the church, interact with the circular device in the middle to place the LTG device, and defend the portal. This process is exactly the same as the first time, so focus on the Zombies with a purple aura that will target the device.
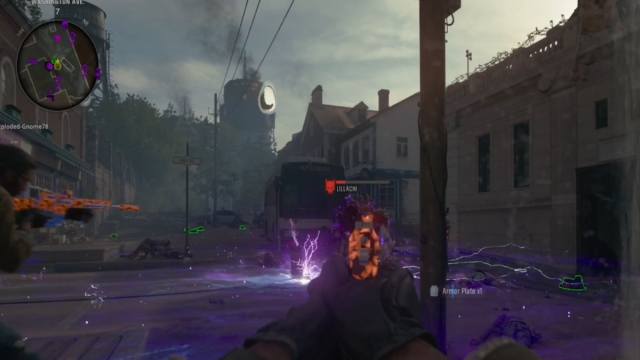
Once fully charged, another high-value target will spawn in the form of a named Abomination or Mangler. While it’s random, expect the enemy to be whatever you didn’t face the first time. Now, it’s time to repeat the process—deal as much damage as possible without killing it.
Lure the enemy toward the Dark Aether Field Generator, where you placed the Aether Canister. Once nearby, activate the trap and kill the enemy while it’s within the purple area. If successful, the Aether Canister will glow purple. If it doesn’t, repeat the process again.
You should know what to do next: collect the Aether Canister and return it to the SDG Geneator in the Dark Aether inside the church. Again, you only have 90 seconds to reach the objective, but you should be fine—just make sure you’re towards the end of a round and only have a few Zombies remaining, ideally a crawler.
Interact with the SDG Generator to end the countdown and receive another message from Panos. Now for the final step, a battle for survival inside the Dark Aether.
How to survival the Dark Aether encounter in BO6
You should have Pack-a-Punch weapons at least level one and several Perk-a-Colas by this stage. If you don’t, you’ll struggle here due to the huge number of enemies that spawn, including several Manglers, and the fact you’re confined to such a small location.
Ideally, this is when you should use any killstreaks you have, like Mutant Injectors and Mangler Cannons, and anything else you’ve managed to get your hands on. Once all enemies are defeated, an explosion will trigger, and you’ll be downed before another cutscene with Panos.
Panos reveals you’ve been tricked into helping with his experiment, and he will siphon your energy to restore himself, leaving you as a ghost. After the screen fades to black, you can either continue the game, which provides special rewards, or exit the match.
If you continue, you will receive rewards like Bonus Points, Weapons, Raw Aetherium Crystals, Wonder Weapons, Aether Tools, and Salvage. Whichever option you choose, you’ll also earn the following rewards after the match:
- Ray Gun PJ-SRU Skin.
- Liberty Falls Easter Egg Calling Cards.










Published: Oct 28, 2024 06:14 am