WWE 2K24 has a wealth of customization options to make your game feel even closer to reality, including the ability to upload custom images—and we’re here to explain how to use the WWE 2K24 Image Upload feature.
You can create custom arenas, crowd signs, banners, portraits, and even use your face when making a new character using the Image Upload feature in WWE 2K24. To do that, you need to know how to use the WWE 2K24 Image Upload.
You may be confused if this is your first time using the Image Upload feature in WWE 2K24. But fear not because we’ve outlined every step you need to make.
How to upload an image to WWE 2K24
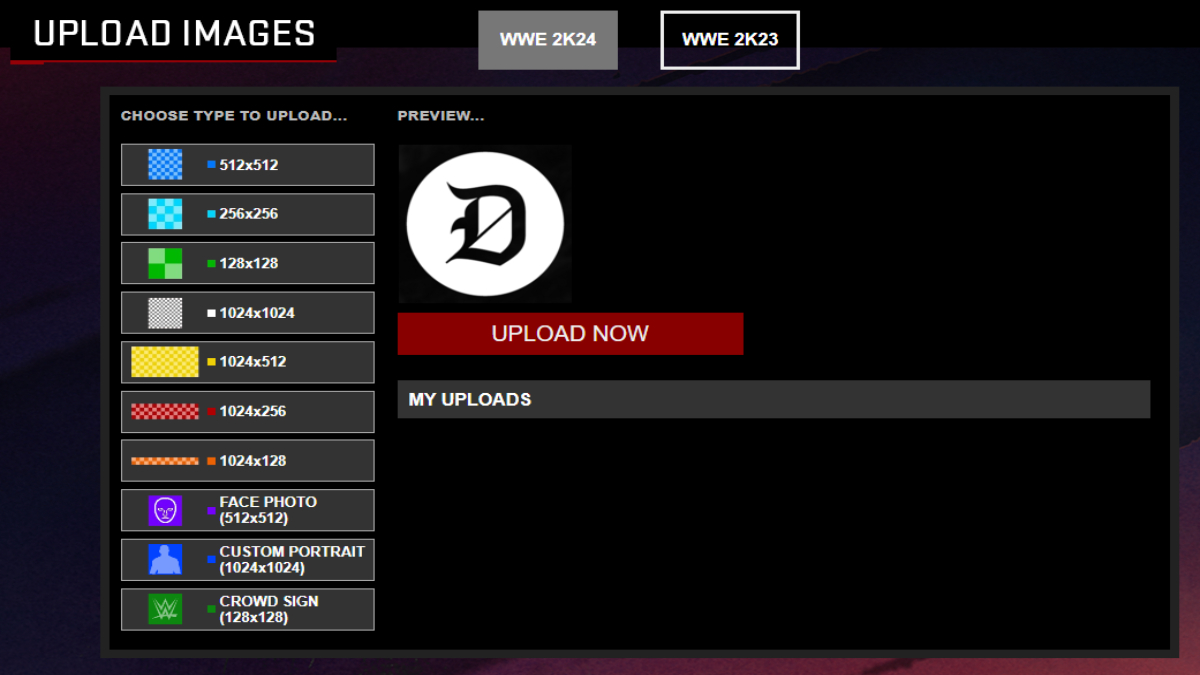
The first step to get a custom image into WWE 2K24 is to upload one, which you can do on the dedicated website by following these steps:
- Open https://www.wwe2k.com/ in your browser.
- Select “Upload Images” on the page that appears.
- Choose your platform from the pop-up that appears.
- Connect your account to WWE 2K24.
- Select the image type you want to upload from the menu on the left.
- Click “Upload Now” and then “Agree & Submit” on the pop-up that appears.
How to download an image in WWE 2K24
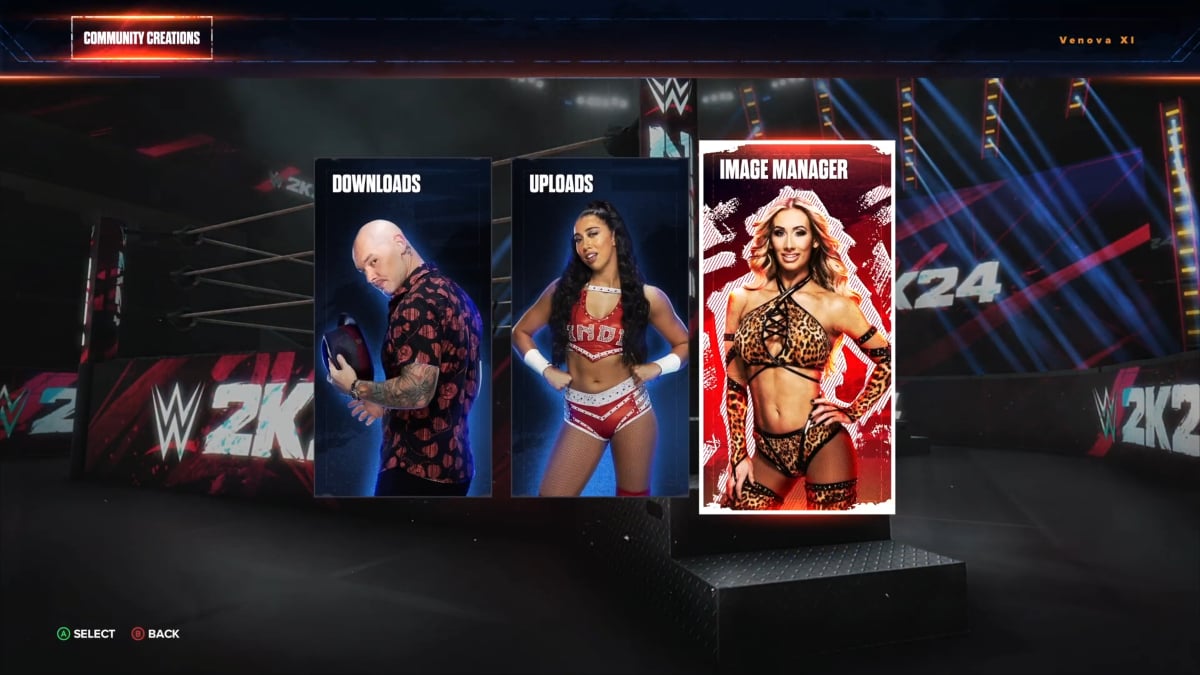
Once you have uploaded an image to WWE 2K24 using the Image Upload feature on the website, the next step is to download the image to your game. You can do so by following these steps:
- Go to the main menu in WWE 2K24.
- Scroll to the “Online” tab.
- Select “Community Creations”.
- Click on “Image Manager” to see all uploaded images.
From here, you can download all the images you have uploaded and will have even more customization options in WWE 2K24.





Published: Mar 5, 2024 05:19 am