After you’ve traveled the stars for a bit in Starfield, you may reach a point where you want to start settling down at your very own Outpost. While this is exciting from an organizational and decor standpoint, Outposts also serve very useful purposes.
Most importantly, they are a way for your character to earn unlimited resources. This is done through Mining Extractors, which can be placed in your Outpost to dig into the ground to produce minerals for you to take. This saves you hours of surveying and scanning planets to find small mineral deposits. Of course, the Mining Extractor is not an easy machine to set up, as there are several factors you need to consider in the set-up process.
Finding a place to put your Mining Extractor in Starfield
For starters, you can’t place a Mining Extractor in any old place in your Outpost. Mining Extractors need to be placed in specific spots on the ground that are rich in whatever mineral it’s going to mine.
Speaking of specific minerals, you will notice that when you pull up your Outpost build mode and go to the Extractors tab, only a few options will appear. This is because you will only get access to Mining Extractors of the specific mineral types that are available on the planet you’re on.
For example, if you’re on a planet rich in Cobalt, Nickel, and Copper, those are the only Mining Extractors you will be able to place in your Outpost.
Starfield Extractor placement
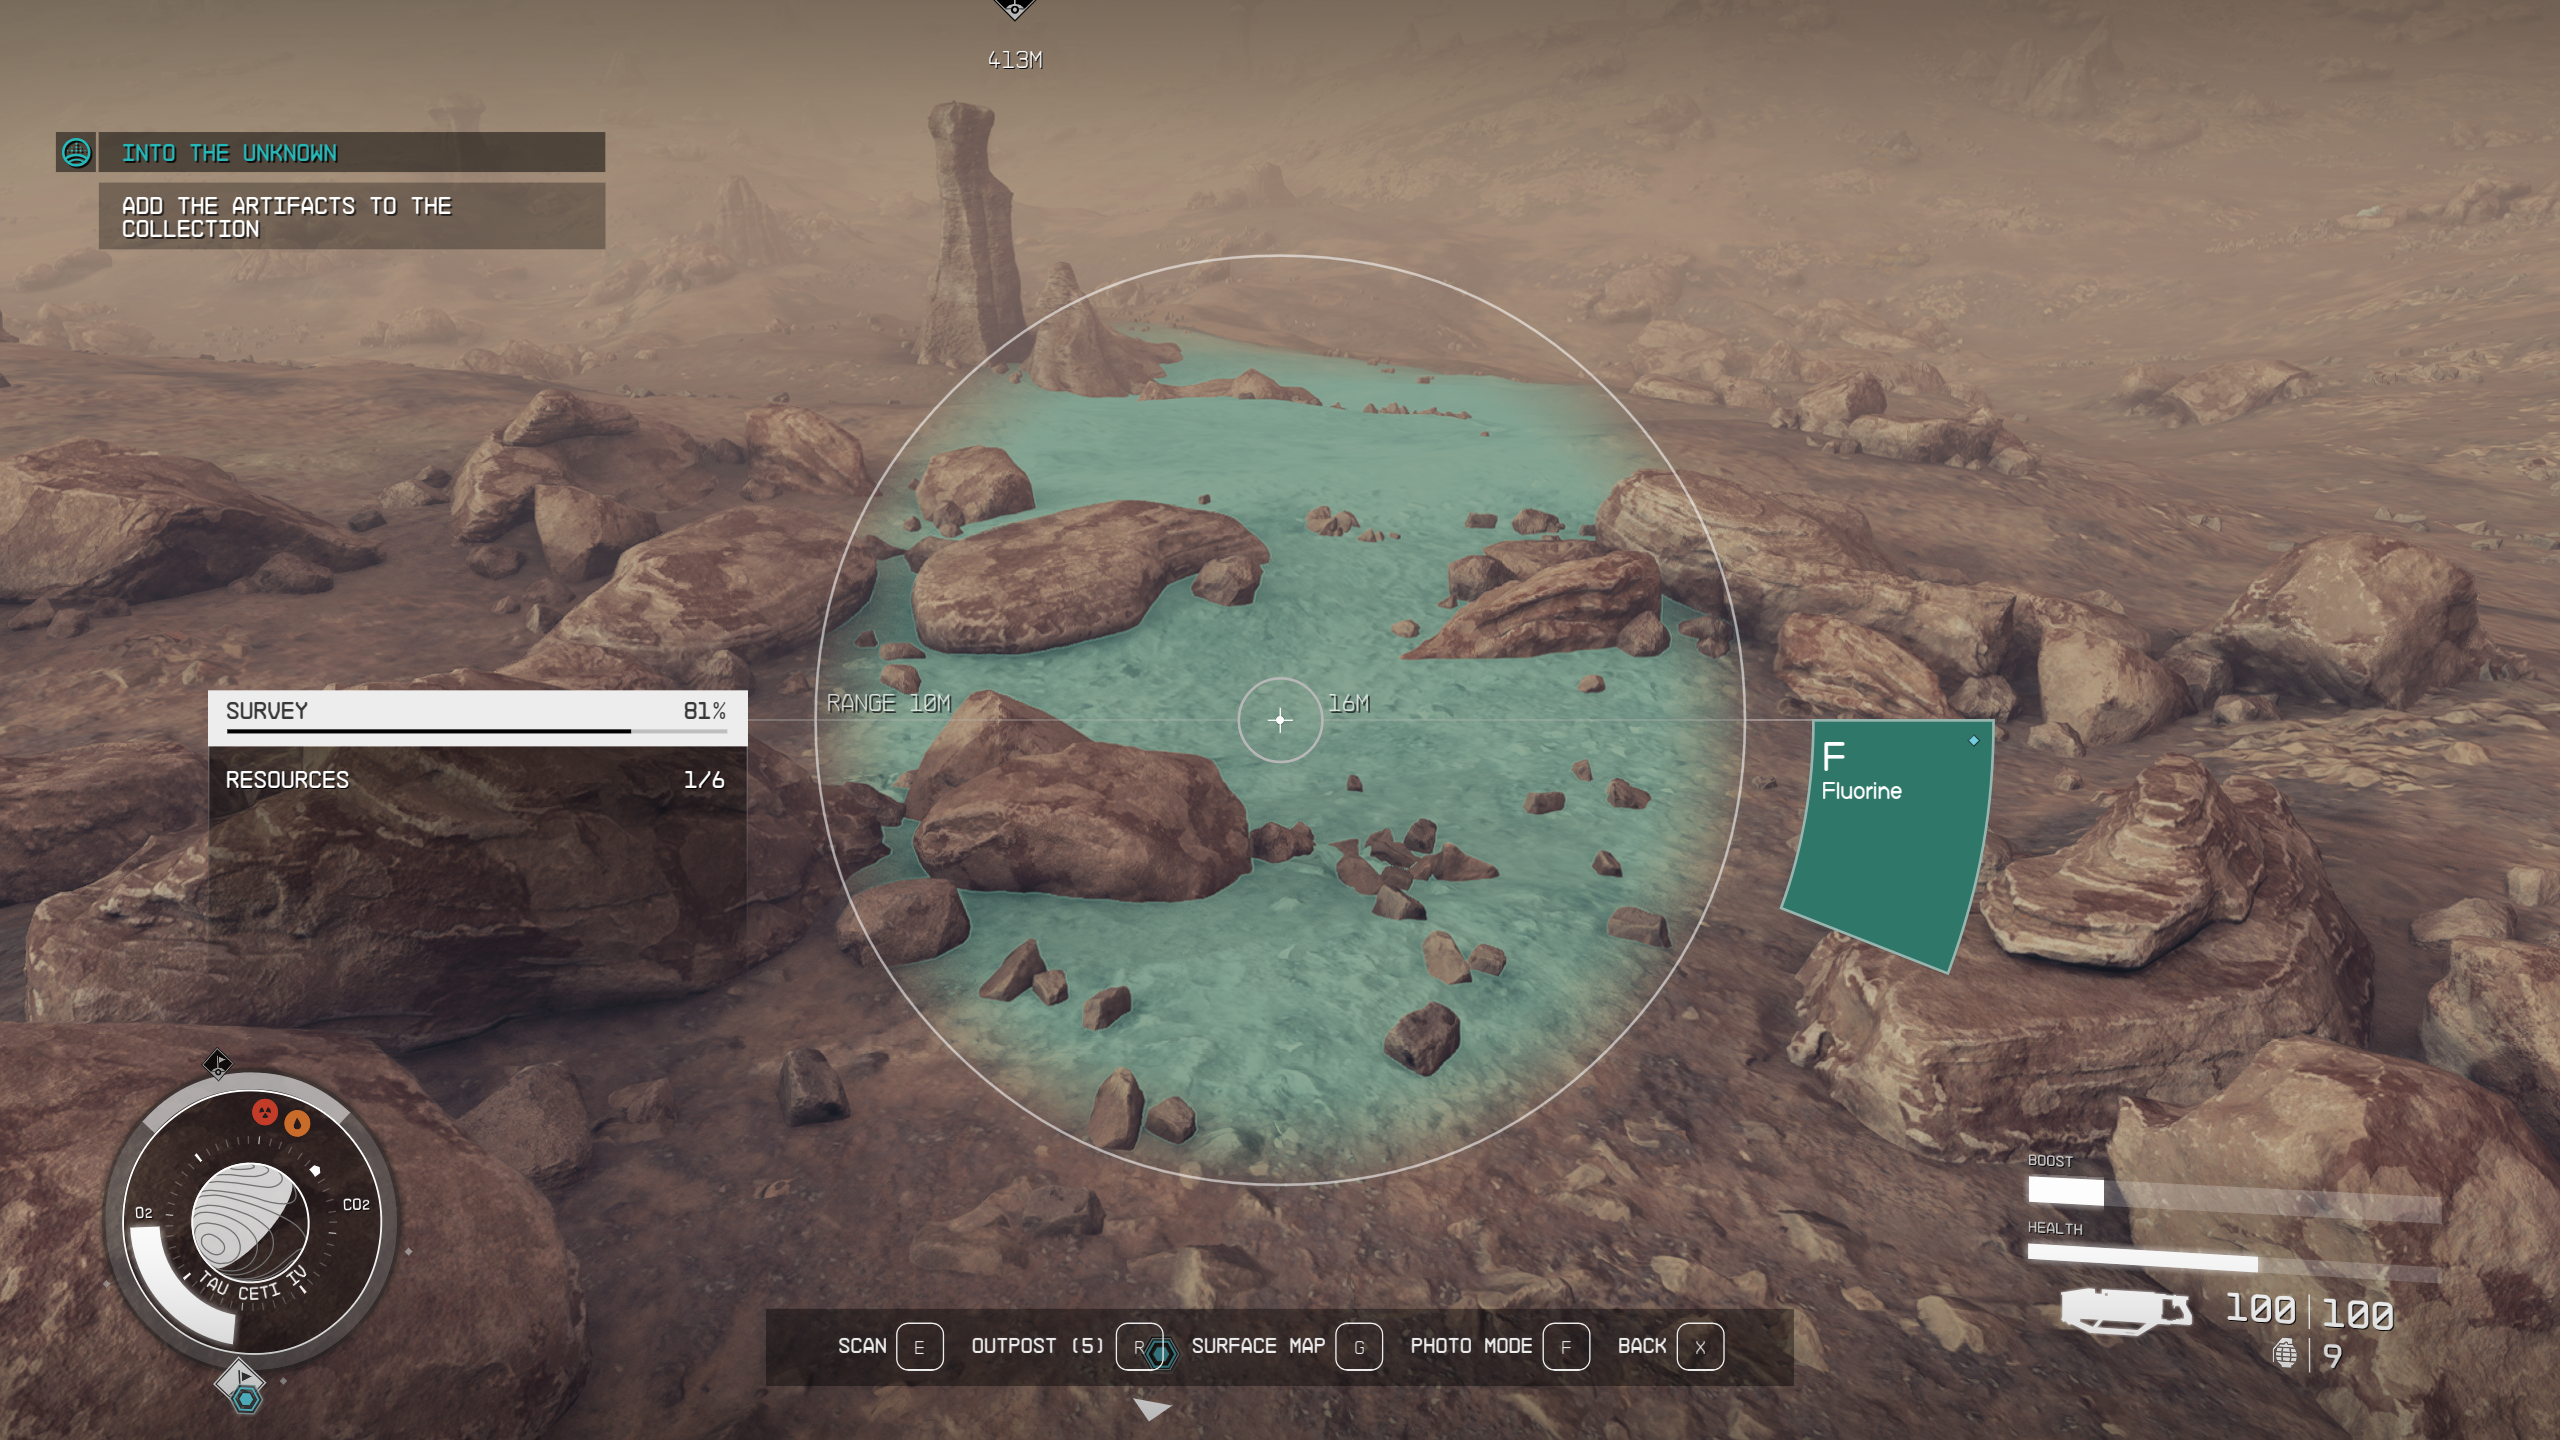
With that caveat out of the way, you then need to pull out your scanner and search the ground for spots where minerals are richest. This will be indicated by the ground changing color and being labeled as the mineral it’s rich in.
You can see in the image below that I was able to find a spot where Fluorine was present, and I could then place a Fluorine Mining Extractor in that spot.
Of course, you will also need to ensure you have placed an Outpost Beacon in the area that the mineral spot is in. If the mineral spot is outside of your Outpost Beacon’s range, you need to move your beacon closer to the mineral spot.
Once you have found a spot that is able to support an Extractor, go into build mode in your Outpost and select your applicable extractor. Make sure you have all of the materials necessary, which is five Tungsten, five Iron, and four Aluminum.
Making your Extractor produce materials in Starfield
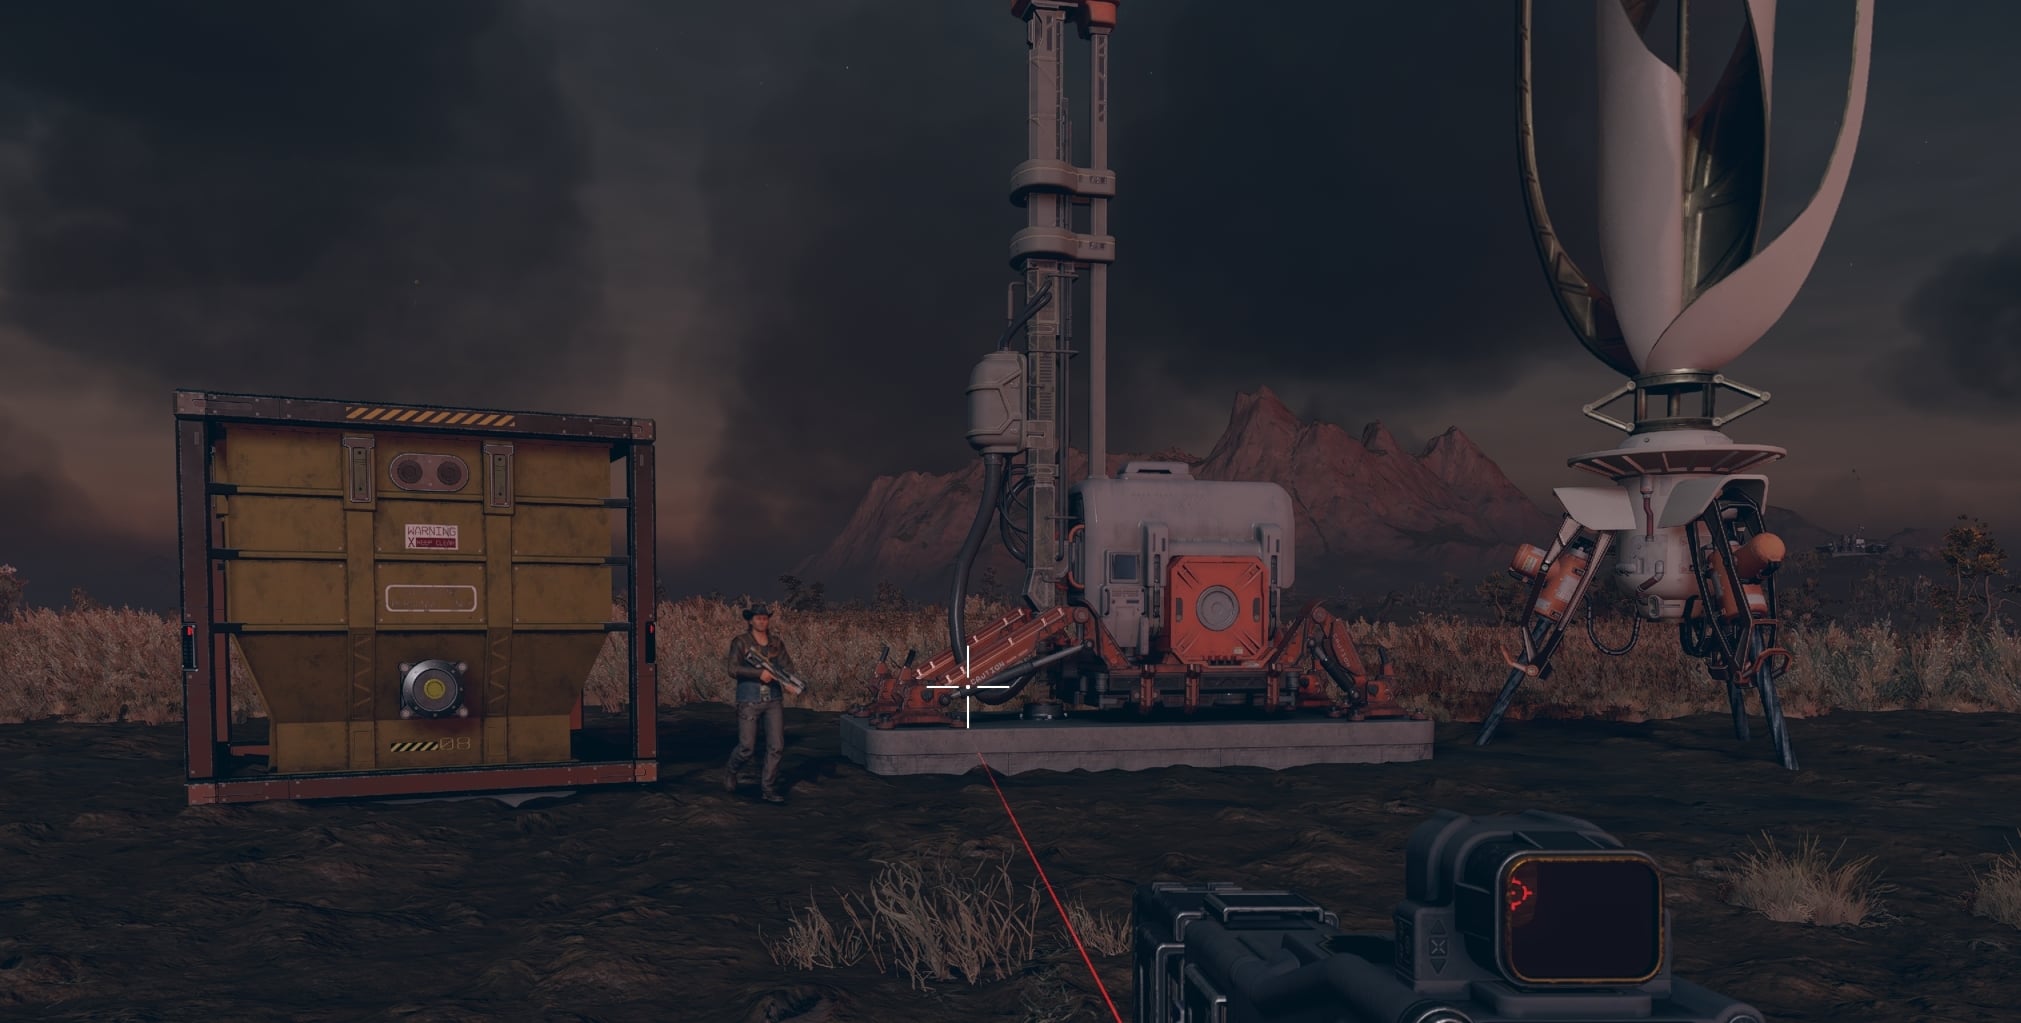
With your Extractor placed, you will need to power it. The machine requires five power, and the easiest way to deliver this power is through a Solar Array, Generator, or Wind Turbine. It all depends on your planet, as sunny planets will benefit from a Solary Array while windier planets can support a Wind Turbine. You need to use a Generator if your planet is dark and dry. Simply place any one of these power sources directly by your Extractor.
Once your Extractor is powered up, it will begin producing minerals. You can loot the minerals it produces right from its inventory.
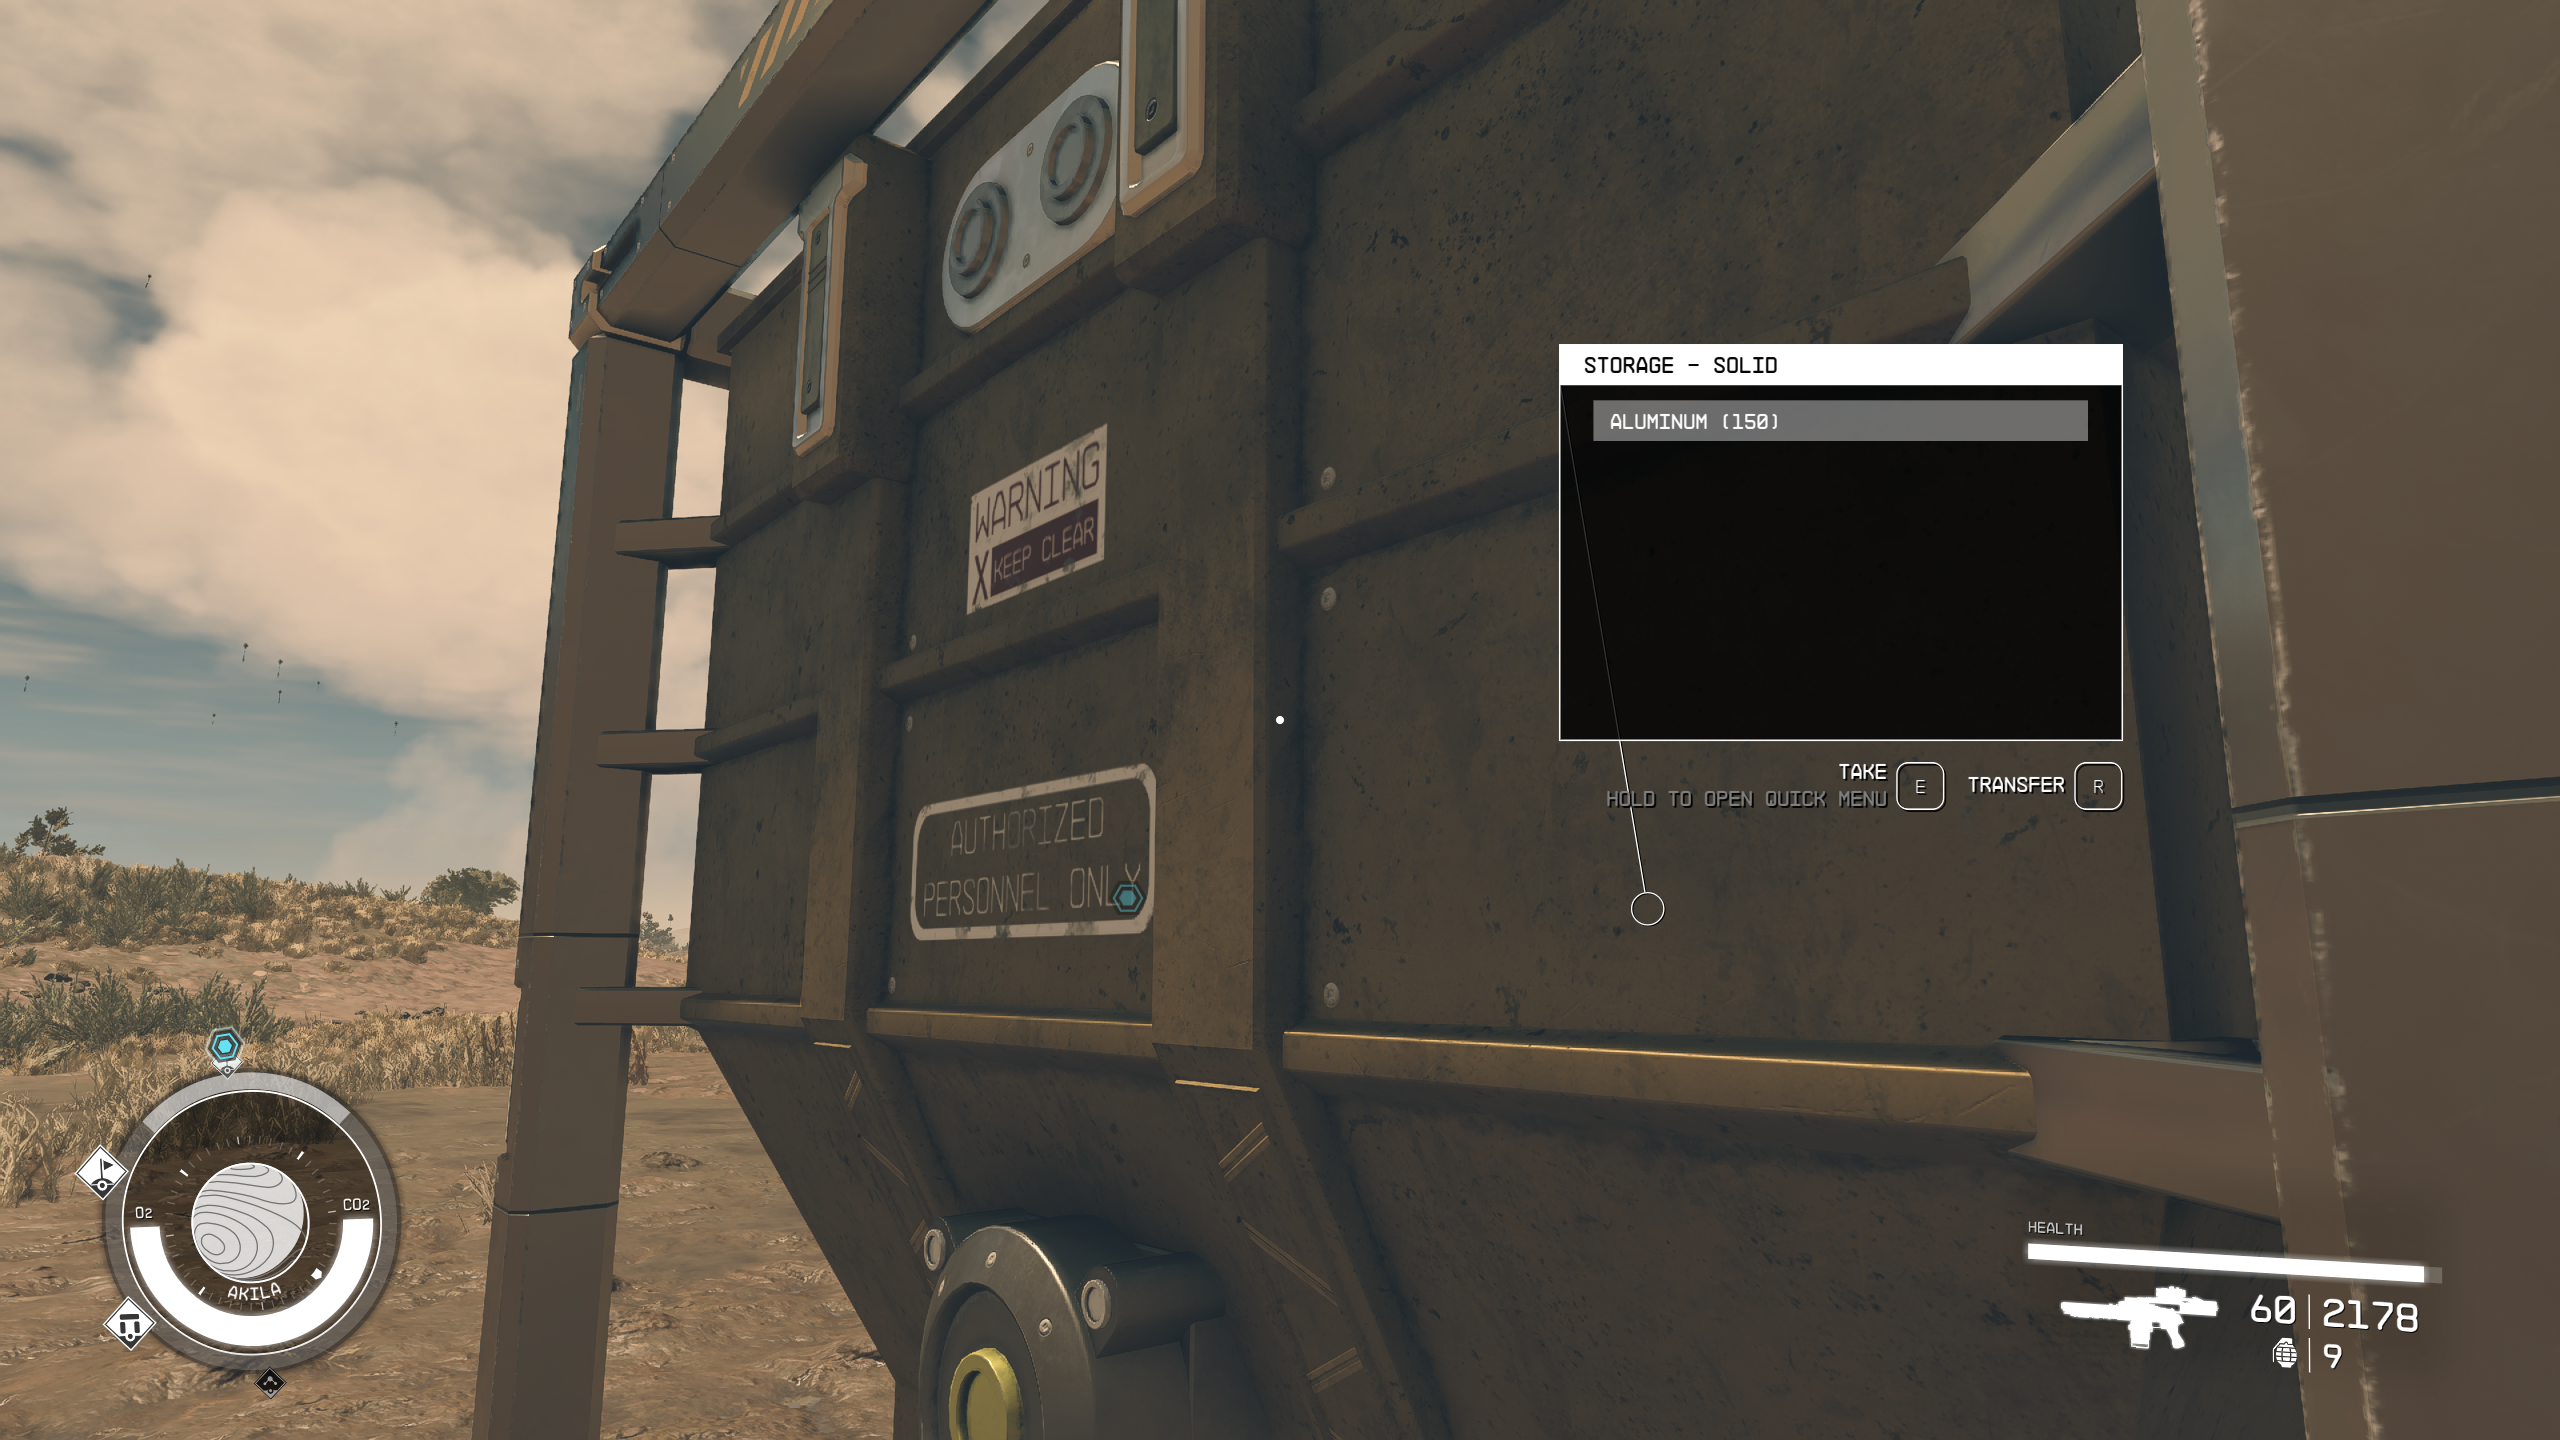
However, there is an easier way to store the minerals the machine produces. If you set up a Storage Container or a Transfer Container, you can funnel the minerals directly from the Extractor into the container.
Place a container directly next to the Extractor and then go to the Extractor’s computer. Here, bring up the quick menu, select the Outpost Link option, and then connect the dotted red line from the Extractor to the container. This will make it so your minerals are placed right into the container.
Be careful, though, as containers have a maximum mass, so once they reach that, no minerals will be placed into them. This essentially stops your production, so you need to check this often to avoid wasted time.
With that, you have a basic Extractor set up at your Outpost in Starfield. You can get far more advanced with this system, but that’s for another day.
Best resources to mine in Starfield
Any resource you need is a good resource vein to mine. But there are some resources that just seem to come in handy more than others. The best resources to mine are as follows:
- Aluminum: Aluminum is one of the most prominent metals in Outpost manufacturing. From extractors and habs to chairs and tables, there are a ton of structures or items that require Aluminum to build. I found myself frequently running out of Aluminum while I was furnishing my Outpost, but luckily, I had built my base atop an Aluminum deposit, so all I had to do was wait for the extractor to collect enough of the resource for me to keep building.
- Helium-3: As you build out your Outpost, you’ll need more and more power. One of the power supplies you can build, the Fueled Generator, is an easy choice. But once you’ve crafted one, you need to continuously supply it with Helium-3. If you build your Outpost atop a Helium-3 deposit, you’ll have endless amounts of fuel to power your base.
- Iron: Like Aluminum, Iron often appears as a required component to many crafting projects, including everything from storage and Transfer Containers to Landing Pads. It’s a fairly common resource across the galaxy, but why keep going back into space just to harvest it, when you can set up an Outpost and get an extractor to do all that work for you?
- Rarer resources like Neon, Palladium, and Mercury: Although these elements are less frequently used for crafting projects, you’ll need to stock up on them for when you begin to craft further upgrades and researching more advanced projects. Because they’re rarer minerals, they’ll be harder to find—so when you do find them, you’ll want to mine them even if you don’t need them at that moment. Lastly, they also sell more than the more readily available minerals. If you don’t end up using them, you can sell what you mine for an extra buck or two.


Published: Sep 11, 2023 05:30 pm