When you enter the Unmoored World in Dragon’s Dogma 2, the true ending begins. Your main goal is to finish the Halls of the First Dawn quest, starting with finding Rothais in the Seafloor Shrine, now without water. Here’s a full guide to completing this entire questline.
How to visit the Seafloor Shrine
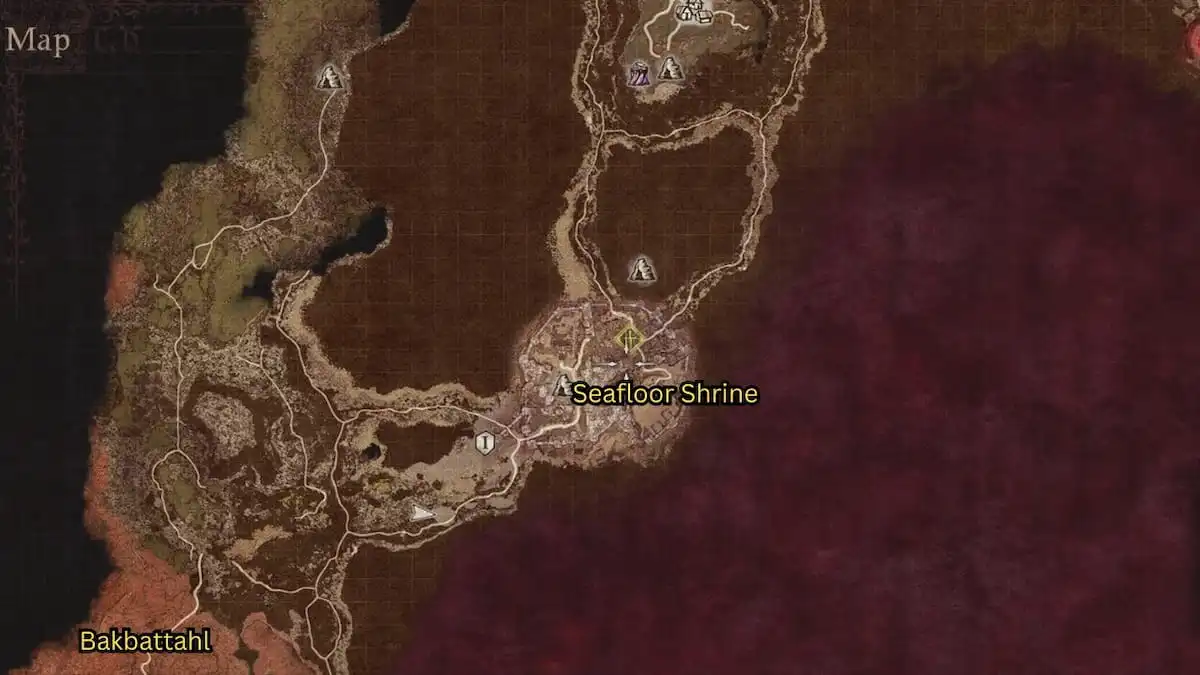
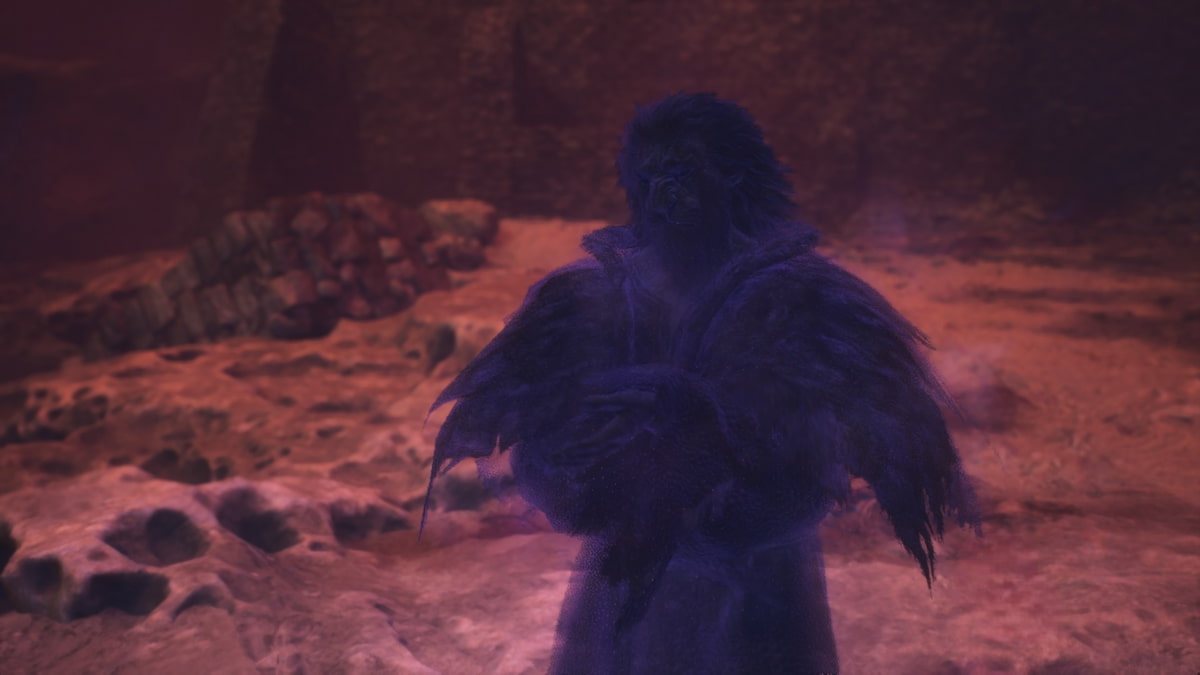
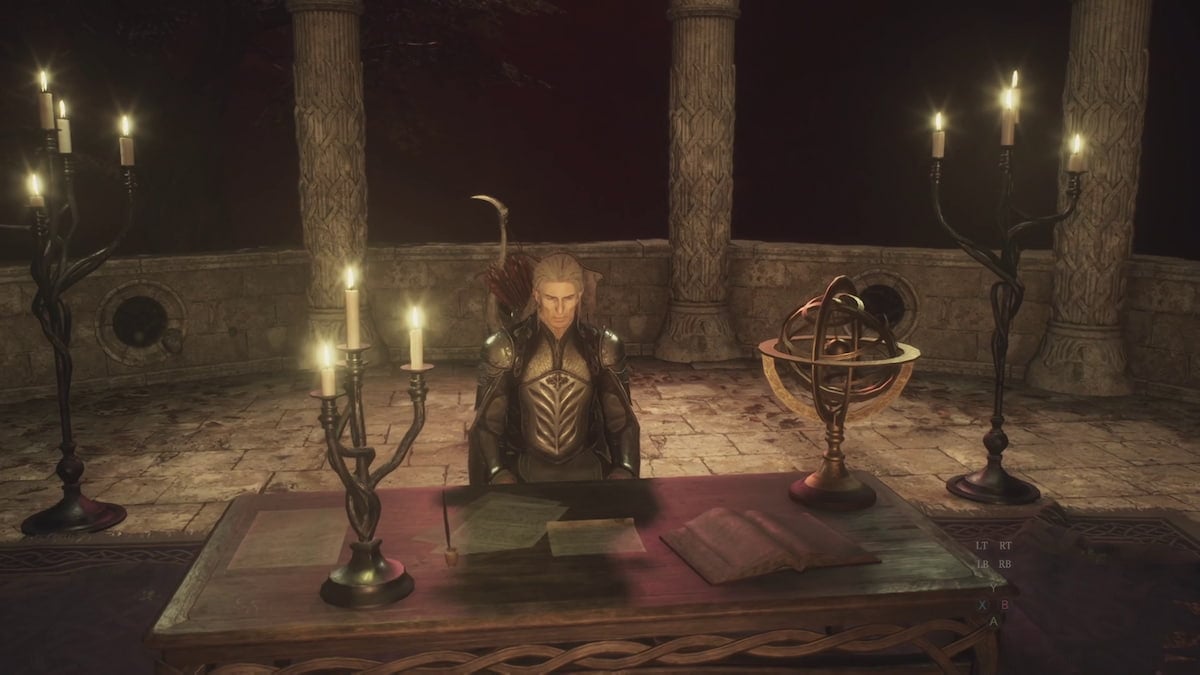
Now, there’s no need to travel through Harve Village to reach the Seafloor Shrine since the surrounding water has disappeared. Just leave Bakbattahl through the northern road and head northeast. Soon, you’ll find a Portcrystal and Rothais. Interact with the Portcrystal to activate any others worldwide you haven’t yet unlocked, and then talk to Rothais to receive the next segment of the quest.
How to speak with the leaders of the lands and lead the evacuation effort
In this segment, the quest subtly divides into three separate paths. You’re not directly told this because you first need to figure out who the leaders are and find them in their respective regions to initiate their quests. The leaders in Dragon’s Dogma 2 are:
- Sven and Brant, in Vernworth
- Phaesus and Nadinia, in Bakbattahl
- Glyndwyr and Taliesin, in Sacred Arbor
You can approach these groups in any sequence, but I suggest starting with Bakbattahl as it presents the most challenging and time-consuming quest of the three. Here’s how to persuade each pair of leaders to relocate their people to the Seafloor Shrine and leave their territories.
Bakbattahl – A Scholarly Pursuit and Civil Unrest quests
A Scholarly Pursuit walkthrough
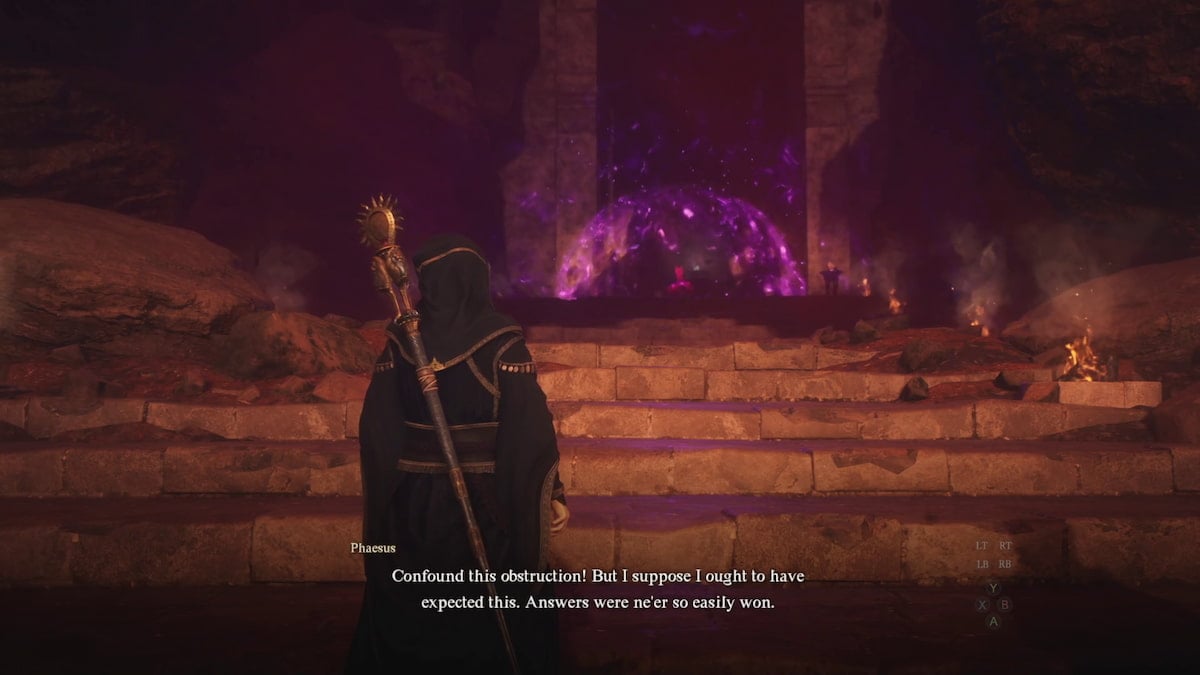
In Bakbattahl, start by rescuing your main Pawn alongside Phaesus in the Forbidden Magick Research Lab under the Flamebearer Palace. After this rescue, exit the palace through the main entrance, where you’ll notice a red beacon of light near the doorway. Interacting with this beacon and choosing to Draw the Godsbane blade triggers a cutscene featuring a dragon, initiating the A Scholarly Pursuit quest.
You won’t be able to attack the dragon immediately. Instead, follow Phaesus, who will navigate around the map, taking a roundabout way back into the palace to tackle the dragon from a different direction. Keep an eye on Phaesus’ yellow marker on the map and follow him closely, staying alert for the numerous monsters you’ll encounter on your way. Engage and defeat these creatures whenever possible.
When you and Phaesus make it to the Flamebearer Palace’s main hall and find the dragon once more, a large group of monsters will ambush you. This encounter requires you to defeat all the monsters, paying extra attention to the armored ones by using appropriate skills for effective damage. After clearing the monsters, attack the dragon, which will trigger a cutscene. Phaesus will be upset with your actions but will eventually come to understand, leading to the completion of A Scholarly Pursuit.
Civil Unrest walkthrough
Head towards Bakbattahl’s center from the Flamebearer Palace, and you’ll witness a cutscene where Menella is trying to pacify the civilians. Talk to her, and she’ll request your help in stopping the ongoing fights in Bakbattahl. The locations are:
- Near the Bakbattahl inn: Choose the party you believe is correct in the dispute. Remove your weapon and punch the aggressor until the altercation ends. Then, proceed to the next conflict.
- By the Vocation Guild: Here, simply opt to act as a witness and wait until the fight ends on its own.
- In the Residential Ward: As before, take a side and use non-lethal means against the NPC initiating the conflict until it stops.
Once these three fights are resolved, return to Menella. If you killed any NPCs in the process, it won’t stop you from completing this phase, though Menella will express her disappointment over such outcomes. Completing these tasks allows you to visit the Flamebearer Palace to meet Nadinia, who returns even if previously dead from the Shadowed Prayers quest. She’ll express her gratitude and begin the evacuation of Bakbattahl, wrapping up the Civil Unrest segment and the Bakbattahl portion of the Halls of the First Dawn quest.
Vernworth – The Regentkin’s Resolve quest
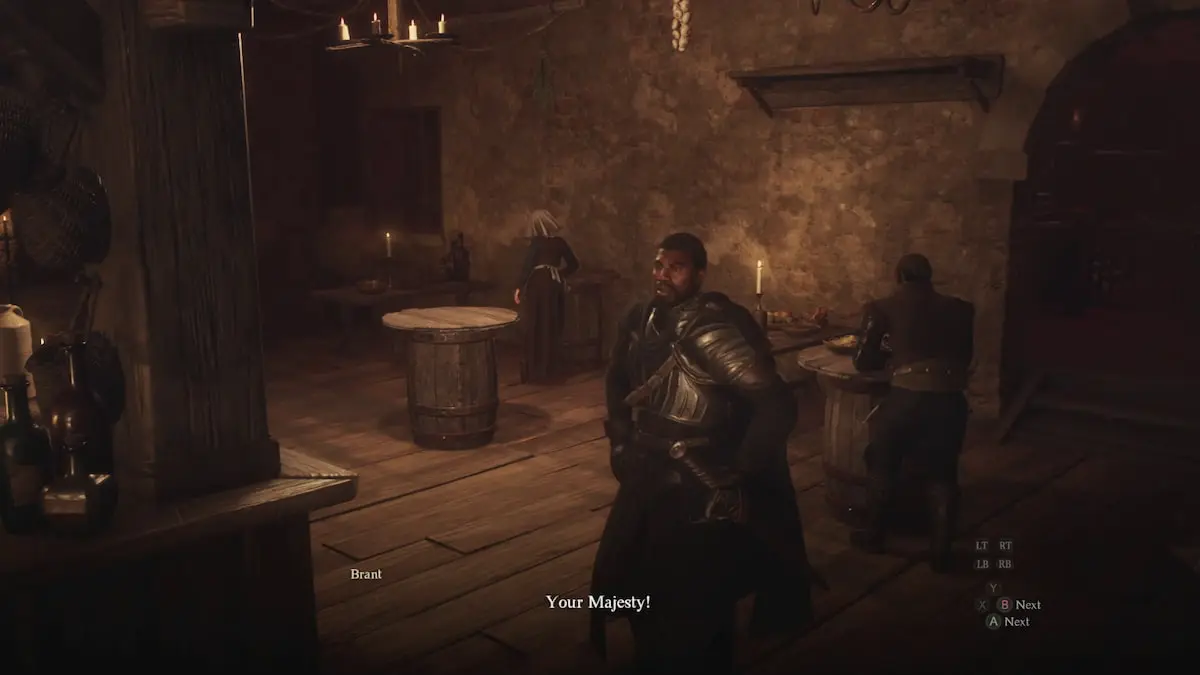
The quest kicks off by finding Brant at his usual spot—The Stardrop Inn in Vernworth. Upon entering the inn, a brief cutscene plays, and Brant requests a meeting with Sven, who is in his quarters on the castle’s second floor, similar to the scenario in A Veil of Gossamer Clouds. This will give you The Regentkin’s Resolve quest. If you can’t find Brant at the inn, speak with Sven first.
When you talk to Sven after getting The Regentkin’s Resolve, he seeks your assistance with his mother, Disa, and enlists the aid of the merchant at the west Oxcart Station. Yet, Disa is uncooperative, and Allard has purchased all the oxcarts from the west merchant. The most effective solution is to draw your weapons close to Allard, which will intimidate him into leaving, earning the merchant’s gratitude and support. Upon returning to Disa’s chambers in the castle, you’ll find Sven discussing the evacuation of Vernworth with her, leading to her agreement to assist. If Disa is still there without Sven, carrying her to Sven’s quarters will force them to talk. These actions swiftly wrap up The Regentkin’s Resolve and the Vernworth segment of the Halls of the First Dawn quest.
Sacred Arbor – Wandering Roots quest
If you’ve yet to visit Sacred Arbor, it’s located far northwest of Vernworth, and now you can quickly teleport there using a Ferrystone to its Portcrystal.
Sacred Arbor is the land of the elves, meaning you’ll need the ability to speak with them to complete this quest. This requires a Pawn with the Woodland Wordsmith specialization, which you can find and recruit via a Riftstone. With this Pawn in your group, head to Sacred Arbor’s center and talk to Glyndwyr, who will start the Wandering Roots quest and lead you to Taliesin to discuss evacuation plans.
Taliesin will initially be against your suggestions. The most effective strategy to persuade him involves persistence: talk to Taliesin, and if he’s unyielding, spend the night at the Sacred Arbor inn and approach him again the next day. You may need to repeat this cycle of sleeping and talking up to three times until he finally consents to leaving his land. This persistence will successfully finish this part of the Halls of the First Dawn quest.
Concluding the Halls of First Dawn quest
Once you’ve completed all evacuations, head back to the Sacred Grounds at the Seafloor Shrine. There, you’ll find the Waveswept Dwelling located west of the Vocation Guild, which offers a place to rest. If you don’t want to finish side quests or battle the bosses at the red beacons around the world for additional achievements, you can just rest in this bed repeatedly. Keep doing so until a cutscene triggers, displaying a new beacon of light in the Seafloor Shrine. This signifies the completion of the Halls of First Dawn quest.


Published: Mar 26, 2024 09:47 am