As a part of the Renegades campaign in Destiny 2, you need to complete the Fire and Ice Exotic mission. And like most Exotic missions, there are traversal sections and combat encounters that the game doesn’t explain to you.
If you’re stuck on a specific section, here’s a complete Fire and Ice Exotic mission walkthrough in Destiny 2.
Table of contents
Fire and Ice Exotic mission walkthrough in Destiny 2
Find the vault
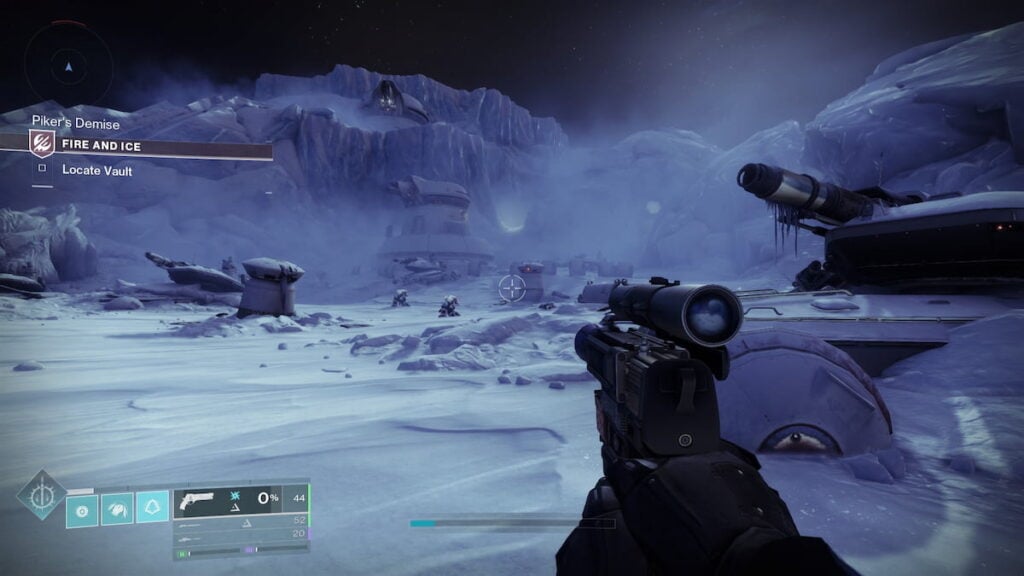
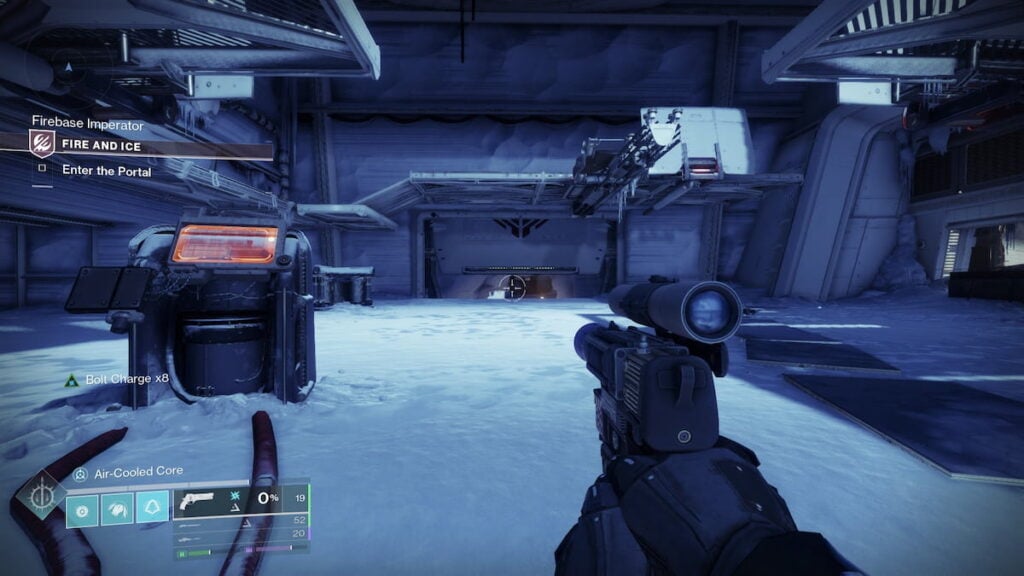
The first step is to find the vault. To do that, go deeper into the area where the enemies are until you reach the Imperium compound. Clear everyone inside the compound to get Imperium codes and use them on a marked terminal. This opens the blast doors leading to the vault. Head down, clear the enemies, and jump into the Taken portal.
Traverse the Ascendant Plane
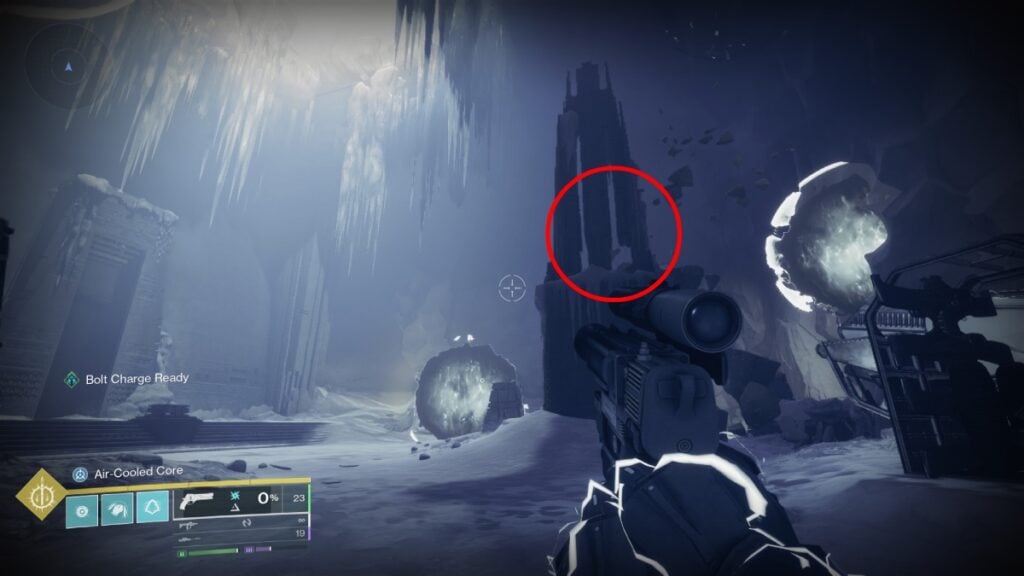
Inside the Ascendant Plane, grab the Darkness mote to get a quest item. Then, climb inside the Pyramid structure in the middle of the area to jump down and proceed with the traversal section. The traversal section (aka the jumping puzzle) is quite lengthy, so follow the steps below to navigate it.
- Continue through the ice canyon until you reach the open area with the temple-like structure.
- Head inside the tower on the left and climb up.
- Go alongside the temple wall, dodging moving walls and Taken blights. When it looks like you reached the end, go a little further to turn left (crouch for safety).
- Jump up the ledge and then onto a floating rock.
- Jump back onto the temple’s wall and go back alongside it (now you’re one level above).
- Right before the middle (where the light comes from), turn right into the hole in the wall.
- At the end of the hallway, turn right (don’t jump down the disappearing floor).
- In the hallway, use the blocks that popped out of the walls to climb above the entrance.
- Keep going, jump down another hallway at the end.
- In the room with the disappearing floors, keep right for the first few gates, then turn left and run until the end.
- When at the door, climb up the ledges, and go back using platforms and rails under the ceiling.
- On the right side, there’s a hole in the wall. There’s bright light coming out of it, so you can’t miss it.
- In the section with disappearing platforms, go forward, then to the left.
- Follow the Taken pushing blights to navigate through the rocks and re-enter the tower at the start of the traversal section (now you’re entering on a level higher).
- Climb up the tower. On the second-to-last platform, go through the window and use the platforms to reach the temple’s entrance.

It can be confusing to navigate, especially the first time, but always try to head to where the movement is, whether it’s enemies, Taken blights, or just red lights. The game also has frequent checkpoints, so you don’t have to worry about dying.
Balance the scales
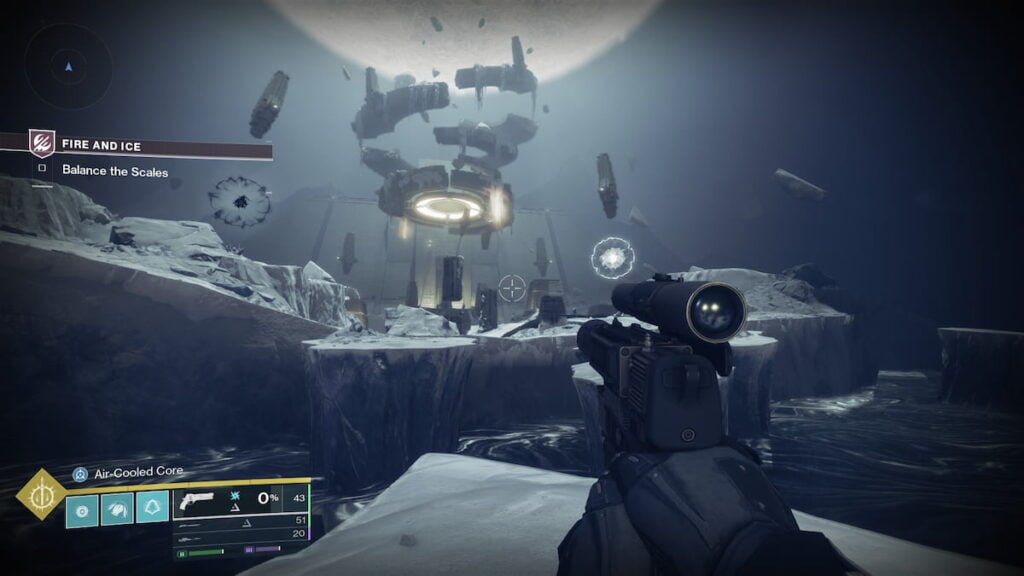
After you interact with the Pyramid node and enter the Taken portal, you need to complete the Balance the Scales combat encounter. While it may seem complicated, there are only a few things you should know.
Here’s what you need to know about the mechanics:
- Killing a Cleaved Taken Centurion grants Taken Energy Cleaved buff. Killing a Cleaved Imperium Centurion grants Barant Energy Cleaved buff.
- Killing two of the same Cleaved enemies back to back creates Paired Energy (Light balls). Killing different Cleaved enemies back to back creates Opposite Energy (Dark balls).
There are four blights around the arena, two Light and two Dark. You need to throw the Energy at the matching blight. However, only throw two at a time per blight of the same color (stop when it says the “blight tilts heavily out of balance” in the bottom left). Having a high Energy difference between the blights of the same color will cause the scales to go out of balance and reset them.
Every blight needs four charges, so keep killing enemies and throwing Energy until it’s done. You know a blight is ready when it becomes a full ball. Interact with the Pyramid structure in the middle, grab the Balanced Octant, and exit the area using the Taken portal where you entered.
Defeat Disciple of Harrow
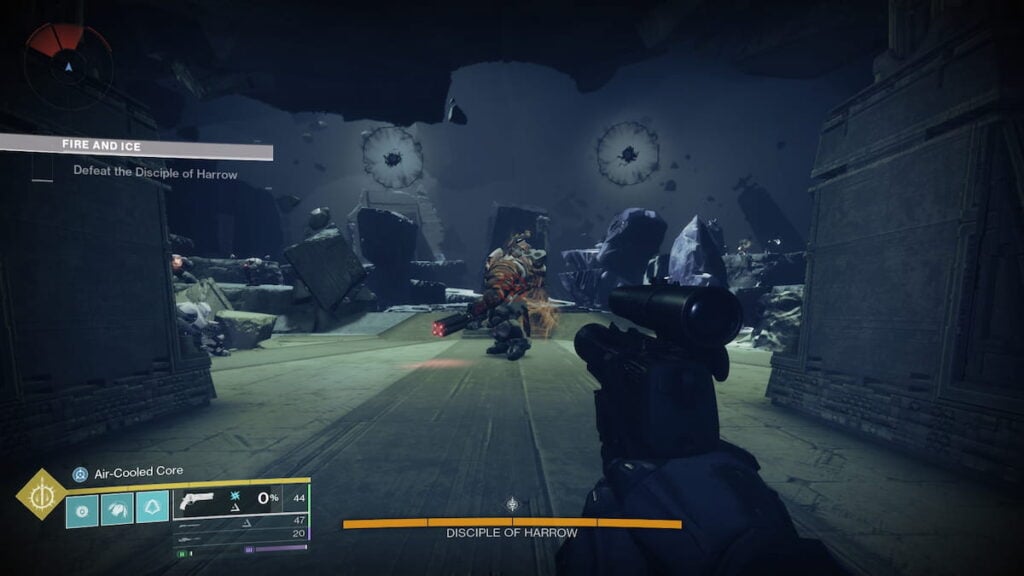
After flipping the Ascendant Plane and re-entering it back at the vault door, you have one last job left: defeat the Disciple of Harrow. Deal damage to the boss until you reach the final health bar, and the boss shrouds himself in Darkness.
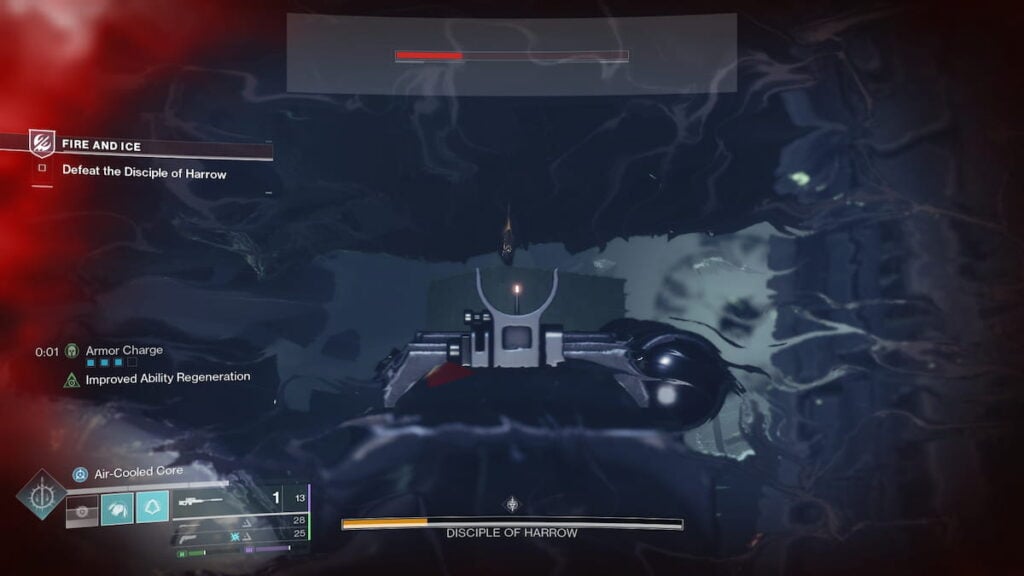
The mechanic here is the same as in the previous encounter, except you only have Dark blights. In the middle, there are also disappearing platforms with Pyramid nodes you can interact with. The left node summons Taken enemies, and the right node summons Imperium enemies (spawning one despawns the other).
Throw the Energy at blights to lower the shield. Kill the boss and grab your Praxic Blade from the vault room alongside some other loot, including armor and blasters.


Published: Dec 3, 2025 05:23 am