Recording gameplay is something that gamers have been doing forever and fortunately, has become easier to do as consoles have evolved.
Initially, gamers would be required to use an external device such as a capture card to upload and share their gameplay, but this feature is now simply built into the new Xbox consoles.
Boasting the high-quality hardware inside both the Series X and Series S, Xbox has made it extremely easy for their users to save and share footage on their new devices. This footage can be captured in full 1080p at 60 fps. While this level of performance was not attainable on the previous Xbox One X, the method of capturing gameplay will feel remarkably familiar to previous Xbox owners.
There are two different methods to capturing gameplay on the Xbox Series X / S, one is for players who plan to record, the other is for use when something happens and you want to capture that past footage.
How to start recording
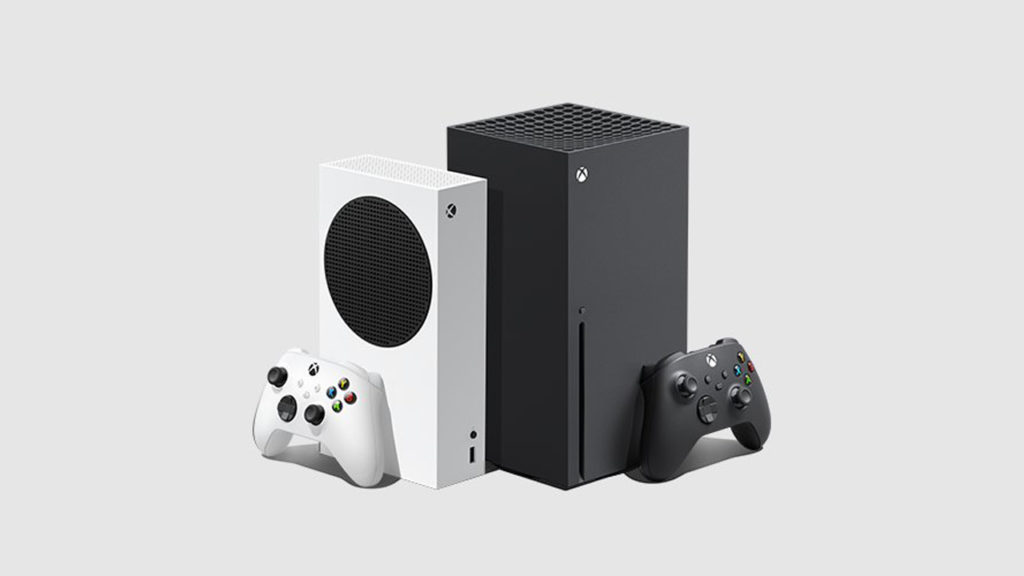
To begin recording, press the Xbox button on your controller. You should see a drop-down menu displaying some quick resume and menu options, as well as shortcuts to record past footage, capture screenshots, and tinker with your capture settings.
Make sure your capture settings are set at the quality you are after. To do this, either click the share button on your remote or navigate to the furthers right tab on the menu titled Capture & Share.
Once you have selected Capture Settings, you will see your game clip resolution and the location for the footage to be captured to. Make sure you have adequate space on the device you are capturing footage to as 1080p video can take up some amount of room if over a long duration.
Once you have ensured the quality is as you would like, exit back to the previous menu and select start recording. Once you have done this, you’re good to go just ensure you press stop recording when you are ready to save space.
How to capture previous footage
- To start this process, press the Xbox button in opening the dropdown menu.
- From here you can press the share button on your remote to bring up another drop-down menu with different time frame options to choose from.
- Select an option that will be sufficient to capture the footage you are after.
- Once you have done that you should be taken back to the initial menu where you can click ‘X’ and your footage will be saved.









Published: Nov 9, 2020 09:11 pm