In Zelda: Echoes of Wisdom, Mogryph is the boss of the Gerudo Sanctum section of the game, and defeating it completes the “A Rift in the Gerudo Desert” main story quest. Beating Mogryph isn’t so difficult when you know how.
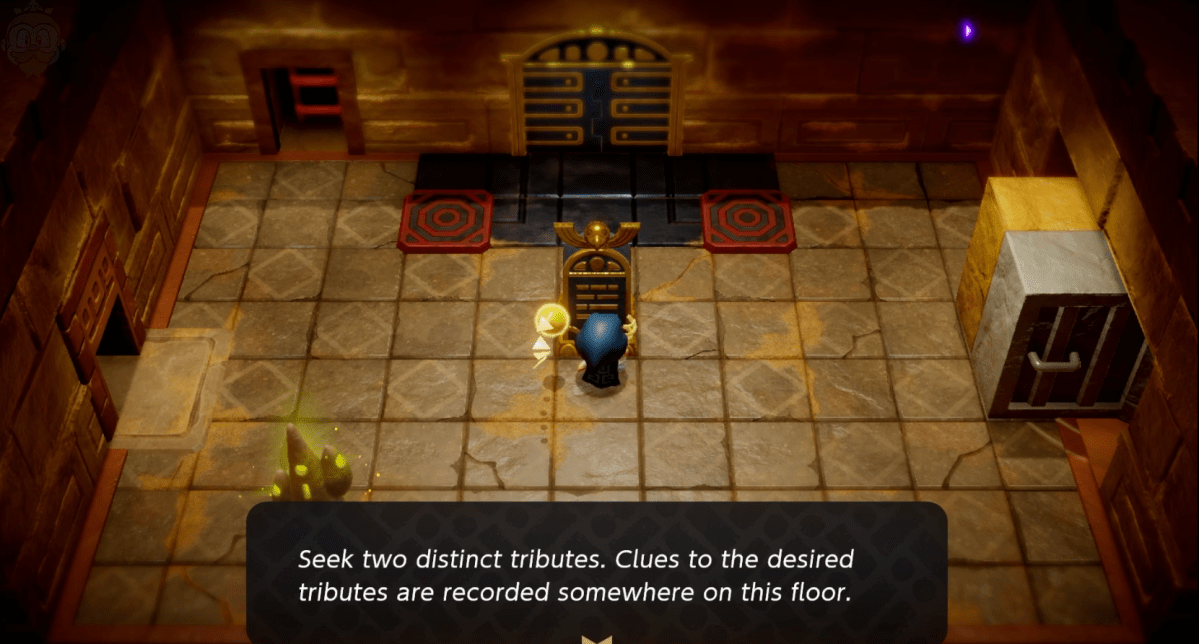
Not long after you’ve brought two tributes to the golden door in Gerudo Sanctum, you’ll find the Big Key and use it to unlock an even grander golden door. Don’t go through that door until you’ve got the hard-to-get chest, though. Beyond it is a large, sandy-floored chamber with nothing in it (at first) except one of each of the statues you’ll have seen elsewhere in Gerudo Sanctum: Elephant, Hawk, Cat, and Snake.
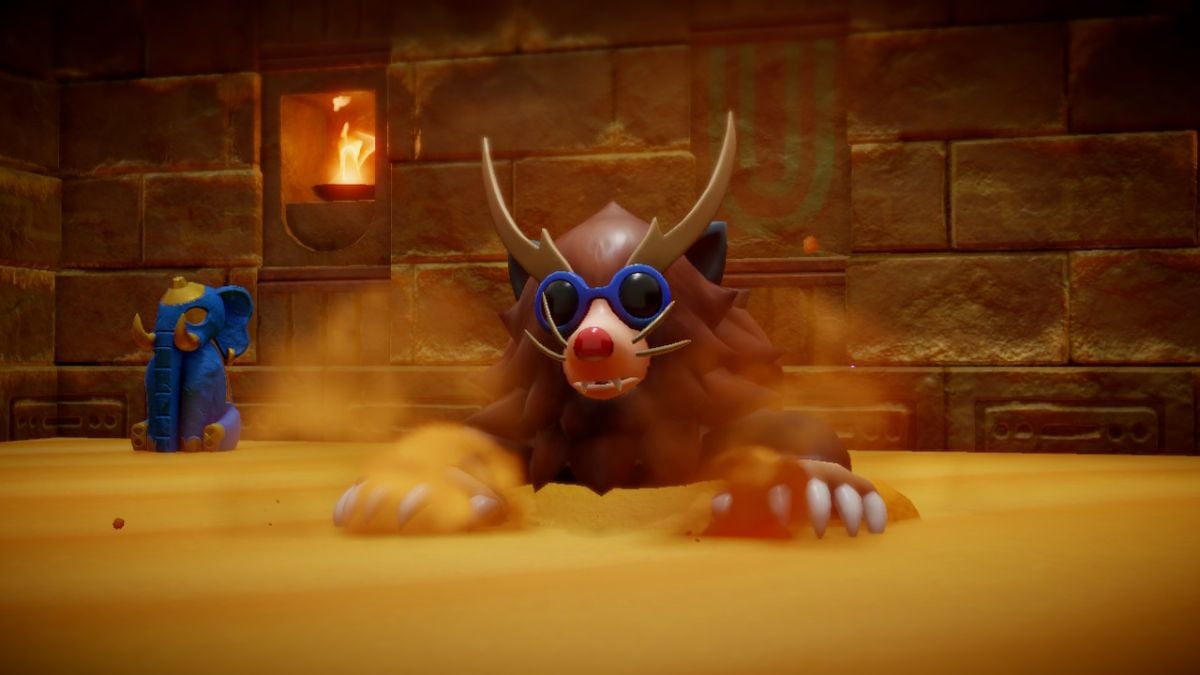
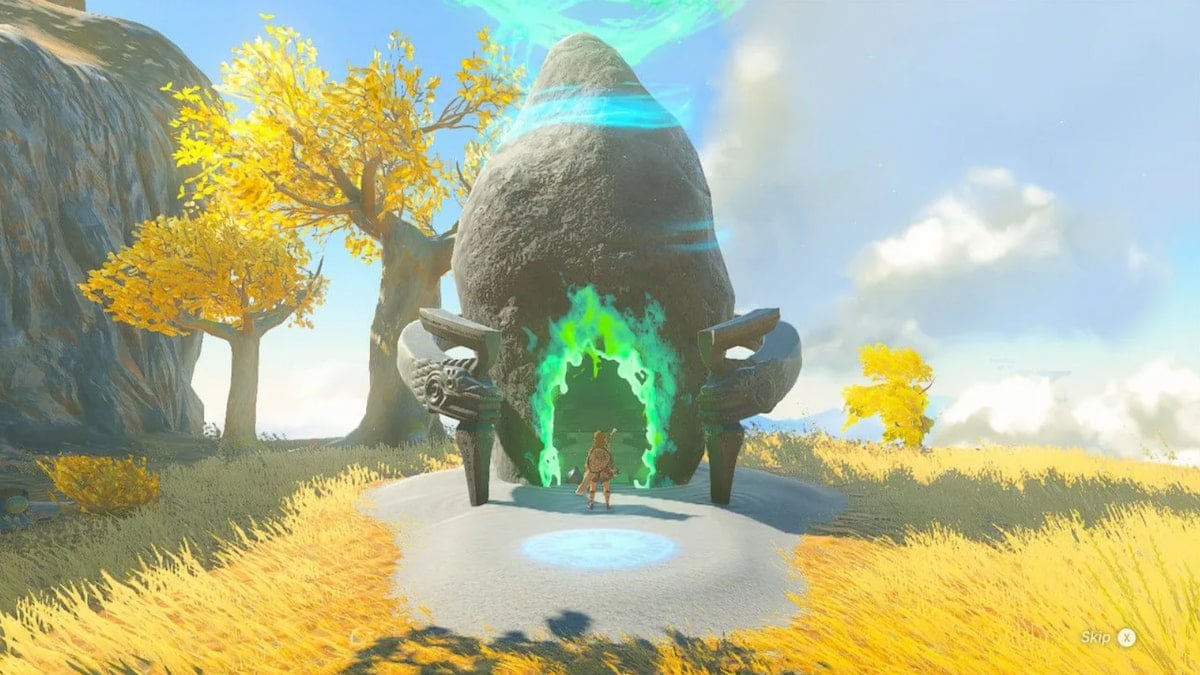
But then Mogryph, a giant Holmill, bursts out of the ground, kicking off the first challenging boss fight of Zelda: Echoes of Wisdom.
How to defeat Mogryph in Zelda Echoes of Wisdom
To beat the Gerudo Sanctum boss in Zelda: Echoes of Wisdom you need to trick it into charging into a statue. This causes Mogryph to get its head stuck in the sand for a little while, giving you the opportunity to transform into Swordfighter Form and do some serious damage with the Sword of Might.
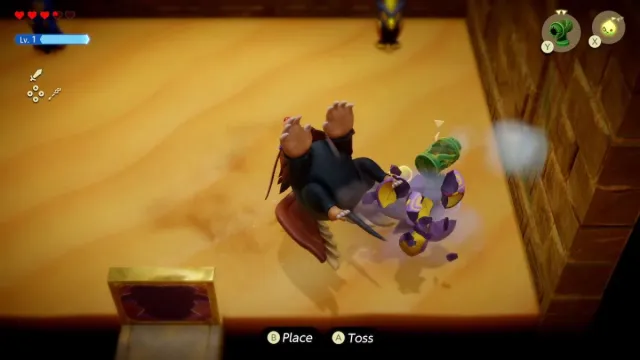
The best strategy against Mogryph is to get to a safe distance and either place or conjure a statue (it doesn’t matter which type) between yourself and the giant Holmill. When it throws sand at you, the statue will protect you. Then, when it roars and burrows into the sand, make sure you’re still behind a statue when it bursts back up again. It’ll immediately charge at you and, if you are behind a statue, it’ll collide with the statue before falling head first into the sand.
As soon as it gets stuck in the sand, transform into Swordfighter Form (press up on the D-Pad), and attack the defenseless Mogryph as hard and as fast as you can. It’ll eventually pop back up again, at which point you just need to repeat the whole process at least one more time; maybe two or three depending on how much damage you’re managing to do.
Once you’ve done enough damage, the Mogryph starts using its wings and most of the floor turns to quicksand. This second stage of the boss fight is a bit more challenging, but the strategy remains essentially the same. You need to dodge tornadoes now (tapping R helps with that) and ideally you should conjure statues on the islands of normal sand (although they can still be effective on the quicksand).
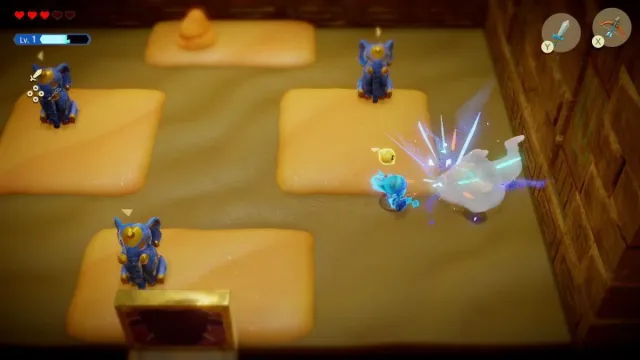
I found it was a good strategy to conjure one statue on each island, and to replace them whenever they were destroyed. If you do this, then you’ll have four options to hide behind when the Mogryph does its charge attack. If you need more health or energy during this boss fight, you can find health and energy pick-up in the piles of sand. Summon a Wind Cannon to blow the sand away and reveal the pick-up hidden inside.
Again, you’ll need to get Mogryph stuck and attack it at least twice during the second stage of the boss fight. Once you do inflict enough damage on it, Tri’s friends are released from the monstrous form and can close the Gerudo Sanctum rift. This completes the “A Rift in the Gerudo Desert” main story quest, and rewards you with the ability to create echoes at a distance.


Published: Oct 2, 2024 1:16 PM UTC