
The Oakheart Highcourt has one of the most confusing puzzles and one of the most impossible bosses in Wuthering Waves. Here’s how you can solve the Oakheart Highcourt puzzle, defeat the Lifer, and collect all rewards.
Oakheart Highcourt puzzle location
To start the Oakheart Highcourt puzzle in Wuthering Waves, you must first make it to the heart of the Labyrinth at the Oakheart Highcourt. You can take the proper route by entering through the main entrance and exploring the circular paths, or you can opt to drop in from above near the heart of the maze.
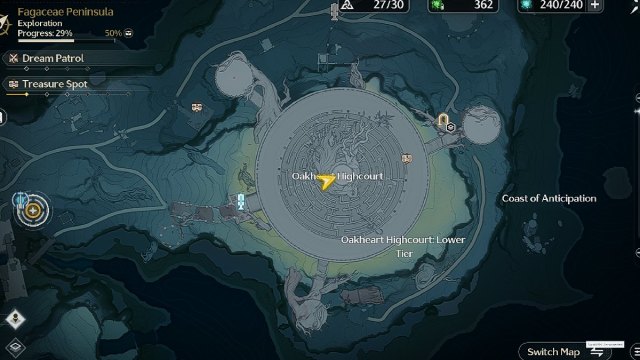
Keep exploring the maze and follow the paths in a clockwise or counterclockwise direction till you reach the middle. Out of the eight doors of the middle building, you’re looking for the one door that will be open when you reach it. Along the way, you’ll have to fight a bunch of Chop Chops, fake treasure chests, and other Tacet Discords.
How to win the Oakheart Highcourt board game puzzle
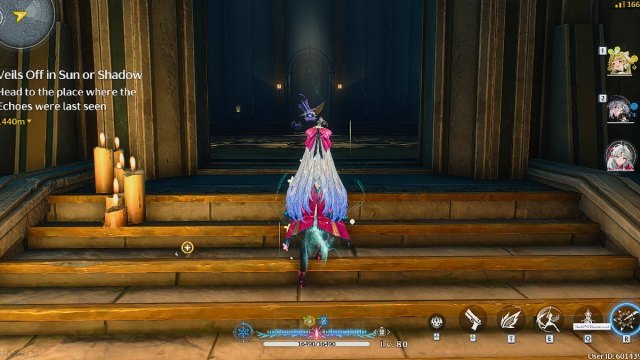
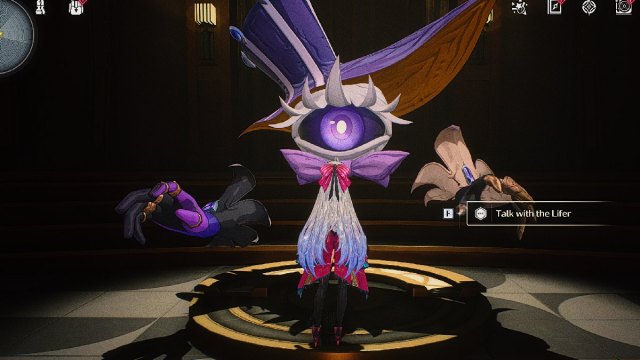
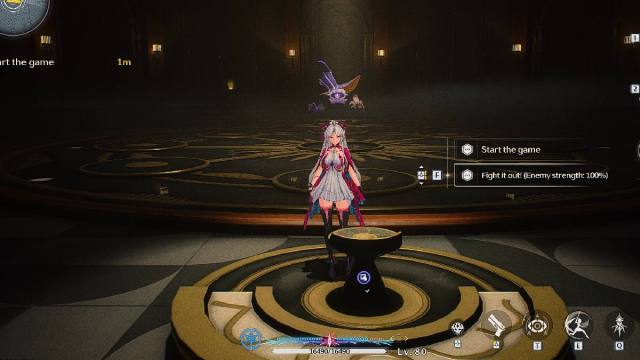
Head inside and talk with the Lifer, who will ask you to sit in the seat opposite to it. This will start a tic-tac-toe-style game between the two of you.
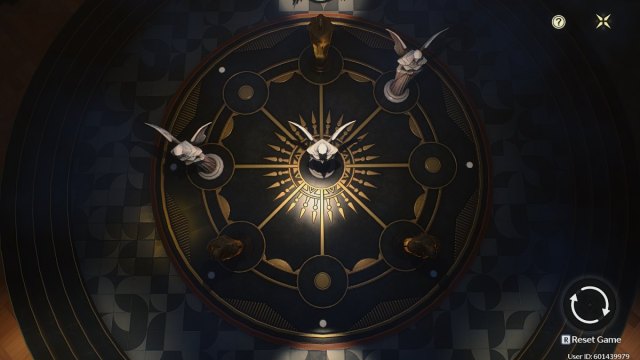
The goal of the puzzle is to align three of your black pieces in a straight line while preventing the Lifer from doing the same. The AI is quite smart and will trap you whenever it sees an opening. Just don’t get yourself into a position where both of your outer pieces are locked. However, don’t worry too much, as losing doesn’t have any drawbacks.
You can reset the puzzle at any time. The strategy we found to work best was to play defensively and wait for the Lifer to make a mistake. After a few rounds of repetitive back and forth, the AI seems to make mess up by itself. Once you beat the Lifer, it becomes enraged and attacks you.

If the puzzle is too much for you, the game will give you the option to challenge the Lifer directly after losing a few times. However, the fight is impossible without some preparation, as you’re supposed to get enemy strength down to 100 percent first.
How to beat the Lifer boss
The Lifer boss is almost impossible to defeat due to all the buffs that are stacked on it. However, it’s possible to make the fight easier by removing these buffs by exploring the Oakheart Highcourt. Don’t worry about losing your games against the Lifer, and focus on removing his buffs first. You can tackle these buffs in any order.
How to find buffs
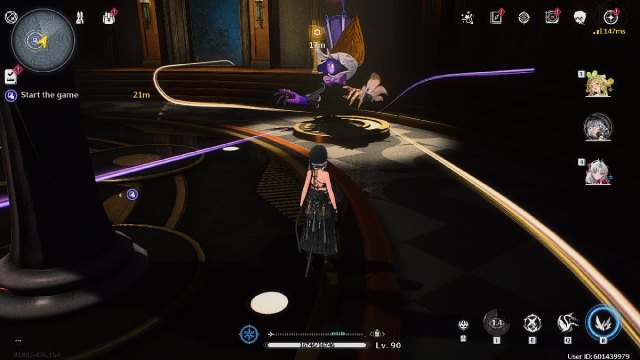
Whenever you place one of your black pieces on an edge tile, the doors in that direction will open. Use your sensor, and you’ll see purple waves leading to four doors. Each door leads to a panel that can disable one of the Lifer’s four buffs. The active buffs will appear as purple waves, and the deactivated buffs will turn golden. To open the door you want, point a black piece towards it.
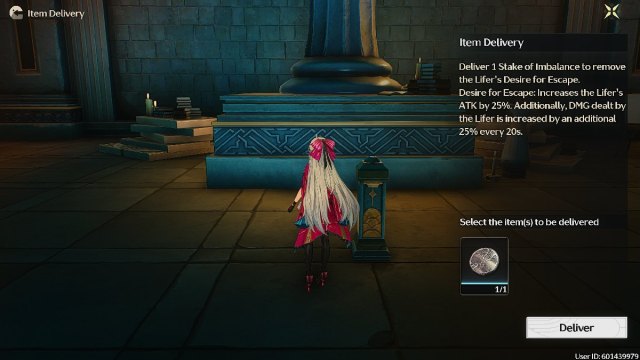
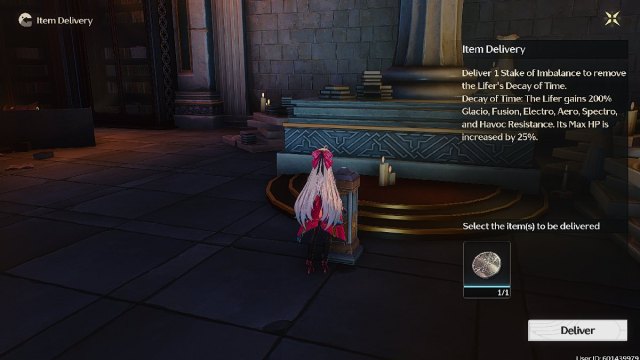
To deactivate buffs, you’ll first need to find and place a Stake of Imbalance on the terminals at the end of each path.
Remove the first buff
You can head into the room next to the one behind the Lifer and pick up a Stake of Imbalance lying on the floor marked by a light blue highlight. Deal with the enemies and place it down to remove the Lifer’s Desire for Escape buff that gives it a huge damage boost.
Remove the second buff
Next up, we have the room opposite the Lifer, where you will once again run into a bunch of enemies. However, the Stake of Imbalance isn’t lying in plain sight. You’ll have to open and defeat a fake treasure chest Echo in the corner of the room and pick up the Stake of Imbalance from under it. Then, you can remove the second buff.
Remove the third buff
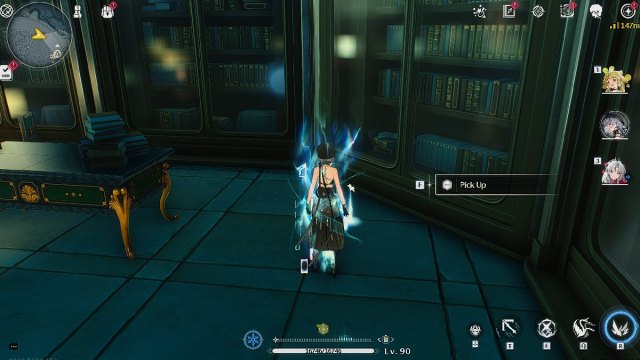
The third Stake of Imbalance can be found on a table in the room after you defeat all the enemies.
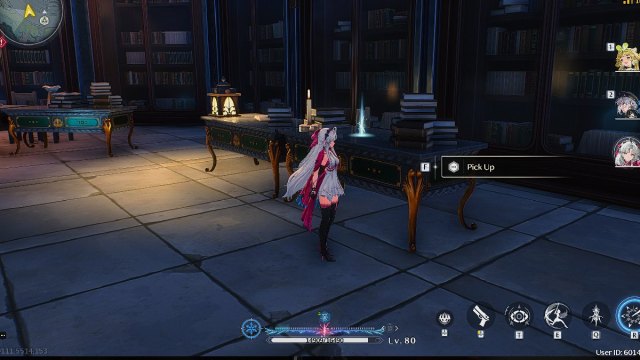
Then, place it back on the terminal to remove the Lifer’s Decay of Time buff, which makes it incredibly tanky.
Remove the last buff
The final buff can be found in a room full of smashable rocks. You just need to turn into a Cuddle Wuddle Echo and smash through the rocks. We found the Stake of Imbalance in one of the big rocks on the left.
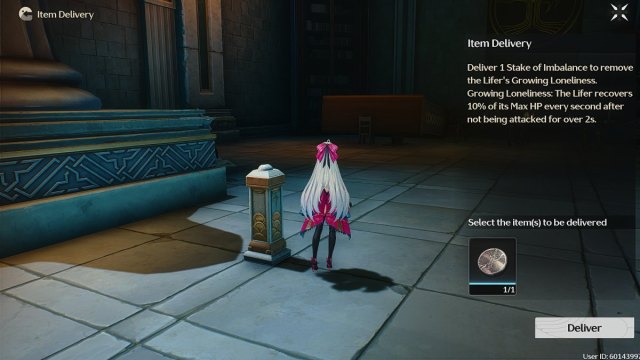
Now place the Stake of Imbalance to remove the Lifer’s final buff, the Lifer’s Growing Loneliness, which gives it a ton of healing in combat.
With all the buffs removed, you just need to go back and challenge the Lifer to duel or beat it at the Oakheart Highcourt puzzle and defeat a much weaker version of this boss.
Oakheart Highcourt puzzle and Lifer boss rewards
Once you’ve defeated the Lifer, you’ll be rewarded with a Lustroud Tide chest and one Lustrous Tide.

However, the Lifer will spawn again and you can actually keep challenging it to matches. If you’re feeling adventurous, try turning off some of the buffs and taking it on again. Defeating him three more times will reward you with four chests for every attempt, up to a total of 12.
That’s all you need to know to solve the Oakheart Highcourt board puzzle and defeat the Lifer boss in Wuthering Waves. For more guides, check out all 12 Adventure in Water City Echo locations, where to find all five knight swords and all Overflowing Palette solutions.
Go even deeper: Organize and keep track of all your Echoes with this interactive list of all Echoes in Wuthering Waves.


Published: Jan 5, 2025 9:46 PM UTC