Lost Ark is a side mission in Stellar Blade in which you have to solve a puzzle to work out the password that opens the gate to the Ark. The mission is given to you by Orcal’s bodyguard, Mann, who asks you to locate a missing rebel.
The Lost Ark mission unlocks after you return the second Hyper Cell to the Presence Chamber. But you need to go into the Presence Chamber to speak to Mann, and there are certain points in the Stellar Blade story when the Presence Chamber isn’t accessible. So, you might need to complete a few story objectives before you can get in there and speak to Mann.
Anyway, after you do speak to him about the Radical, your first task is to search for the rebel in Xion’s Alley.
How to find the rebel and investigate the Ark in Stellar Blade

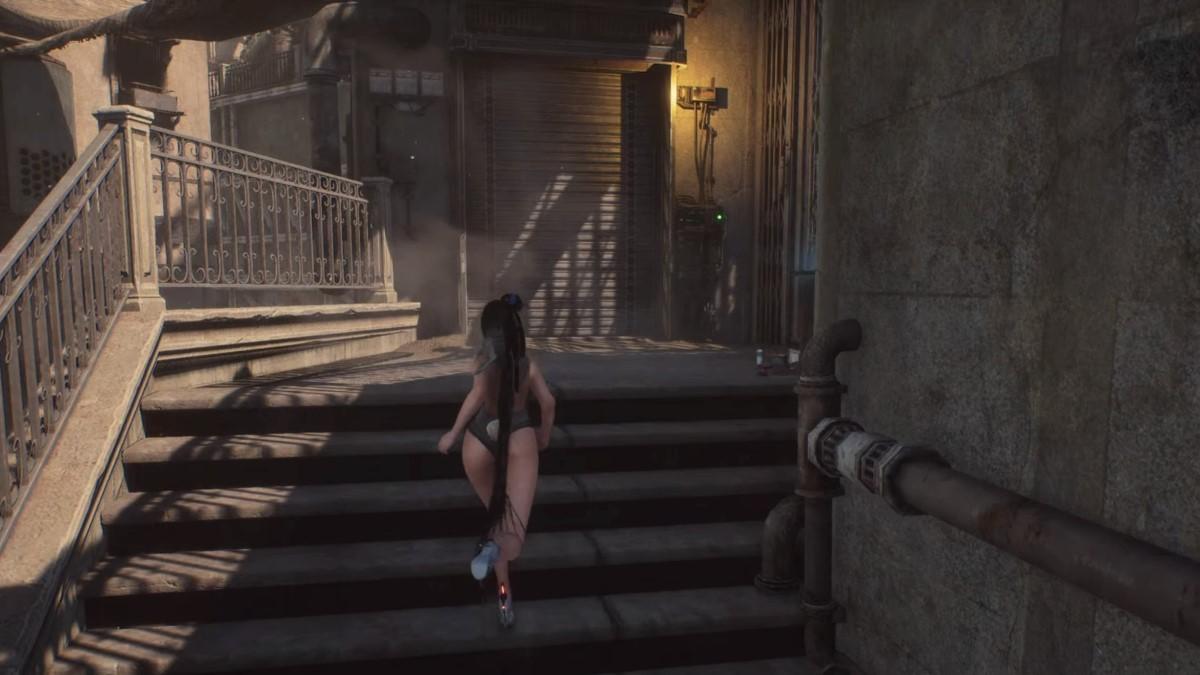
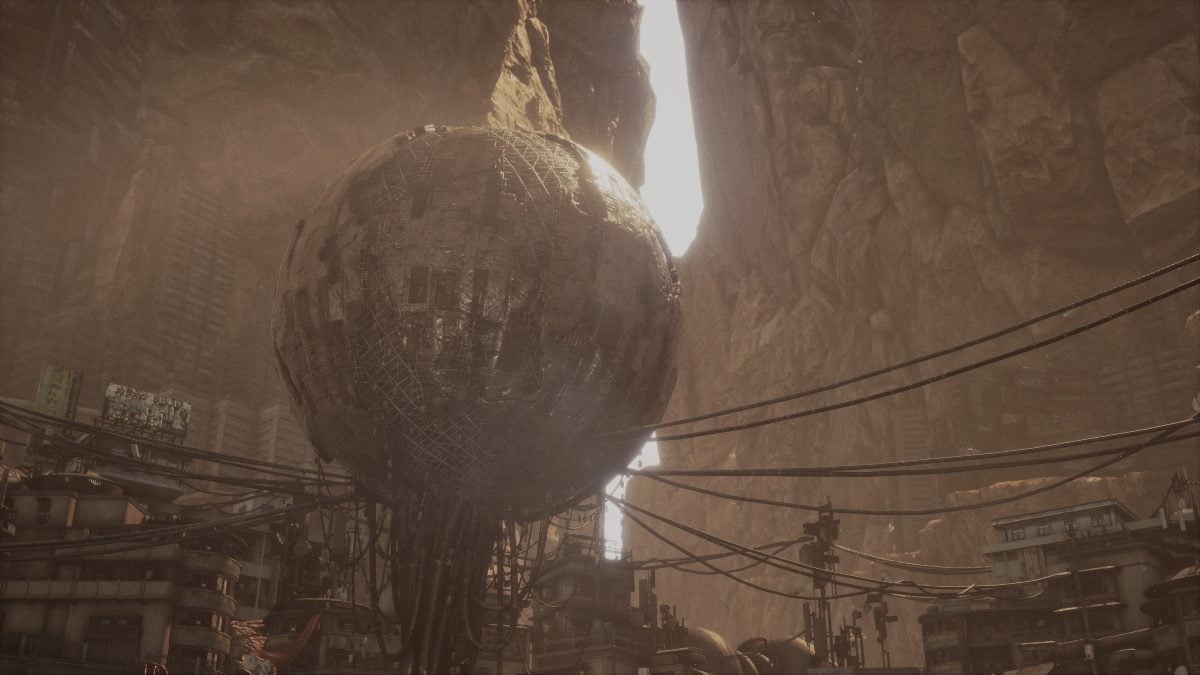
Make your way out of the Presence Chamber and go directly across Memory Square (the plaza outside the Presence Chamber), up the steps, and into the narrow alley. Just around the corner, there’s a corpse. Search it to get the “Introducing the Ark-Tech’s Ark!” promotional document, which describes a safe shelter available to citizens of Xion. Your next objective is to investigate this so-called Ark.
Continue along the alley and go up the stairs. Try to use the terminal next to the door, and you’ll find that you need a six-digit passcode. Now check the device on top of the trash can, and you’ll find a document called “Experience Ark-Tech’s Ark!” which describes what to do if you forget the Lost Ark passcode. The key clue is “Turn Xion, turn clockwise!” and your next objective is to track down the Ark’s puzzle.
Stellar Blade: Lost Ark puzzle code solution
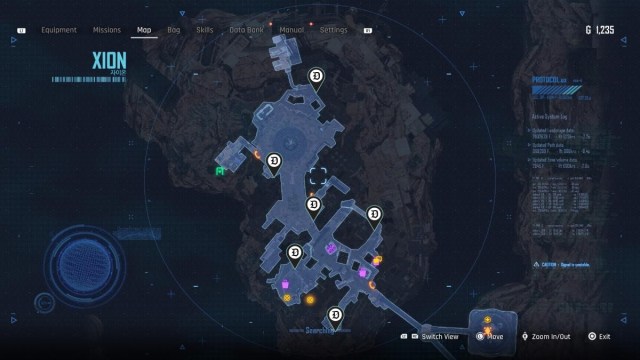
So, I have to say, “Turn Xion, turn clockwise!” is a really useless clue, and your best chance of figuring out the Lost Ark puzzle code is either by accidentally stumbling upon it or by reading this guide. The document contains absolutely no clues that you have to find and use six terminals spread around the outside of Xion. Each one of these terminals gives you one letter of the code, and the “clockwise” part just tells you the order in which the letters go. There’s no point in me telling you the code, as you can’t use the door terminal until you’ve found all six of the other terminals. But you can find all of them using the map above.
- The first terminal is on the corner at the end of the alley where you found the rebel’s body. When you use it, it displays the Greek letter θ (theta).
- Leave the alley and head south out of Memory Square. You’re going “clockwise” around the edge of Xion – at least, that’s the idea – so the next terminal should be on the left. It’s on a wall opposite the entrance to Exile’s Passage, and it displays the Greek letter μ (mu).
- The next terminal is on the inside corner of the alley, near the stairs up towards Roxanne and the Bulletin Board. Use it to display the Greek letter κ (kappa).
- The fourth terminal is just outside Francis’ bookshop, where The Words of Mother Sphere mission starts. This one shows you the Greek letter α (alpha).
- Terminal #5 is on the steps leading down to Sisters’ Junk in the Scrap Market. It gives you a big, blue ε (epsilon).
- The final terminal is at the cafe back at Memory Square, close to the way into the Presence Chamber. It completes the code with γ (gamma).
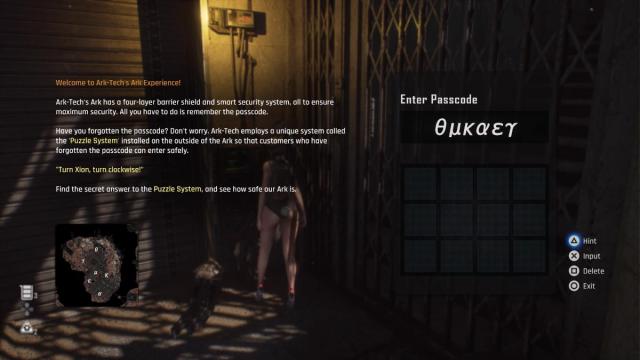
So, now you know that the Lost Ark password is θμκαεγ, or “theta mu kappa alpha epsilon gamma.” You can now go back to the Ark and unlock its front door. Unlike most passcode terminals in Stellar Blade, this one won’t just flash up the complete passcode when you ask for a hint. Instead, it shows you a map reminding you of where each Greek letter was found. If you start at the top and go clockwise around the map, you do indeed get θμκαεγ. So type that in, and gain access to the Ark.
How to investigate the interior of the Ark in the Lost Ark mission
To investigate the interior of the Ark, you have to find and investigate four bodies inside the Ark. There’s a slight glitch here, whereby you’ll probably find the first body before the objective actually comes up. It’s in the corridor right after the entrance. The next one is in the cell on the left at the end of the main chamber. The third is in the room opposite that cell. The last one is leaning against the wall at the other end of that same room. The Ark is a pretty small space, and if you’re having any trouble finding any of them, use the drone scan to make them show up orange.
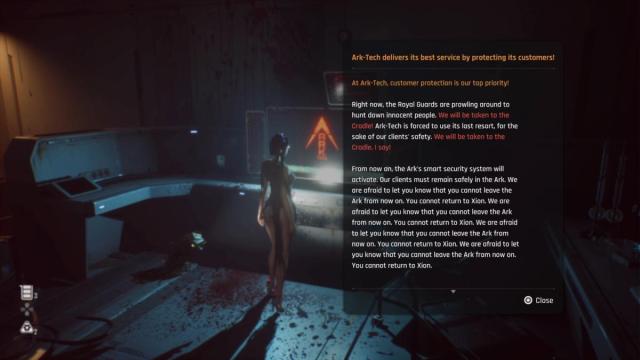
The final thing you have to investigate is the large screen near the third body. Investigating that will bring up another promotional document from the Ark-Tech company. It seems that the Ark was more of a prison than a safe shelter, and you’ve just become its latest inmate!
How to escape the Ark in Lost Ark
Use your sword to smash the two terminals with flashing red lights, and the doors will open. Then, smash the terminal at the far end of the main chamber to release the elevator and ride the elevator up. There’s one more terminal to smash at the exit, then after that, you’re free. Go back to the Presence Chamber and talk to Mann about the Radical again. You tell him that the Radical apparently told people that Orcal was manipulating them, then went mad, locked people inside the Ark, and killed them when they tried to escape. He seems nonplussed about all this but grateful all the same. He hands over two Shock Grenades, two Smart Mines, and two Pulse Grenades, and you also get a big chunk of SP to spend on upgrading your skills.


Published: Apr 28, 2024 02:00 pm