In a world where humans cower in fear from the hostile Naytiba, the Cans continue to thrive as they remain completely untouched in Stellar Blade. With a hunger to learn about Earth’s history, those Cans look far too inviting for Eve to pass up.
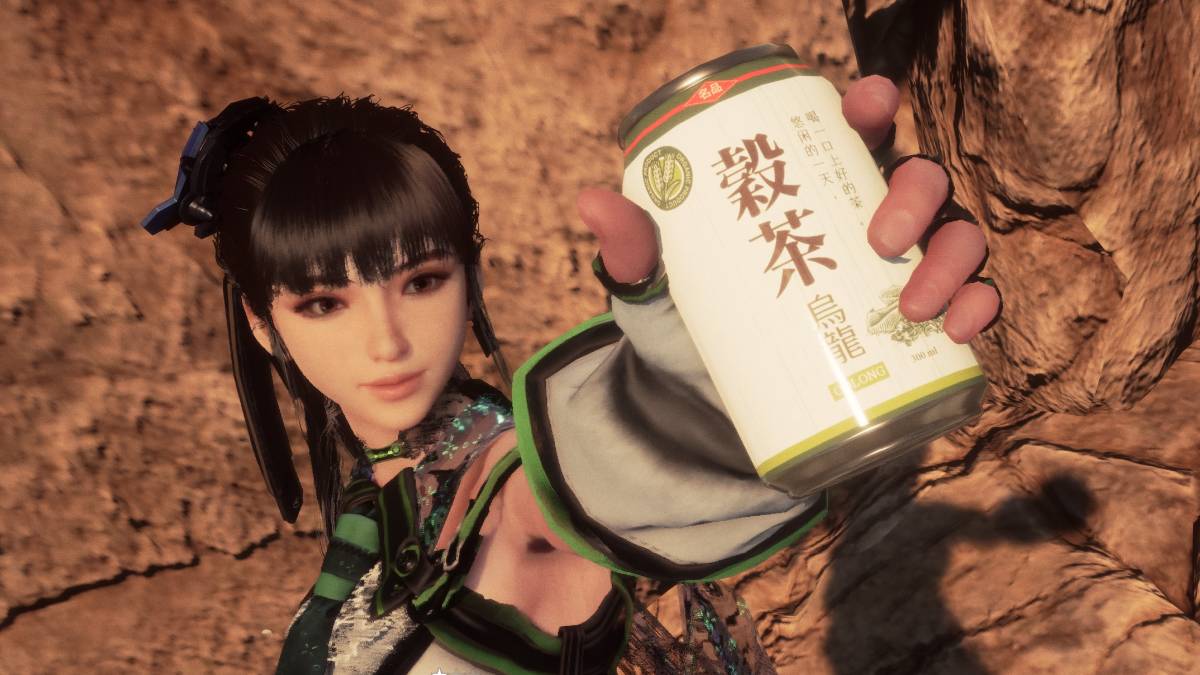
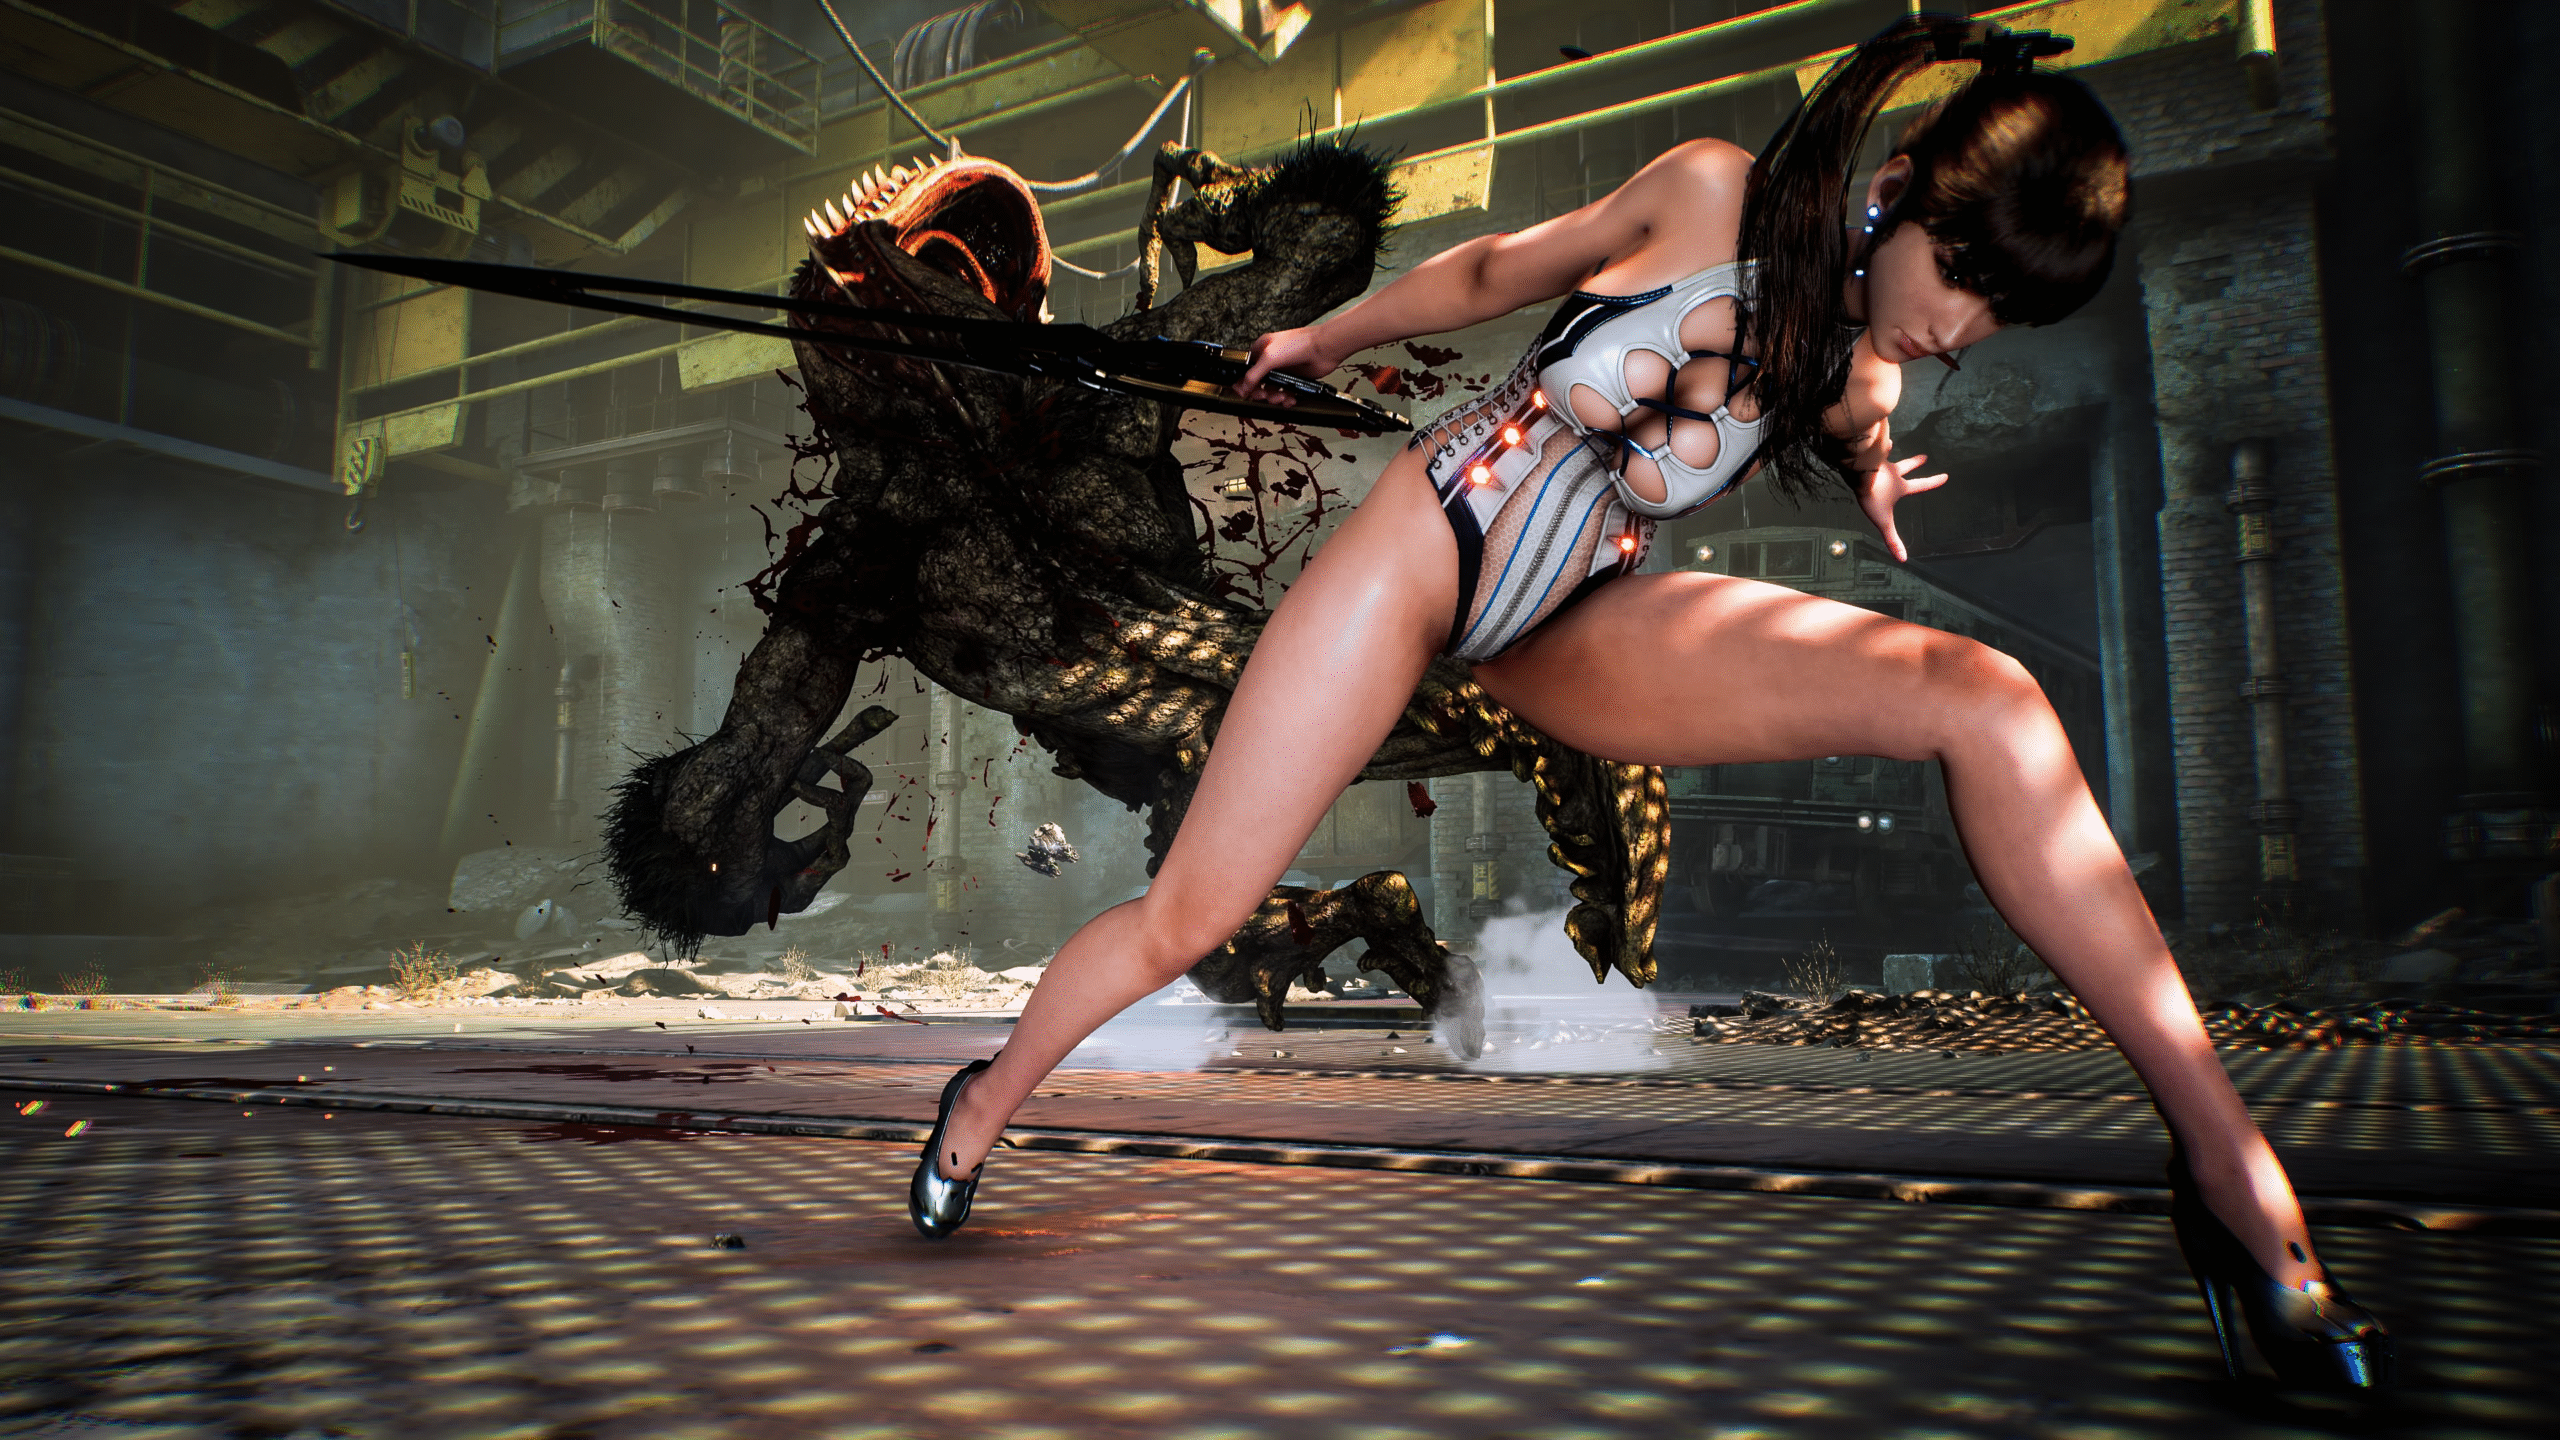
The first Can you pick up may surprise you with the stark contrast between the serious nature of Stellar Blade‘s story and boss fights, and Eve’s pose after picking up one of Earth’s relics—a flat soda. Feeling like a Truman Show advertisement, Eve showcases the beverage directly at the camera like a Sailor Moon transformation. It is a nice break away from leaving a trail of Naytiba behind you to instead let you focus on the little things—like puzzle-solving or Eve’s somewhat janky platforming skills.
Here are all Can locations in Stellar Blade.
Stellar Blade: All Can locations
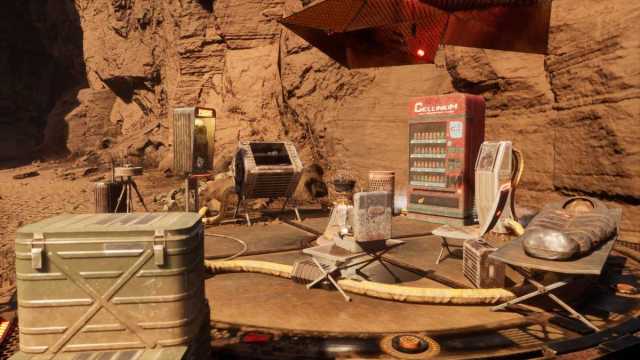
There are 49 Cans in Stellar Blade. While you’re told you can get rewards by picking up these miscellaneous items, it isn’t until collecting a specific amount that you see the benefits to to collecting these forgotten relics. The one thing that seems to remain fully intact throughout the apocalypse are vending machines, making them the prime target to investigate for Cans in your hunt for all 49.
Finding all 49 Cans rewards you with the Black Pearl Nano Suit for Eve. We highly recommend searching for these Cans when you have restored power to the Wasteland and Great Desert, so you can activate all Supply Camps and Waypoints in the region. Equally, you should get Double Jump to make platforming easier as some Cans are unobtainable without it.
Finally, some Cans are hidden away in regions where a map isn’t available. Below we’ll layout the location of each Can, alongside a brief summary on how to get it.
Eidos 7
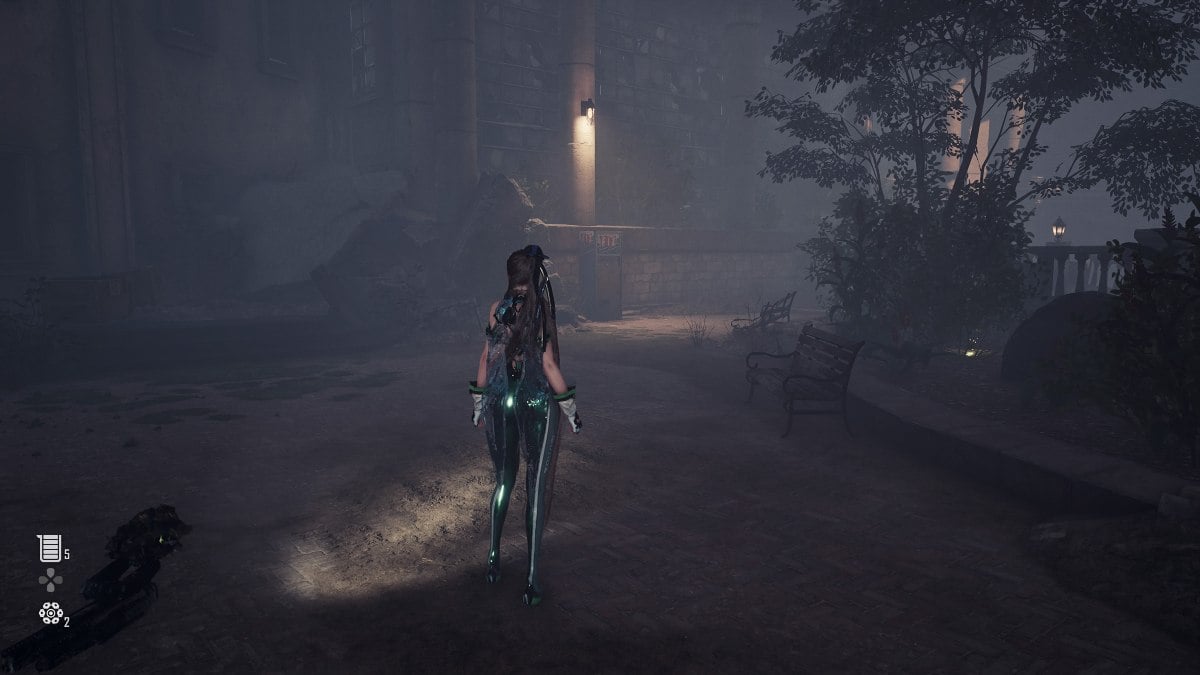

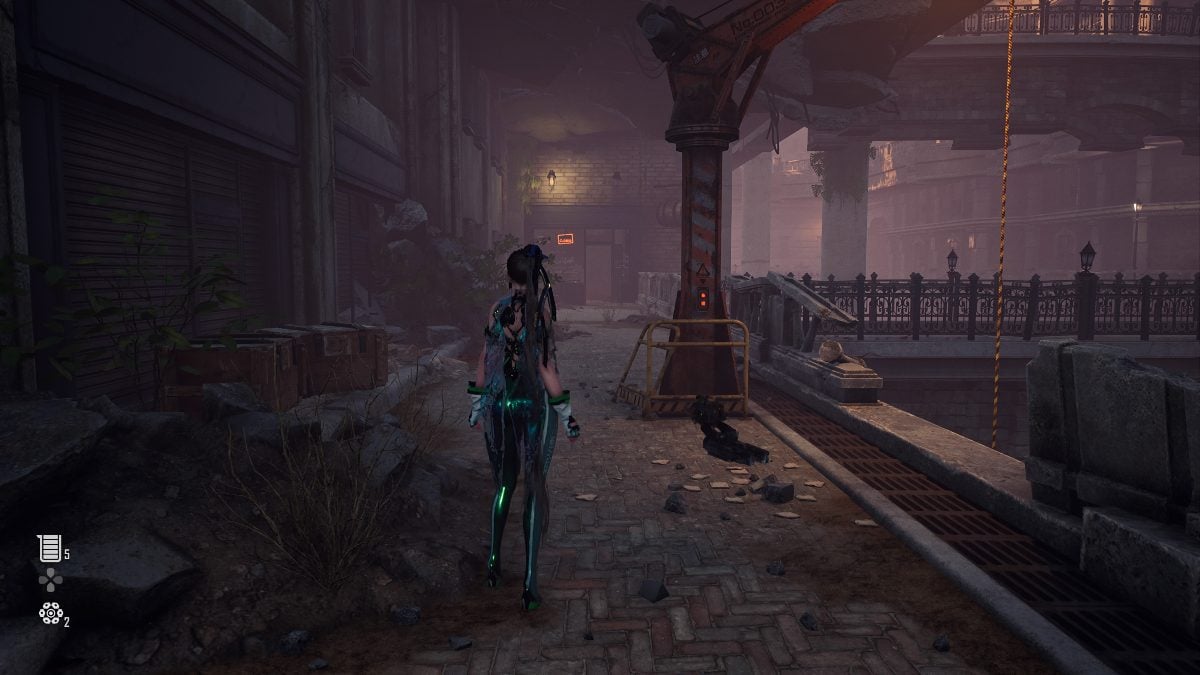

| Can | Location |
|---|---|
| Cryo Original | Start the Oblivion mission (obtained from the girl underneath the Xion bridge) so you can drain the water inside the flooded shopping mall (Plaza Entryway Waypoint). Find the Can inside a vending machine on the bottom level of the Commercial Sector (next to the Liquor store). |
| Potential Blast | Get to the third floor of the broken building (required for the Crane ID puzzle) and check the table for the Can, before using the swing bar on the left to reach the top of this building for the Crane ID inside the Construction Zone. |
| Elixir Carrot | Start the Oblivion mission to drain the Flooded Commercial Sector (Plaza Entryway Waypoint). Descend into the now dry area and find the Can inside The Red Grill restaurant. |
Xion
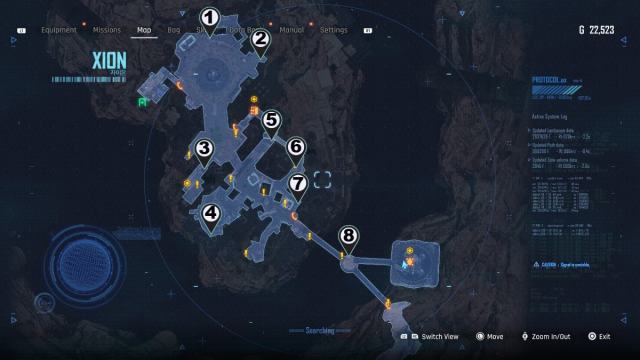
| Can | Marker number | Location |
|---|---|---|
| Pixie | One | Found on the floor, to the right of Barry’s. |
| The Machinetta Caramel Macchiato | Two | Inside the vending machine or the northern side of Xion. |
| Red Behemoth | Three | Inside the vending machine near The Last Gulp. |
| Mountain Sparkle Mont Blanc | Four | Inside the upper floor vending machine from Sister’s Junk. |
| The Machinetta Americano | Five | Inside the vending machine near Gwen’s Hair Salon. |
| Dionysus C | Six | On the floor near the trash, just before R’s shop and Bulletin Board. |
| Bayern Weissbier Dunkel | Seven | In the small alley between R’s shop and the bridge back to the Safehouse and Wasteland Waypoint. |
| GrainT Oolong | Eight | Descend down the rope on this circular walkway and jump across to find the Can on the floor. |
Wasteland
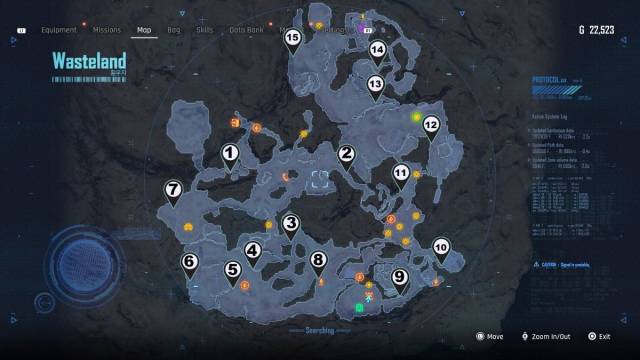
| Can | Marker number | Location |
|---|---|---|
| The Haven Green Tea | One | Drop off the ledge and onto the swing bars, you need the Double Jump Skill to complete this platforming. |
| GrainT Corn | Two | Inside the vending machine. |
| Cryo Zero | Three | Open the chest and shoots the target three times to drop the Can. |
| Mountain Sparkle Halla | Four | Find the yellow ledges against the rocky mountains, just north of the Western Camp. You need Double Jump to reach this Can. |
| Behemoth Green | Five | Place the two balls onto their pressure plates to get the Can. |
| Cryo Café Original | Six | Go through the Under Crew ship and out the other side, defeating nearby Naytiba so you can grab the Can on the ship’s perimeter. |
| Potential Tempest | Seven | Activate four terminals surrounding the Solar Tower and reach the Can atop a shipment container, using the nearby yellow crate. |
| Nectar Orange | Eight | Use Double Jump to reach the billboard. Move the yellow crate before you jump up. |
| GrainT Barley | Nine | Reach the wooden bridge via the mountain beside the Altess Levoire gate. Solve the pressure plate puzzle following on from the bridge to reach the Can. |
| The Machinetta Café Latte | 10 | Solve the pressure plate puzzle near the pool of water. |
| Pixie Zero | 11 | Look underneath the destroyed bridge and rescue the maintenance robot by shooting the metal beams with your Drone. |
| Cryo the Clear | 12 | In the underground section of the Wasteland, just north of the Supply Camp. |
| Elixir Green | 13 | Double Jump off the ramp to reach the metal scaffolding for the next Can. |
| Bayern Hefe Weissbier | 14 | Inside the vending machine, directly next to the destroyed building. |
| Corsair Lager | 15 | Pull the lever in the area and head north. Two Guard Turrets will spawn, defeat them and reset the lever to reach the Can at the very northern tip of the Wasteland. |
Matrix 11


| Can | Location |
|---|---|
| Cryo Café Vanilla | Use the Train Yard Waypoint and enter the room with the revolving train in the center. The Can is on the ground, next to the Robot spawn. |
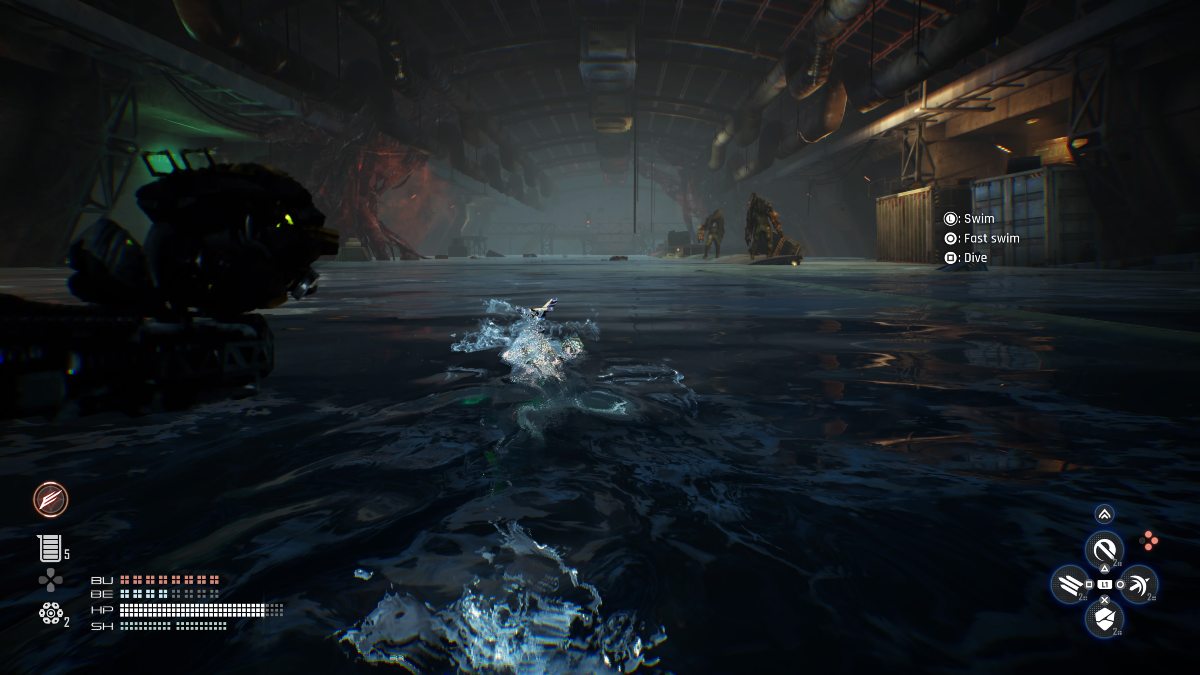
| Corsair Ale | Swim to the very end of the Train Graveyard and descend into the water to pass through a hole in the fence and find the Can in shallow water to your right. |
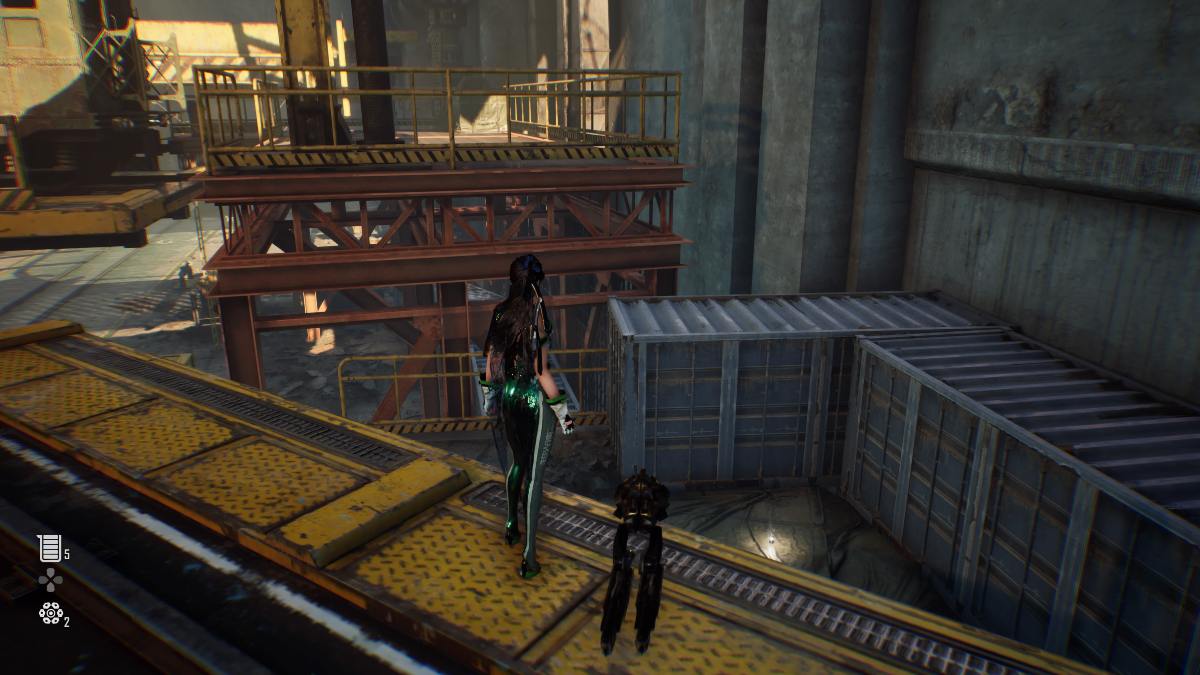
| New Foundland Dry | Climb onto the blue shipment containers in the Juggernaut room (Temporary Armory Entrance Waypoint) and drop down into a restricted area to find the Can on the floor. |
Great Desert
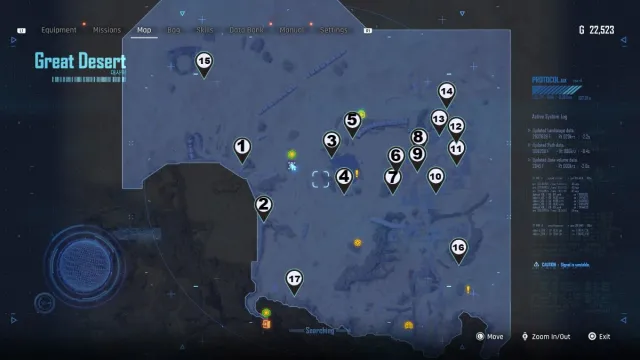
| Can | Marker number | Location |
|---|---|---|
| Milky Pop Zero | One | Climb to the top of the mountain using the yellow ledges. You must shoot the target using the Drone as part of the climb. |
| Nectar Cranberry | Two | Reach the upper platform using the surrounding bots and yellow ledges. |
| Moonwell | Three | Use Strange Bait to grab this Can from the Oasis after completing Spire 4. |
| Nectar Grape | Four | Inside a vending machine, directly next to a small staircase and walkway. |
| The Haven Earl Grey | Five | Climb the giant tube tunnel that you need to enter for one of the Chapter of Trial. Walk on it and reach the end of the tunnel for a supply crate with the Can inside. |
| Potential Frost | Six | Climb onto the bus and ascend the ladder on the side of the building to reach the Can. Use the crate to reach the swing bar. |
| Starwell | Seven | Find the closed road sign and look for a flashlight light in the sand. Place a Smart Mine to bait a Lurker towards it and reveal the supply box. |
| Johnson‘s Highball Ginger | Eight | Inside the vending machine of the Buried Ruins place of interest. |
| Cryo the Malt | Nine | Shoot down the drone in the area and interact with the fuse box to start the platforming puzzle. Reach the other fuse boxes to open the gate for this Can. |
| Liquid Nuclear | 10 | Reach the top of the scaffolding to enter the building for the next Can. |
| Mountain Sparkle Everest | 11 | Block the lasers with the orange crate to block the lasers, letting you reach the supply box. |
| Behemoth Black | 12 | Solve the pressure plate parking lot puzzle to reach the Can. |
| The Haven Milk Tea | 13 | Solve the pressure plate puzzle to reach the Can. |
| Liquid Fire | 14 | Open and destroy the drones that spawn from inside the supply box. |
| Cryo Café Mocha | 15 | Three flying targets will appear from the supply crate. Use the Drone to take them out. |
| Johnson’s Highball Lemon | 16 | Enter the cave and move the orange crate to the yellow ledges to click atop and find the supply box. |
| Newfoundland Dry Zero | 17 | Use the Drone to fire a slug at the crate in the middle of a grass patch. |
Spire 4
| Can | Location |
|---|---|
| Liquid Lightning | Complete the conveyor belt section and locate the Can behind the shipment containers, directly next to the Supply Camp in the area. |
| Milky Pop | Following on from the first encounter with Belial, navigate across the pipework behind the Supply Camp and head to the back of the room (without dropping down) to find the Can. |
| Nectar Apple | Behind the seating area with the dead Legionnaire officer in the lobby. |





Published: Apr 30, 2024 12:53 pm