The Recruit Passcode Specialists Request in Stellar Blade is tough to pass up when there’s a lot of money up for grabs. Looking out for these shrines while you leave a trail of Naytiba behind you is worth your time once you unlock the relevant regions needed to fulfill this request.
Here’s how to complete the Recruit Passcode Specialists Request in Stellar Blade.
Stellar Blade: All Prayer locations for Recruit Passcode Specialists
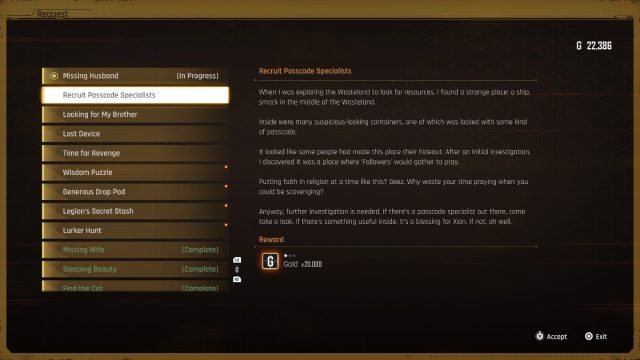
The Recruit Passcode Specialists Request unveils itself on the Bulletin Board in Xion upon picking up one of the six Chapter of Trial prayers. These prayers are found at makeshift shrines, scattered around the Wasteland and Great Desert. You unlock these regions by starting their corresponding missions: Altess Levoire and Abyss Levoire. If you want to make quick bang for your buck, the Recruit Passcode Specialist is the perfect request to complete in Stellar Blade.
You must complete the Stalker boss fight inside the Matrix 11 for the Alpha Signal mission. This guides you directly to the first Chapter of Trial within the sewers as an introduction to the Under Crew who previously resided here, in one of their hideouts. You are not restricted to collecting these prayers in a particular order, however. As soon as you find a shrine and collect the prayer, return to the Bulletin Board to accept the Recruit Passcode Specialists Request.
Let’s get into where you can find each Chapter of Trial.
Stellar Blade: First Chapter of Trial location


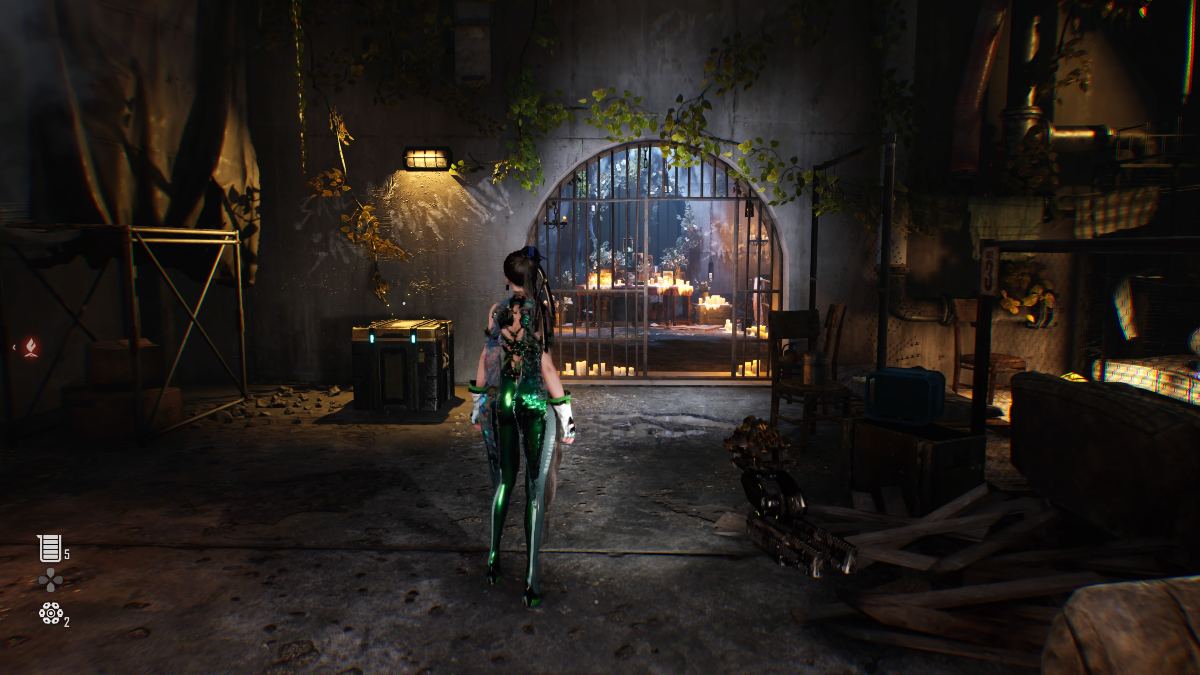
The first shrine shows a cutscene with Eve, looking at the prayer. You find the Chapter of Trial after beating the Stalker, completing the first section of the sewers following on from the Rail Yard waypoint, and stumbling upon the Under Crew’s base. As you explore the base, investigating forgotten relics from Earth, you need to ascend the ladder within the hideout and go to the back of the room. Open the golden supply box and enter the shrine room, beyond the open gate.
Stellar Blade: Second Chapter of Trial location
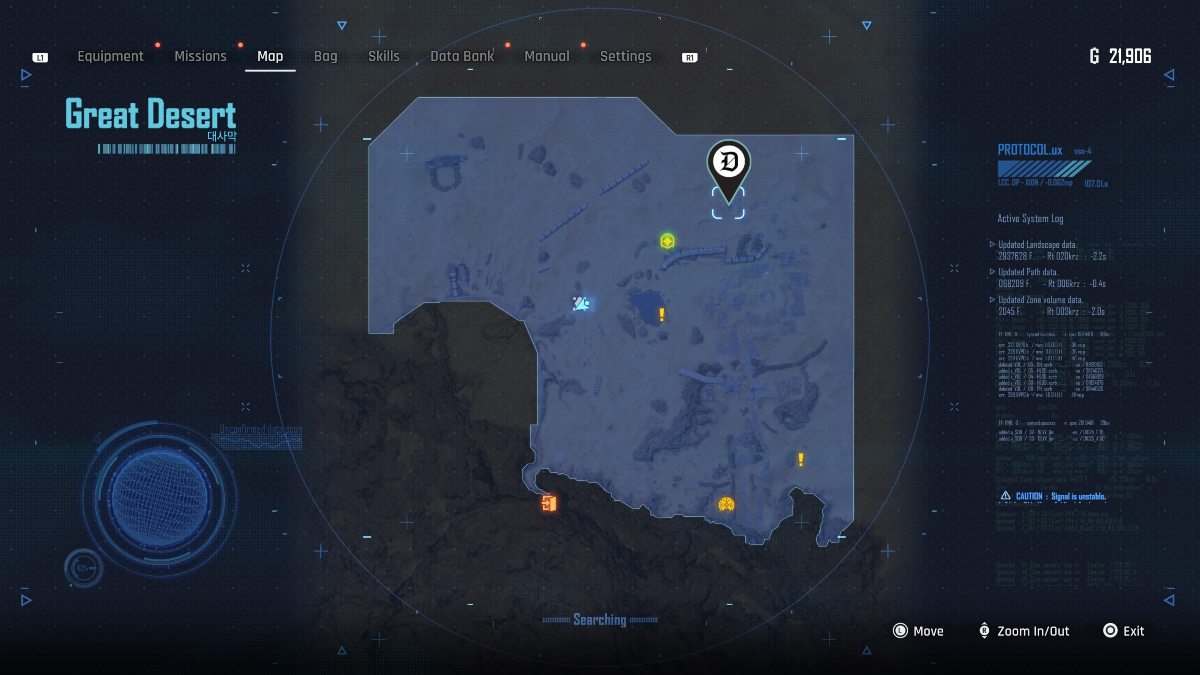


The next Chapter of Trial is obtained within the Great Desert. This is the fifth region you unlock in Stellar Blade, and the second region you can freely explore using its map. Here, you’re tasked to complete the Abyss Levoire main mission. While you may have collected the last two Chapter of Trials from the Wasteland before venturing out into the fiery desert of sandstorms and sand-burrowing Naytibas, this Chapter of Trial is relatively easy to find.
You need to head to the Buried Ruins of the Great Desert, north east from the desert’s entrance. Look out for the derelict buildings that appear like a mirage in the distance. You simply need to check the first building on your left upon entering this named location in the region. Climb to the upper level for the shrine and its Chapter of Trial.
Stellar Blade: Third Chapter of Trial location
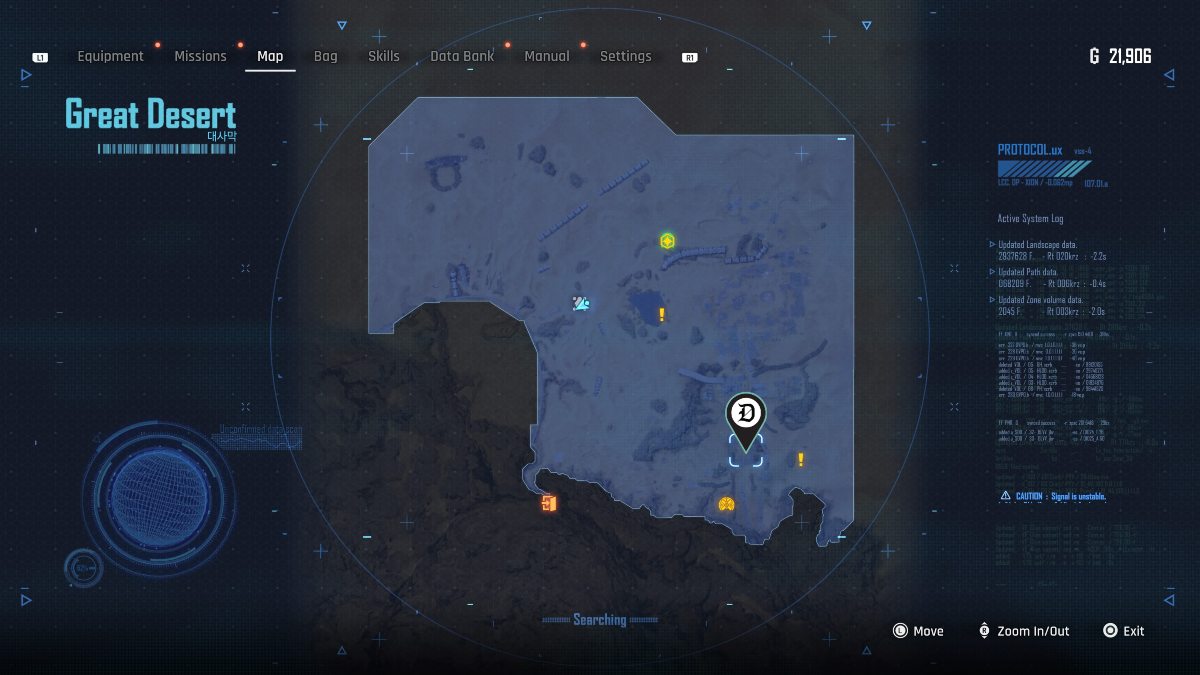


The next Chapter of Trial is south from the Buried Ruins location. This area takes you to a destroyed motorway and small town, bursting with Naytiba lifeforms. Head through the town, looking out for a wall with a single barrel trapped within the debris. Shoot the barrel using the Drone and pass through to the other side. A Camp is available here. Look right, down the passage next to the Camp. Unlock and head through the door and turn left, going into a destroyed building. The next Chapter of Trial is inside this building.
Stellar Blade: Fourth Chapter of Trial location
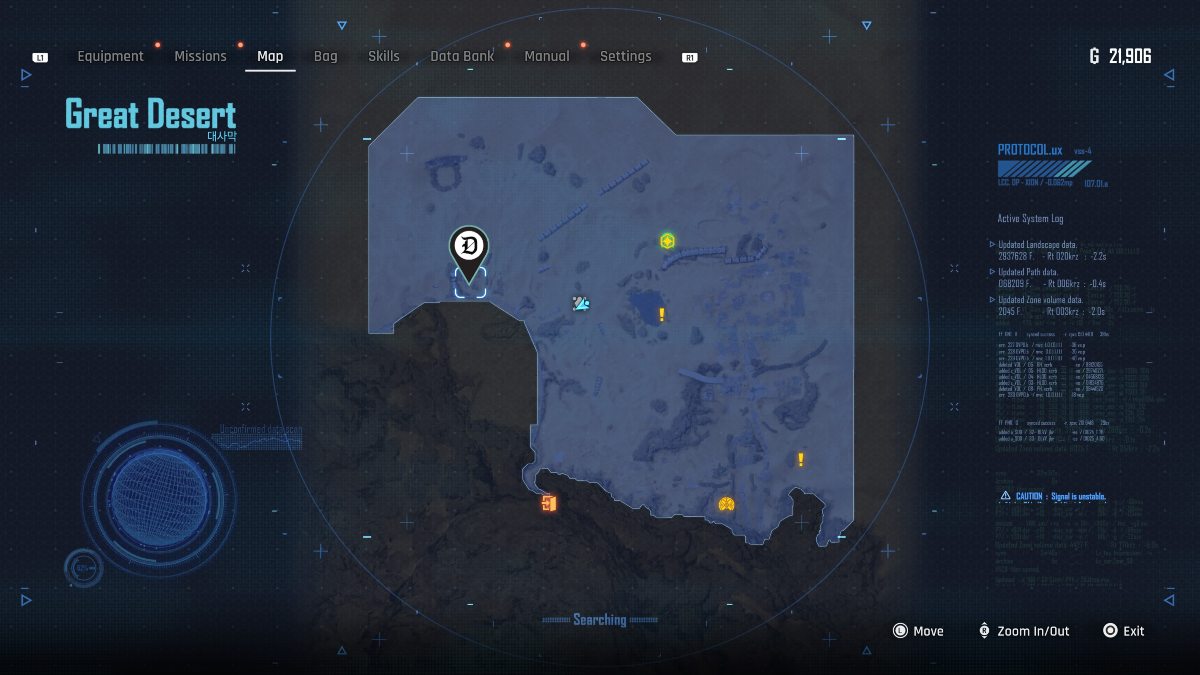


You need to go to the Northern Desert area of the Great Desert, located west when you via the map (swiping up on the DualSense pad). Eve and Adam will point out the large tunnel in the area, indicating you should investigate it further. Drop into the tunnel, using it as a fast travel system to return to the same area where you found the second Chapter of Trial. As you glide through the tunnel, avoid obstacles in your way by jumping and dashing.
After successfully reaching the end of the tunnel, drop into a pool of water below, swim to the right, and follow the short path to the next Chapter of Trial shrine.
Stellar Blade: Fifth Chapter of Trial location
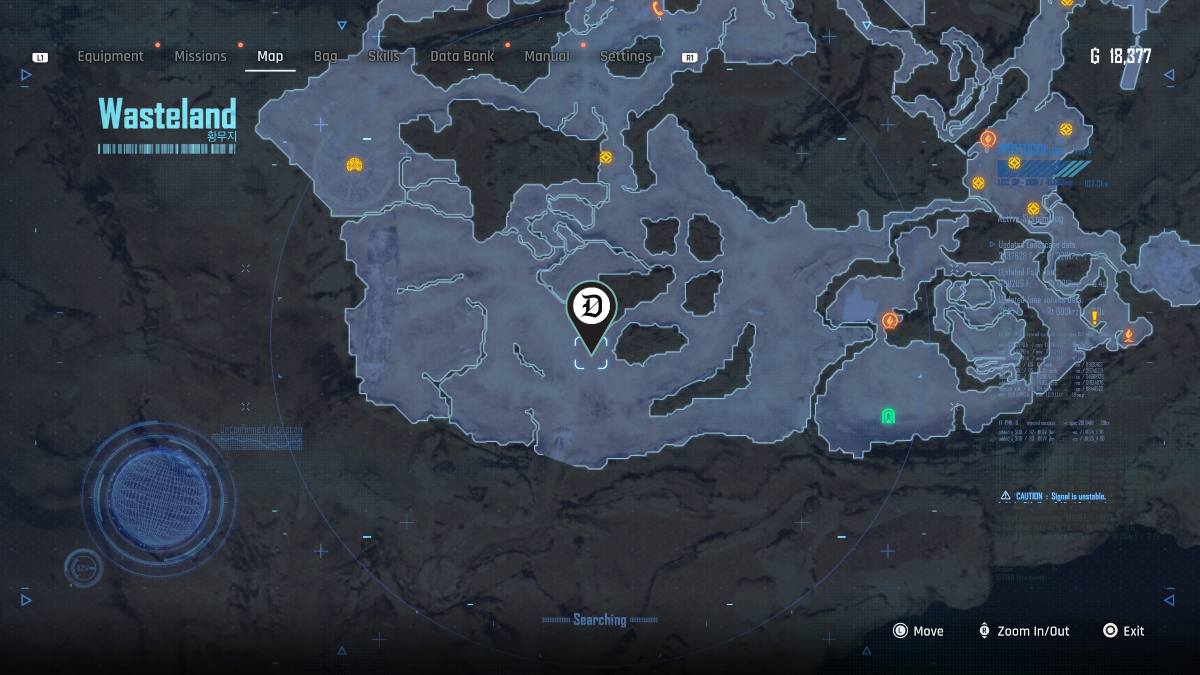


All you need to do here is head to the south side of the map and look within a small crevice of the mountains indicated in the screenshot above. You can reach this area using the Wasteland entrance, rather than choosing the Tetrapod fast-travelling system. While it isn’t pictured, there’s a Western Camp you can fast travel to using its phonebooth. You can easily use the phonebooth at the Wasteland entrance to jump to the Western Camp, and travel east to reach this shrine.
Stellar Blade: Sixth Chapter of Trial location
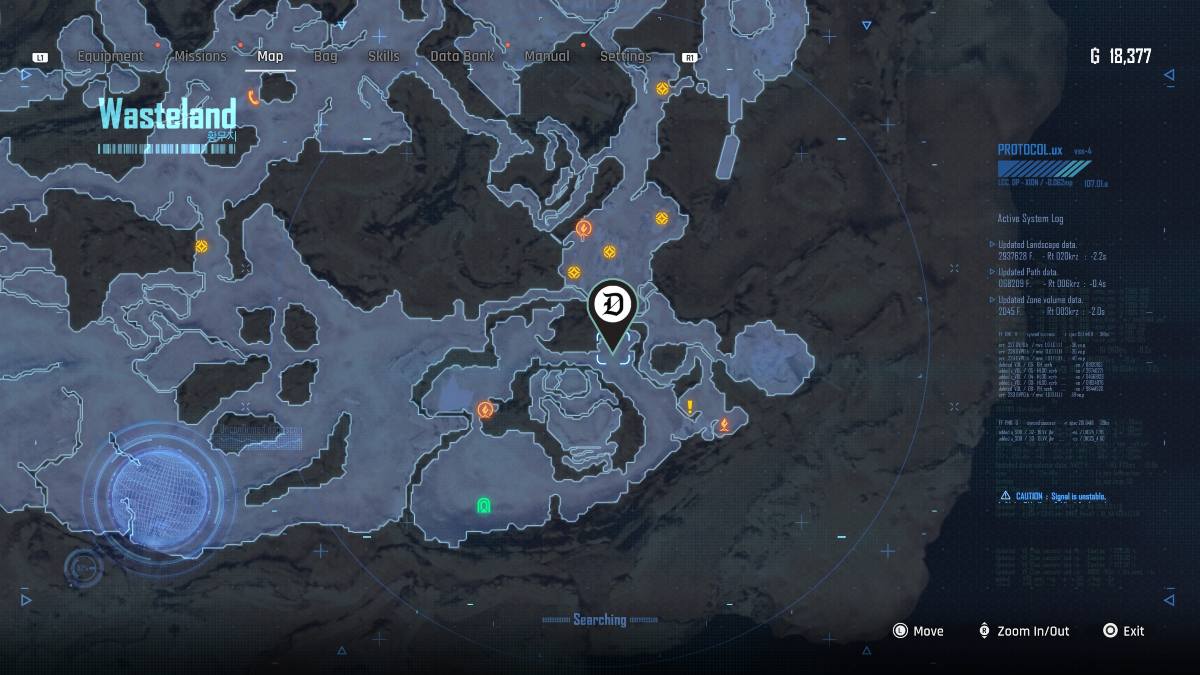


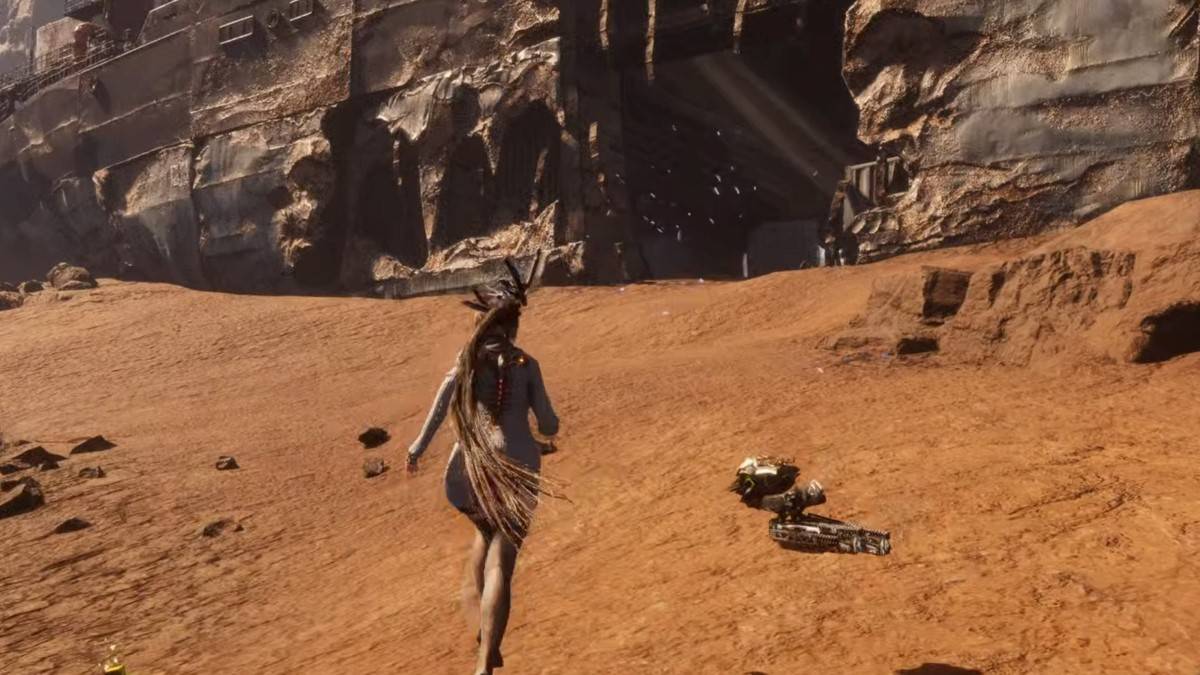
The last shrine is in the south east corner of the Wasteland. The best way to get to this one is to use the Tetrapod by fast-travelling from another region and into the Wasteland. From here, run to the east, circling around the perimeter until eventually running up to the north. Many enemies are in this congested area, with a Tentacle spawning directly next to the shrine in question. Look out for this Naytiba as its spawn indicates the exact location of the shrine.
Defeat the Tentacle, alongside any alerted Naytibas so you can interact with the Chapter of Trial.
Recruit Passcode Specialists passcode and rewards
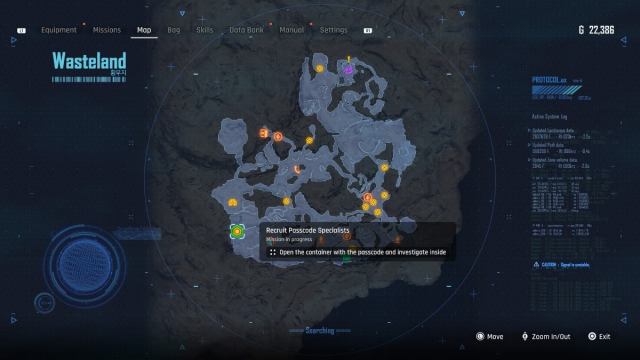
Upon finding all six shrines, the Prayers section in your documents will show six out of seven collected. Each chapter reveals a digit in the passcode. Putting each in order reveals the passcode as: βθαλδζ. Return to the Wasteland, using the Western Camp as a waypoint. Go to the destroyed ship with Naytiba surrounding it, and clear the enemies inside so you can interact with the container’s console. Input the code and viola, you have successfully completed the Recruit Passcode Specialists Request. Your rewards are:
- 20,000 Gold
- La Vie en Rose (Eve outfit)
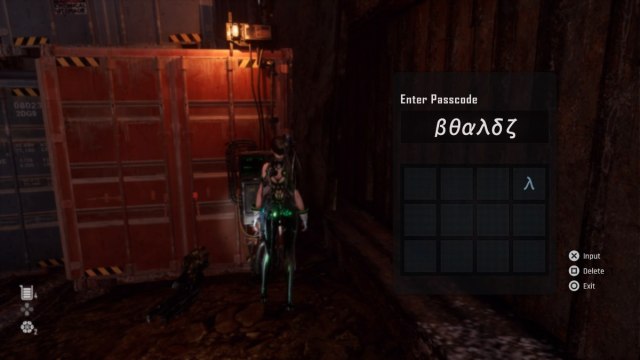
The La Vie en Rose is obtained in the small box, inside the container. You must return to the Bulletin Board inside Xion to claim your 20,000 Gold. Unlike other requests, you cannot simply fast travel after completing this one. So continue exploring the Wasteland or return to the Tetrapod with your next move in mind.











Published: Apr 29, 2024 01:04 pm