Terminal Escape Room is a fascinating and futuristic escape room concept filled with fiendish puzzles and contraptions, and we have a full walkthrough for Chapter One.
Chapter One’s “Dead End,” is the first full escape room brainteaser for you to solve in Terminal Escape Room. Like any escape room in the Roblox title, you need to come up with the solutions to a litany of puzzles to exit your current confines—and Terminal Escape Room eases you in.
If you are struggling with any puzzles in Terminal Escape Room Chapter One, we have answers and methods to help you.
How to complete Terminal Escape Room chapter 1
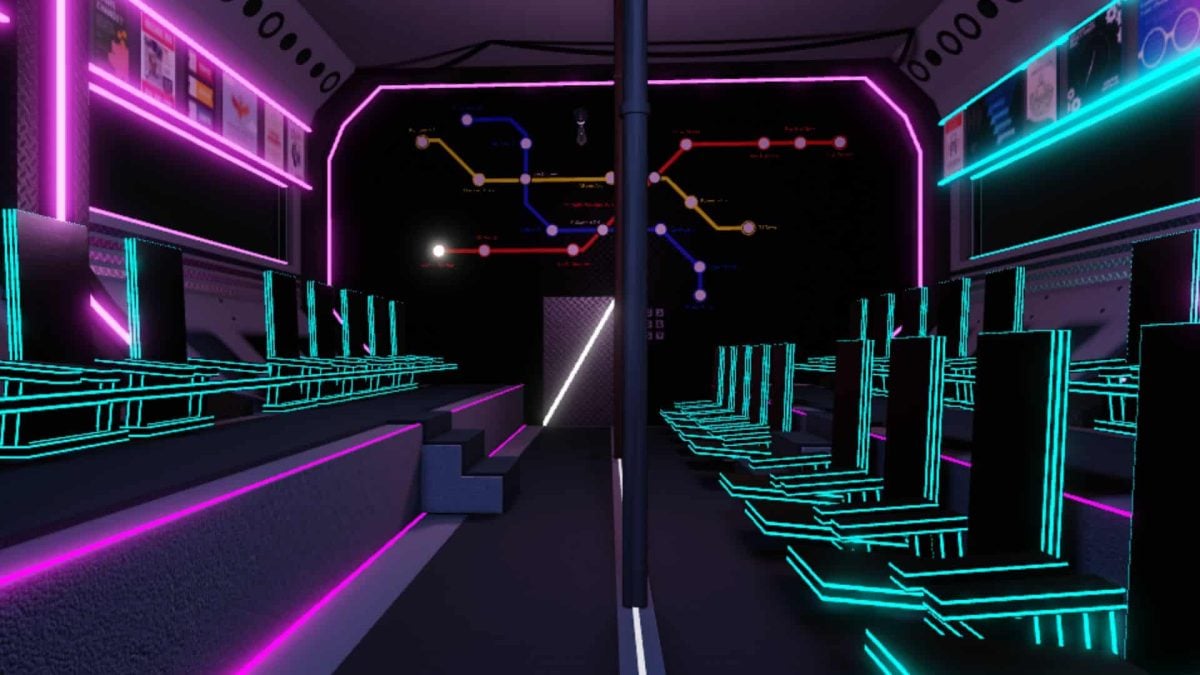
You begin Terminal Escape Room Chapter One inside a train cart, and you need to use the clues in the carriage to advance to the next stage. To keep this as clear and concise for you as I can, this has been broken up into easy-to-follow steps to ensure you have no trouble.
Here’s how to complete Chapter One of Terminal Escape Room.
Seating code puzzle solution
- In the back-left section of the train carriage, click on the Seating Chart above on the row of adverts.
- Either take a picture of the sheet or try to memorize the seat positions and the letters/numbers highlighted for certain seats.
- Exit the sheet, go to the opposite side of the train behind you, and find and click on a page (also in a row of adverts above) containing codes.
- Using the seat positions, you know which seats represent A2, C6, B8, and C5.
- Lift all the correlating seats to reveal four numbers—and the code is the four numbers in order of their appearance on the raffle sheet.
- The solution for the keypad is 3479.
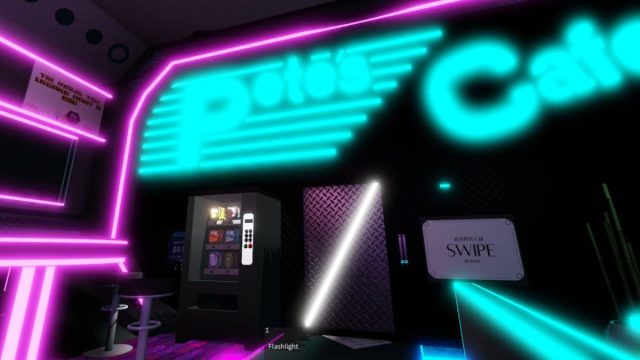
Pete’s Cafe puzzle solution
- You need two quarters in Pete’s Cafe to buy the item from the vending machine.
- The first and easiest quarter to get is in the first carriage on the flower pot in the corner of the room.
- The second quarter requires a PIN code for the ATM-looking machine.
- Go back to the first room, and on one side of the room’s adverts is a black poster page with a white clock—showing a time of 12:35.
- This can also be interpreted as 1235, and this is the pin code for the second quarter you can now collect from its opened coin slot.
- To the left of the vending machine is a poster offering a special deal of $0.50 for Item 2C.
- Type in 2C on the keypad, press the green button, and a keycard pops out.
- Use it on the swipe mechanism to access the Sleeping Car carriage.
Sleeping Car carriage puzzle solution
- Interact with the keypad to make the power go out.
- Find the missing fuse. To do this, use the Flashlight in your inventory and scrupulously check everywhere!
- I found the Fuse in the second carriage underneath one of the blue tables.
- Put the fuse back, and we need to reset the fuse box.
- To do this, use the Flashlight again, go to carriage two, and check out the ceiling pattern on the Fuse panel’s side of the room—the circles tell you which switches need to be activated on the fuse box control.
- Input the pattern as shown, and the power comes back.
- Finally, you need a code for the door, and it’s time to crack the Morse code using the sheet above the panel.
- Return to the first carriage, and a big red flashing light is the solution to our problems.
- To get the numbers, the button flashes a series of times, pauses, and repeats this three more times with a different sequence to give you four numbers in total.
- A quick flash represents a dot, whereas a prolonged light equals a line on the Morse code chart.
- Study the light patterns, use the system we discussed, and, eventually, four numbers become clear.
- For myself, the pattern led to a successful combination of 3967.
Cockpit puzzle room solution
- A final code is needed to stop the train. The first number uses the hotel picture, the second number features the three colored circles, the third number is based on the interesting squiggle picture, and the final number requires a hangman-style solution.
- Check out the hotel poster in the cockpit and return to the first carriage.
- Find the hotel advert poster, and it has a discount percentage of seven percent—making seven the first digit.
- Next, go to the third carriage, and add how many bamboo shoots are in the purple pots.
- Go to the second room and add up the bamboo in the green pot.
- Now, head to the first carriage and subtract how much bamboo is in the yellow pot—altogether, my answer was six purple, five green, and two yellow to equal nine.
- The squiggle picture is in the second room, so find the exact squiggle matching the one in the cockpit, and this is digit number three—giving me number four.
- The last solution is actually in the cockpit, and every screen has a word on it, with the TV poster having enough lines for all the words.
- Using logic, we can discern the first line is SOS, the third line is BRAKES DISABLED, and the fifth line is DANGER—using the suggested order, this spells one.
- Type in 7941 on the keypad and pull the lever to beat chapter One.
Now you’ve endured and overcome the trials and tribulations of chapter One, make sure to check out our full Terminal Escape Room chapter Two walkthrough, and bookmark our Terminal Escape Room chapter Three walkthrough.
Believe me—it doesn’t get any easier!


Published: Jun 18, 2024 05:54 am