Remnant 2 The Forgotten Kingdom DLC adds a new campaign to the Yaesha biome filled with new bosses, new puzzles, new loot, and the Infested Abyss. In this guide, I’ll tell you everything you need to know about this difficult section.
How to get to Infested Abyss in Remnant 2 The Forgotten Kingdom DLC
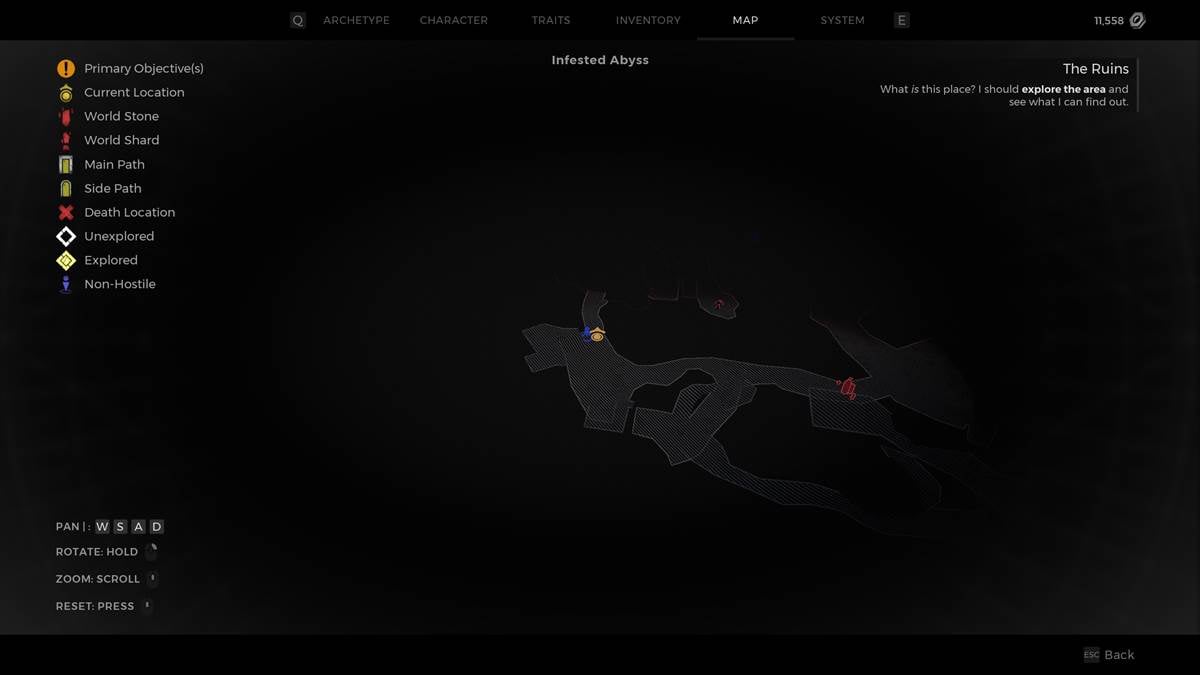
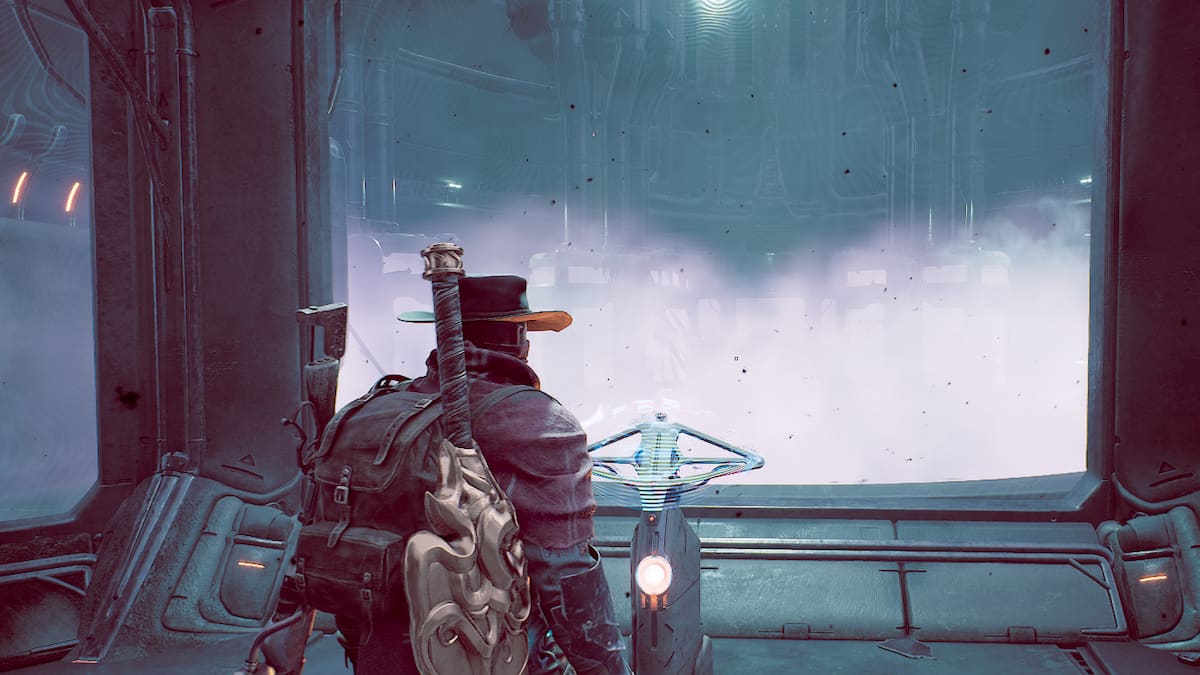
If you’re playing One Shot Mode in Remnant 2 The Forgotten Kingdom, you can access the Infested Abyss immediately from the first zone you load into. From the Glittering Grotto, head up the cliff toward the spot where you meet Walt the merchant. Just before you go up the steep ramp with flying enemies, look to the right side. There’s a path that leads to the Kuri Kuri Egg and another less noticeable path that leads to a waterfall. Take the path that leads to the waterfall and jump through it. Behind the waterfall is another room that takes you to the Infested Abyss.
If you’ve already cleared The Forgotten King DLC and rerolled your Adventure mode, you need to reroll Yaesha on Adventure Mode until you get the DLC area with the Infested Abyss again. It took me about five rerolls, but I eventually got the zone.
Infested Abyss guide in Remnant 2 The Forgotten Kingdom

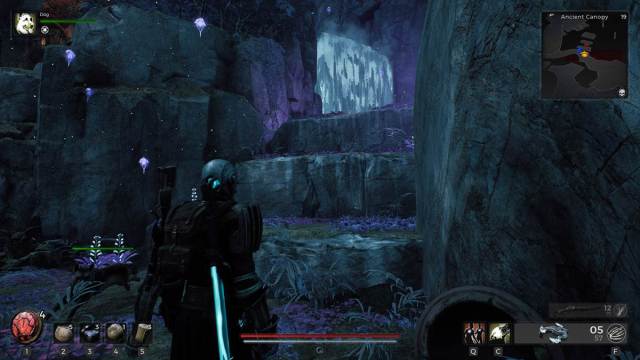
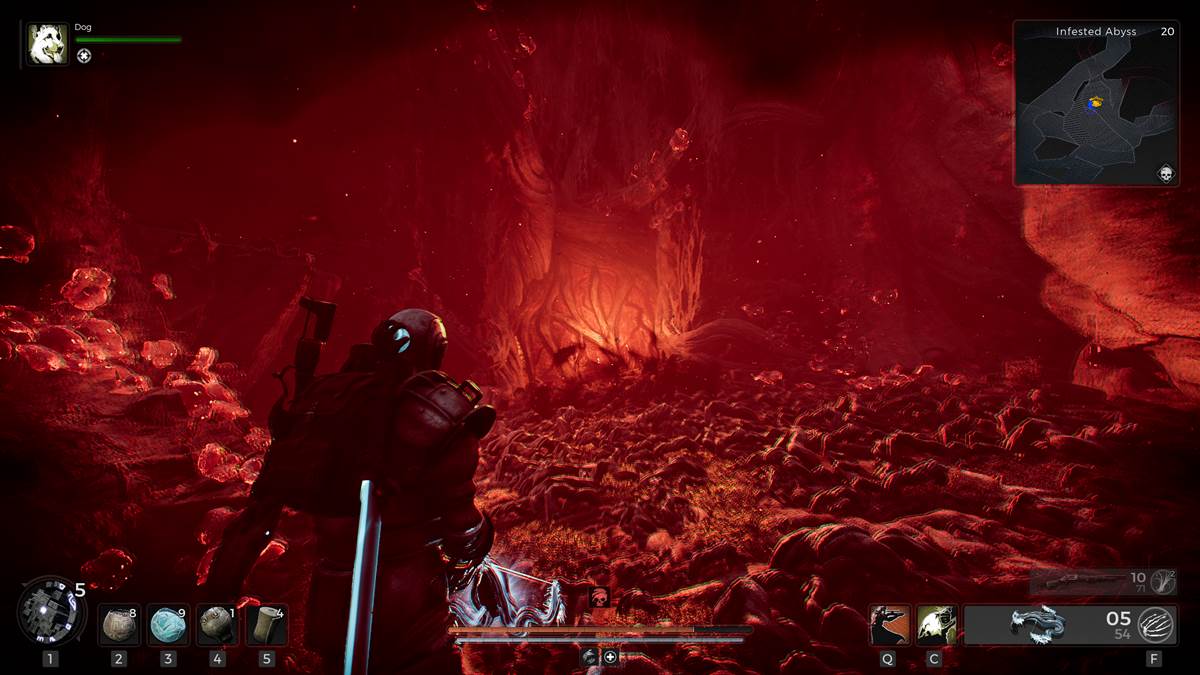
When you enter the Infested Abyss, it won’t seem so bad. There are a few enemies, a few predictable paths and secrets, but generally nothing you haven’t seen before. The “fun” starts when you get to the first mini-checkpoint, which is next to a hole enveloped by roots. From this point on you need to defeat three gauntlets and one optional boss at the end.
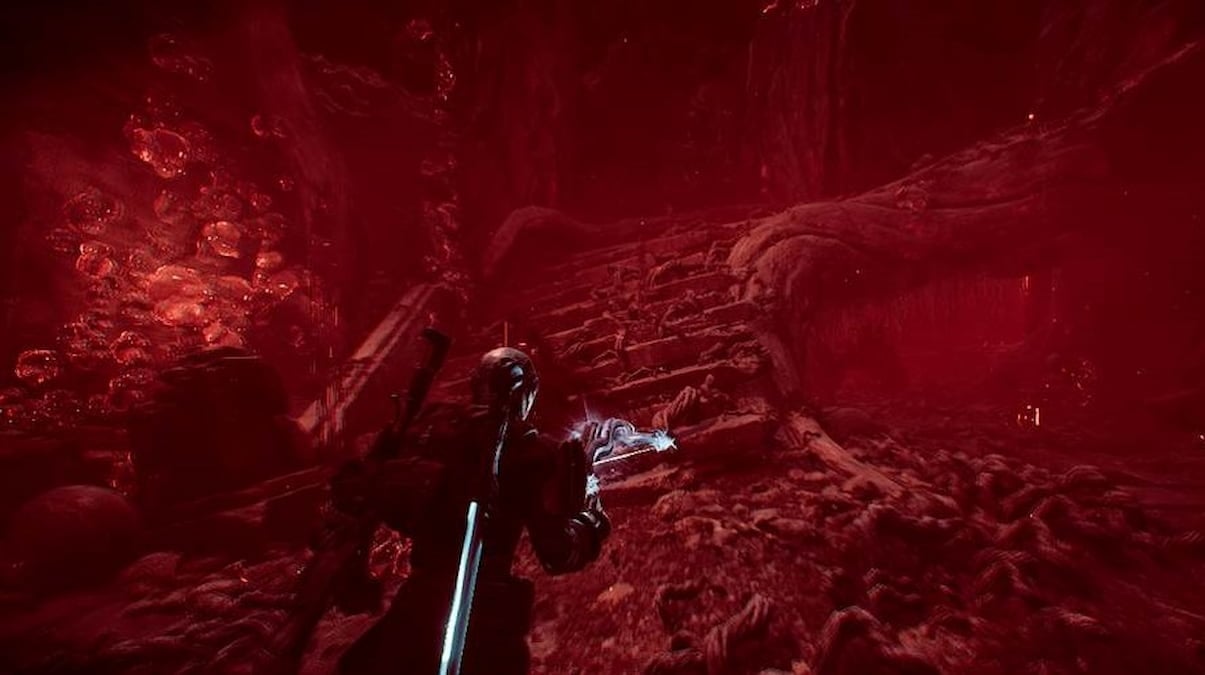
Drop into the hole by landing on the giant roots. When you reach the floor, a poisonous red mist slowly chips away at your health. As bad as it seems, it’s very manageable to stay within the mist, especially if you have alternative healing methods. Don’t worry, you can clear the mist later.
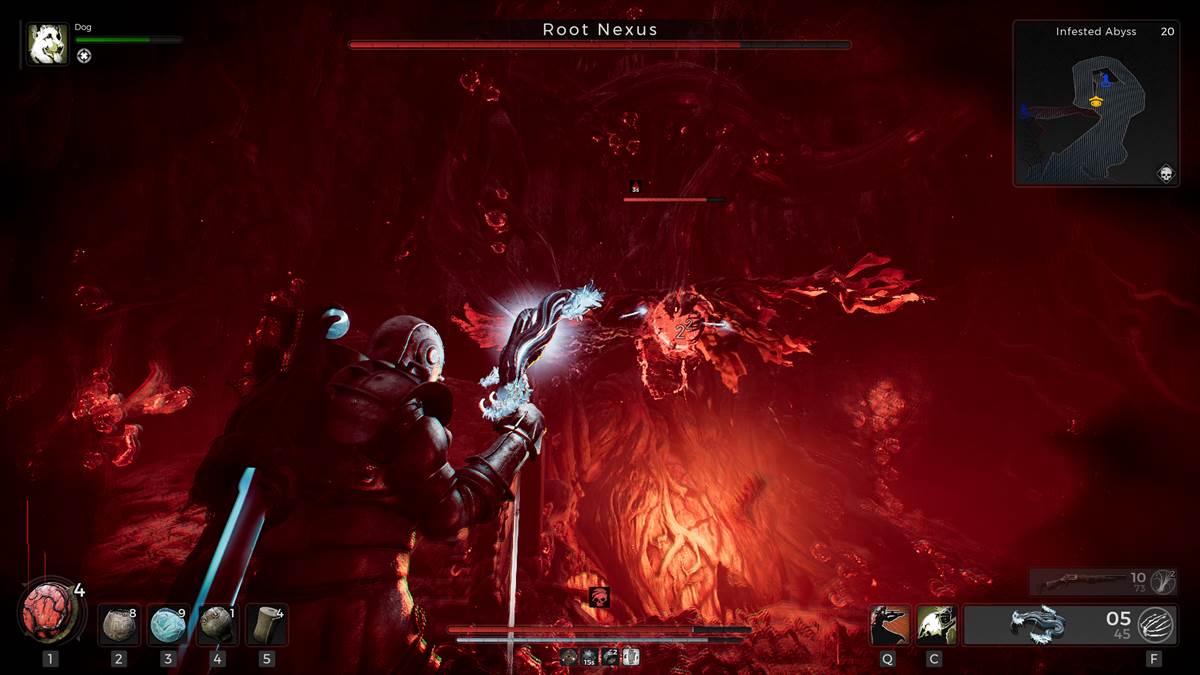
At the first intersection, take the path to the left (the right path leads to a locked shortcut you can open later). Keep going down the left path while killing the enemies. When you get to what seems like a dead end, look for a piece of wall that almost looks like a beating heart. That is the Root Nexus. As soon as you start shooting at the Root Nexus, its health bar appears. While the Root Nexus won’t fight back, it does have a lot of health before it drops. That’s the least of your problems, though.
Root Nexus one
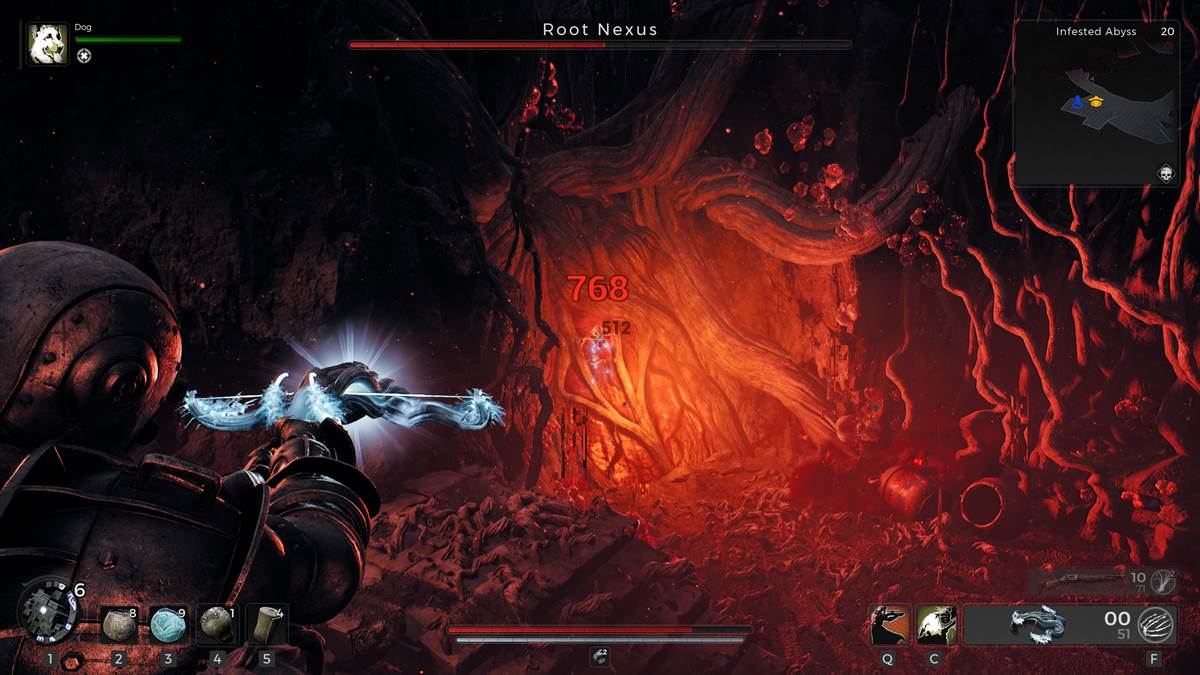
The second you start hitting the Root Nexus, enemies start spawning to protect it. This is the main reason so many players are having trouble with this section. Instinctively, you’d think if you keep firing at the Root Nexus despite the enemies attacking, you’ll eventually succeed, but that really isn’t the case.
The more you attack the thing, the more enemies spawn, and they will easily overwhelm you even on the lowest difficulty. I suggest you damage the Root Nexus by about 33 percent and then kill any enemy that’s spawned in the vicinity. When you don’t see any more enemies, damage the Nexus by another 33 percent and then kill the enemies again. Once the second wave of enemies is down, finish the Root Nexus off and continue down the path. The poison fog will also clear around this zone, but you’ll encounter more of it as you keep going.
Root Nexus two
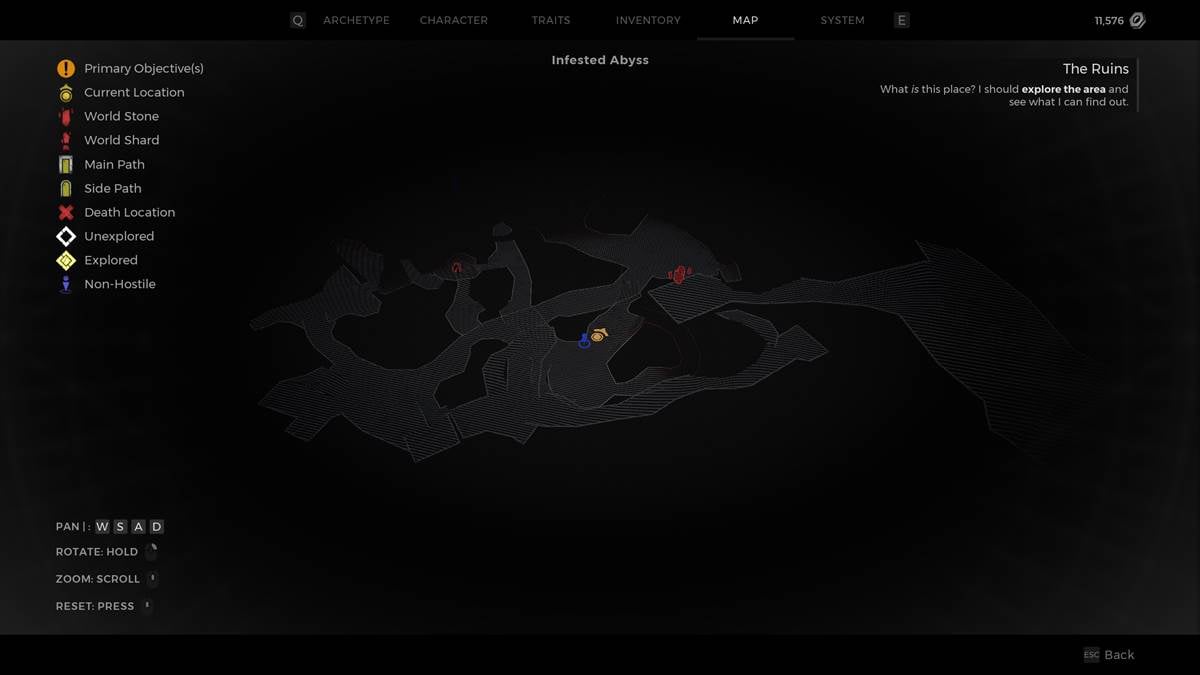
Continue down the path the first Root Nexus was blocking and you’ll eventually see an intersection. Take the leftmost path (there is a chest on the right path) and continue down until you reach a large room with another Root Nexus. Repeat the same strategy as above.
The second fight is a little tougher as you’ll spawn tougher enemies. Definitely get rid of the burrowing enemies as they’re really annoying to kill. If you have the Handler or the Summoner Archetypes, your summons can help you out here by taking some of the aggro. There’s even a small path just to the right of Root Nexus two, which can loop you around this zone and give you some breathing room and a second to heal. Otherwise, use the same tactic as above and keep going.
Root Nexus three
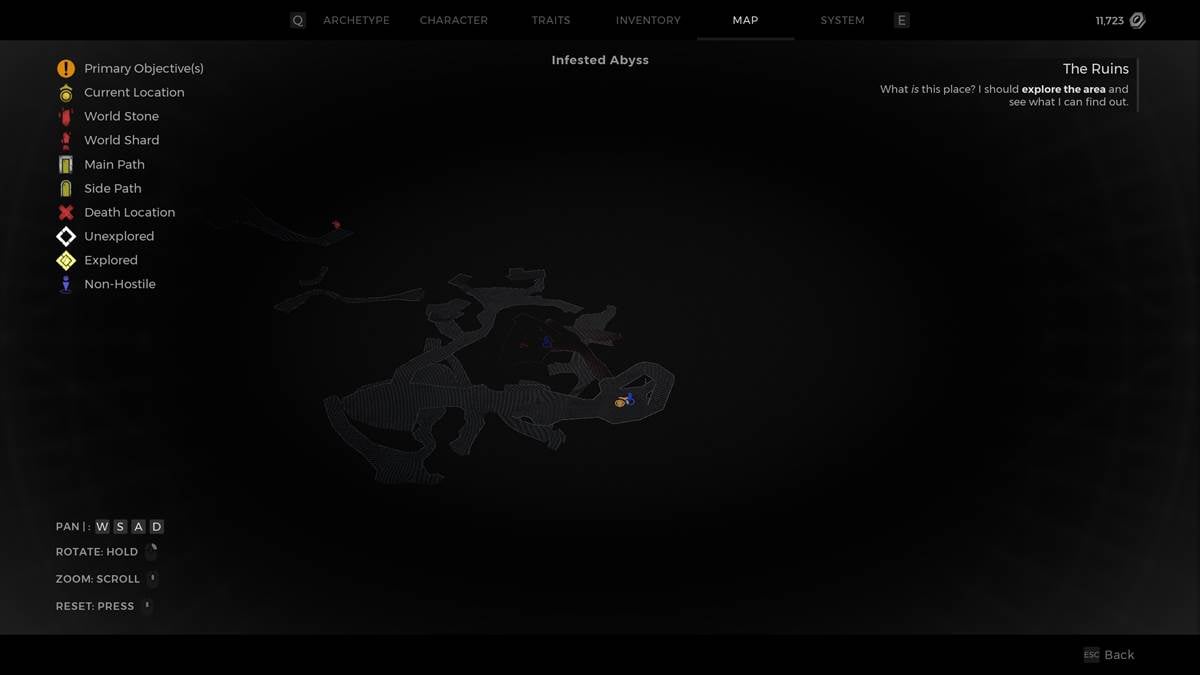
When you go through the hole Root Nexus two was covering, you need to go right and up a root. As soon as you enter the next poisonous fog, there is a locked shortcut door that you can unlock from this side. Unlock it, because you might need it for the upcoming fight.
Keep going down the path and deal with the tall nightmare fuel that’s on your path. Later down the road, you’ll come across the third and final Root Nexus. This is the toughest one yet, so make sure you are prepared.
Follow the same tactic but this time, chip off 25 percent at a time instead of 33. More enemies spawn during this fight and you really need to deal with them sooner rather than later. The most dangerous one is the Grim Reaper-like enemy that flies around and damages you with its Scythe. Do not underestimate them. Even when I knew what to do here, I still died a few times because of how strong some of the enemies were. Keep killing enemies and damaging the Root Nexus until you finally destroy it. Good riddance.
The Emissary
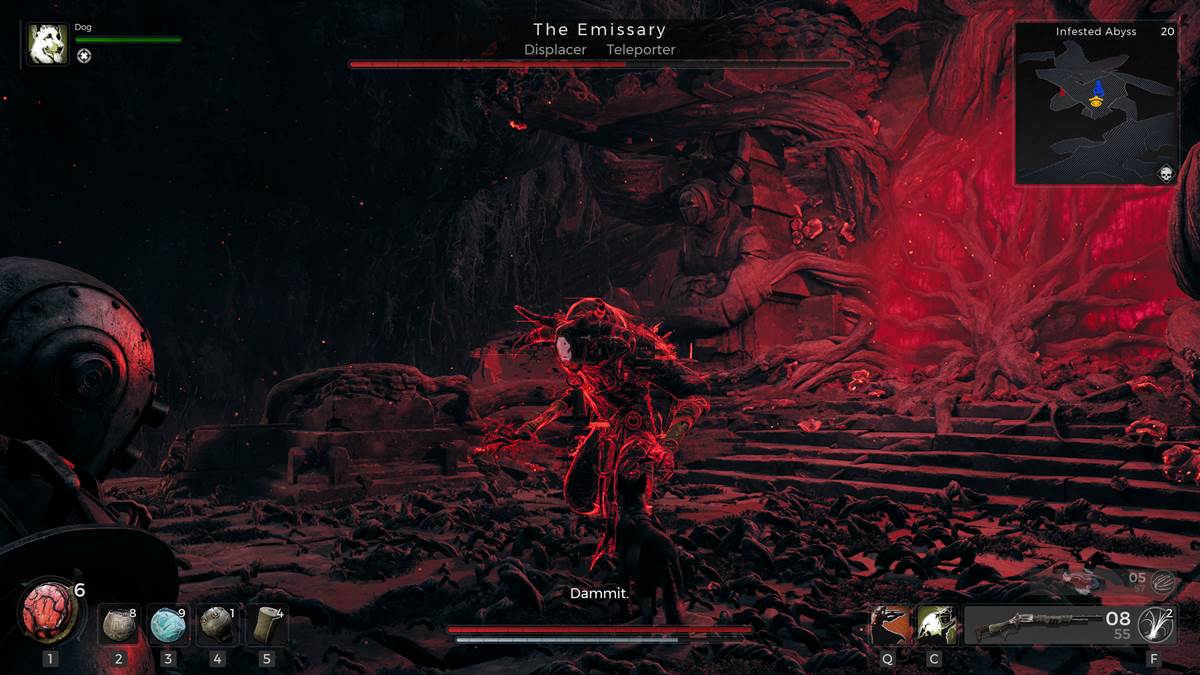
Once you drop through the Root Nexus hole and into the final room, grab the Crystal Staff from the sarcophagus (you can’t miss it) and make your way to the second mini-checkpoint. From there, climb the stairs toward the Emissary, also known as the Root Statue.
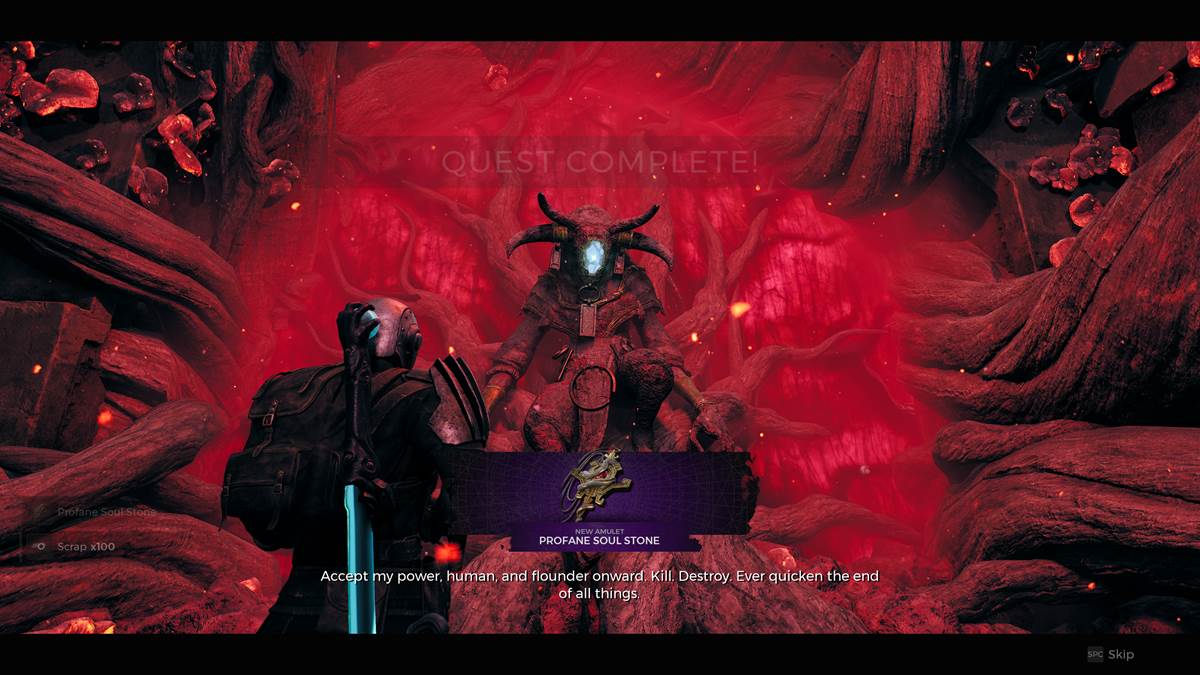
You don’t have to fight the Emissary. Simply pick all dialogue options that don’t initiate a fight and you get a new Amulet.
On the other hand, you can also kill the Emissary and get a new Mutator. If you choose to fight it, simply roll whenever you see the screen glitching, then shoot the Emissary in the Jeweled eye on its head.
Whenever the Emissary attacks, you only have a brief window to do some damage before it freezes and becomes immune to damage. Unfortunately, it only takes one hit to kill you. As scary as that might sound, this is a super easy fight and even if you fail, you’re only a few steps away from the mini-checkpoint, so don’t worry. After you’ve dealt with the Emissary, there is also a Tome of Knowledge down the path when you descend the stairs, so don’t forget to grab it.


Published: Apr 30, 2024 10:45 am