You should expect to traverse several dungeons as you make your way through Remnant 2. The Dark Horizon DLC allows you to explore the Stagnant Manufactory, but there’s a tricky location where you need to navigate through toxic gases and a security room.
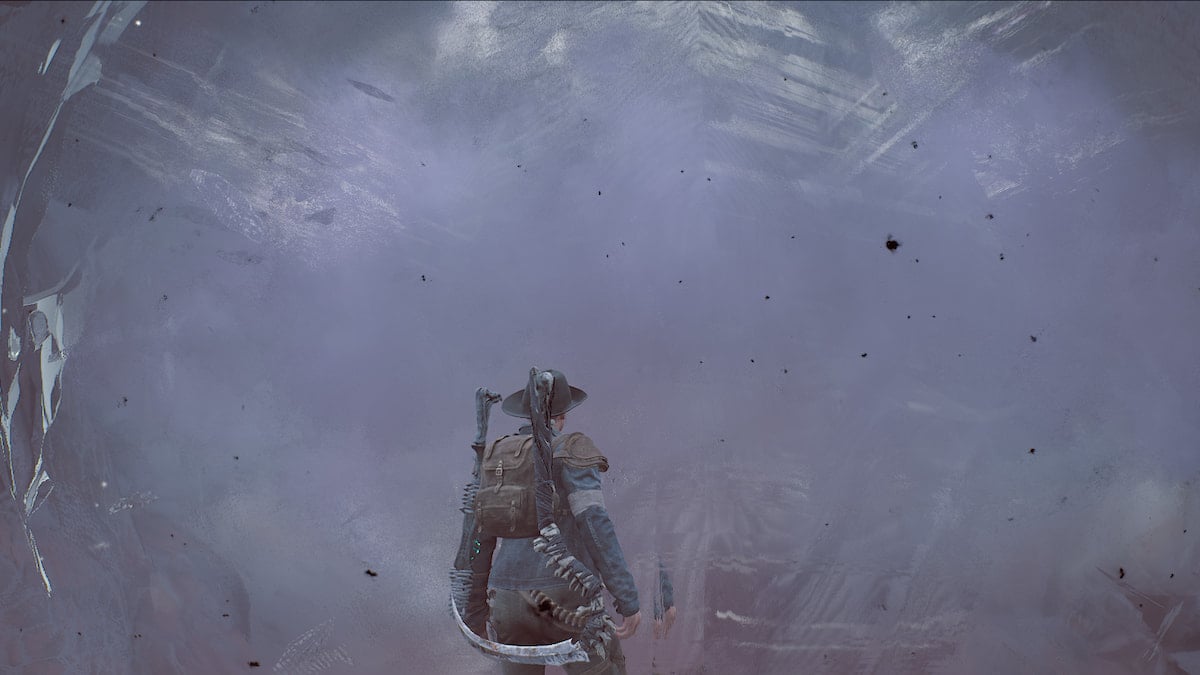
The way the toxic gases work in this portion of the Stagnant Manufactory is you have to destroy the glass valves containing them to progress through the area. If you’re not quick enough, these gases can cause your character to die and prevent them from moving quickly. There are several floors you have to clear to reach the end of this mechanic, but it’ll take a good amount of time to reach the end. Here’s what you need to know about how to get through the Stagnant Manufactory in Remnant 2.
How to complete the Stagnant Manufactory in Remnant 2
The status effect you get from these gases is known as Fog Poison. Unfortunately, there’s no cure for this status effect in Remnant 2. The only way to get through it is to get out of the way of being in the fog or die. If you die during any portion of the Stagnant Manufactory, you’ll return to the checkpoint at the beginning portion of this encounter in The Dark Horizon.
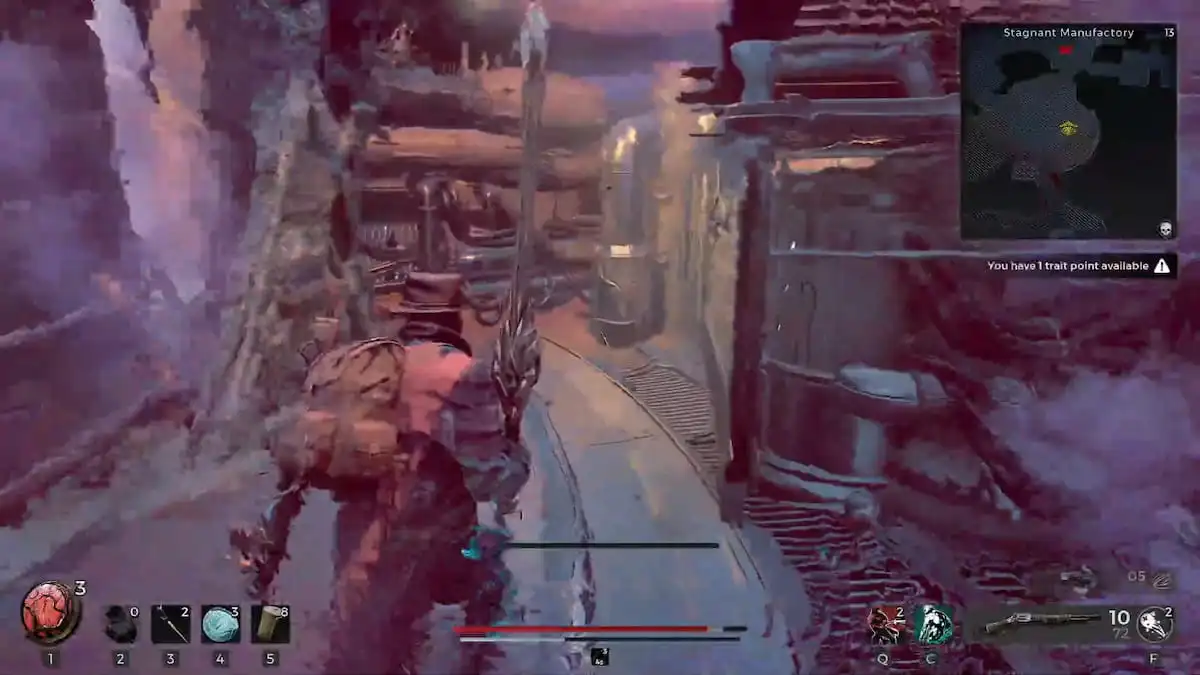
With no cure for the Fog Poison, the best thing you can do during this portion is to continue moving. That’s the strategy you have to keep throughout the entire encounter. When you drop into this area, although the alarms are sounding off, nothing wrong happens until you destroy the first valve covered in glass and release the gases. From there, it’s a race against time to reach the next area and the end to complete the Stagnant Manufactory in Remnant 2.
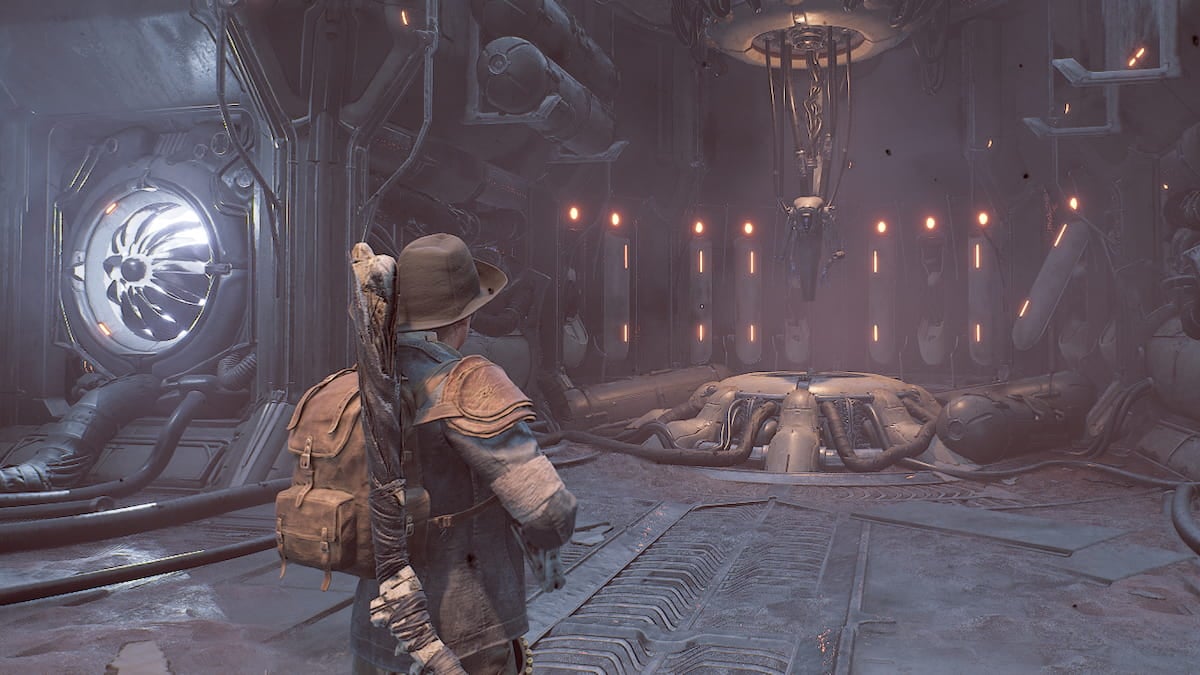
The first floor should be a straightforward puzzle. After destroying the first valve, make your way to the right side and follow the pathway. Expect to find several enemies along the way. You can choose to deal with them if you need to do so, but your primary goal should be reaching the next area. There is another glass valve on your path that you have to destroy, and from there as you continue this way, expect an elevator to take you up to the next floor.
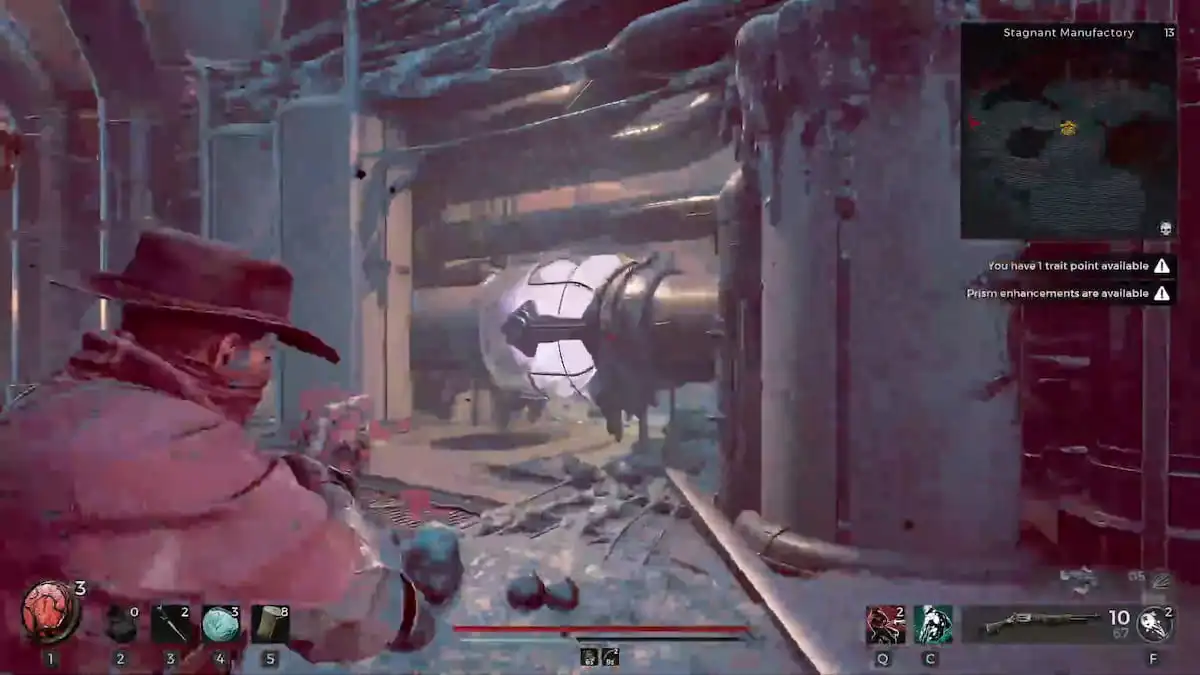
When you reach the second floor, it won’t be a direct path anymore. Instead, there are two routes you can choose to take. Both reach the end, but one might work better for you. Between these two, I recommend taking the right pathway with your Remnant 2 character. This pathway has always been a better choice for me. Thankfully, the path becomes more direct after you choose, and you can reach the next elevator to the third floor. However, expect to fight an elite enemy before you get to this elevator.
The third and final floor to the Stagnant Manufactory is another direct path, but expect to platform a bit, jumping on ledges and maneuvering. You want to be quick to ensure you don’t get stuck with the vomiting animation from the Fog Poison, as this can be a heavy liability as you race toward the exit.
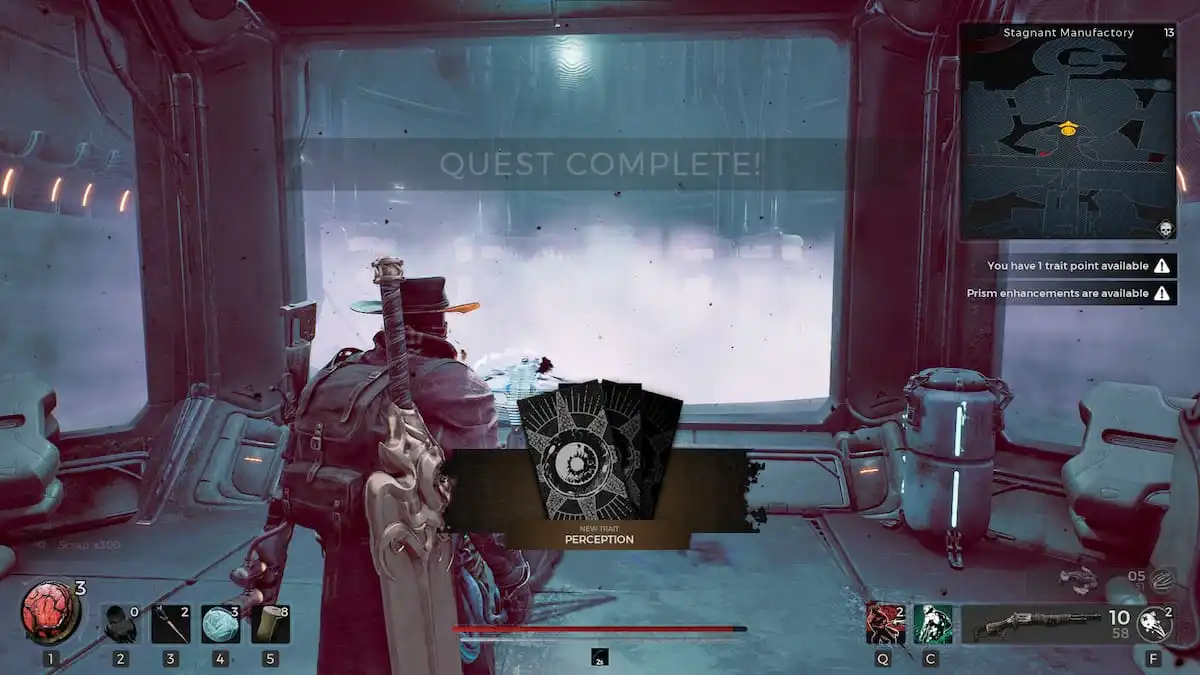
When you reach the end of this encounter in the Stagnant Manufactory, there’s a terminal at the end when you go up the final elevator. Interact with the terminal to remove the gas from this area, and you’ll receive the Perception trait on your Remnant 2 character. Completing this dungeon offers a more straightforward reward compared to the Crop Sample.
After completing this room, there’s another encounter you can complete inside the Stagnant Manufactory, called the Stealth Encounter or the Security Room. Here, you’ll need to put your stealth skills to the test and bypass the watchful eyes of several robots attempting to scan you. Avoiding their gaze rewards you, but you need to remain stealthy.
How to complete the Security Room in Stagnant Manufactory in Remnant 2
You can find the entrance of the security room on the left side of the Stagnant Manufactory. After you complete the toxic gas chamber and reach the checkpoint at the end, return to the start of the dungeon, and you head down this way. The room is blocked off before you can enter it, but if you activate the console, you can head down below, where you’ll need to avoid the robots slowly walking around, attempting to catch sight of your Remnant 2 character.
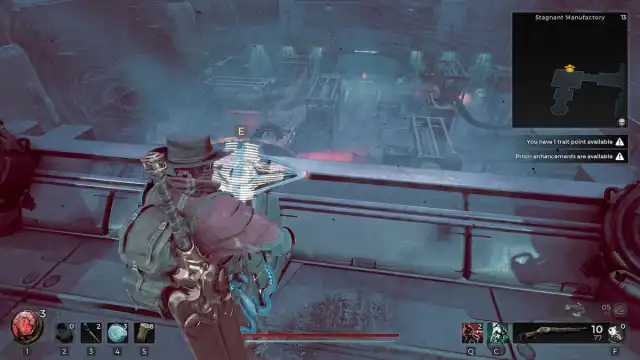
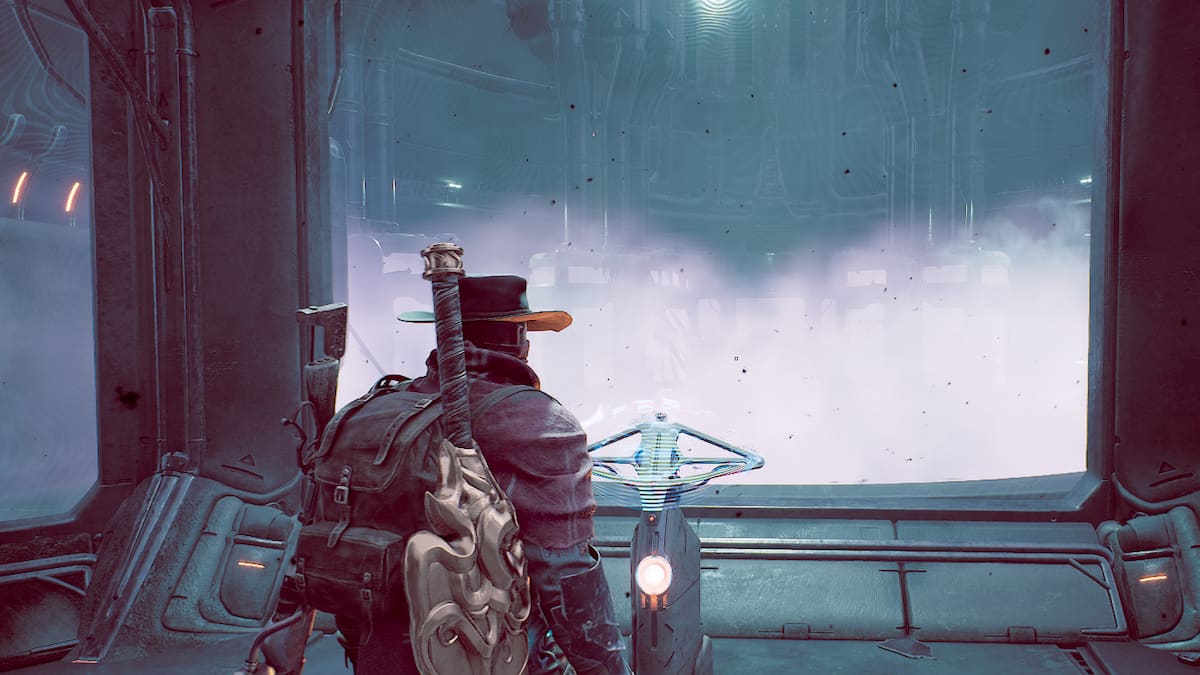
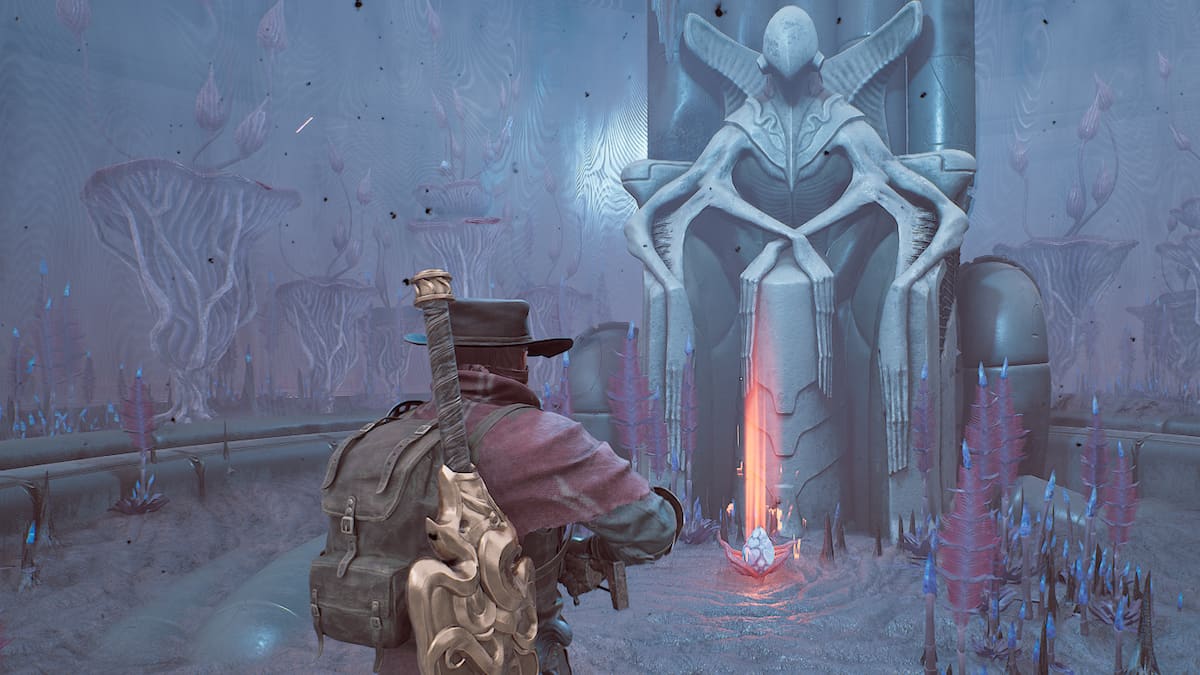
When you head down the elevator, make your way to the entrance of the security room and crouch down. Several robots are patrolling the interior of these rooms, and you can barely make them out through the thick fog, but their distinct red lights give them away. You want to make sure you crouch down and slowly walk through this area the entire time. Making too much noise or being caught by any security droids alerts security and prevents you from getting certain rewards for your Remnant 2 character.
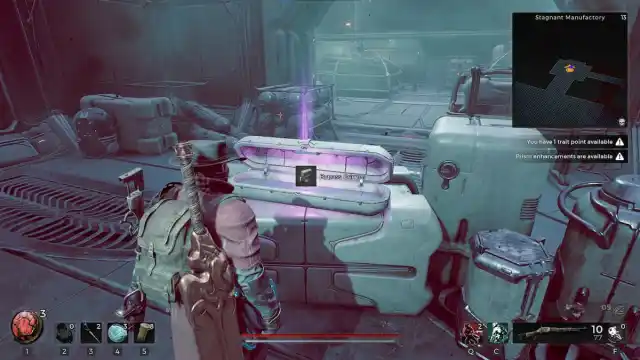
You primarily want to stick to hugging the left wall the entire time. I could hold to the left and advance to the back of the room without too much issue. From what I could tell, there were only two robots you had to avoid to get through the rest of the path, making it much easier to reach the end.
The primary reward for completing this encounter was receiving the Bypass Primer ring. But if any of the robots never catch you and you don’t alert security, you can get the Burden of the Protector ring in an outer room. If you alert security, the doors in front of this ring shut, preventing you from reaching this area.







Published: Sep 27, 2024 10:05 am