Prince of Persia: The Lost Crown challenges players with several puzzles throughout its 15 to 20 hour playtime. One of the more engaging puzzles can be found in the Upper City area, which involves fixing the hands of a clock to proceed further into the area.
The Upper City Clock puzzle
The Clock puzzle in the Upper City is part of the main story quest that involves the summoning of the Four Celestial Guardians. Completing this quest will allow you to progress through the questline and continue the main story of the game. Before you get started with the quest itself, you will need to know where to find the Clock puzzle.
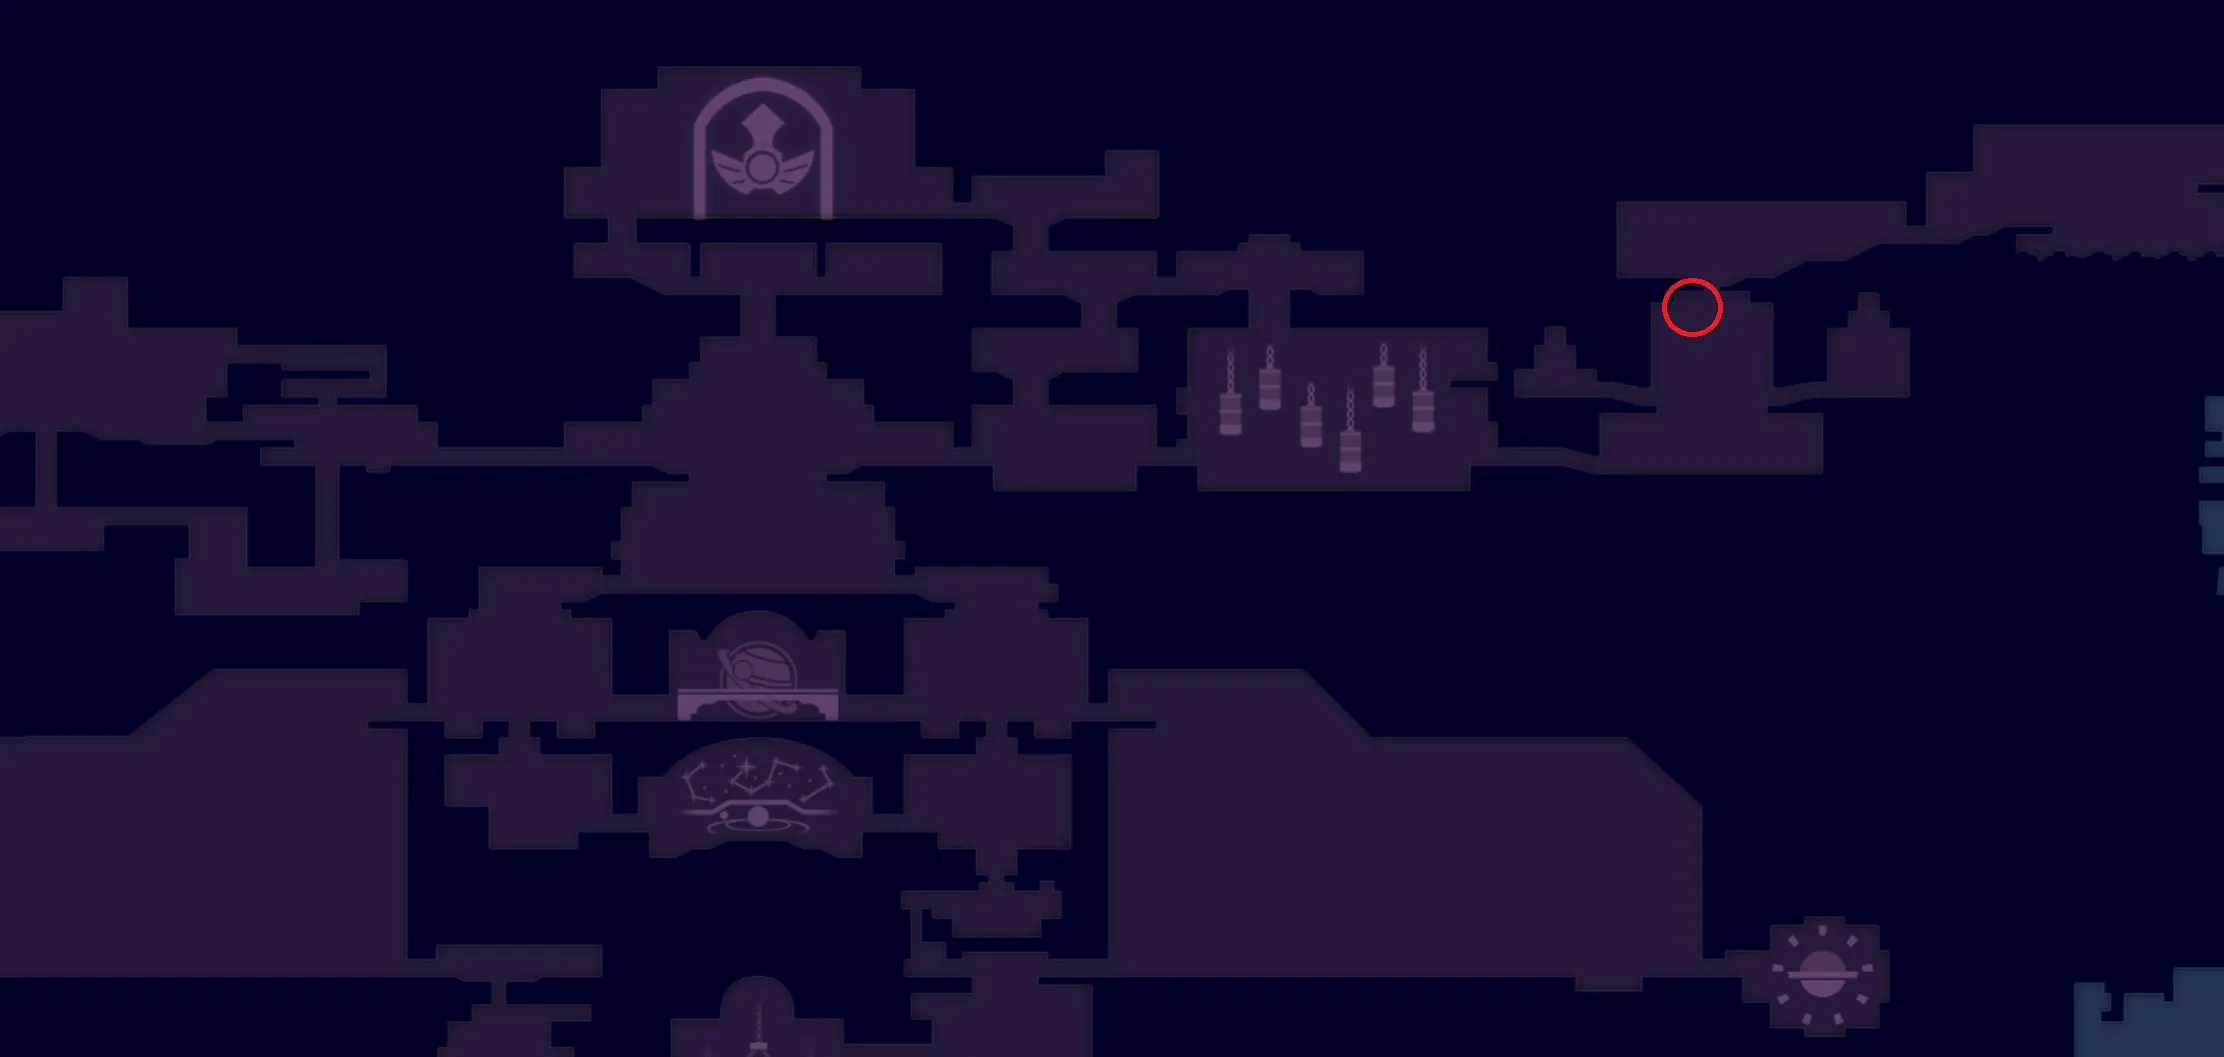
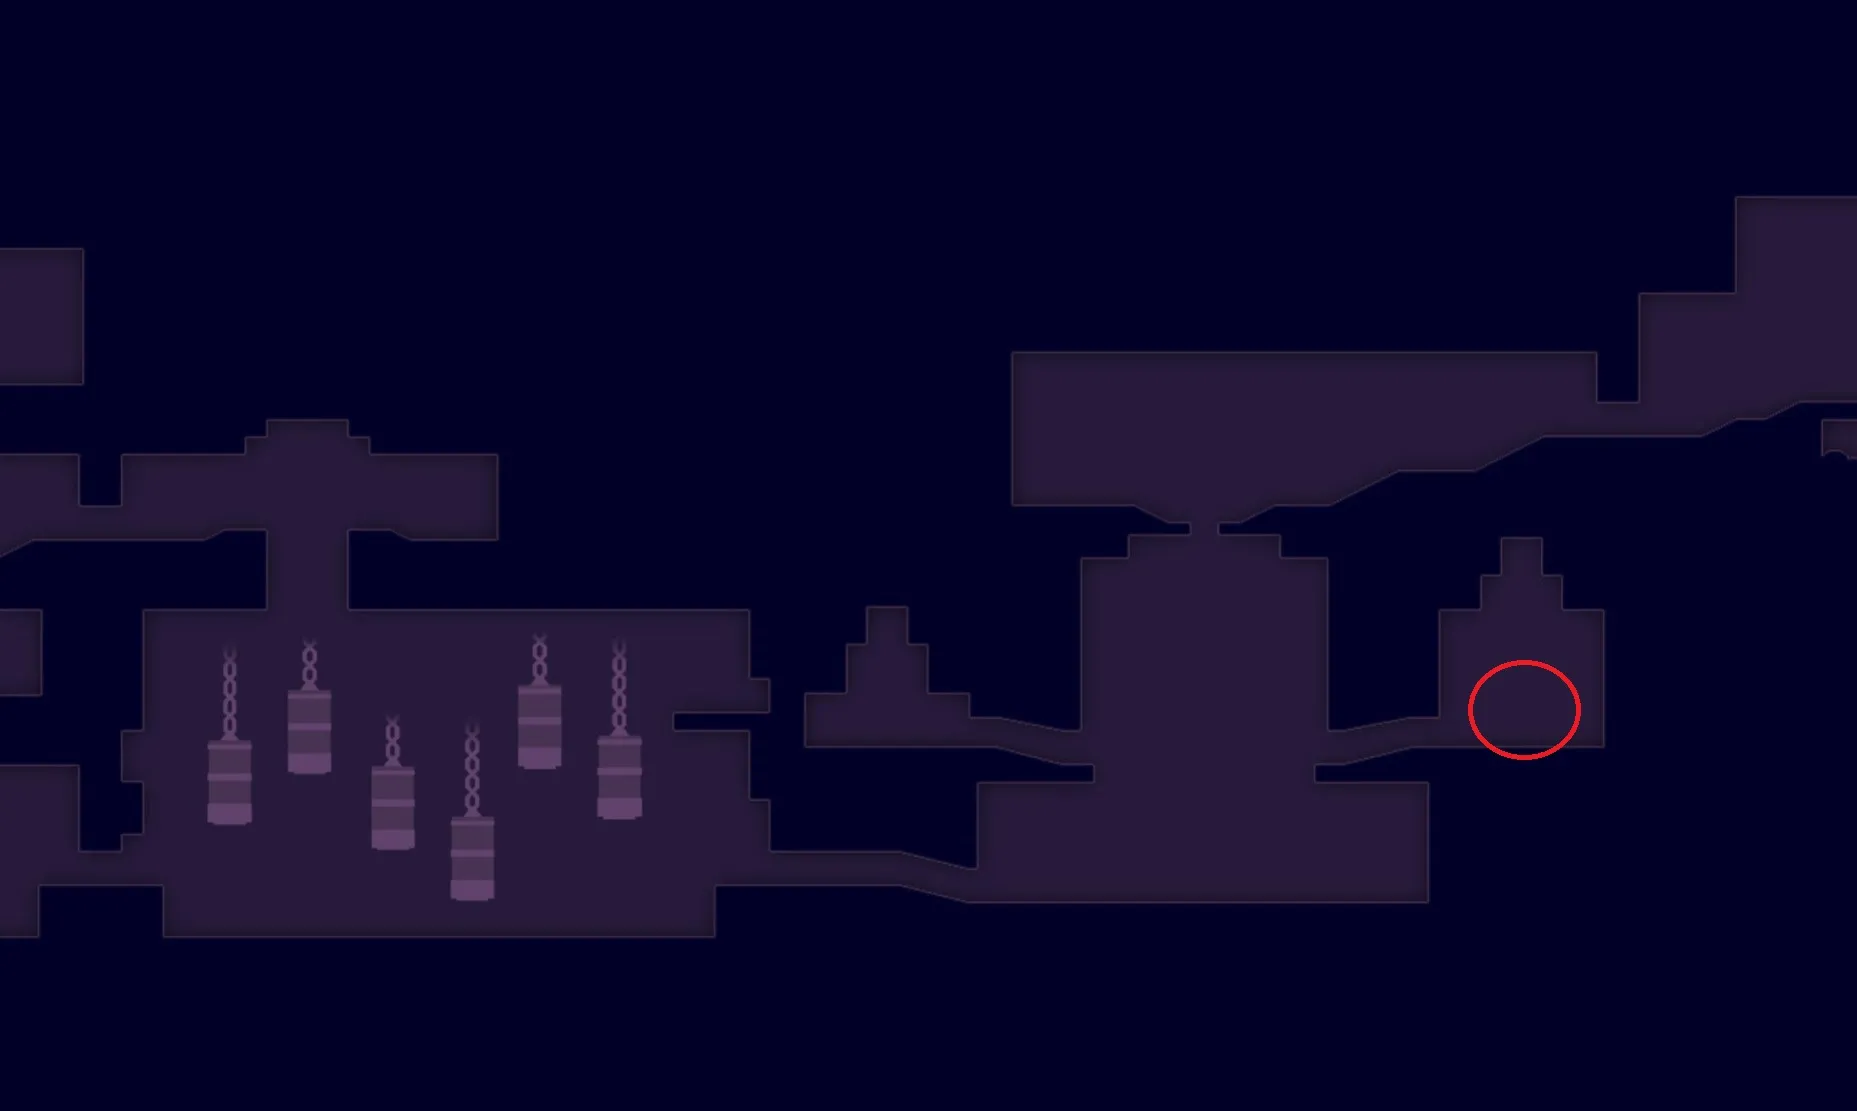
Head to the northeast section of the Upper City to find the spot marked above. Once you get there, make sure you have the Dimensional Claw (grab and shoot items) and the Chakram – Shadow of the Simurgh (create chakrams and teleport to them) powers to complete the puzzle successfully. Now that you have everything, it’s time to tackle the puzzle itself.
To solve this puzzle, you have to complete three individual puzzles in three different sections of this area to grab the crystals needed for the Clock. We recommend starting with the bottom room, then heading to the left room, and finishing with the right room. This is how you complete the puzzles.
Bottom puzzle room
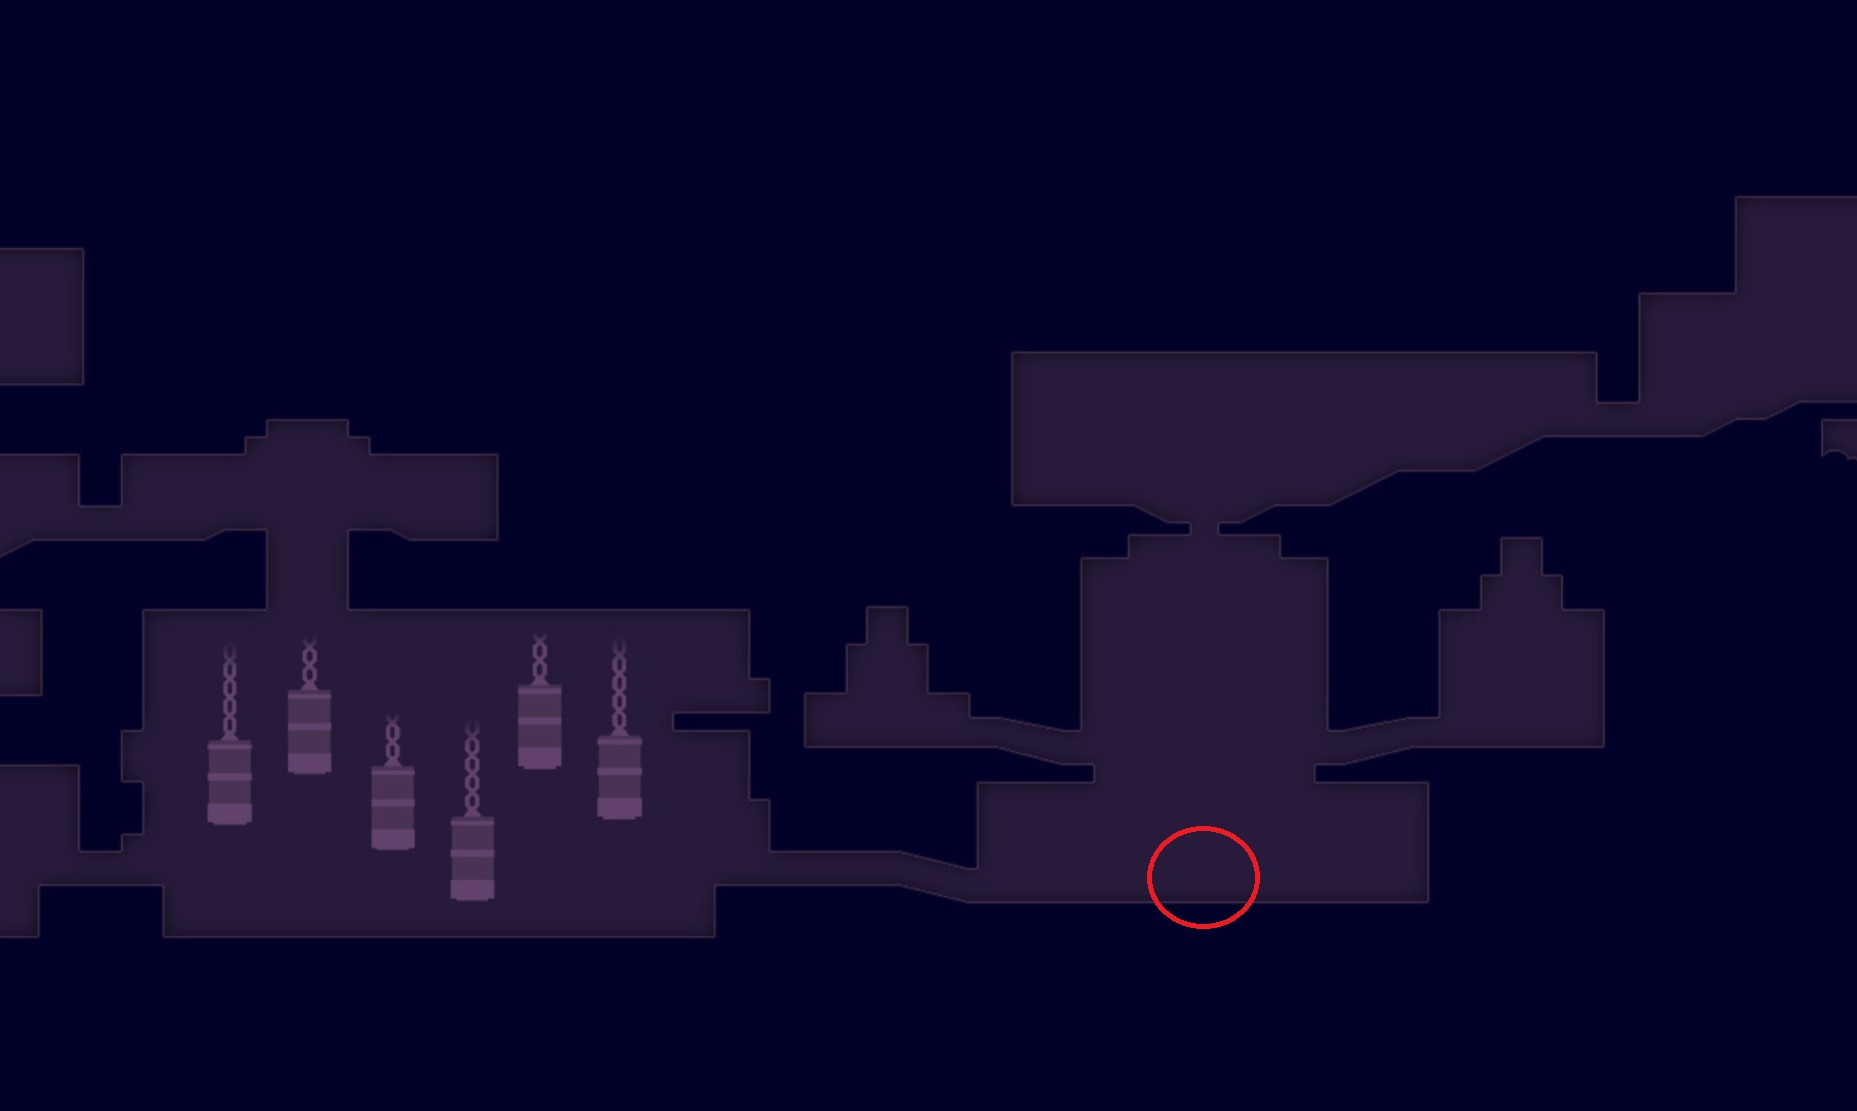
The first puzzle to tackle lies in the bottom section of the room. When you get in here, the first thing you will probably notice is the two pressure plates on the ground with a mobile platform above. You should also see the crystal you need on a ledge, so throw your Chakram at its location and teleport to it. Once here, grab the crystal using Dimensional Claw and proceed to the next step.
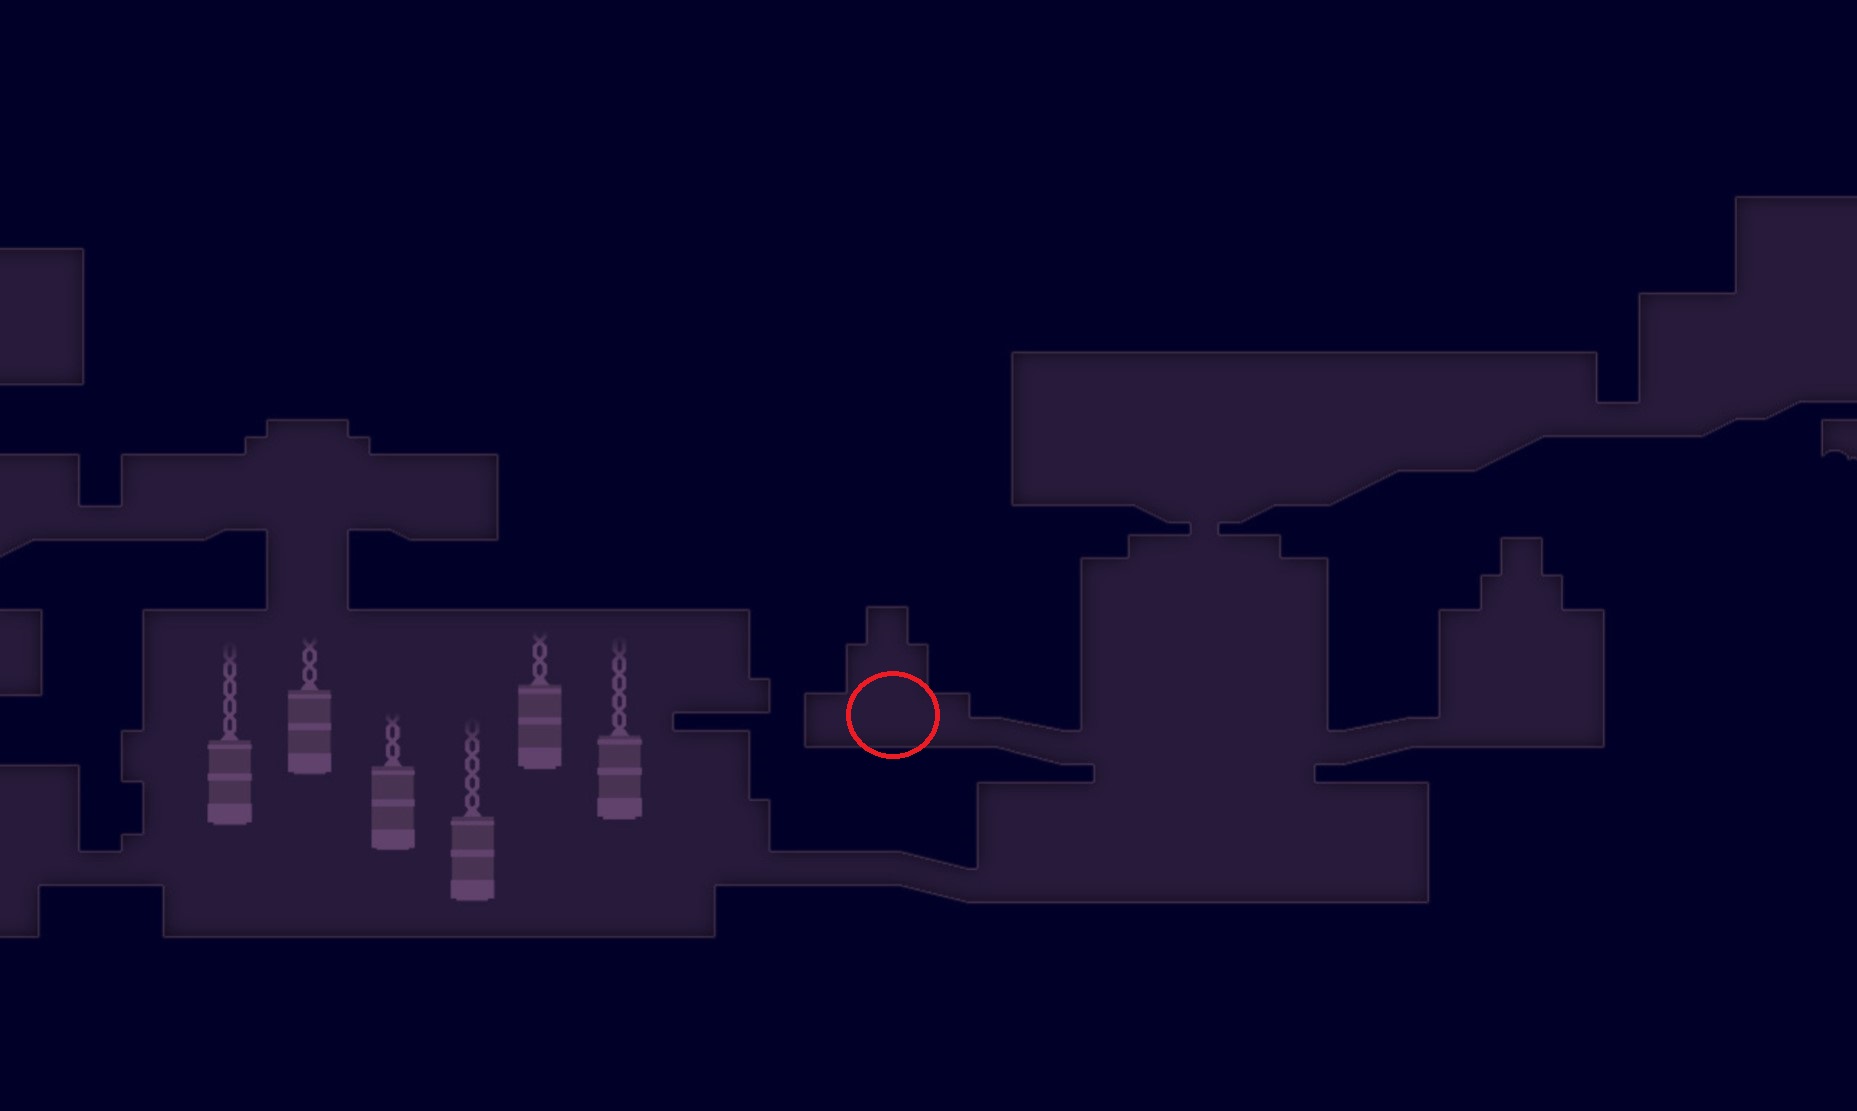
Now that you have the crystal, fire it into an empty slot at the bottom, this will create a new platform. Use this platform and jump as high as you can, then toss your Chakram as far up as it will go and teleport to it. While doing this, create a Shadow of the Simurgh clone underneath the locked gate above so you can teleport to it later.
Finally, grab the crystal once more and teleport to your clone. Then fire the crystal into the slot in the gate to complete this part of the puzzle and move on to the next one.
Left puzzle room
The second puzzle lies in the left chamber of the room. Similar to the previous puzzle, you will have to acquire the crystal and move it to the appropriate slot to proceed. From your starting point, jump to the platform directly underneath the crystal and grab it with Dimensional Claw. As soon as you have the crystal, jump towards the platforms adjacent to yours to proceed.
Once here, jump as high as possible and activate Shadow of the Simurgh to create a clone of yourself. When the clone is in place, drop down and fire the crystal into the first empty slot to unlock new platforms you can jump to. Alternatively, you can also create a clone near the empty slot before grabbing the crystal and then teleport to your clone.
From this point, jump till you reach the spot under the locked gate and create another clone. Then drop down, grab the crystal from the earlier slot, and teleport back to your clone. Simply shoot the crystal into the new empty slot at the top to open the gate and proceed to the next puzzle.
Right puzzle room
The third and final puzzle room contains the last piece of the puzzle needed before you can activate the Clock and complete this challenge. From the starting point here, use your Dimensional Claw to grab the crystal and place it in the first empty slot you can see near you. Once you do that, look over to find the other empty slot and jump over the indented wall on the right to proceed.
Once here, create a Shadow of the Simurgh clone and jump down. Then grab the crystal from the initial slot with Dimensional Claw and fire it into the second slot. From this point, fire a Chakram as high as you can, then create another clone at the highest point. Then snatch the crystal from the second slot and teleport to the clone.
Finally, place the crystal in the slot at the gate to proceed to the final part of this puzzle.
Completing the Clock puzzle
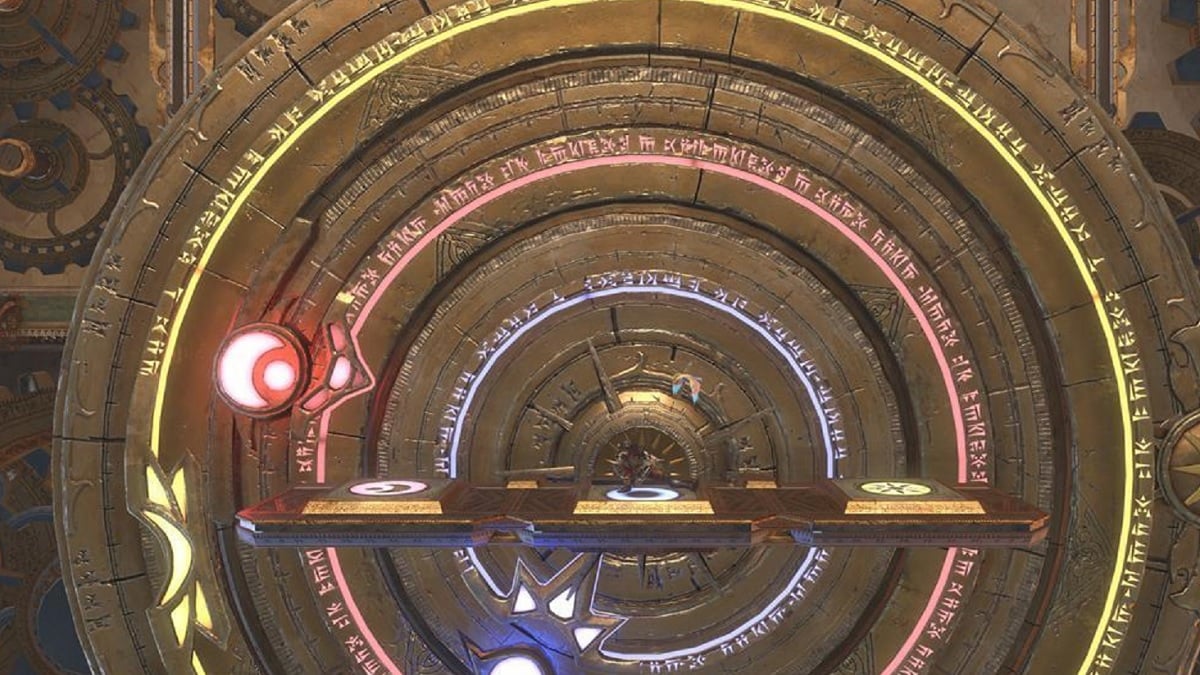
Now that all of the three puzzle rooms are solved, we head back to the main Clock to properly align its hands. This final part involves moving certain rings in specific positions to activate the mechanism, allowing you to progress to the next area. Stepping on a certain pressure plate will move its corresponding ring to the appropriate position, so let’s get started.
- Make your way to the top of the mechanism and find the three pressure plates.
- Head to one of the pressure plates and stand on it when the symbol starts glowing.
- Stay on the plate until it aligns with its corresponding shape on the big gear.
- When the next symbol starts to glow, move over to it and stand on it until it aligns.
- Repeat the process with all three plates till the symbols start to glow.
Once all three of the symbols start to glow, the Clockwork mechanism will activate. Upon activation, a new pathway will open up, allowing you to progress further into the area. Beyond this point, you will gain access to several new features towards the endgame, such as the Simurgh Gate and the game’s final few chapters.
From here on, continuing down the path will lead you to the next Homa statue and another Amulet Holder. Proceed with the main quest to finish summoning the Four Celestial Guardians and get one step closer to ending the game’s storyline.


Published: Jan 25, 2024 8:55 PM UTC