Monster Hunter Wilds allows you to bring two weapons on a hunt, increasing your attack variety and flexibility. Not every weapon works well with others, but you can use some incredible combinations to defeat any monster you have to defeat.
Adding a second weapon to your arsenal might change how you hunt a creature, using a particular weapon to remove certain parts before using a different one to complete a hunt. It all comes down to your playstyle, and your armor is also a factor. Certain weapon combinations are better than others because you’d wear the same armor despite using different ones. These are some of the best weapon combinations you can use in Monster Hunter Wilds.
Table of contents
The best weapon combinations in Monster Hunter Wilds

When you bring two weapons with you in Monster Hunter Wilds, you have to call your Seikret to switch between them. You can ride or stand next to your Seikret, swapping between the two weapons you bring with you. This immediately changes your entire moveset and attacks that you can use, but it doesn’t change up your armor. You want to find weapons that complement each other with the armor you’re wearing, which is the biggest thing you have to consider when preparing for a hunt.
These are some of our favorite weapon combinations you can bring with you.
Dual Blades and Hammer

The Dual Blades are an unrivaled weapon with the best speed available. They’re capable of hitting a target multiple times, cutting their through armor. But while the speed and stacking hits of the Dual Blades can’t be matched, other weapons, like the Hammer, deal far more damage in a single attack.
You’ll want to begin a fight using the Hammer to break through the thick armor of the creature, softening them up for the Dual Blades. The Dual Blades are excellent at stacking damage, but it can take time to reach that point, and the Hammer can shorten that time. After you’ve broken through enough of the armor, switch to the Dual Blades, then lay on the heavy damage. Dual Blades excel at applying status effects, and you can make short work of any monster with a lot of broken armor.
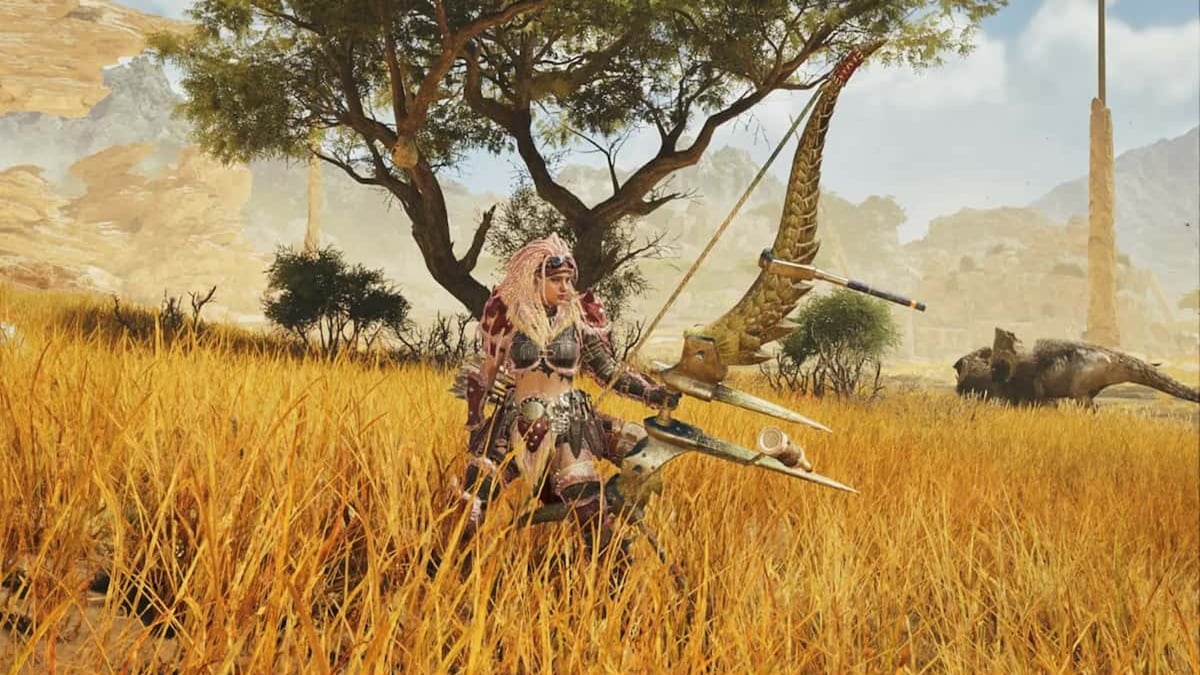
Great Sword and Bow

This is a mobile build where you start with the Greatsword and then end with the Bow. The Greatsword is there to break and heavily damage the monster before switching to the Bow, applying various status effects with medium-ranged arrows.
The Bow is a mobile weapon great for dealing with multiple attacks against a target. You do have to carry ammunition for your special attacks, but they’re worthwhile for the damage you can do from afar. The Great Sword is much slower, focusing on heavy attacks that can heavily damage and break a monster’s armor. You’ll want to focus on starting a fight by breaking any parts you can cut through. The Great Sword has several unique tricks that make it a diverse choice, and based on who you’re playing with, there’s a chance you can use it first and then finish up with your Bow.
Lance and Switch Axe

For those who want to act as a tank, the Lance is a formidable shield capable of withstanding nearly any attack a monster can use against you. When you’re finished using these defenses, swap it out with your Switch Axe to lay on the damage.
The Lance has a robust defense, which is great for the beginning of the fight with a monster who is fresh and ready to battle. You can wear it down with your relentless defense, holding back its many attacks. When you’re ready to start taking it down, the Switch Axe can apply its status effect during the fight, increasing the damage you deal to it. You can switch this approach, starting a fight by applying status effects with the Switch Axe and then holding the line with your Lance. It might be better to reserve the Lance for the end of a fight to ensure everyone in your party doesn’t faint, potentially failing a hunt.
Insect Glaive and Gunlance

For those who want to remain in the air rather than fight on the ground, the Insect Glaive is an excellent weapon to get jump on any monster. You can easily hop onto their back to open up wounds, and then swap to your Gunlance to deal apply strategic attacks using your ammunition.
The Insect Glaive doesn’t require much preparation, but you must be comfortable landing the Kinsect. When you have enough charges on your Insect Glaive, you unlock all attack combinations, allowing you to remain in the air for an extended time. The Insect Glaive is an expert at cutting through armor and opening up wounds, which the Gunlance can take advantage of by hitting specific parts of a monster’s body. These two mesh well together, but you do have to bring spare ammunition for your Gunlance to unleash the best attacks.
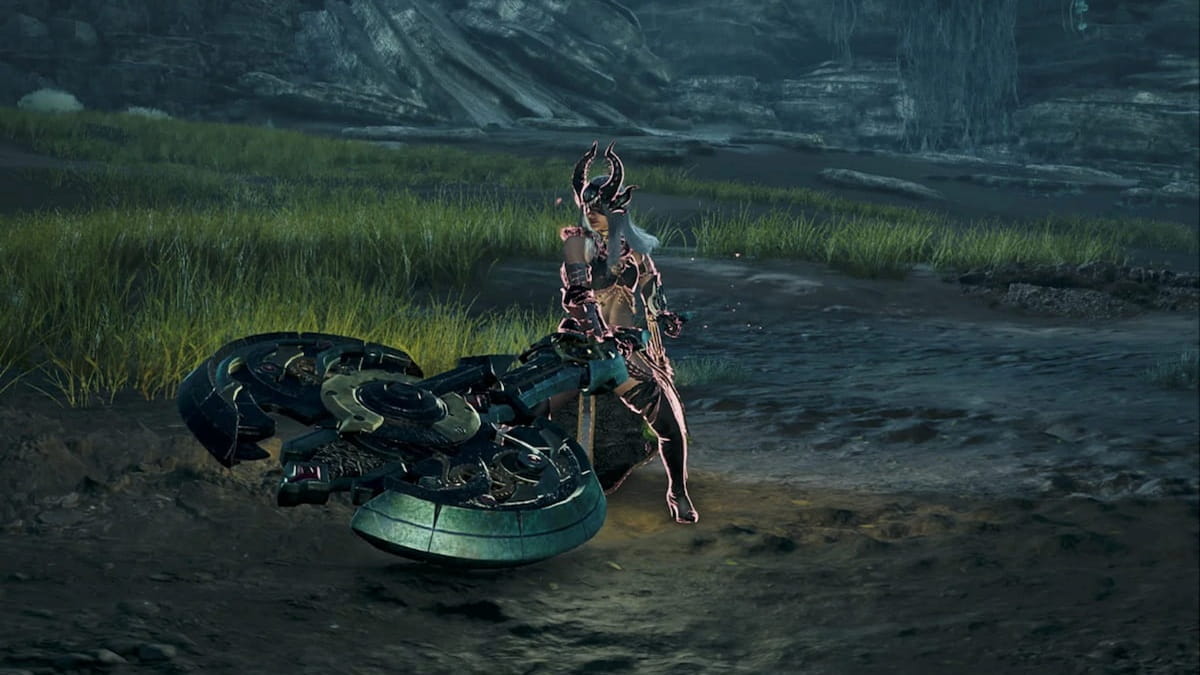
Charge Axe and Light Bowgun

This is a similar combination to the Great Sword and Bow combo, but focuses on the high-powered attacks of the Charge Axe and the slicing damage of the quick-fire ammunition of the Light Bowgun. The Light Bowgun doesn’t have the same range as the bow, but that’s okay. Given how agile you can be with it, you will have the opportunity to switch to your Charge Axe.
You start the fight with your Light Bowgun, laying down a decent amount of fire against the monster you’re hunting. You can hit it with heavy status effects during this portion, preparing it for your Charge Axe. After you’ve broken some of its armor, take the Charge Axe and make short work of it. The Charge Axe can break the remaining armor pieces, do a sizeable amount of damage on any open wounds, and complete the hunt. With a weaker target, it should also be easier to capitalize on the Charge Axe’s phials and having to charge them.






Published: Feb 28, 2025 04:34 pm