New World‘s trade skill system is designed for either the casual or professional crafted in mind. The basics of leveling up trade skills are quite simple: make a tool, gather the resource with it, then bring it back to a settlement to craft the item.
Weaponsmithing is a one of the crafting trade skills, where players take smelted metal and other materials and fashion them into various weapons of different types and rarities. But how can you get started as a weaponsmith? What’s the quickest and most efficient way to level up my skill? Here’s a detailed guide on how to make the most of weaponsmithing in New World.
Resources/other trade skills to focus on

The primary focal point of weaponsmithing, at least early on, will be mining and harvesting as much iron as you can. Iron can be found primarily in Highland areas, which you can locate on your main map using the Resource Locations tab. You can find iron in large stone formations, at the base of mountains or impassable rocks, in caves and hollows, and around quarry or mine landmarks. Keep an eye out for black rocks that noticeably stick out compared to the stone around them.
Make sure to take the first 12 pieces of iron ore you find and turn them into an Iron Mining Pickaxe, so you can take advantage of the iron pick’s higher durability and faster gathering time. In fact, it might suit you to upgrade all your gathering tools from flint to iron, as using all your gathering skills will be useful when it comes to weaponsmithing.
Aside from obviously mining, all the gathering skills (except fishing) are important when it comes to collecting materials for weaponsmithing. You’ll have to keep up logging, tracking and skinning, and harvesting to properly increase your weaponsmithing skill.
What weapons should I craft?
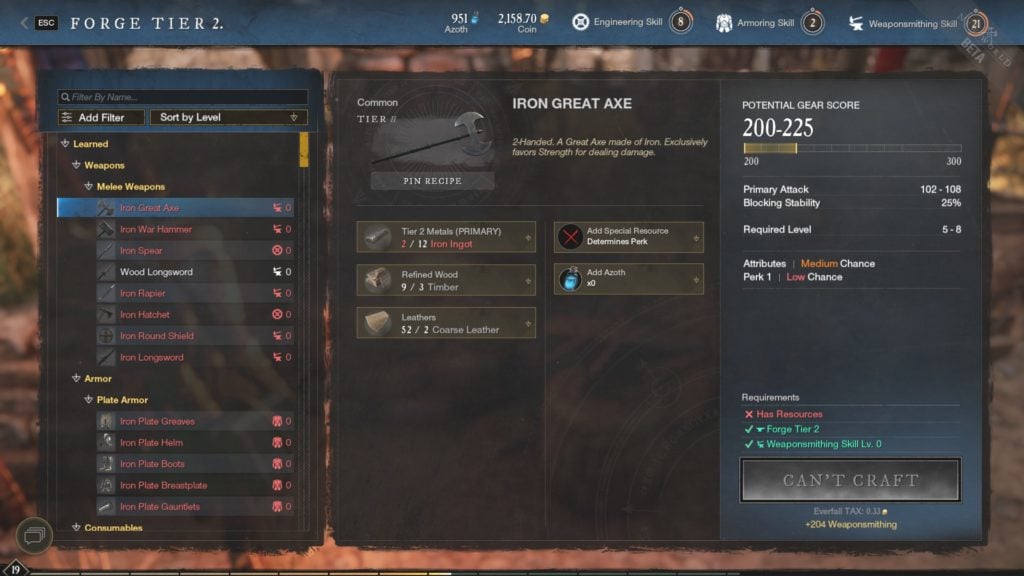
Take all the iron ore you’ve gathered to a smelter in any settlement, then turn it into iron ore. Then take the rawhide you’ve gathered from skinning and craft it into leather, and take the green wood you’ve collected from logging and craft it into timber.
If your goal is to increase your weaponsmithing skill as quickly as possible, your best option early on is to craft either the Iron Rapier, the Iron Round Shield, or the Iron Longsword several times. Each of those options cost seven iron ingots and rewards 120 weaponsmithing points. The larger weapons like the Iron War Hammer or the Iron Great Axe cost 12 iron ingots and rewards 204 iron ingots. Creating 12 Iron Longswords or seven Iron Great Axes would cost the same amount of iron ingots (84), but the Longswords would add 1,440 weaponsmithing points total, while the Great Axes would add 1,428. It’s not the largest difference, but the smaller weapons are still the more efficient option.
After crafting these weapons, immediately salvage them. You’re likely to have already found better weapons already for yourself, they sell for almost nothing at trading posts, and you get iron ingots back when you break them down, letting you craft one or two more items after salvaging a handful of them. You earn the same amount of weaponsmithing points whether you keep the weapon or not, so break them down.
Once you hit level 20 in weaponsmithing skill, this is where your time spent gathering comes into play. If you’ve gotten your gathering up to 30, you can start to harvest magical plants. There are two items in particular you’re looking to gather; Death Motes and Fire Motes. Death Motes are harvested from Blightroot, while Fire Motes can be harvested from Dragonglory. They can also be harvested from Blightmoth and Salamander Snail creatures, as well as mined from Blightcrag and Scorchstone, but those require a mining skill of 100.
With those motes and some standard stone blocks, you can craft several Weak Honing Stones, which buff your weapon’s damage for four percent for 10 minutes. These Stones don’t take away any resources you’d need for normal crafting, and each one adds 36 to your weaponsmithing skill.
As you level up, you’ll be able to use new metals and craft higher quality items. The key for increasing your weaponsmithing over time is just finding the most efficient use of the metals you can find, whether that’s with iron, silver, steel, or some of the legendary metals you’ll find and create late-game.
Additional tips for weaponsmithing
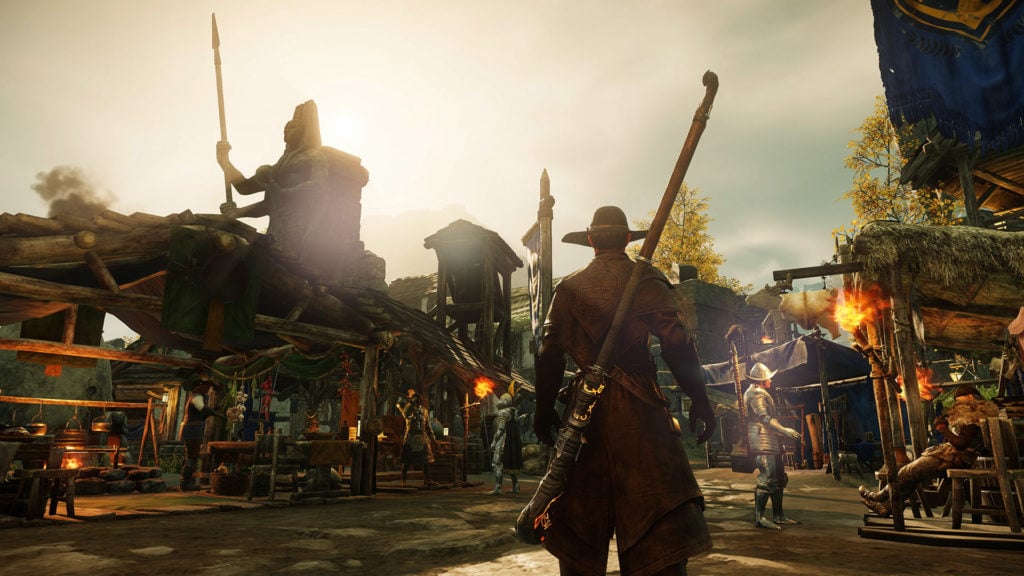
You should choose one town to be your crafting headquarters if you’re looking to increase your weaponsmithing skill, or any trade skill, quickly. The biggest reason for that is because you can store all your crafting materials in the storage shed, and if you’re crafting in that town, you don’t have to take them out of your shed. Doing most of your work in one town also lets you use various standing perks to make the process more efficient, whether that’s increasing the resource gathering speed or reducing the crafting fees.
A backpack full of iron ore will really start to slow you down, so keeping all the crafting materials in your shed is a good way to prevent yourself from being over encumbered. Picking one shed in particular is important, because you cannot access other town sheds if they don’t belong to the same faction, and even if they do, it costs gold to access the materials in other sheds. In general, you should keep all your trade skill materials in your storage shed to save on space, outside of a bit of flint and green wood for a campsite, and maybe some materials for fishing or cooking.
But if you’re flush with gold and want to save time, keep tabs on the local trading posts, and you can pay to acquire goods like iron, timber, and leather right away rather than spend the time going out to get them. You can also earn some gold by selling extra materials you don’t need. Be prepared to spend some time improving your weaponsmithing skill; you’re not going to be able to craft Epic-tier weapons in just a few days. Be patient young crafter, explore the new world around you, and the crafting will come.






Published: Aug 2, 2021 12:12 pm