
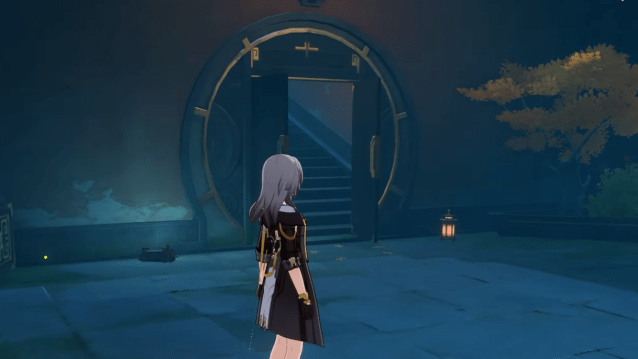
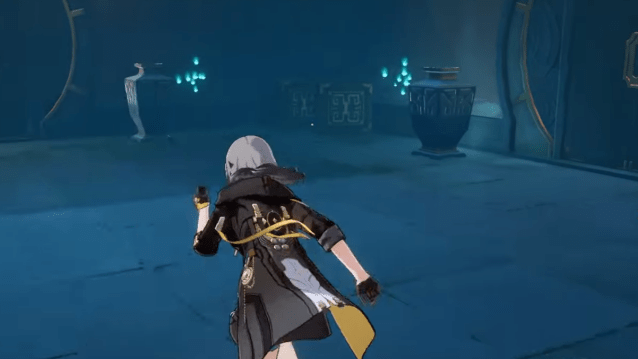
As you work your way through the “Sojourners’ Ghastly Reverie” Trailblaze mission in Honkai: Star Rail, you’ll end up trapped in an elaborate and confusing Illusory Maze.
This maze is a complex puzzle with many different parts. It is quite tricky to navigate and unlike anything previously featured in Honkai: Star Rail’s Trailblaze missions, so successfully navigating through the Illusory Maze requires the completion of many different puzzles.
Find the exit of the Illusory Maze part one
Upon reaching the part of the “Sojourners’ Ghastly Reverie” quest where you end up in the Illusory Maze, you’ll obtain the “Find the exit of the Illusory Maze” objective, which will guide you through the first major pieces of this puzzle.
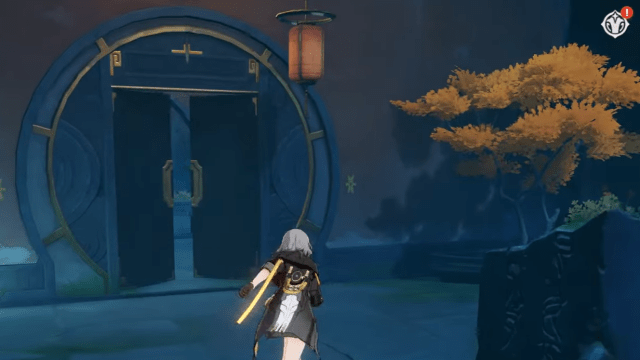
When you first begin this puzzle, only the door directly in front of you will be open, so head through this one. You’ll only have one option as to where to go from here and the game will lead you right back where you started, but you’ll now have a couple of options as to where you can go.
Door one
From where you start this puzzle, you’ll need to head through the door to the left of the room, which is the only door with only one red lantern since the other one is broken in front of it. All of the other doors in this room have two lanterns sitting in front of them.
Door two
If you’ve chosen correctly, the lanterns in the next room will be bigger and bright yellow. In this room, go through the door directly in the middle, which has only one yellow lantern on the left side of it.
Door three
The next room will have hanging orange lanterns around all of the doors. Head through the door with only one orange lantern hanging by it, which is the one directly to your left.
If you’ve selected all three doors correctly, you’ll end up at a Sustenance Anchor for correctly completing the first part of this puzzle. You’ll now move on to the next part of the Illusory Maze.
Find the exit of the Illusory Maze part two
Start by proceeding down the stairs near the Sustenance Anchor you just unlocked. Keep heading straight until you come across a collection of floating talismans you can interact with.
These talismans will give you a hint as to what you need to do next to get out of the maze, which is to break some vermillion vases and leave the cerulean vases unharmed. Exit the note and make your way left, where you’ll find a door you can interact with but not pass through just yet. Continue left even farther and you’ll come across a room with many vases.
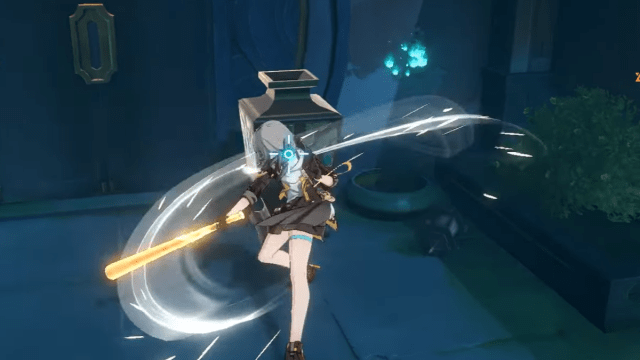
Break the vermillion vases
In this room, there are two vermillion vases, which are a subtle reddish-brown color and have some ghostly heliobus flames floating around them. The lighting isn’t great in this area, so if you’re struggling to figure out which ones are slightly redder than the rest, just look for the flames around the vase instead. Break both of the vermillion vases.
The first vase is located to the left of the door in the middle of the room.
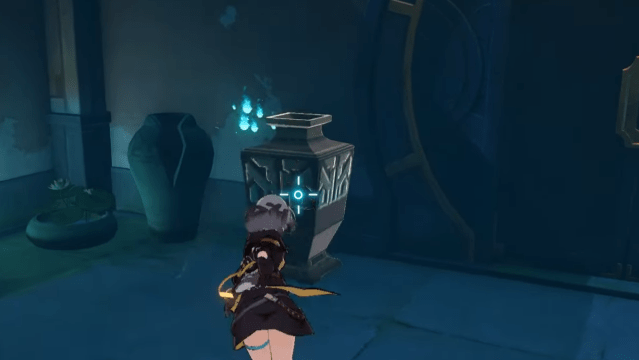
The second vase is on the right of the door located on the right side of the room.
Once both vases have been destroyed, you can then pass through the main doorway to the next part of the Illusory Maze puzzle.
Find the exit of the Illusory Maze part three
This part of the maze will grant you information that’s exactly the opposite of the last one, so now you’ll need to break the cerulean vases and leave the vermillion vases as they are. After this, you’ll have to unlock the correct treasure chest.
Break the cerulean vases
Head to your left, where you’ll find yet another room with many vases. The correct ones to break are slightly blue-colored and have small floating heliobus flames near them, so now you’ll need to break three cerulean vases to move on.
All three vases are located on the east side of the room. The first one is to the right of the door in the middle of the room and the other two are on either side of the door on the right side of the room.
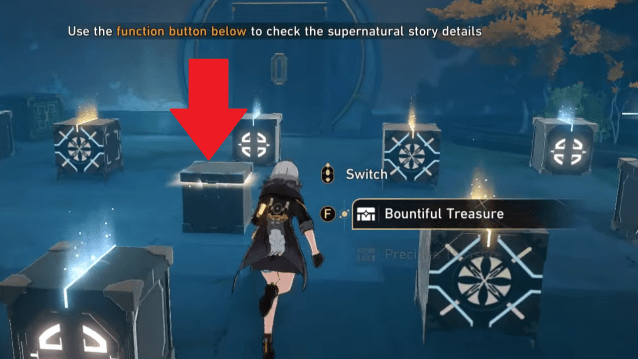
Head back to the main room and straight across to the other side, where you’ll find a room packed with various types of Treasure Chests.
Open the Basic Treasure Chest
Although it will be tempting to open all of the chests laid out in front of you, the only one you should open is the Basic Treasure Chest sitting in the very center of the room.
After opening the Basic Treasure Chest, head back to the main room and proceed through the middle door. Your character will think they have successfully escaped the Illusory Maze, but you’ll now move into an entirely new piece of it involving a series of mirror puzzles.
Even though your “Find the exit of the Illusory Maze” objective will change, you still have quite a bit of work to do before you actually find your way out.
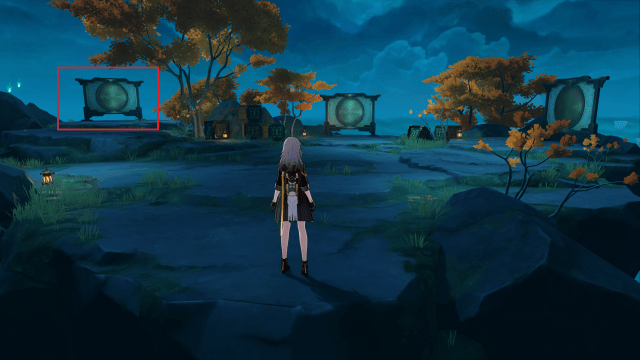
Illusory maze mirror puzzle
In the next part of this puzzle, you’ll be tasked with listening to each mirror to determine which one is the real one and which ones are actually traps in disguise. The trickster mirrors can be tough to identify, but luckily, you don’t actually have to do any listening and can instead just pass through the correct mirrors if you know which ones they are.
Mirror one
Begin the next part of this quest by heading through the mirror on your left.
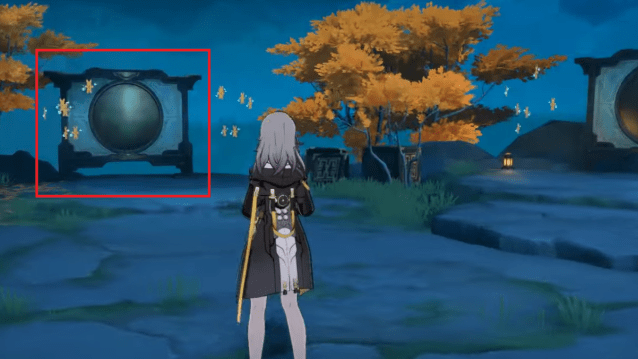
Mirror two
You’ll be presented with another three mirrors in an area identical to the last one except for the floating talismans hanging about. Now, the correct mirror to pass through is the one directly in the middle.
Mirror three
You’ll end up back in the same exact room for a third time, but for this part of the puzzle, you’ll want to investigate all three mirrors but not pass through any of them since all three are trickster mirrors.
Once you’ve inspected all three mirrors, a cutscene with Huohuo will play and another mirror will appear behind where you spawned originally.
Pass through the mirror behind where you spawned on the other side of a nearly invisible bridge and you will finally make it out of the entirety of the Illusory Maze. Now, you’ll never have to deal with the Illusory Maze again unless you want to claim some treasure chests from the Fyxestroll Garden area.


Published: Nov 17, 2023 8:26 PM UTC