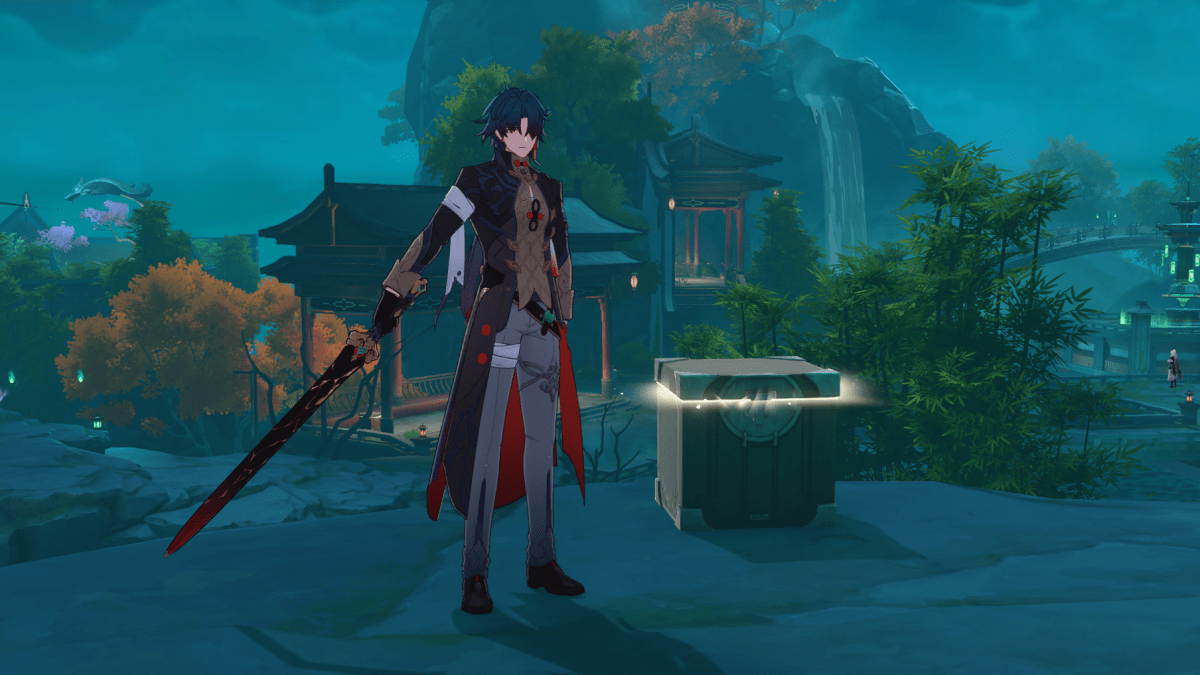
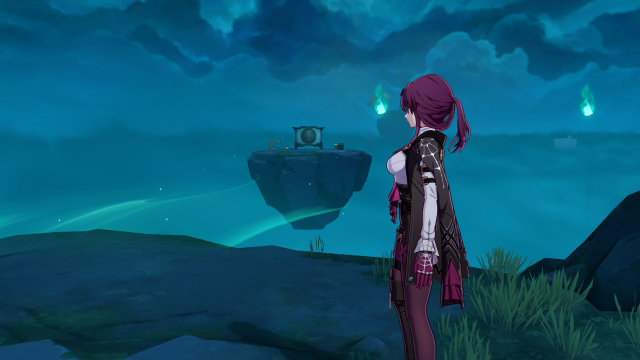
The Fyxestroll Garden area is part of The Xianzhou Luofu and contains a ton of loot for you to unlock hidden in various Treasure Chests in Honkai: Star Rail.
If you don’t have Topaz and Numby’s helpful treasure chest hunting ability, tracking down all of the rewards you can obtain from this area is quite a tough task. Thus, you might be seeking some help finding all of the Treasure Chests hidden around the Fyxestroll Garden area.
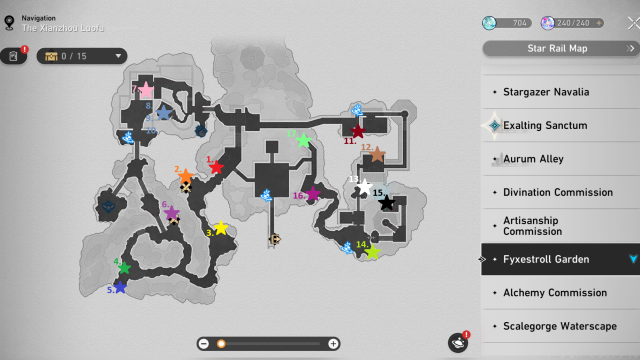
Fyxestroll Garden Treasure Chest locations in Honkai: Star Rail
Although the map says there are only 15 chests you can collect in this region, there are actually 17 Treasure Chests hidden around the Fyxestroll Garden area.
Here are the precise locations of all 17 chests and how you can unlock each one of them.
- Treasure Chest one: From the starting Sustenance Anchor, make a left and cross the path leading toward the first chest. At the end of the path, you’ll find a covered area with the chest sitting right underneath it.
- Treasure Chest two: Turn left and continue up the set of stairs to find two formidable foes standing on the right by a locked treasure chest. To unlock it, you’ll have to defeat these enemies in battle.

- Treasure Chest three: Proceed up the only available path and stop at the next landing. On your left, you’ll spot the third chest at the very edge of the rocky area overlooking the rest of the map.
- Treasure Chest four: Keep heading up the winding path until you come to a fork in the round where you can either head left or right and choose to head left, which is the path leading upwards. Approach the top platform area carefully and you’ll spot the fourth chest straight ahead. But you’ll also spot the next chest, so move carefully.
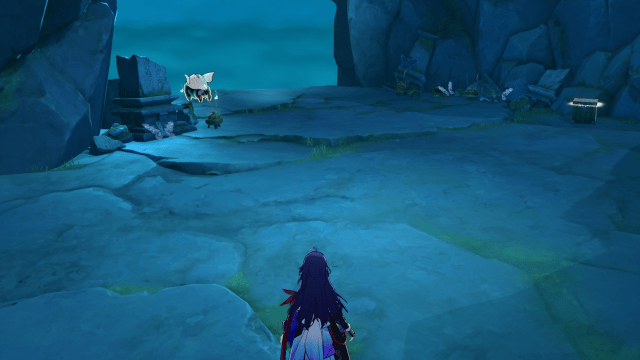
- Treasure Chest five: The fifth chest is located on your left and is actually a Warp Trotter, so be sure to not spook it or you’ll lose the Stellar Jade it offers. If you have someone with a helpful technique like Seele, it’s best to try and sneak up on the Trotter so it doesn’t flee. Once you initiate a battle with it, be sure to prioritize the Warp Trotter over all other enemies so you can eliminate it before it flees the battle too.
- Treasure Chest six: From where you caught the Warp Trotter, turn around and head down the path you did not originally walk up which slopes downward. At the bottom, you’ll find another formidable foe challenge with a chest you can only unlock by defeating the foes found there. This fight might be a bit tougher since these are opponents you likely have only fought once or twice before, so be sure to bring a strong team into this battle so you can successfully unlock the sixth chest.
- Treasure Chest seven: After defeating the formidable foes located at the sixth chest, head down the stairs right by them to make your way to the seventh chest. You have quite a distance to walk before you’ll reach the next chest, but you can quickly travel to the Sustenance Anchor located on the west side of the map to get there much quicker. Head north from the anchor until you reach the very corner of the map here, where you’ll spot two regular opponents and one chest for you to unlock. They aren’t formidable foes, so you can obtain this chest without fighting them if you have a helpful technique or if you move quickly enough.
- Treasure Chest eight: Continue through the archway just past where you got the seventh chest and loop around when you spot a foggy bamboo forest, which is an area you should have previously explored with Huohuo during the “Sojourners’ Ghastly Reverie” Trailblaze quest. Walk down the path and turn right to find a secret room. The eighth chest is directly behind the mirror in the middle of the room.
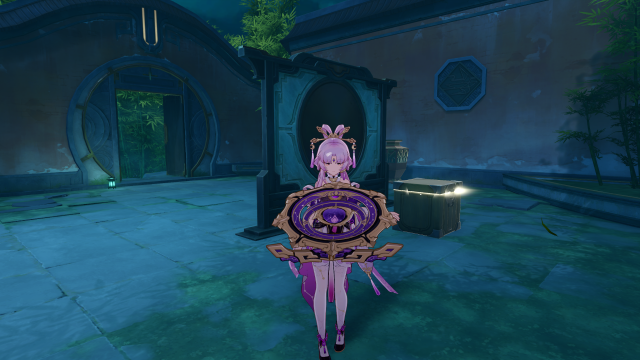
- Treasure Chest nine: This chest and the next one are both located inside of the mirror sitting by the last chest, so approach the mirror and investigate it to head inside. You’ll then spawn on a small island with another mirror, so head through this one too. Next, you’ll be on a larger island with three mirrors. Head through the mirror on the far left, which is also the first mirror, and you’ll find the ninth chest on the other side.
- Treasure Chest 10: From where you found the last chest, you’re surrounded by three mirrors yet again. Approach the middle mirror, which has two floating heliobus next to it, and head through. Turn around as soon as you load into the next area to find a ghostly path leading up to the next chest. Head across the nearly invisible path to open the chest and you’ll also unlock the “Through the Narrows to Paradise Beyond” achievement when you open it. Behind the chest, there is another mirror you can then pass through to exit the strange mirror maze and get back to hunting normal chests.
- Treasure Chest 11: Now that you’re back in the secret room located within the foggy bamboo forest, you can either teleport directly to the Sustenance Anchor located in the northeast region of the map or walk your way over there by heading out of the forest and turning right. This chest is right in front of where the anchor is located.
- Treasure Chest 12: From the Sustenance Anchor, turn left and make your way around the narrow pathway outlining this area. Stop when you reach a moderate-sized area with a folding screen and two guards. Head toward the screen and you’ll find this chest sitting to the right of it.

- Treasure Chest 13: Proceed past the two guards and make your way up the steep staircase. Stop as soon as you reach the rocky platform before the next set of steps and turn around to find a chest right by the railing of the stairs you just came up.
- Treasure Chest 14: Head up the next set of stairs and continue straight until you cannot go any farther. Here, you’ll find a Sustenance Anchor on your right and a chest directly to your left.
- Treasure Chest 15: After grabbing the previous chest, turn around and you’ll find a rocky elevator and a mechanism you can use to call it back. The elevator is a jagged rocky outline with a glowing orange circle on it, so step on board to access a hidden area where the final chest is located. From the elevator, head up the stairs to a platform then head down the next set of stairs. Turn left when you reach the bottom to unlock this chest.
- Treasure Chest 16: From where you obtained the last chest, either take the elevator back down to the area below or teleport directly to the Sustenance Anchor located in the southeast corner of the map. Head down the sloping path to the left and follow the path until you are about to cross through the archway at the bottom. This chest is sitting on the left side of it before you pass through.
- Treasure Chest 17: Walk through the archway and make your way up the path to find the final chest. You’ll come to a fork in the road on this path, but you should continue straight instead of turning to unlock the last chest.
After obtaining all 17 chests, you will have successfully uncovered all the secret loot the Fyxestroll Garden area has to offer, which should help you get closer to pulling for your next five-star recruit.


Published: Nov 17, 2023 02:53 pm