No matter how good you’re at a game, it’ll always be challenging to convince your friends of your skill level. The closer they are to you as friends, the more proof they’ll need to believe your immense gaming abilities.
While your legendary tales may do the trick for a while, most people prefer visual proof as confirmation. Sending them a clip of your gameplay will work, but recording and sending it will take significantly more time than simply sharing a screenshot of a scoreboard. You’ll only have so much time before snapping a quick screenshot and getting back to your game, so knowing your way around the new Xbox controller is essential.
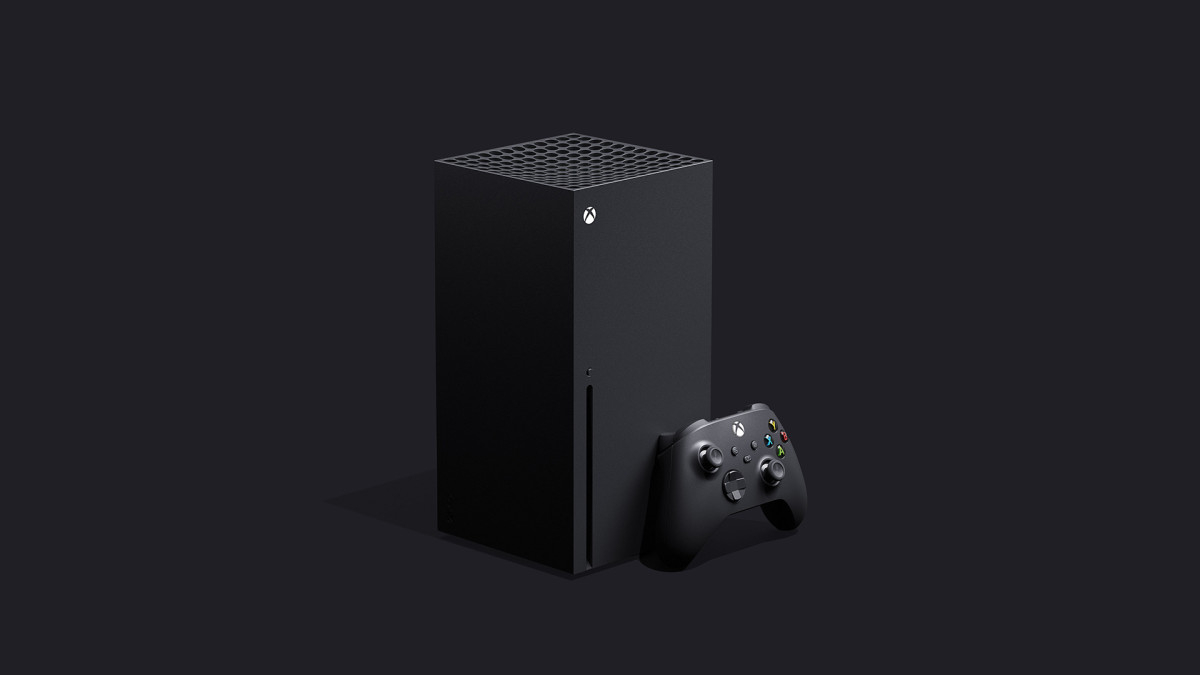
Taking screenshots used to be quite a challenging task for Xbox players due to the lack of a dedicated share button on the controller. Microsoft has since fixed that problem with the newest generation of devices, and there’s now a share button on the console that allows you to take quick screenshots with almost zero hassle.
This new method of taking screenshots makes sure that you don’t abandon the in-game action just for a screengrab and allows you to get back to your game as soon as possible.
Here’s how you can take a screenshot of Xbox Series X and S.
- Launch your game of choice and get busy playing.
- When something that you’d like to immortalize happens, tap the share icon on the controller. The share icon is in the middle and features an arrow pointing up.
- A message should appear on your screen to let you know that your screenshot was taken, and you hold the Xbox button to check out how it looks.
Alternatively, you can also take a screenshot with the help of the guide menu.
- Press the Xbox button to bring up the guide menu.
- Once you see the menu, press on Y to take a screenshot.
How to record a clip on Xbox Series X and S?
Recording a clip on Xbox Series X and S is almost identical to taking a screenshot. Instead of tapping the share button while gaming, you’ll need to hold it down to start the recording process.
If you’d like to get a recording of something you’ve just done but didn’t record, you’ll need to press the Xbox button to get to the guide menu. Navigate to the share tab from there, and you’ll be able to get a copy of what happened up to two minutes.
How to view and access your screenshots/clips on Xbox Series X and S?
Your small collection of screenshots and clips featuring your gaming history will mean quite less if you don’t know you can get to where they’re stored. You’ll be able to get a glimpse of them right after capture, but checking each screenshot and clip later will require you to find them through the guide menu.
- Press the Xbox button to bring up the guide.
- Scroll sideways to the “capture and share” menu.
- Navigate to the recent captures tab, and your archive should be waiting for you there.
- You’ll also have the option to delete your unwanted screenshots or videos through this menu, and you’ll also be able to upload them to Twitter, OneDrive, or the Club directly from your Xbox.
If you’re recording a lot and would like to reduce the size that your recordings take up on your system, you can also alter your recording resolution settings through the capture and share menu.
- When you’re in the capture and share menu, locate the game clip resolution section.
- Clicking on game clip resolution will reveal other resolution settings, and you’ll need to pick one that suits your needs.
How can you share your Xbox Series X and S screenshots/clips?
All screenshots are personal momentos, but some will just be too good to pass on sharing. While taking a screenshot on Xbox Series X and S is relatively easy, you may find yourself while trying to share them.
To share a screenshot or a clip you captured previously, you’ll need to press the Xbox button.
- Once you’re inside the guide menu, navigate to the capture and share section.
- Locate recent captures and open it up to check out your recent recordings.
- Pick the screenshot or the clip you’d like to share, and decide on the platform you’d like to share it on.
- You’ll have the option to upload your content to your Activity feed, send them via message to your friends, Twitter, or OneDrive.
- Sharing them on Twitter or saving them to OneDrive will require you to log in with your accounts. This means that you’ll need to log in to your Twitter and OneDrive accounts on your Xbox to share or add any content on them.
- Once you complete all the necessary steps, you’ll be prompted with a final screen, and your content will be posted upon pressing “Share now.”
The share button’s location can change on third party controllers, but the rest of the processes will always be the same. If you’re also planning on using your in-game footage to create content, investing in a capture card can also be a good idea.
It’ll be quite easier to transfer your recordings to your PC and you’ll be able to record gaming sessions as a whole.


Published: Nov 7, 2020 01:44 pm