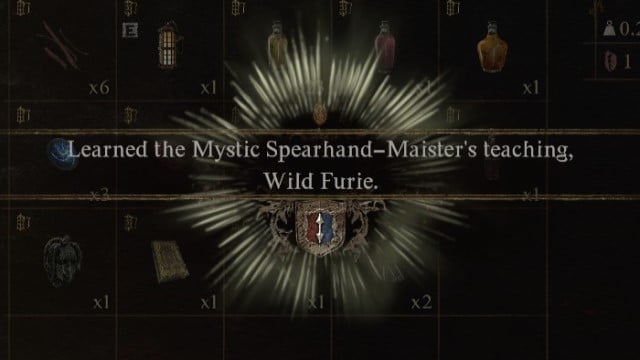
The Mystic Spearhand’s most powerful technique in Dragon’s Dogma 2, Wild Furie, is a Maister Scroll with great potential. To unlock it, you need to go a little bit out of the way. So, let’s help you find this flashy skill for your Spearhand build.
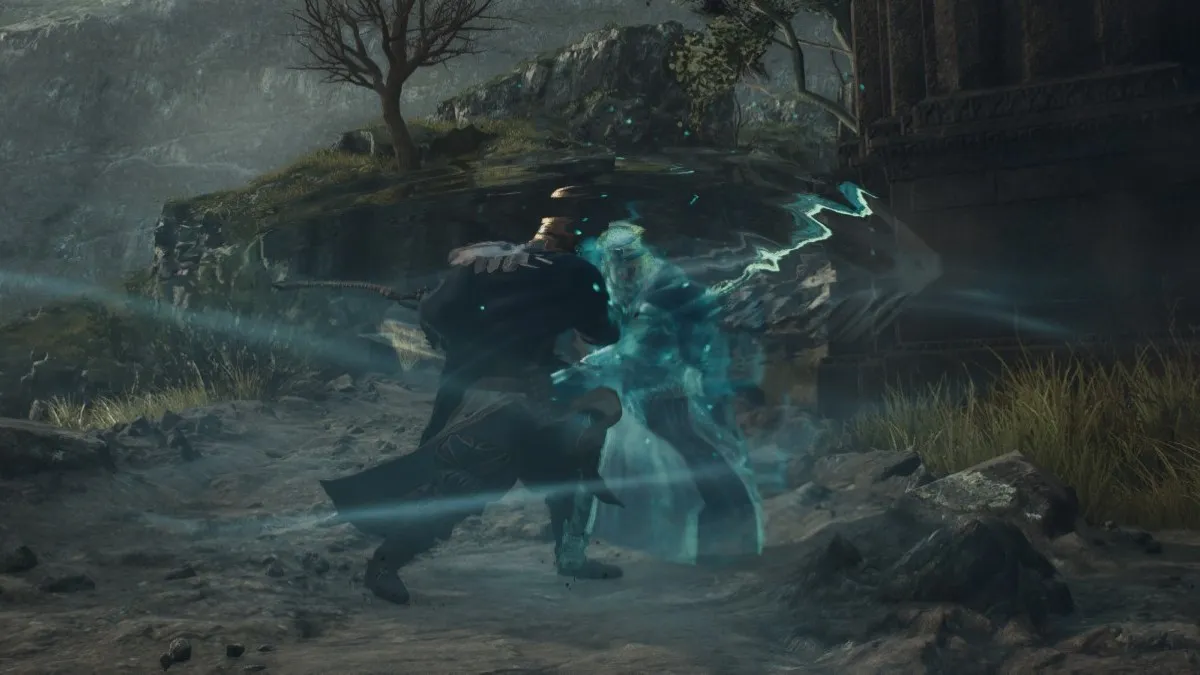
The Wild Furie ability in Dragon’s Dogma 2 makes the user dash slightly forward before delivering a surge of attacks, followed by attacks from a magic clone. It deals mixed damage and is great for focusing down a single foe, though the swings are wide enough to damage several enemies at close range. You can repeat Wild Furie by mashing the Weapon Skill button at the cost of additional stamina per attack. Repeated inputs make you automatically target enemies in front of you, making Wild Furie ideal for clearing out groups of small foes.
Like Meteoran and Celestial Paean, you first learn Wild Furie from a scroll. The scroll you need is called Paladin’s Enigmata, and it’s given to you by Sigurd, the Mystic Spearhand Maister. But, to unlock it, you have to venture far away from civilization.
Where to find the Mystic Spearhand Maister in Battahl in Dragon’s Dogma 2

After you meet Sigurd in either Melve or Harve in Dragon’s Dogma 2, you won’t see him again until you’re deep into Battahl’s forbidden Wyrmsblood Forest to the Southwest. By making your way all the way southwest, you’ll eventually climb up Dragonsbreath Tower, a massive vertical dungeon designed to test your mettle. You can take on this quest as any vocation.
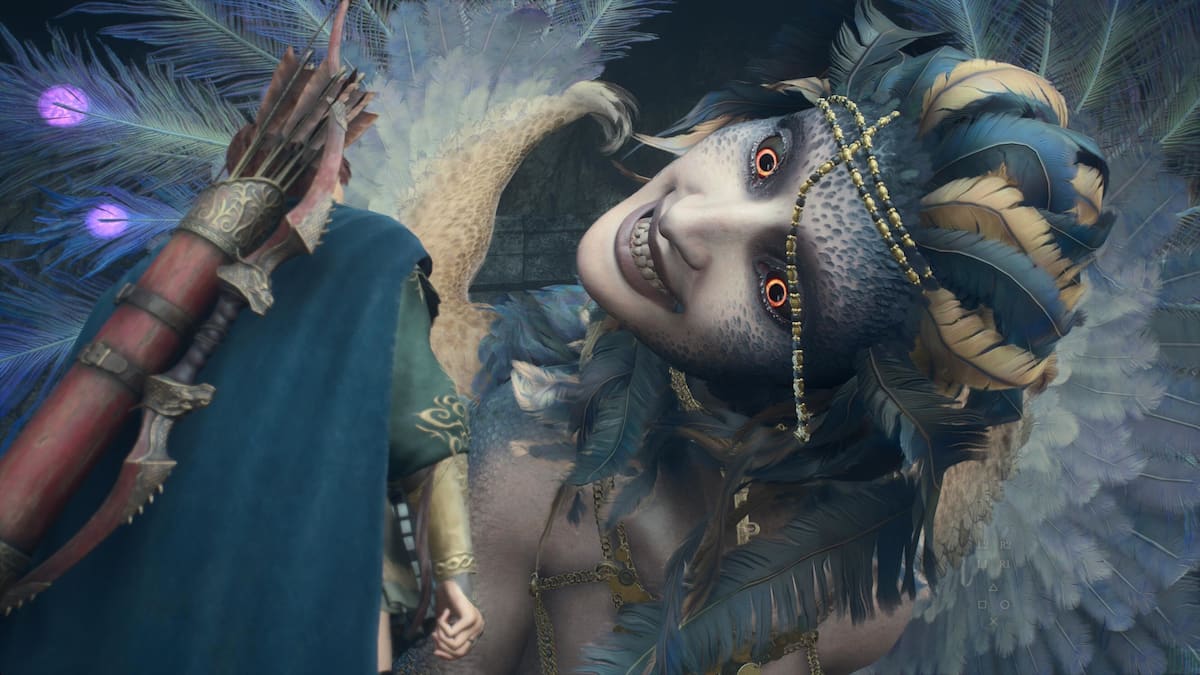
While you can get near this area through Battahl’s Ropeway Station system, southwest of Battahl is not exactly the most friendly place. You’ll be fighting Venin and Gore Harpies, Hobgoblins, and Redwolfs. Then, once you reach the rickety bridge that leads into the forest, a Beastren will warn you against entering. Don’t worry; as long as you’re relatively well-geared, this place is safe enough. This is also near where you can farm the Medusa, if you haven’t already.
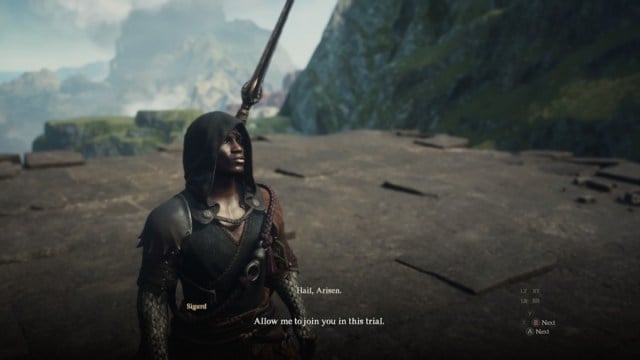
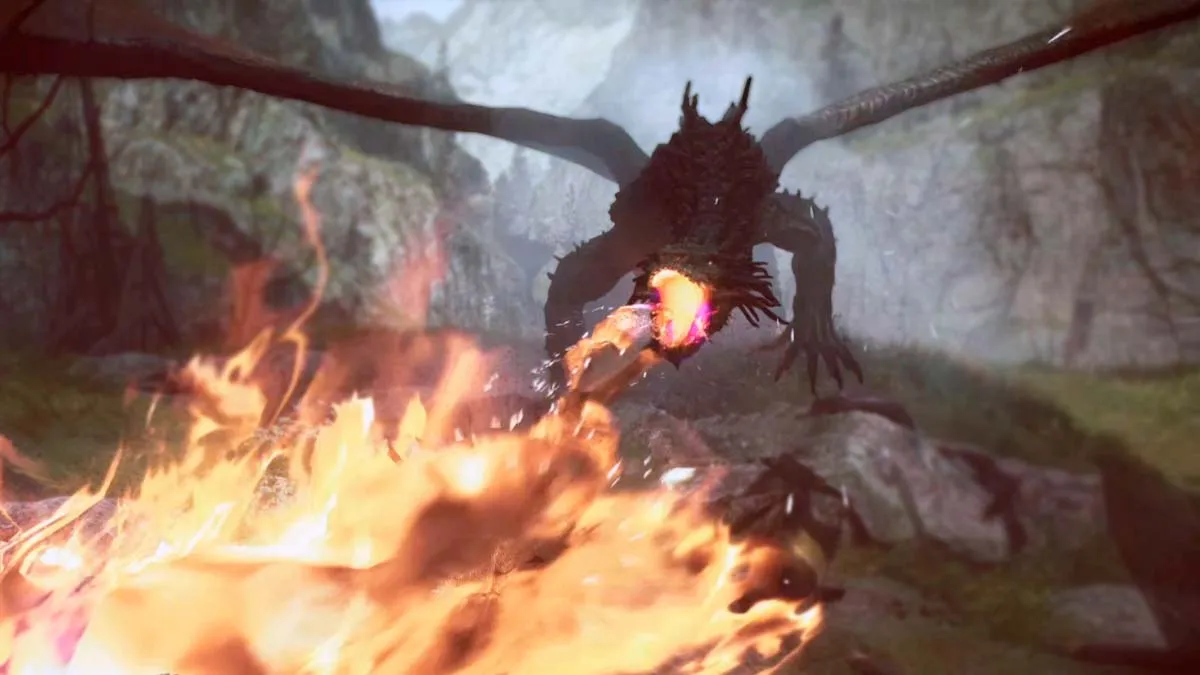
Sigurd himself is waiting for you at the entrance to Dragonsbreath Tower dungeon. This dungeon is at the end of the winding trail that spans the entirety of Wyrmsblood Forest. The Maister appears as you are about to cross the bridge to the dungeon. You both notice an old friend near the top of the tower; a blistering and oozing Drake, the same one that attacked Melve during the early game. Ser Sigurd’s goal—and therefore yours—is to slay the beast that terrorized Melve.
You can complete this quest as any class, not just the Mystic Spearhand. Having said that, Sigurd doesn’t seem to join you if you haven’t unlocked the vocation by visiting him in Melve or Harve first.
How to defeat the Blighted Drake in Dragon’s Dogma 2

The Blighted Drake flies to the top of the Dragonsbreath Tower dungeon and waits for you there. Once you scale the dungeon, the Drake attacks, touching down and battling your party.
The dungeon itself is relatively straightforward; find the staircases and keep moving upwards. The Drake doesn’t pester you on the way up, but his goblin allies absolutely do. Be very careful around the edge of the map—it’s very easy to lose a Pawn or two if they fall off, forcing you to retreat to the Riftstone outside. Thankfully, there’s a campfire at the start of the dungeon and a Sand-Pattern Camping Kit fairly early in the tower itself, so you can rest whenever you need to.
Dragonsbreath Tower is well-worth exploring. Crumbling walls are common in the area, as are chests containing around 10,000 gold apiece. The Anathema archistaff and Dragon’s Faith shield also lie here—two solid weapons for midgame content.
The Blighted Drake itself can be a difficult fight. This is largely due to the acid puddles it vomits out, dealing high damage to anyone caught in them. Tell your Pawns to “Go!” to encourage them to outrange these puddles. Meanwhile, if you’re melee, cling to the Drake’s arms and face. Your goal is to pop his putrid pimples, since popping all of them gives you a free knockdown. We recommend bringing him as far away from the edge as you can, to maximize the chance you and your Pawns can survive a knockback effect.
While you don’t need to be one to get Wild Furie, the Mystic Spearhand performs admirably during this fight. Mirour Shelde can keep the entire party safe, including the valiant Sigurd, while Dragoun’s Foin and Magike Speregonne are great for damaging weakspots.

Once the Drake is dead, Sigurd will walk up to you and announce you’re ready to learn—if he doesn’t, talk to him to jog his memory. He’ll give you the Paladin’s Enigmata scroll, which you can use to unlock the Wild Furie ability for yourself—and not your Pawn, sadly, since they can never be a Mystic Spearhand. Maybe something to hope for in Dragon’s Dogma 3.
Is Wild Furie worth it in Dragon’s Dogma 2?
Wild Furie is an excellent physical and magick punisher that costs a bit too much Stamina to be easily used. While its damage is stellar and it can chew through stagger meters like nobody’s business, it suffers from its somewhat limited range and full reliance on Dragon’s Dogma 2‘s tracking system to keep you on foes. Once an enemy is on the ground, however, the Mystic Spearhand doesn’t have a better way to chew through health bars.
A Mystic Spearhand can equip Wild Furie as soon as it is unlocked—no need to farm the vocation to Rank Nine. But, depending on your playstyle and other abilities, it might not be necessary. The Spearhand does a lot of damage with Twein Cut and Seching Storm, never really needing to expend too much Stamina to make things work during punishes. And outside of punishes, Wild Furie takes a lot of commitment and leaves you wide open to attacks—something the Mystic Spearhand’s middling durability doesn’t like very much.
That being said, Wild Furie absolutely does more damage than spamming basic skills and Seching Storms, making it enticing for a high-damage build. If you do end up using this Weapon Skill, keep a very close eye on your Stamina. You can lose it fast if you’re not paying attention, and you need that Stamina to throw up Mirour Sheldes.


Published: Mar 28, 2024 07:16 am