Destiny 2‘s Exotic missions have their time-gated secrets, and the reprised Whisper is no different. Players must find and destroy Taken Blights if they want all options for crafting Whisper of the Worm, which spawn as part of a unique set of quests.
Taken Blights only spawn on Legend difficulty, and destroying them is an essential step in the Whispers of the Taken quest line. These quests will grant you one extra perk to customize your roll of the fabled sniper rifle, starting with Field Prep.
You need Whisper of the Worm to destroy each set of Taken Blights, so don’t forget to save some ammo as the mission goes by. Additionally, each player must destroy their own set of Taken Blights, based on our experience. They will remain in the same place for everyone, but make sure all guardians shoot them before moving on.
Here are all the Taken Blights in Whisper. They are time-gated, so we’ll update this article once more appear.
All Taken Blight locations in The Whisper in Destiny 2
Players can expect four Whispers of the Taken quests based on how many perks the mission’s signature sniper rifle has. All Whispers of the Taken quests seem to follow a similar formula:
- Start Whisper on Legend difficulty
- Find the Taken Blights
- Shoot all of them using Whisper of the Worm
- Complete the Whisper mission on Legend difficulty (can be done in the same run)
The quest steps will advance once you shoot the corresponding set of Taken Blights. If the quest didn’t advance, odds are you’re missing one (assuming there are no bugs involved). This format is familiar to Destiny 2 players since it’s taken shape in recent Exotic missions such as Starcrossed and its Celestial Anomalies, the Vexcalibur mission, and the Dead Exos in Operation: Seraph’s Shield.
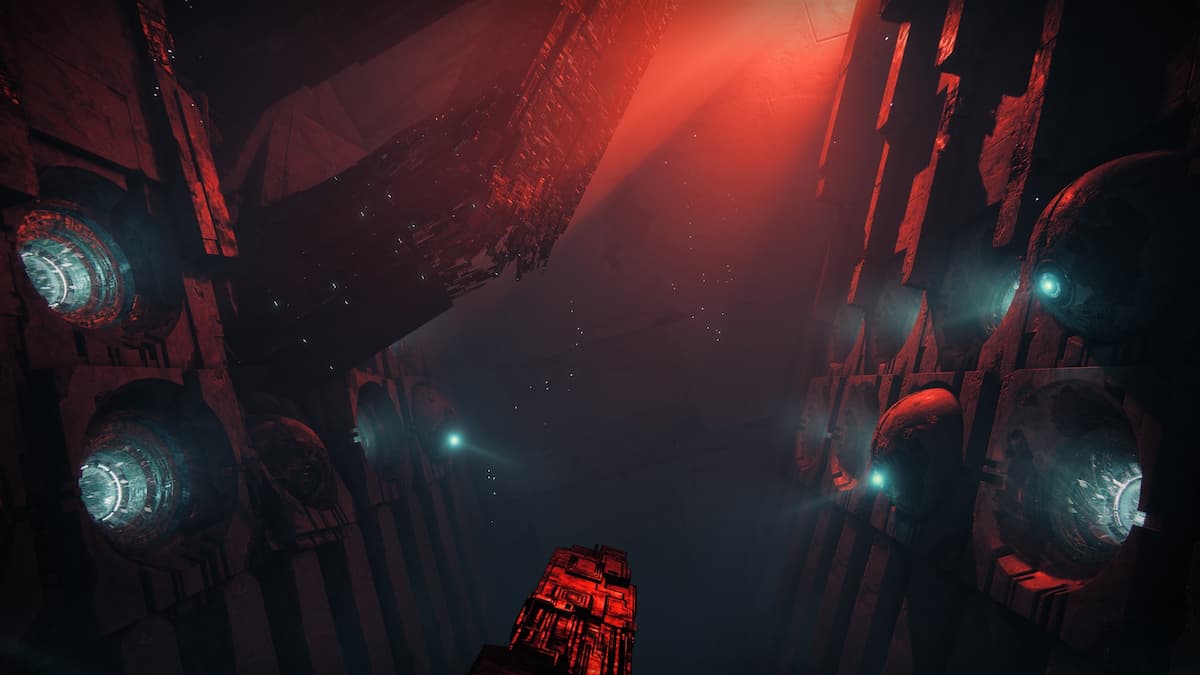
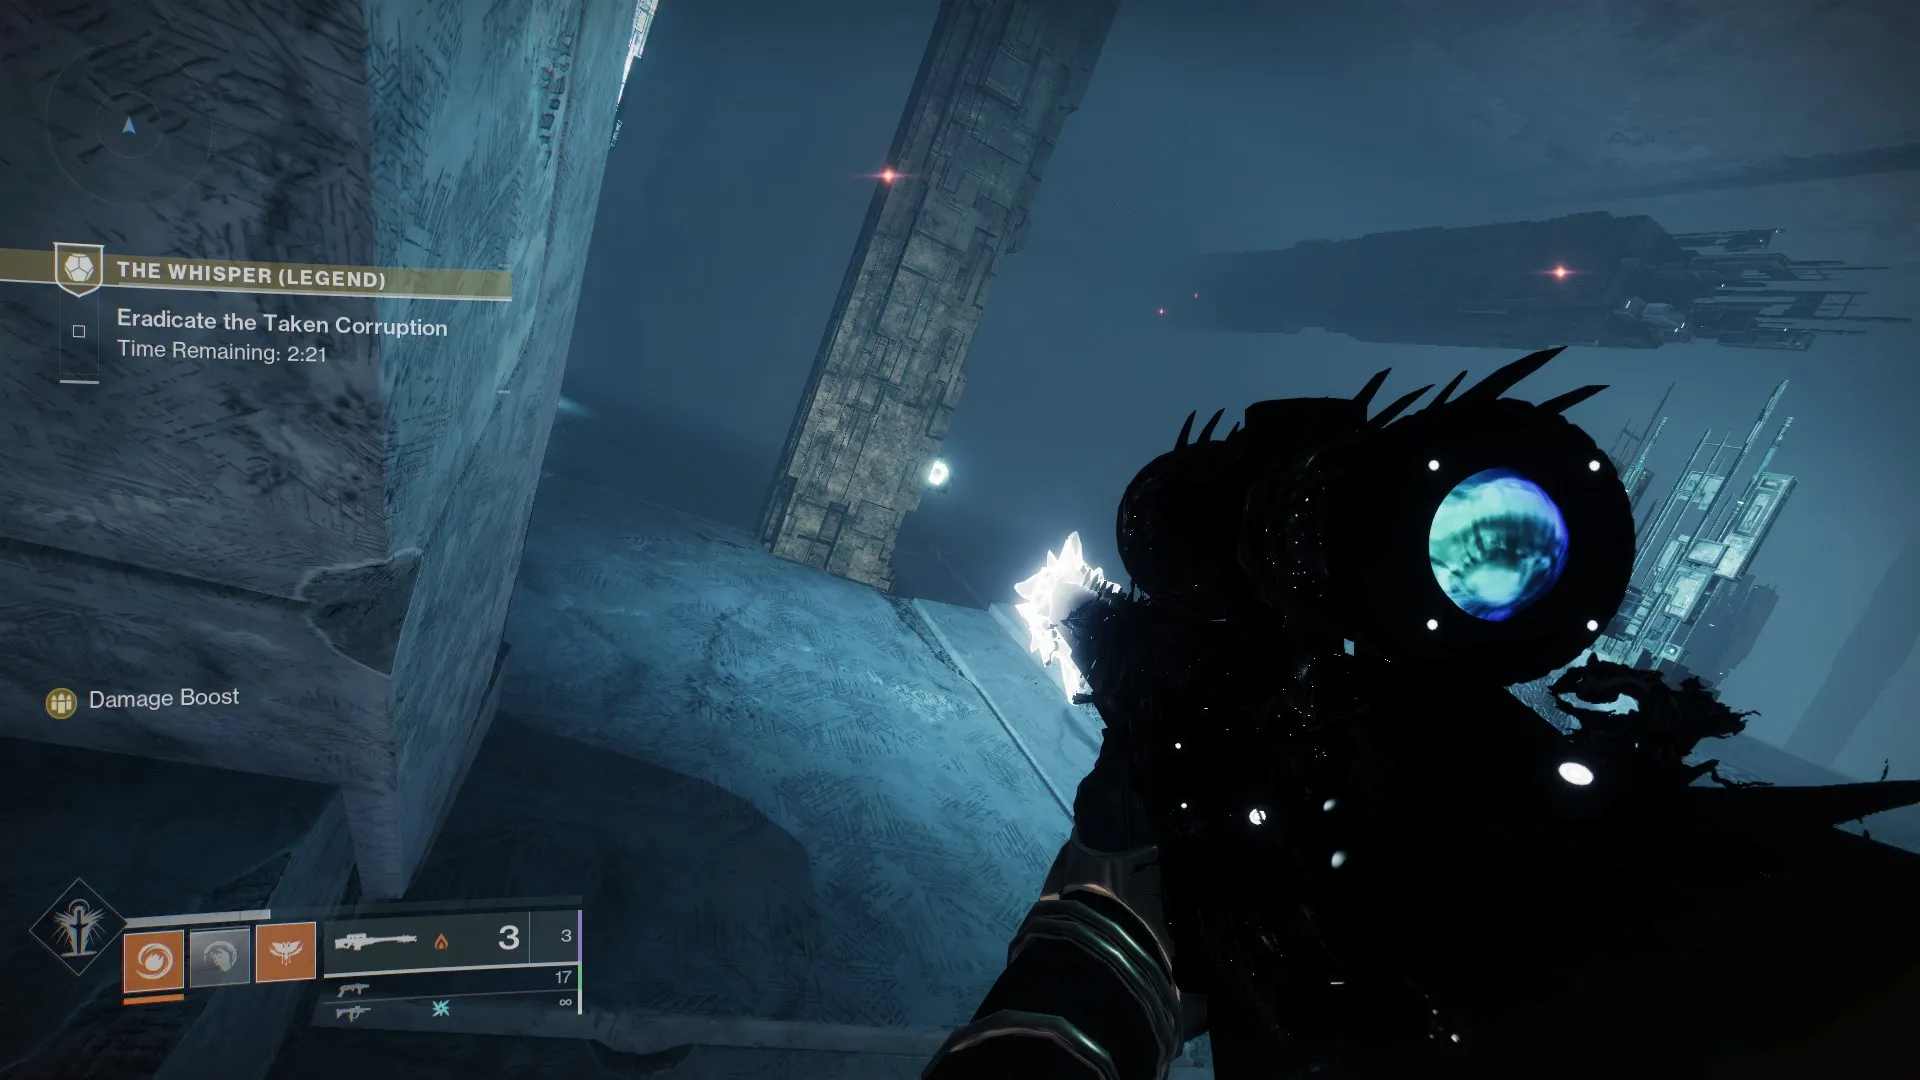
First Taken Blight location: Entrance
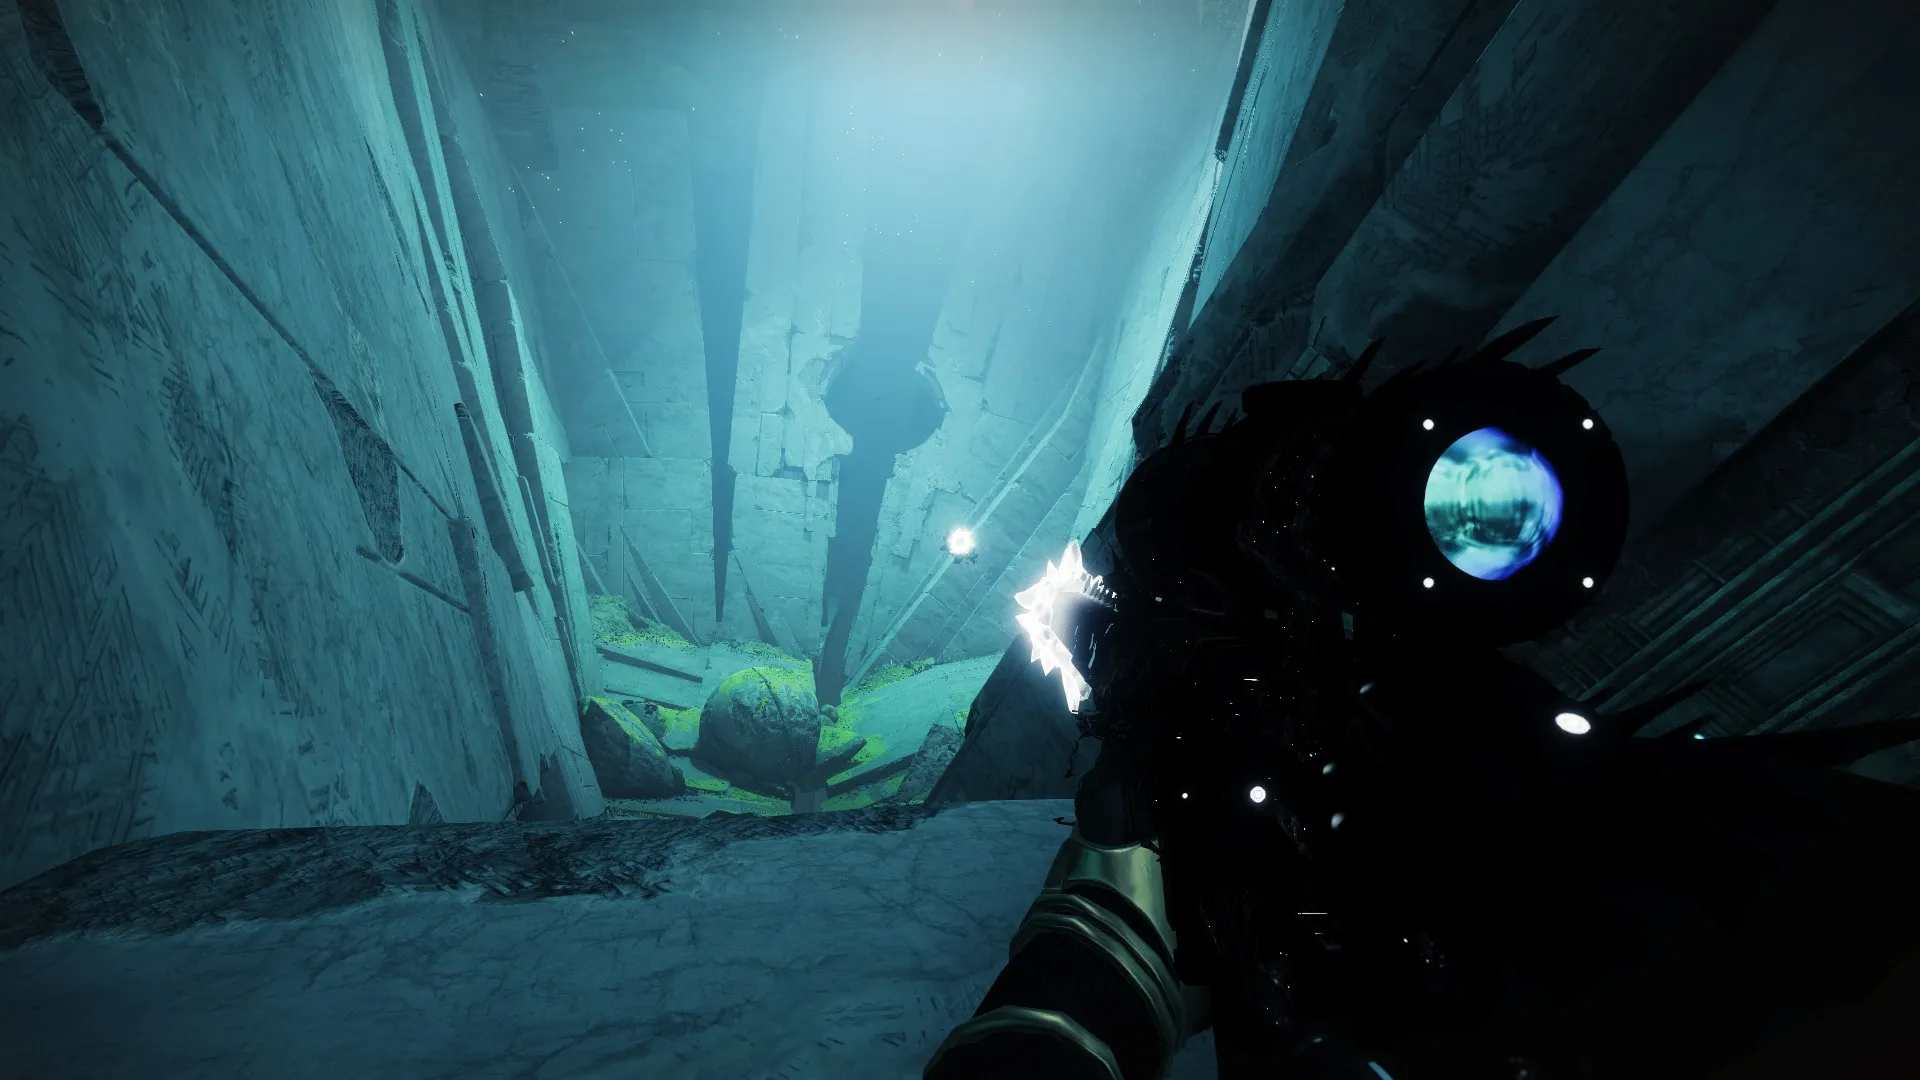
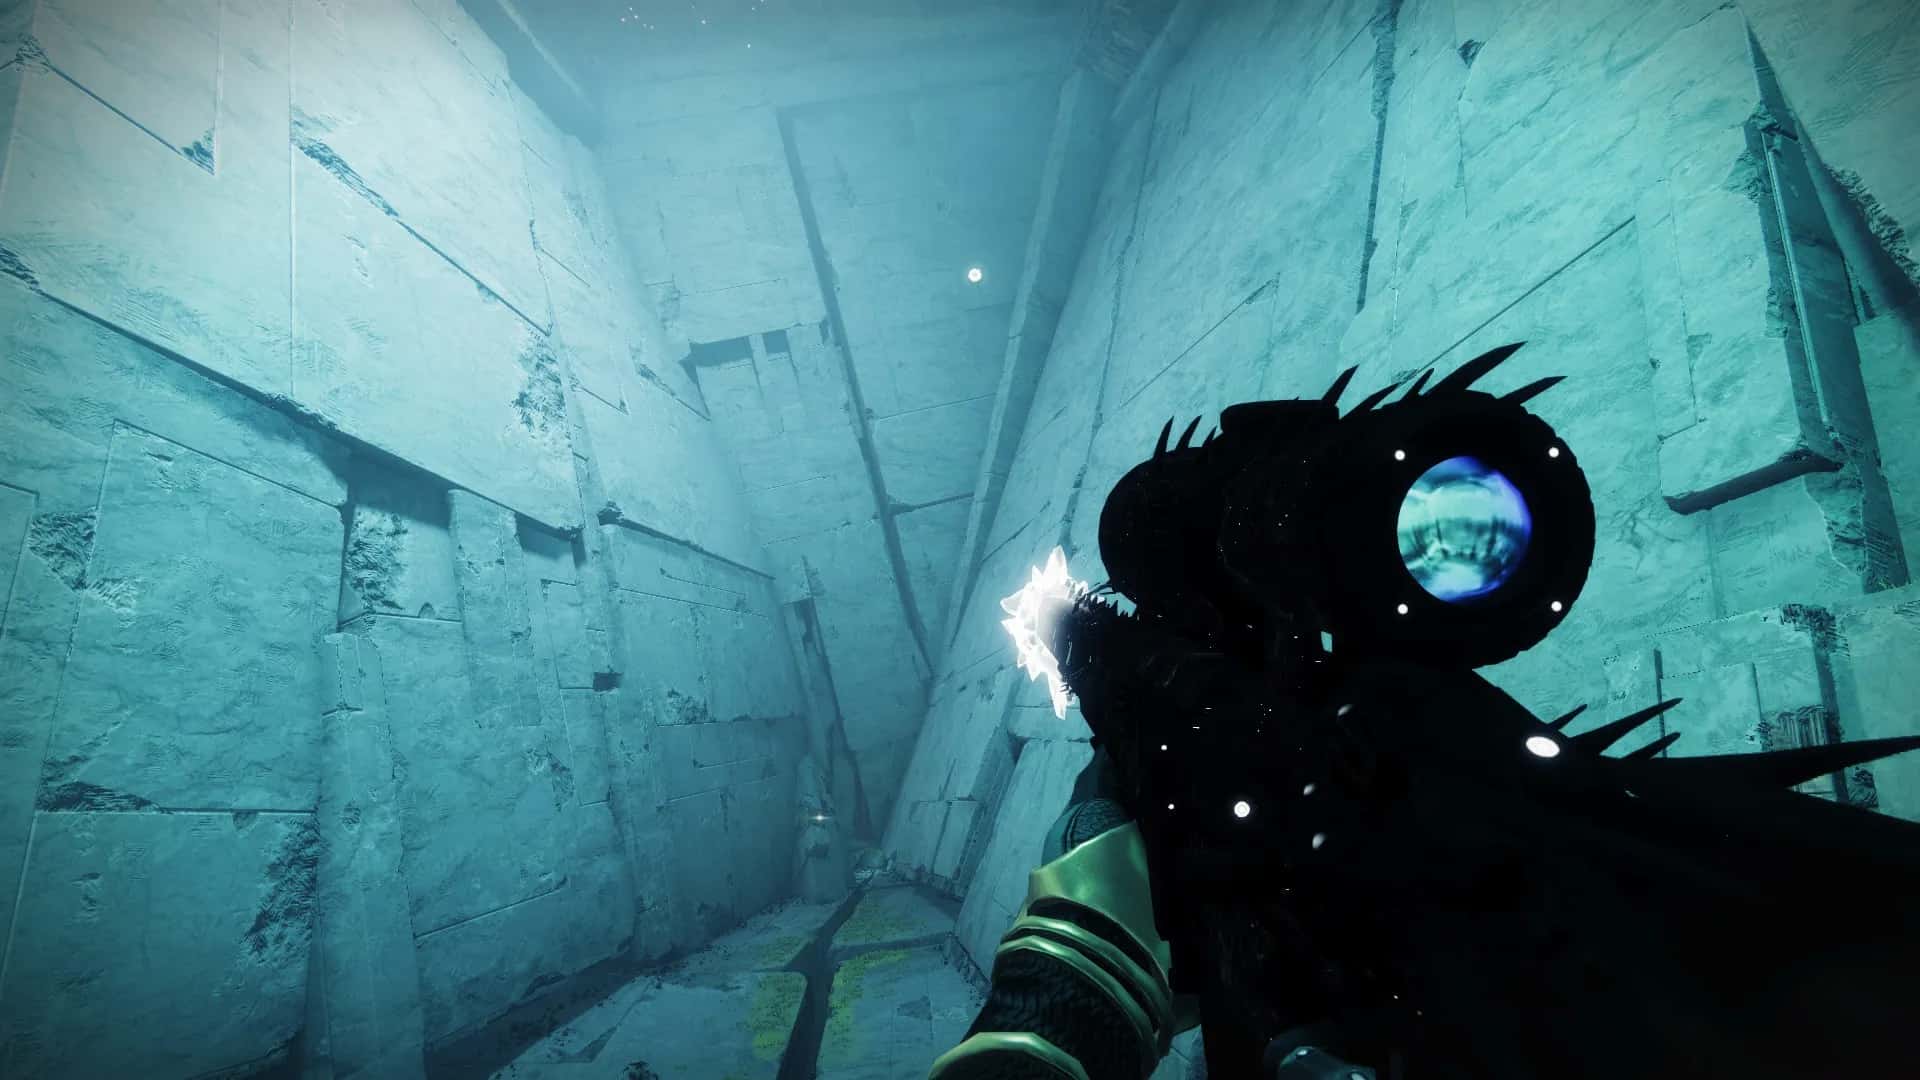
The first set of Taken Blights spawns right at the entrance to the Whisper mission. There are three objects to shoot, though one of them can be a bit trickier to find from the ledge close to the spawn area. They don’t seem to reappear after you shoot them (at least not in the same week), so our locations for the first set are general pointers.
The first Blight will show up just by the first ledge in the mission, and you don’t even need to trigger the Vex node to see it. The second one will be across from it and easily visible from the ledge.
The third one is a bit trickier. You can almost see it from the ledge, but it’s simpler to jump down and look for it on your right (with your back to the door you just came from). Look for it near a crooked branch on a tree.
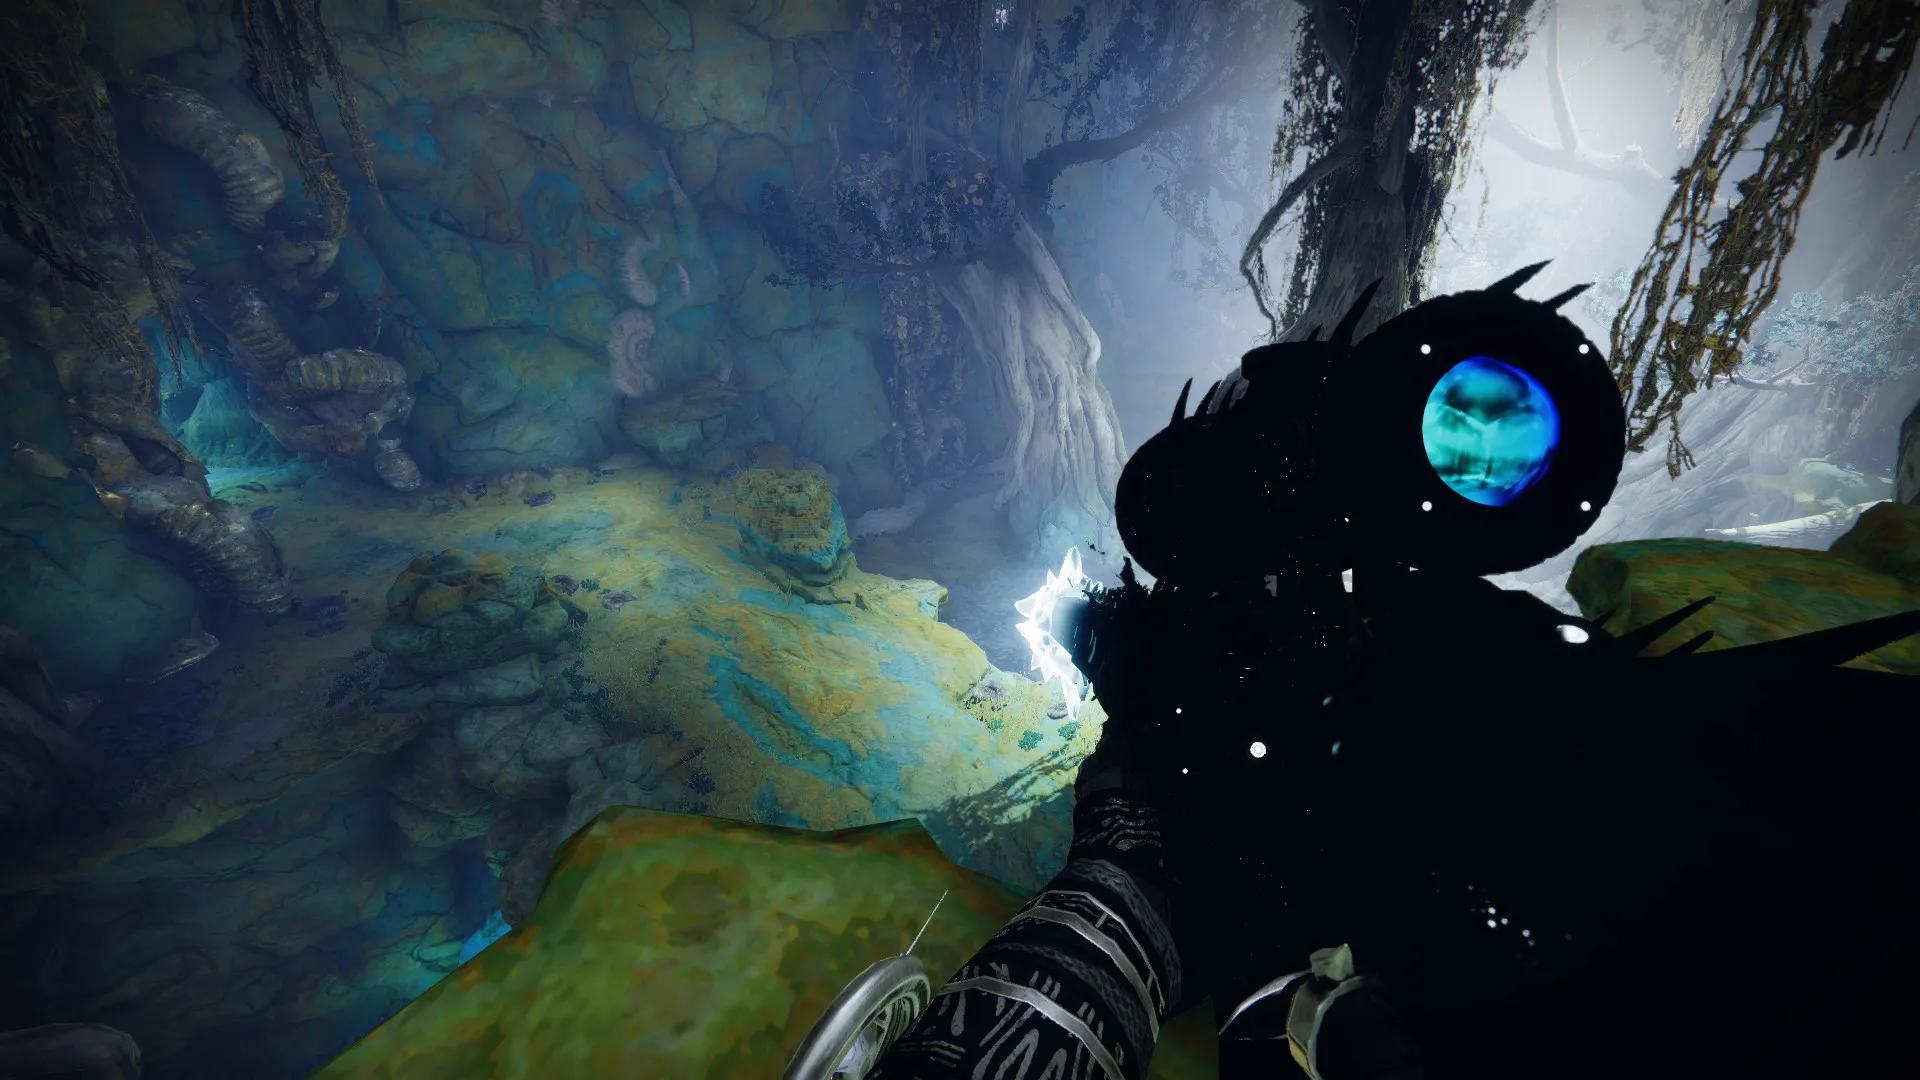
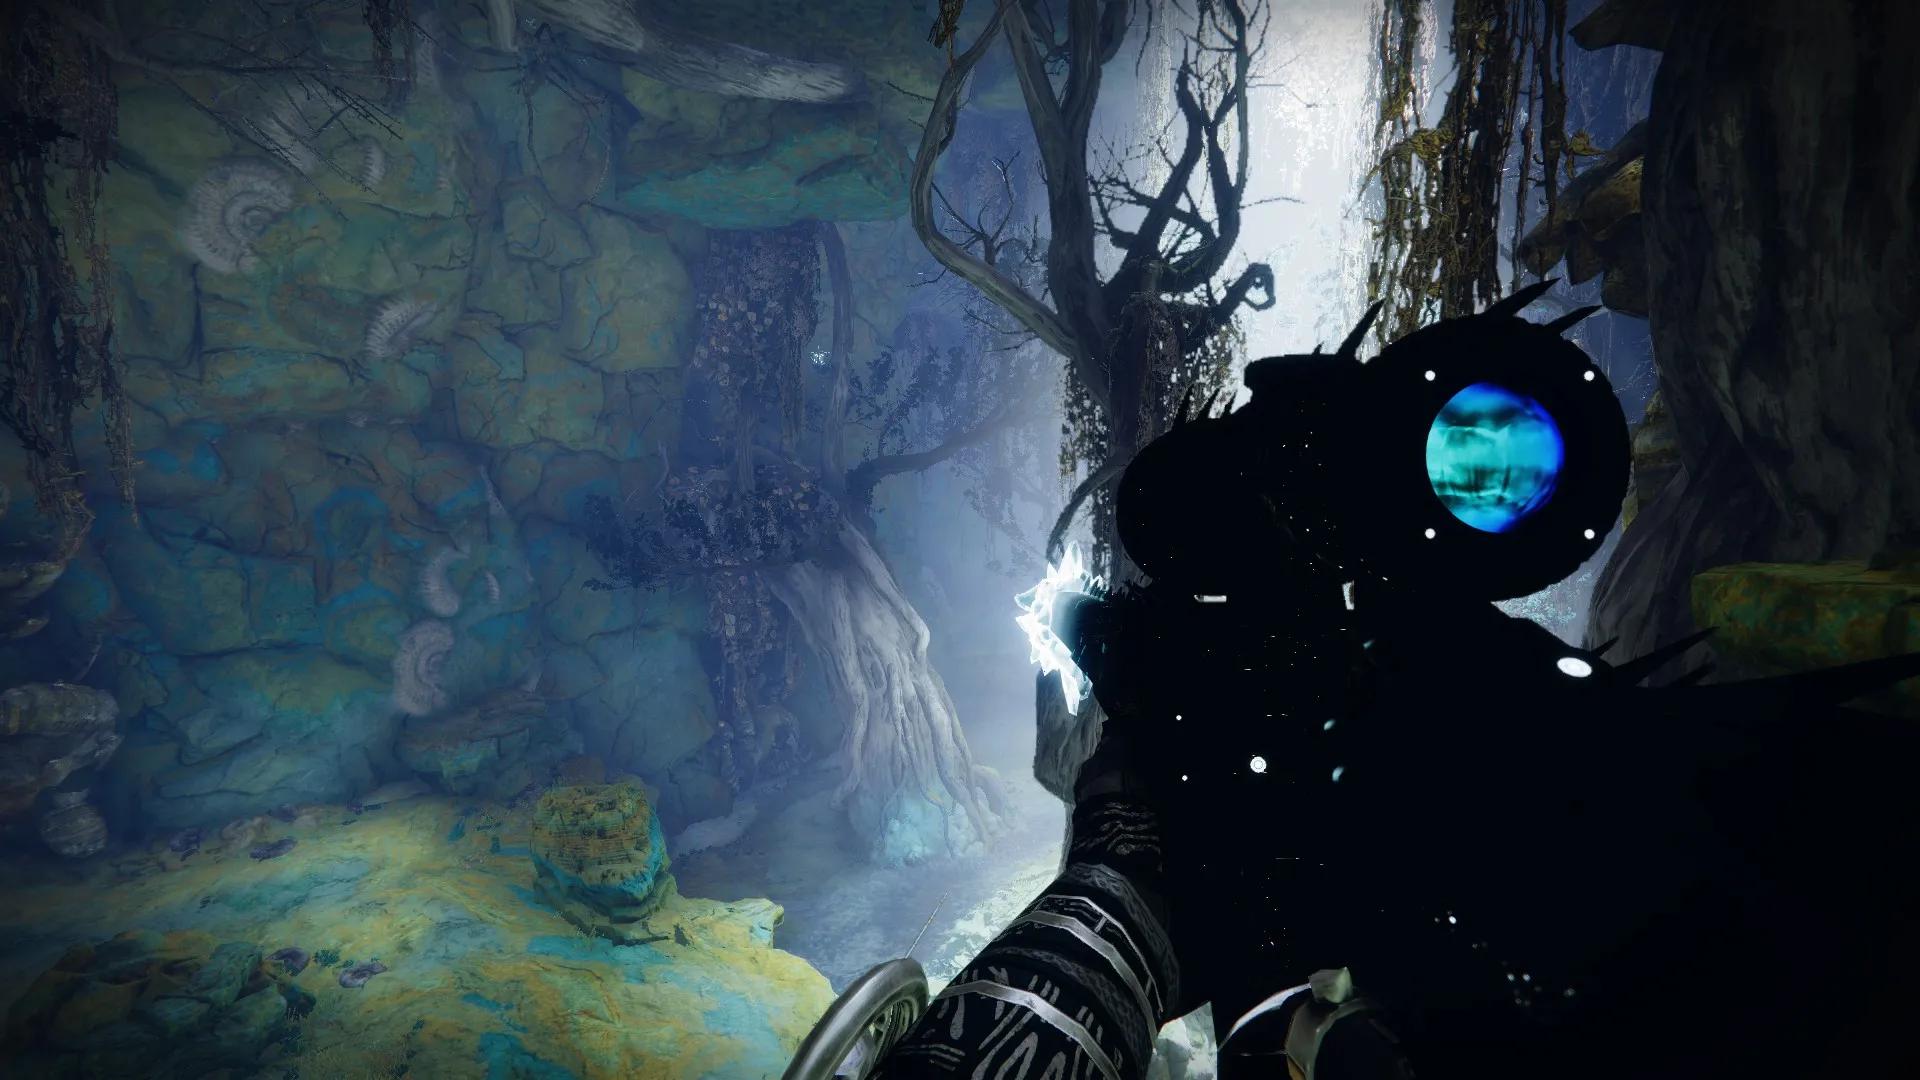
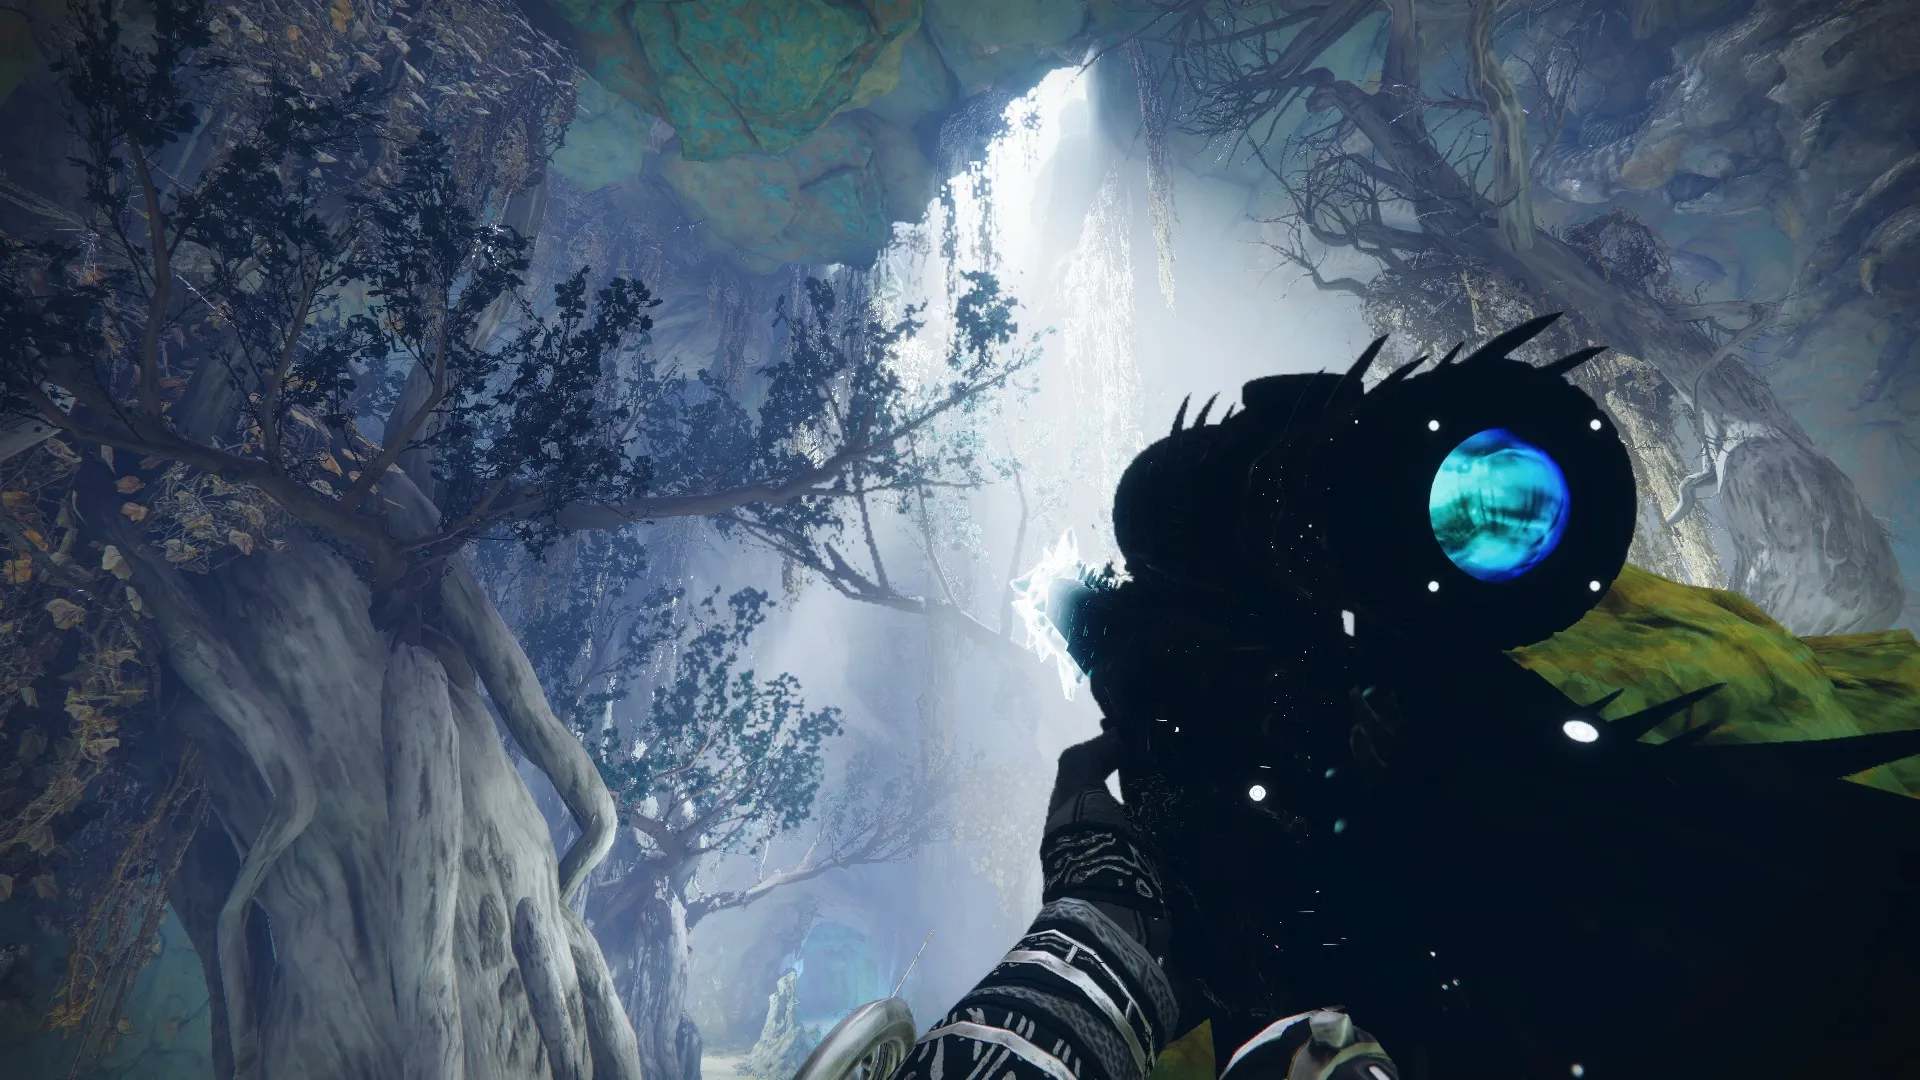
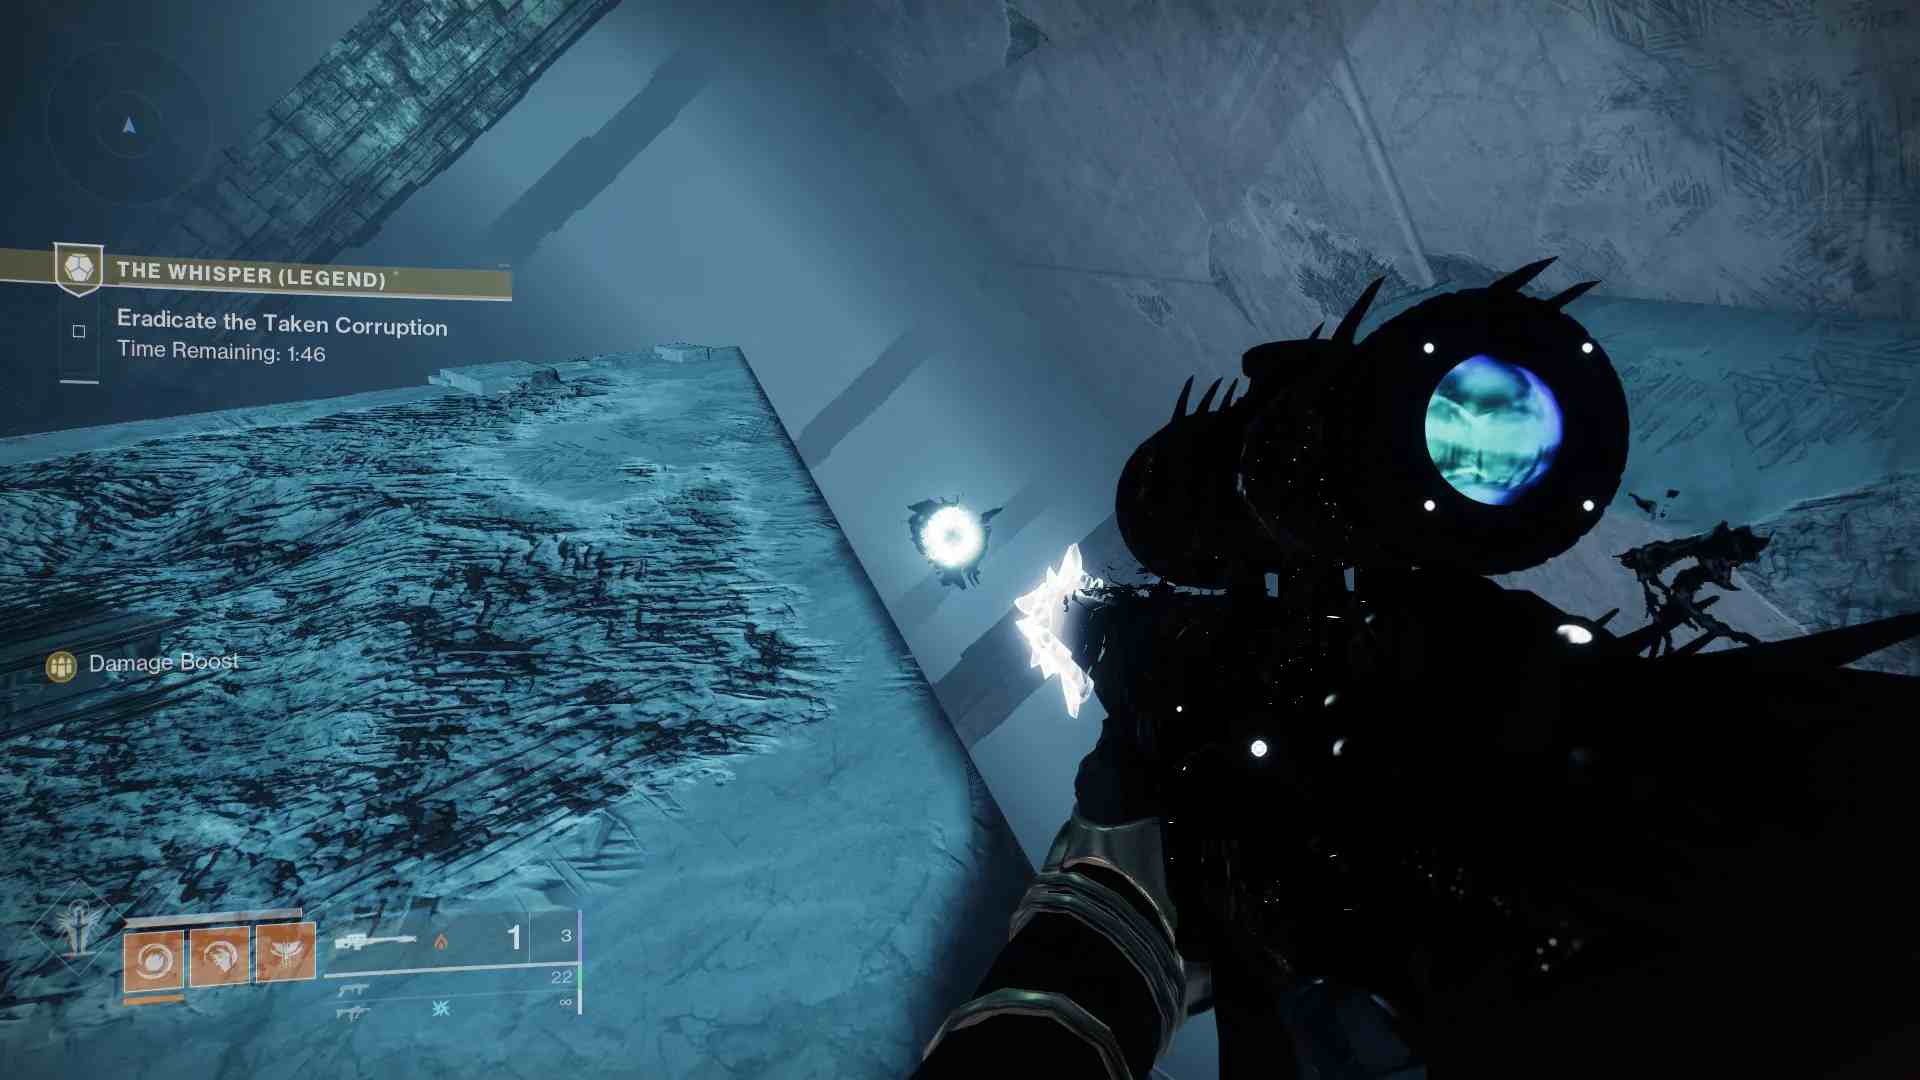
Second Taken Blight location in the Whisper mission: Overgrown room
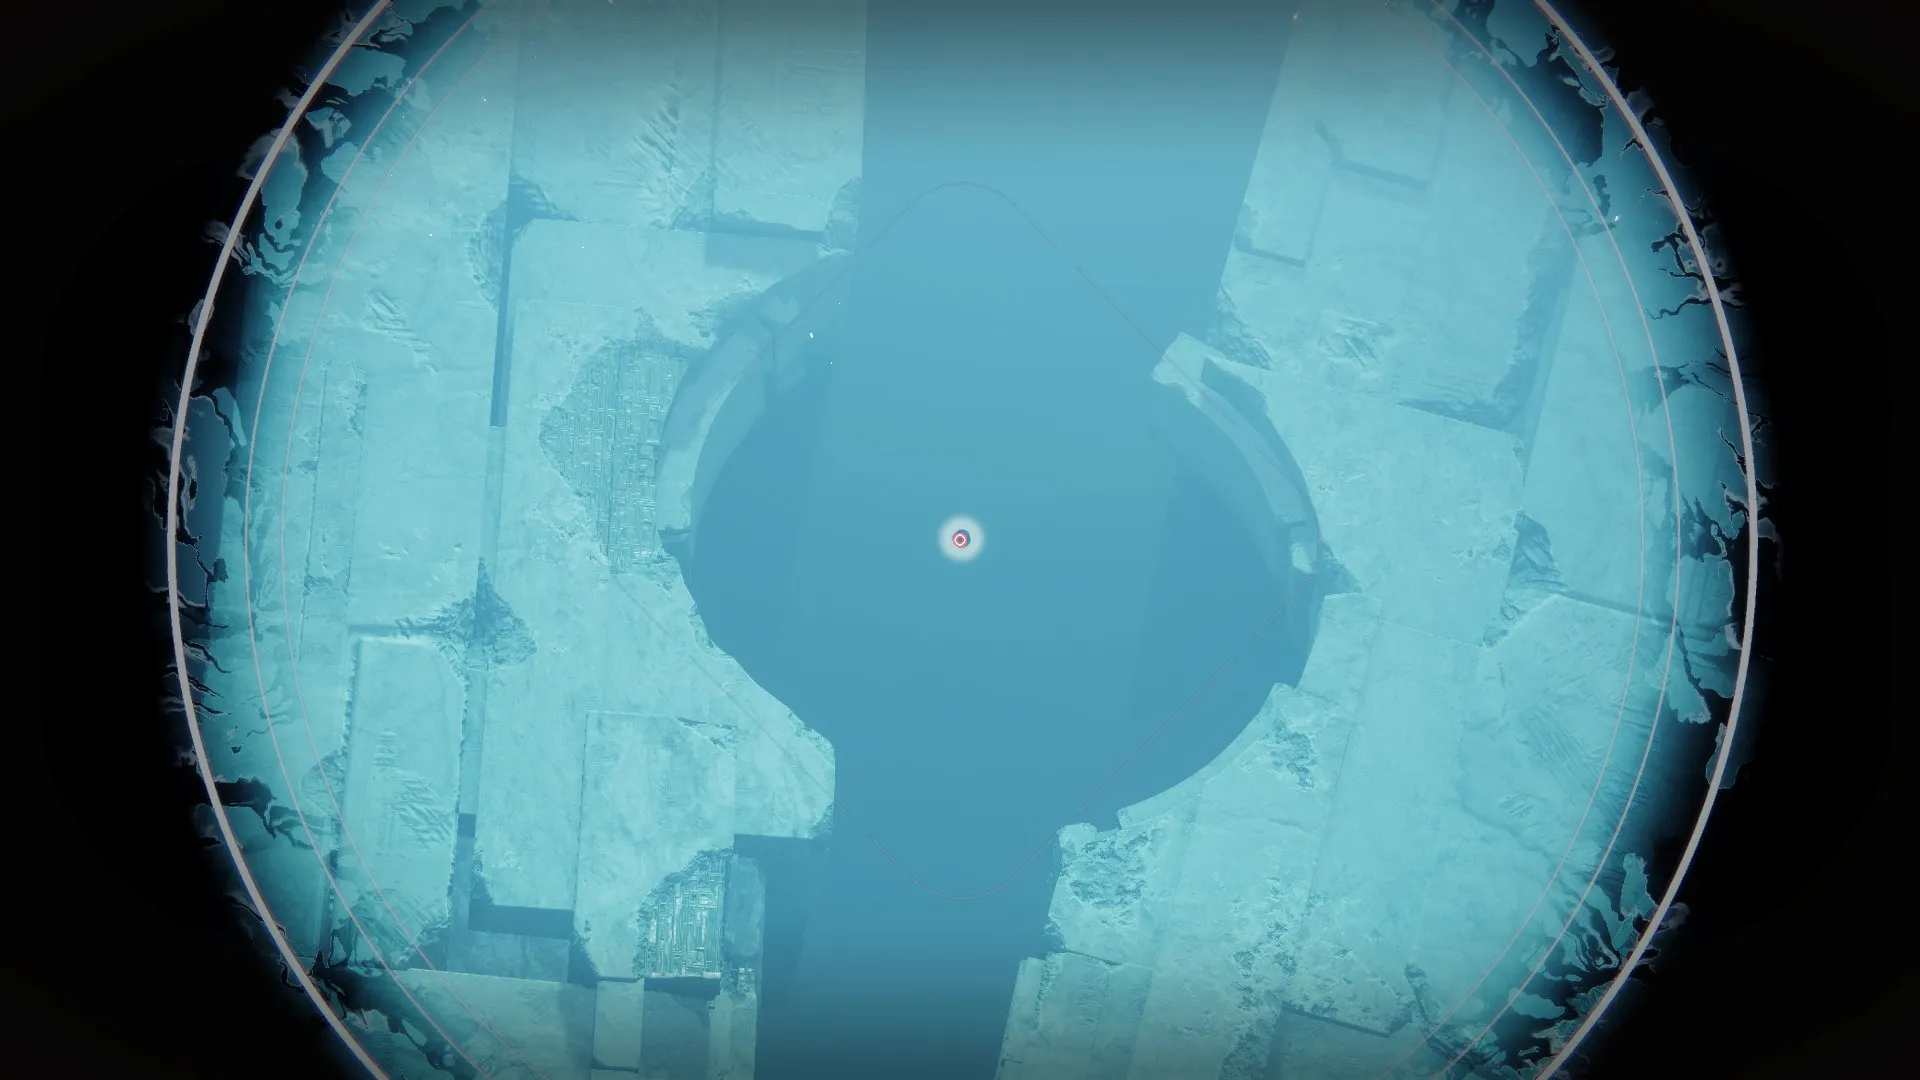
The second set of Taken Blights in the Whisper mission is in the overgrown ruined room after the core of the traversal sequence. The first one is right ahead of you, while the second one is in the ruined circle across the room. Look up to find the final one. There’s also an Oracle just before and just after this room.
Third Taken Blight location in the Whisper mission: the triangular section after fighting enemies
After going through the overgrown room and jumping into a doorway in the wall, you’ll come upon two areas with hordes of enemies and Taken Blights that halt your progress. Advance through the mission and you’ll find a room where the floor is a triangle.
Normally you’d have to drop through the floor to continue, but before you dive down, take care of the final set of Taken Blights in the area. There’s one just on the right side of the entrance and another one on the left side, just above you. The third and final Blight is located close to the triangle’s vertex on the other side of the room.
Are the Taken Blights time-gated?
The Taken Blights were time-gated when Into the Light released and required players to launch the mission in three different weeks. Barring any quest prerequisites, guardians should have no problems with time-gating, though it may take multiple runs of Whisper to find them all.


Published: Apr 23, 2024 05:07 pm