Destiny 2’s New Light quests—named after the in-universe nickname for freshly Risen guardians—introduce new players to the game’s mechanics and systems, with Shaw Han giving them a Night Watch with a curated roll at the end of the game’s first introduction (don’t dismantle it, since the Overflow/Explosive Payload roll is unique to it). After you clear your missions in the Cosmodrome and access the Tower, the game will allow you to embark on two important (and intertwined) quests: A Spark of Hope and Risk/Reward.
These two quests will introduce you to important elements of the game. A Spark of Hope will acquaint you with the two leaders of the Vanguard: Commander Zavala and Ikora Rey, who lead the Titans and Warlocks, respectively. It will also teach you about the Lost Sectors hidden in the world.
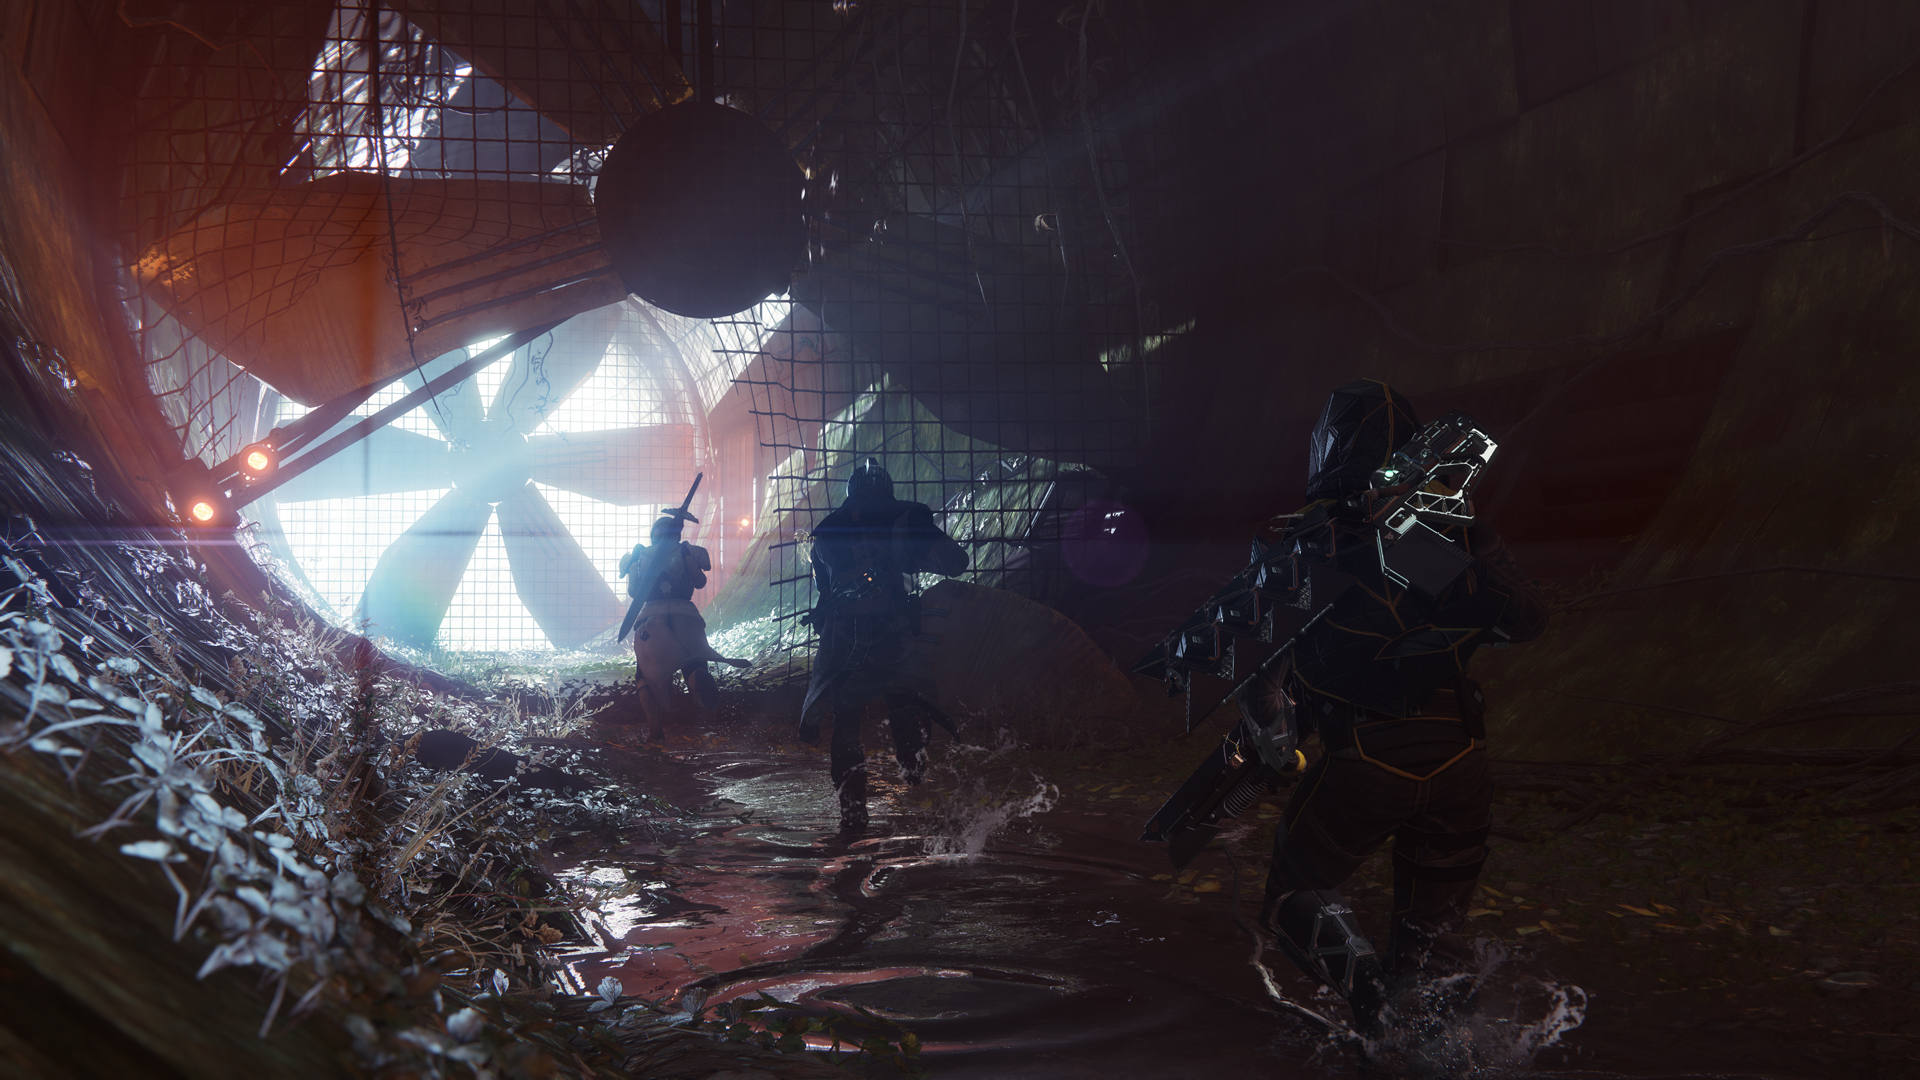
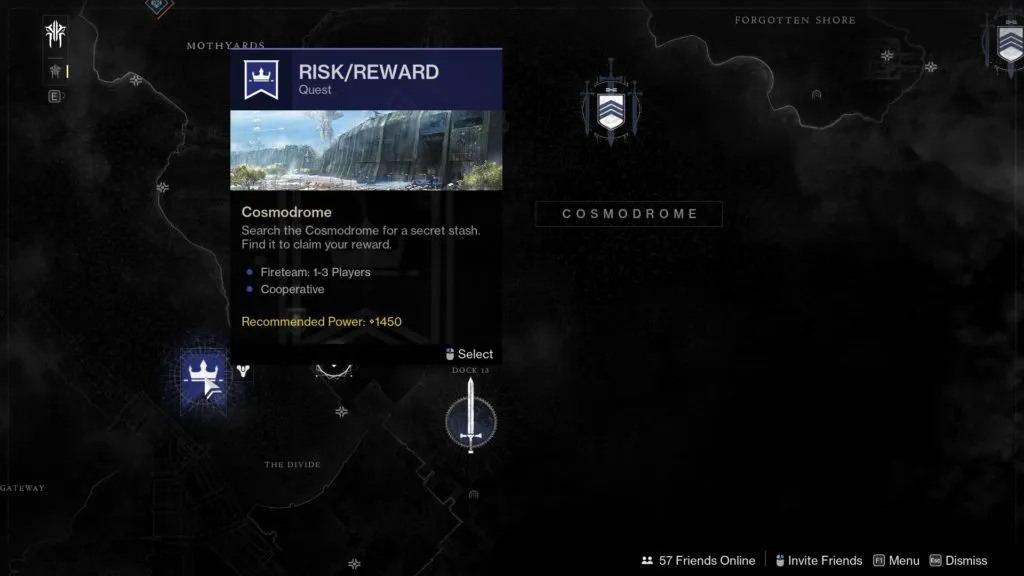
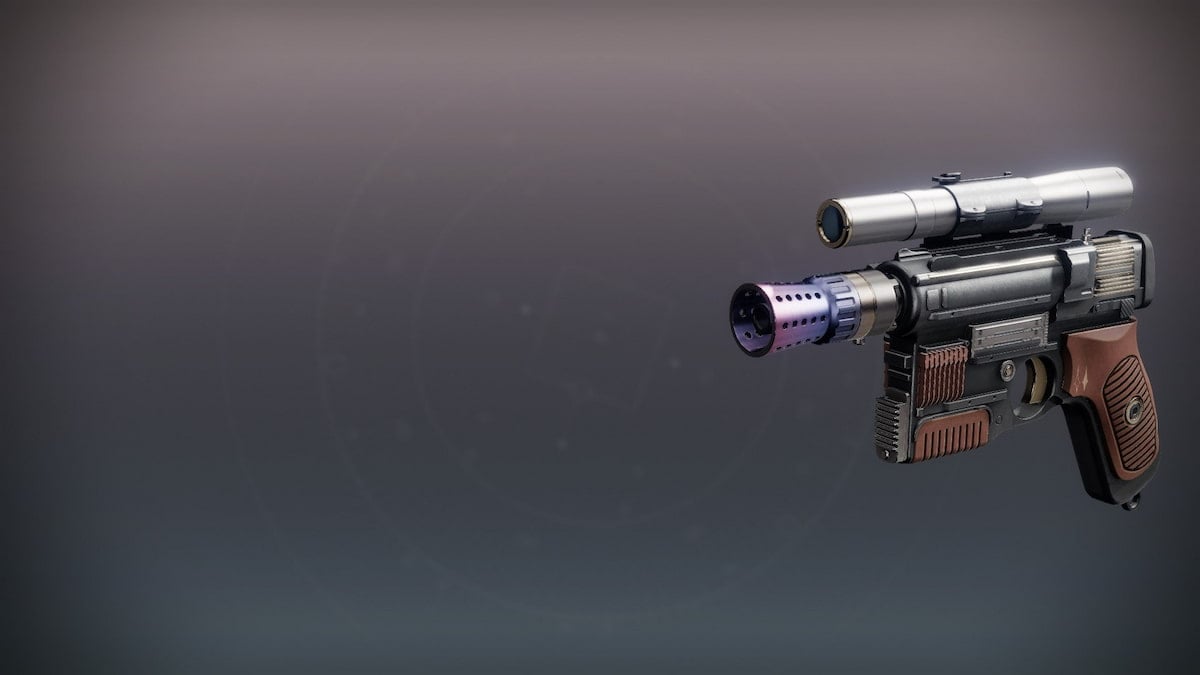
Risk/Reward, on the other hand, is more combat-focused and will send you on a trip to the Cosmodrome, where you can obtain the Riskrunner Exotic SMG as a reward. Riskrunner is available in a weapons stash from the late Hunter Vanguard, Cayde-6, who died during the (now vaulted) Forsaken campaign. Cayde had several arms stashes throughout the system, and this time, you’re hunting one of his caches to find a weapon of your own. Of course, Cayde wouldn’t leave his stash in plain sight, and he hid this one deep into the Cosmodrome. Finding it will require you to get past some Fallen enemies and a large jumping puzzle, but the end result is more than worth it.
Here’s how you can complete Risk/Reward.
How to complete the Risk/Reward mission in the Cosmodrome
Risk/Reward is a quest within a quest, but it’s easily worth the trouble. You’ll need to advance further into A Spark of Hope, which will task you with finishing Risk/Reward before you can turn it in. Risk/Reward is available straight from the Cosmodrome’s map, and you’ll need to click on the node to launch into the mission. Keep in mind the activity’s recommended Power Level, which determines how hard (or how easy) the enemies you’ll face will be during your run.
Related: How to complete A Spark of Hope quest in Destiny 2
Defeat three Dusk Captains
The quest will spawn you at The Divide, the area with the Fallen Walker you encountered in the Cosmodrome. You’ll have to kill three Dusk Captains, which will spawn after you’ve taken out their allies.
Each Dusk Captain spawns after you’ve defeated a Dusk platoon, with several House Dusk Mechanics that will appear on three points in the Cosmodrome. After you’ve wiped the first platoon, the Dusk Captain will spawn, so you can wipe them out as well.
The first platoon and Dusk Captain spawn on a rooftop on the left side of the Walker, close to where you spawn. The second appears on a small building to your right, while the last of them will show up on the building across from where you loaded into the mission.


Find the locked gate
After you’ve taken down all three Dusk Captains, the game will ask you to go back the way you came from to unlock a door leading to the weapons stash we came to find. Backtrack and enter the door, and if you’re lost, whip out your Ghost (default: Tab on PC) for some guidance. Head through the first door and keep following the path, taking out the enemies that come at you, until you see a quest marker towards a door on your left. You can always use your Ghost for guidance.
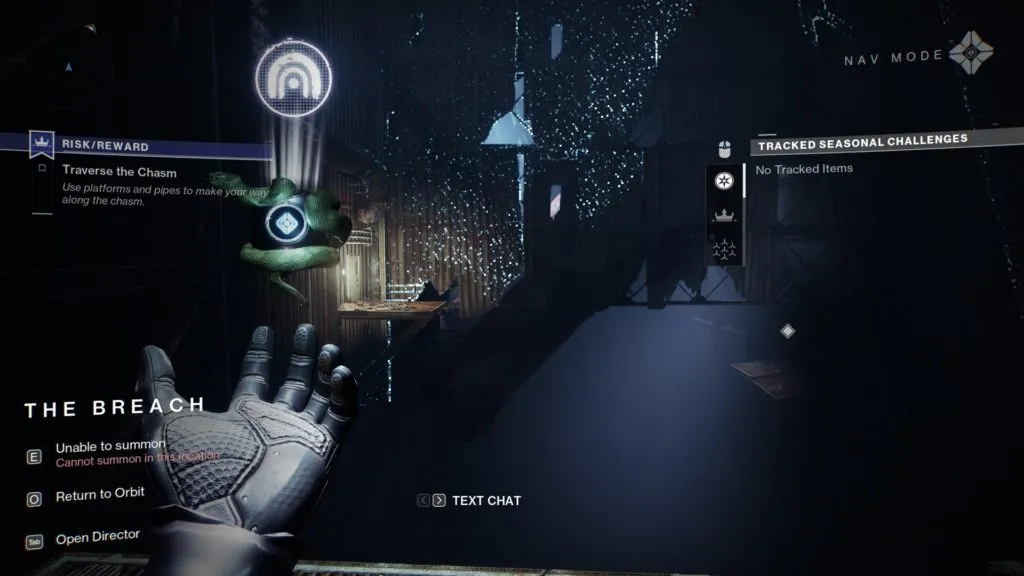
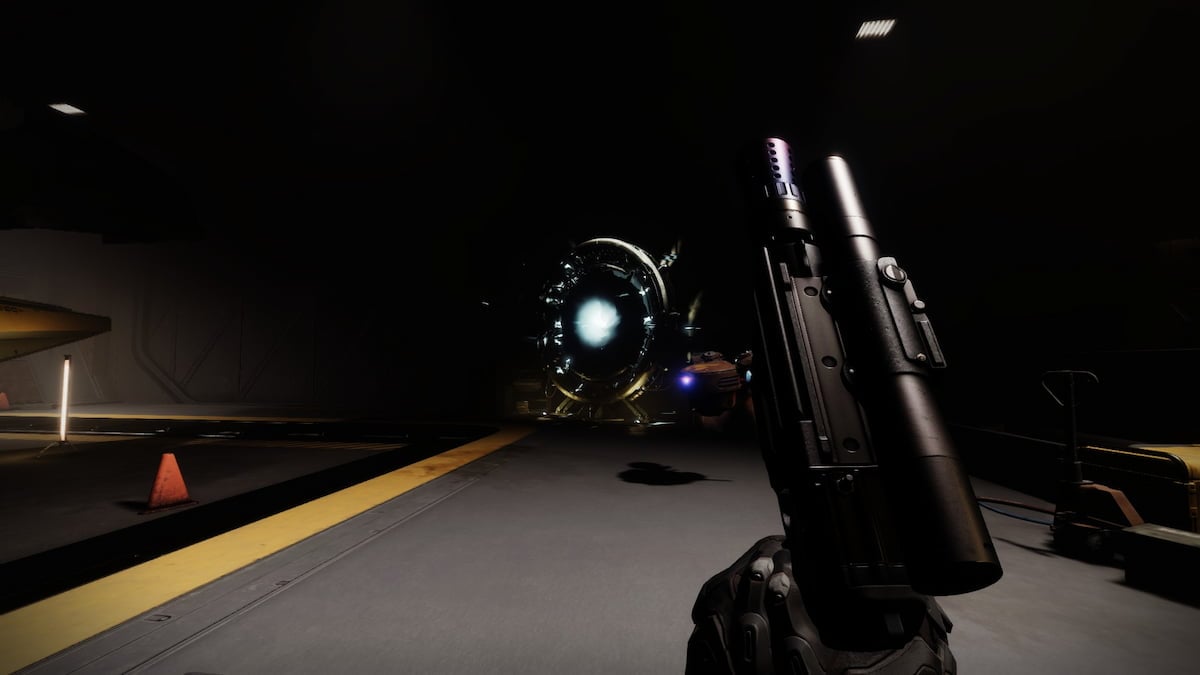
Traverse the Chasm: Jumping puzzle guide
It’s important to introduce new players to some common elements in Destiny 2, and Risk/Reward baptizes players with their first major jumping puzzle. You’ll have to leap and snake through the bowels of an industrial building on the Cosmodrome, but the risk is more than worth the reward. It’s also important to familiarize yourself with your class’ jump and feel free to swap them out and experiment with them if it’s not working. Hunters more commonly use the Triple Jump, while Titans more commonly go with Catapult Jump for speed or High Lift for more height. Warlocks are highly up to preference as well, though Burst Glide and Strafe Glide are bound to be easier for newcomers.
Once you get to the Chasm, you’ll have to jump to a ledge across from you, either landing on the platform with a door or the catwalk below it. From there, look to your right (left if you have your back to the door) to spot two small ledges, one below and one above the pipes.


Like in the regular Cosmodrome, your Ghost will point you to the next objective, even in the jumping puzzle. From the ledge near the pipes, bring up your Ghost to show you the way, pointing to another platform. Hop to it (or to the small catwalk below it), then turn around. Your Ghost will point you to a ledge high above you, but you can’t reach it straight on. Look to your left to find another set of ledges, which you can use to reach the one on top. Jump to the pipes (or to the small ledge close to them), then to the catwalk just above the pipes, and you’ll find the next ledge close to you.


From there, you’ll have to make a fairly long jump. You could try to reach the structure on your right to close the distance before having to jump to the catwalk, but it can be a bit awkward. A long jump might be your best bet, especially on Warlocks and Titans. After you make the jump, climb onto the catwalk and look for a door that’s on a ledge below you.


From there, it’s another long jump, but this time, aim for the ledge near a concrete structure instead of the catwalk on your left. You can easily reach the catwalk from the ledge, or at least aim for the small platform below it. Keep following the path, whipping out your Ghost if you’re stuck.


You’ll reach a ledge with platforms on both left and right sides, and you’ll need to jump to the one on the right. You can try to jump from the first platform, but if you’re failing to cross the gap, jumping onto the left catwalk (the one with a door near you) can help trim the distance you need to reach to continue in the jumping puzzle. The scaffolding in the middle can make it hard to traverse, so try not to bump into it.
After you make it, you’ll have to jump across again, leaping to either a platform with a door on a smaller ledge next to it (the smallest one is easiest to reach, but if you feel comfortable enough with your jumps, you can aim for the harder one for the added challenge). Find another catwalk on your right (left if you have your back to the door) and jump to it, then look across you to find a well-lit doorway. You’re almost at the end of the jumping puzzle now.


From the well-lit doorway, your Ghost will point you to a platform up high, so jump on the ledge on the large pipe on your right, then leap to it. This is the last part of the jumping puzzle.
Turn around to find four platforms: one slightly above you and to the right, with another slightly higher up and to the left. The third one is above the first, and the last one is above the second one. You’ll have to zig-zag through the platforms based on their heights, starting from the lowest one, then jumping to the other side, bouncing back to the right, and finally landing on a catwalk that leads to the doorway. This means you’ve successfully traversed the chasm and can finally pick up your loot.


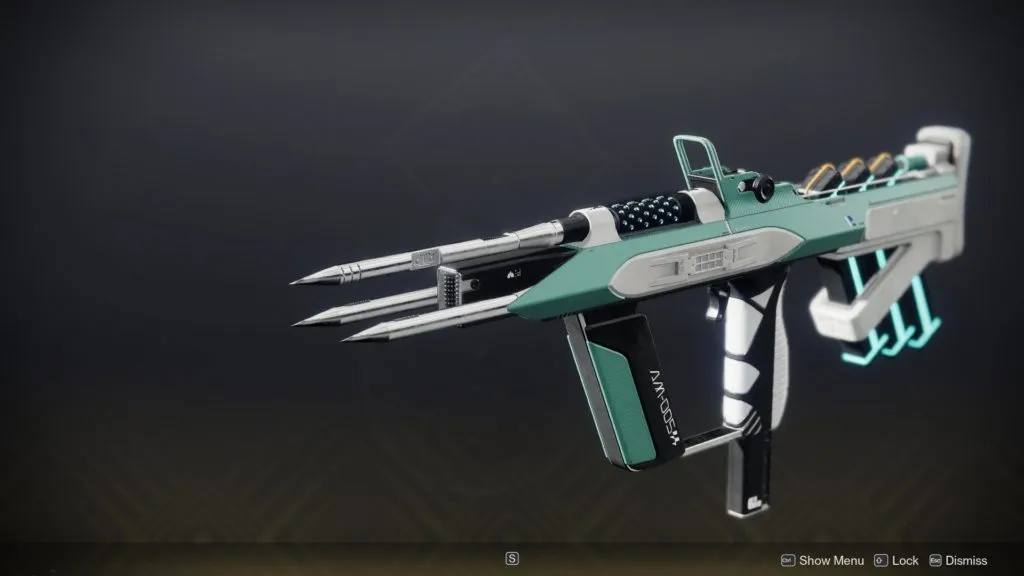
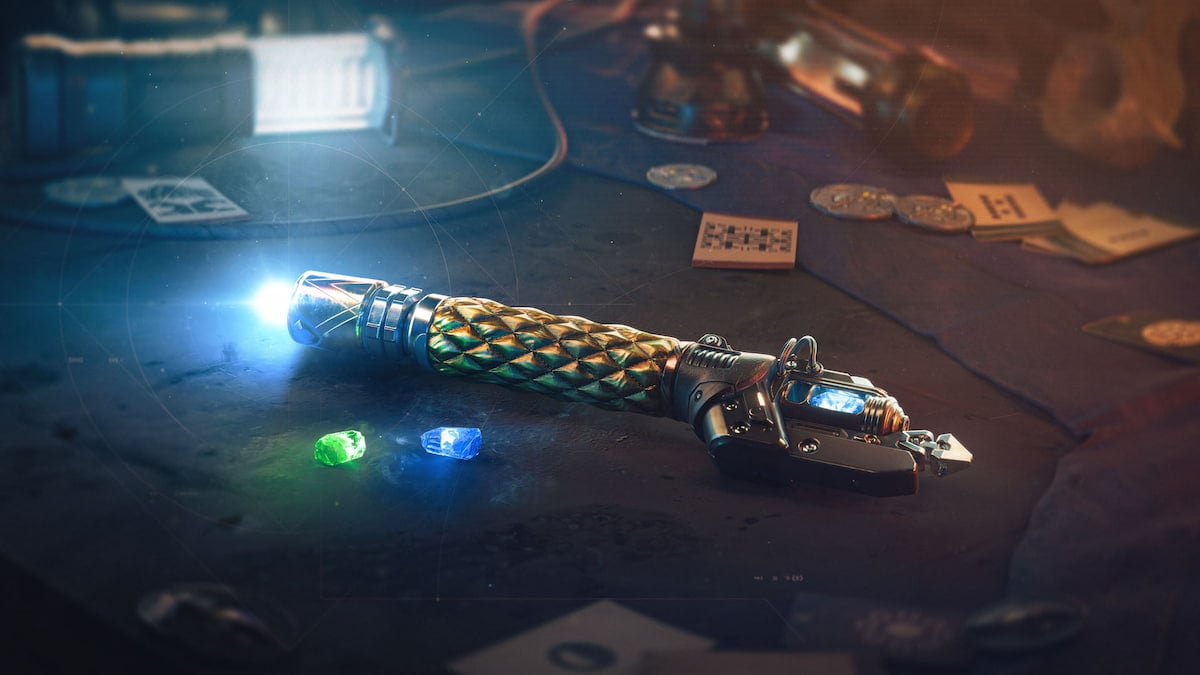
After you’ve crossed the doorway and reach the end of the jumping puzzle, you’ll find one of Cayde-6’s stashes (complete with several hints to the late Hunter Vanguard, the Ace of Spades, the Last City’s ramen shop, and his pet chicken, Colonel). Opening the box with the Arc Conductors will give you the Riskrunner Exotic SMG, which is a great addition to a guardian’s arsenal. And if you’re anxious to test out your new gear, the quest will ask you to do exactly that on your next step.
After obtaining Riskrunner: Enter the Fallen Nest
Follow your Ghost to the Fallen nest until it leads you to a drop-down duct. Don’t forget to break your fall before you hit the ground. Otherwise, you might just end up having to wait for your Ghost to revive you. The game will spawn a few Fallen your way and they are the perfect enemy to test Riskrunner on.
Any time you receive Arc (Destiny‘s take on shock/electricity) damage, Riskrunner will activate its Arc Conductor perk, which makes bolts of lightning arc to nearby enemies after you get a kill (also refreshing its duration). Since most of the Fallen’s attacks are Arc-based, you’ll have plenty of uptime on it, at least when these enemies are involved. Riskrunner also improves your resistance to Arc damage with its active.
After you’ve taken out most of the garden-variety enemies, the game will spawn Haviks, Dusk Baron. You’re better off using your Special, your Heavy, or your Super on the boss instead of Riskrunner, so bring in the firepower. Once you’re done with the boss, the game will teleport you back to Orbit, completing Risk/Reward and advancing A Spark of Hope far enough that you can talk to Zavala and turn it in.


Published: Sep 9, 2022 02:54 pm