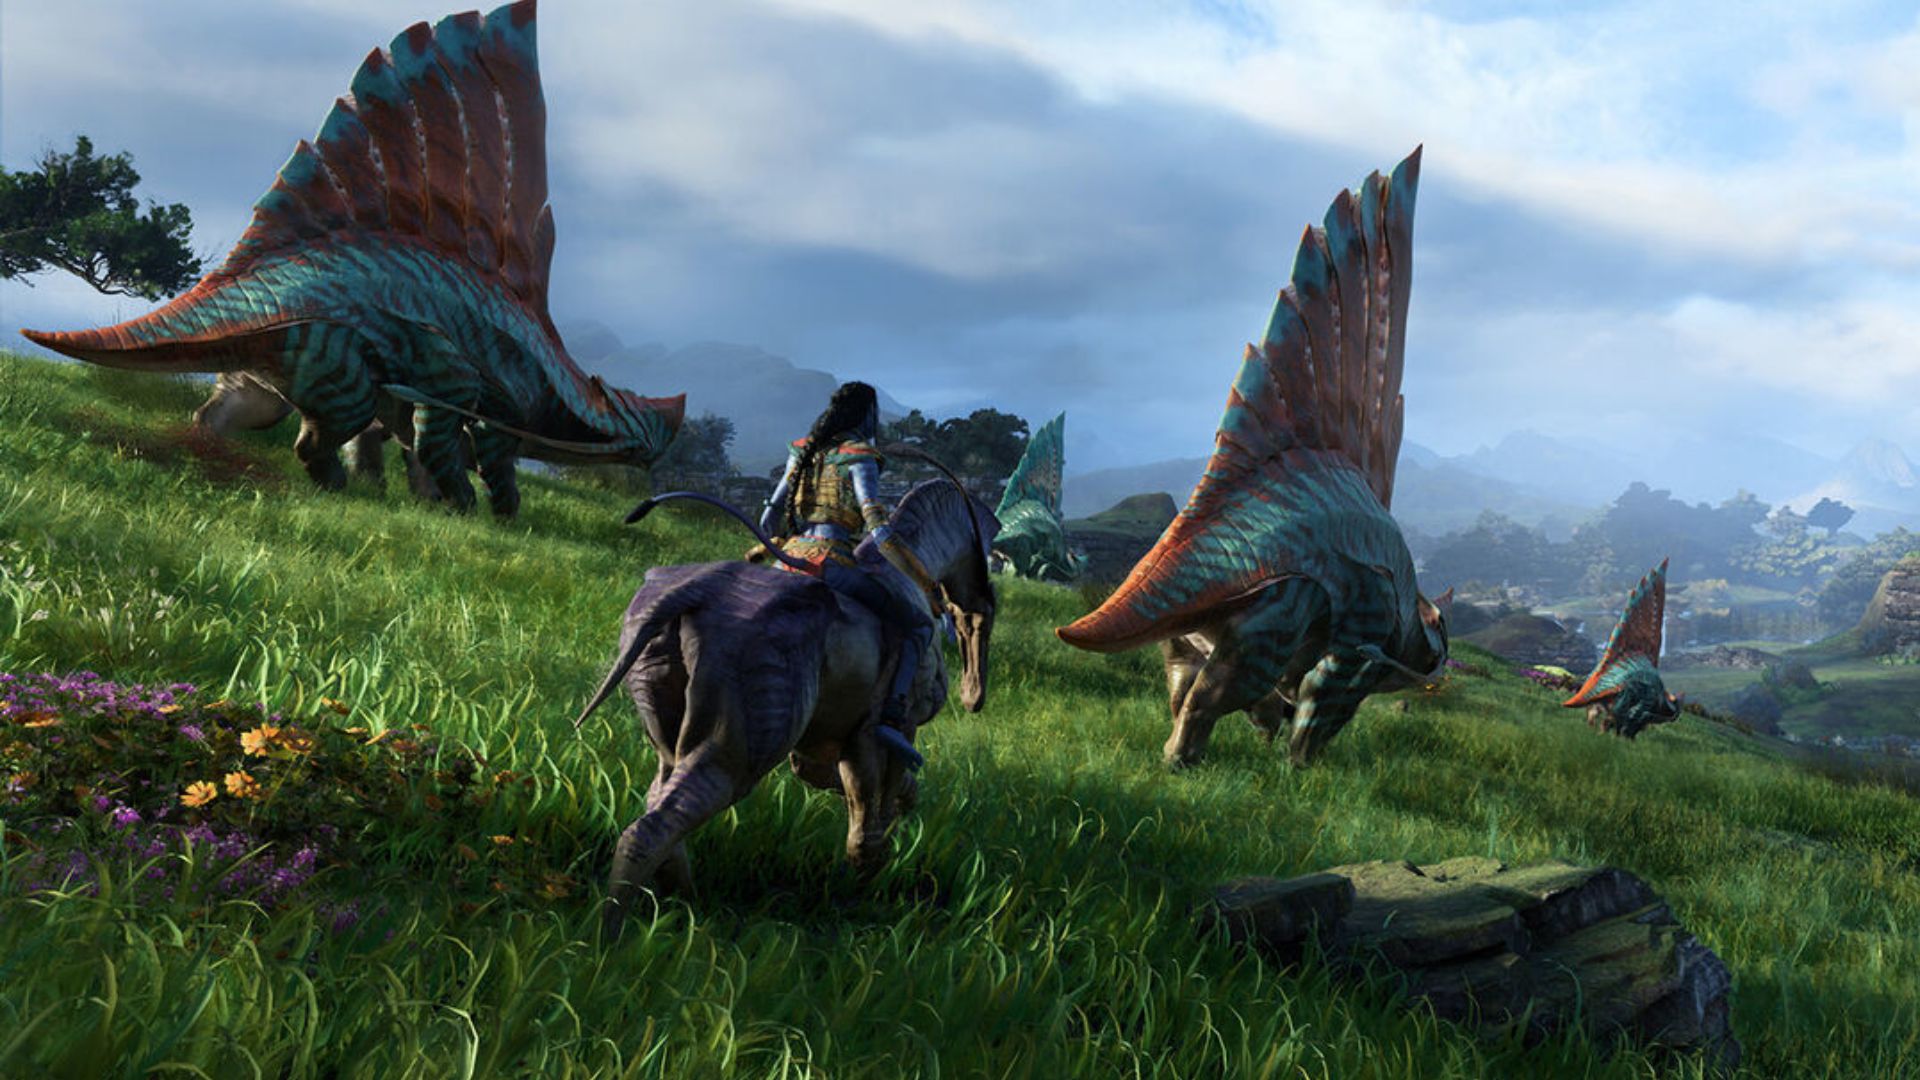
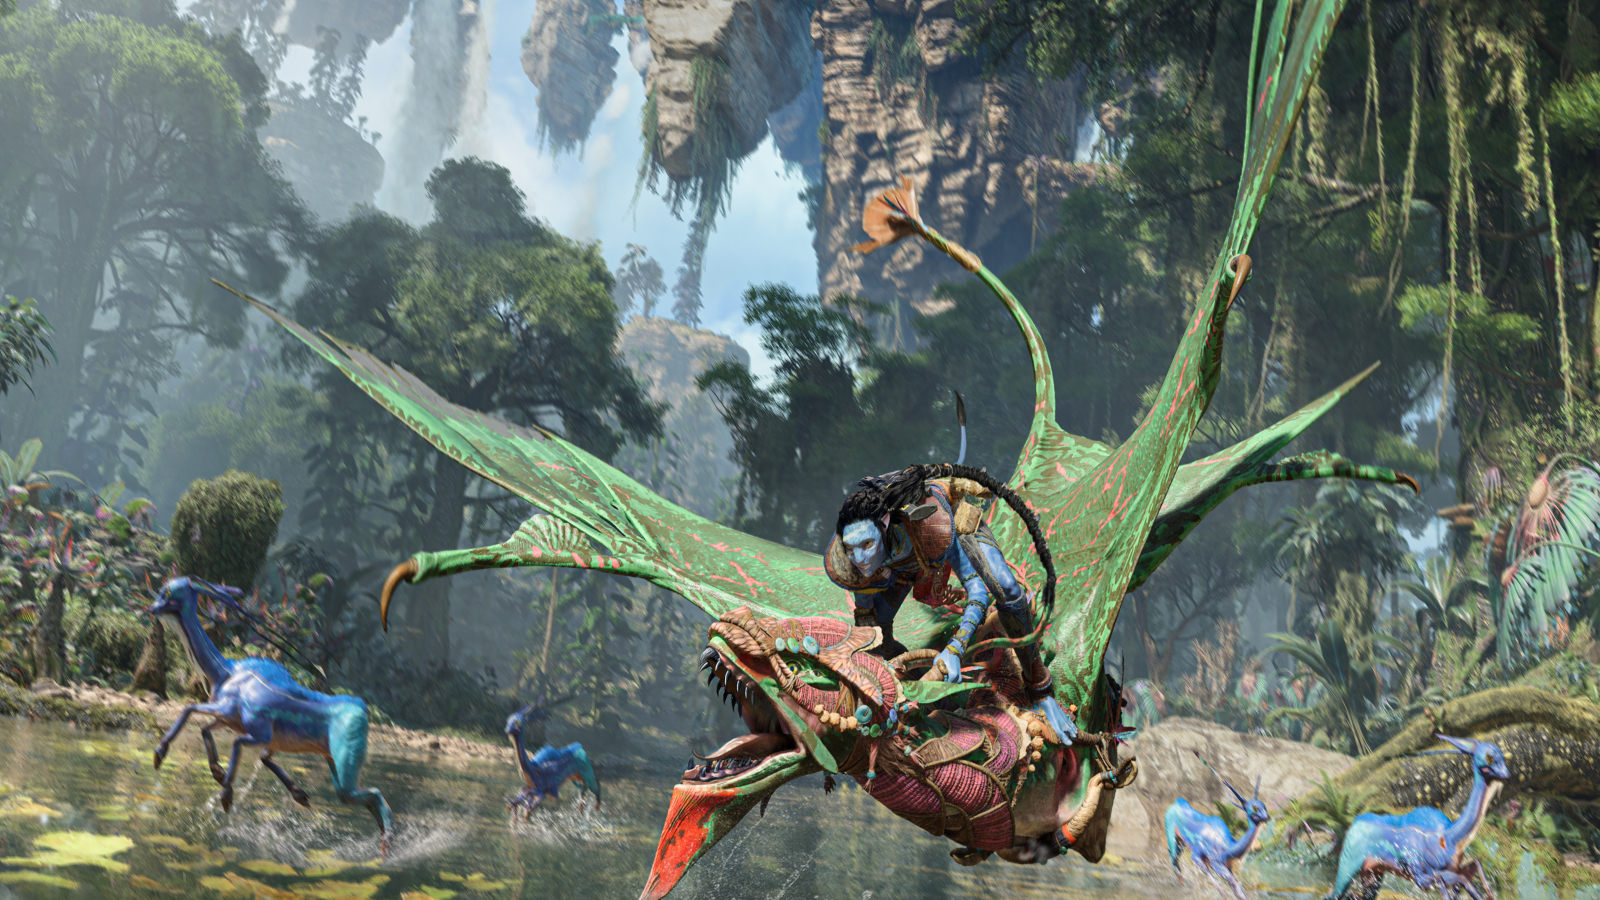
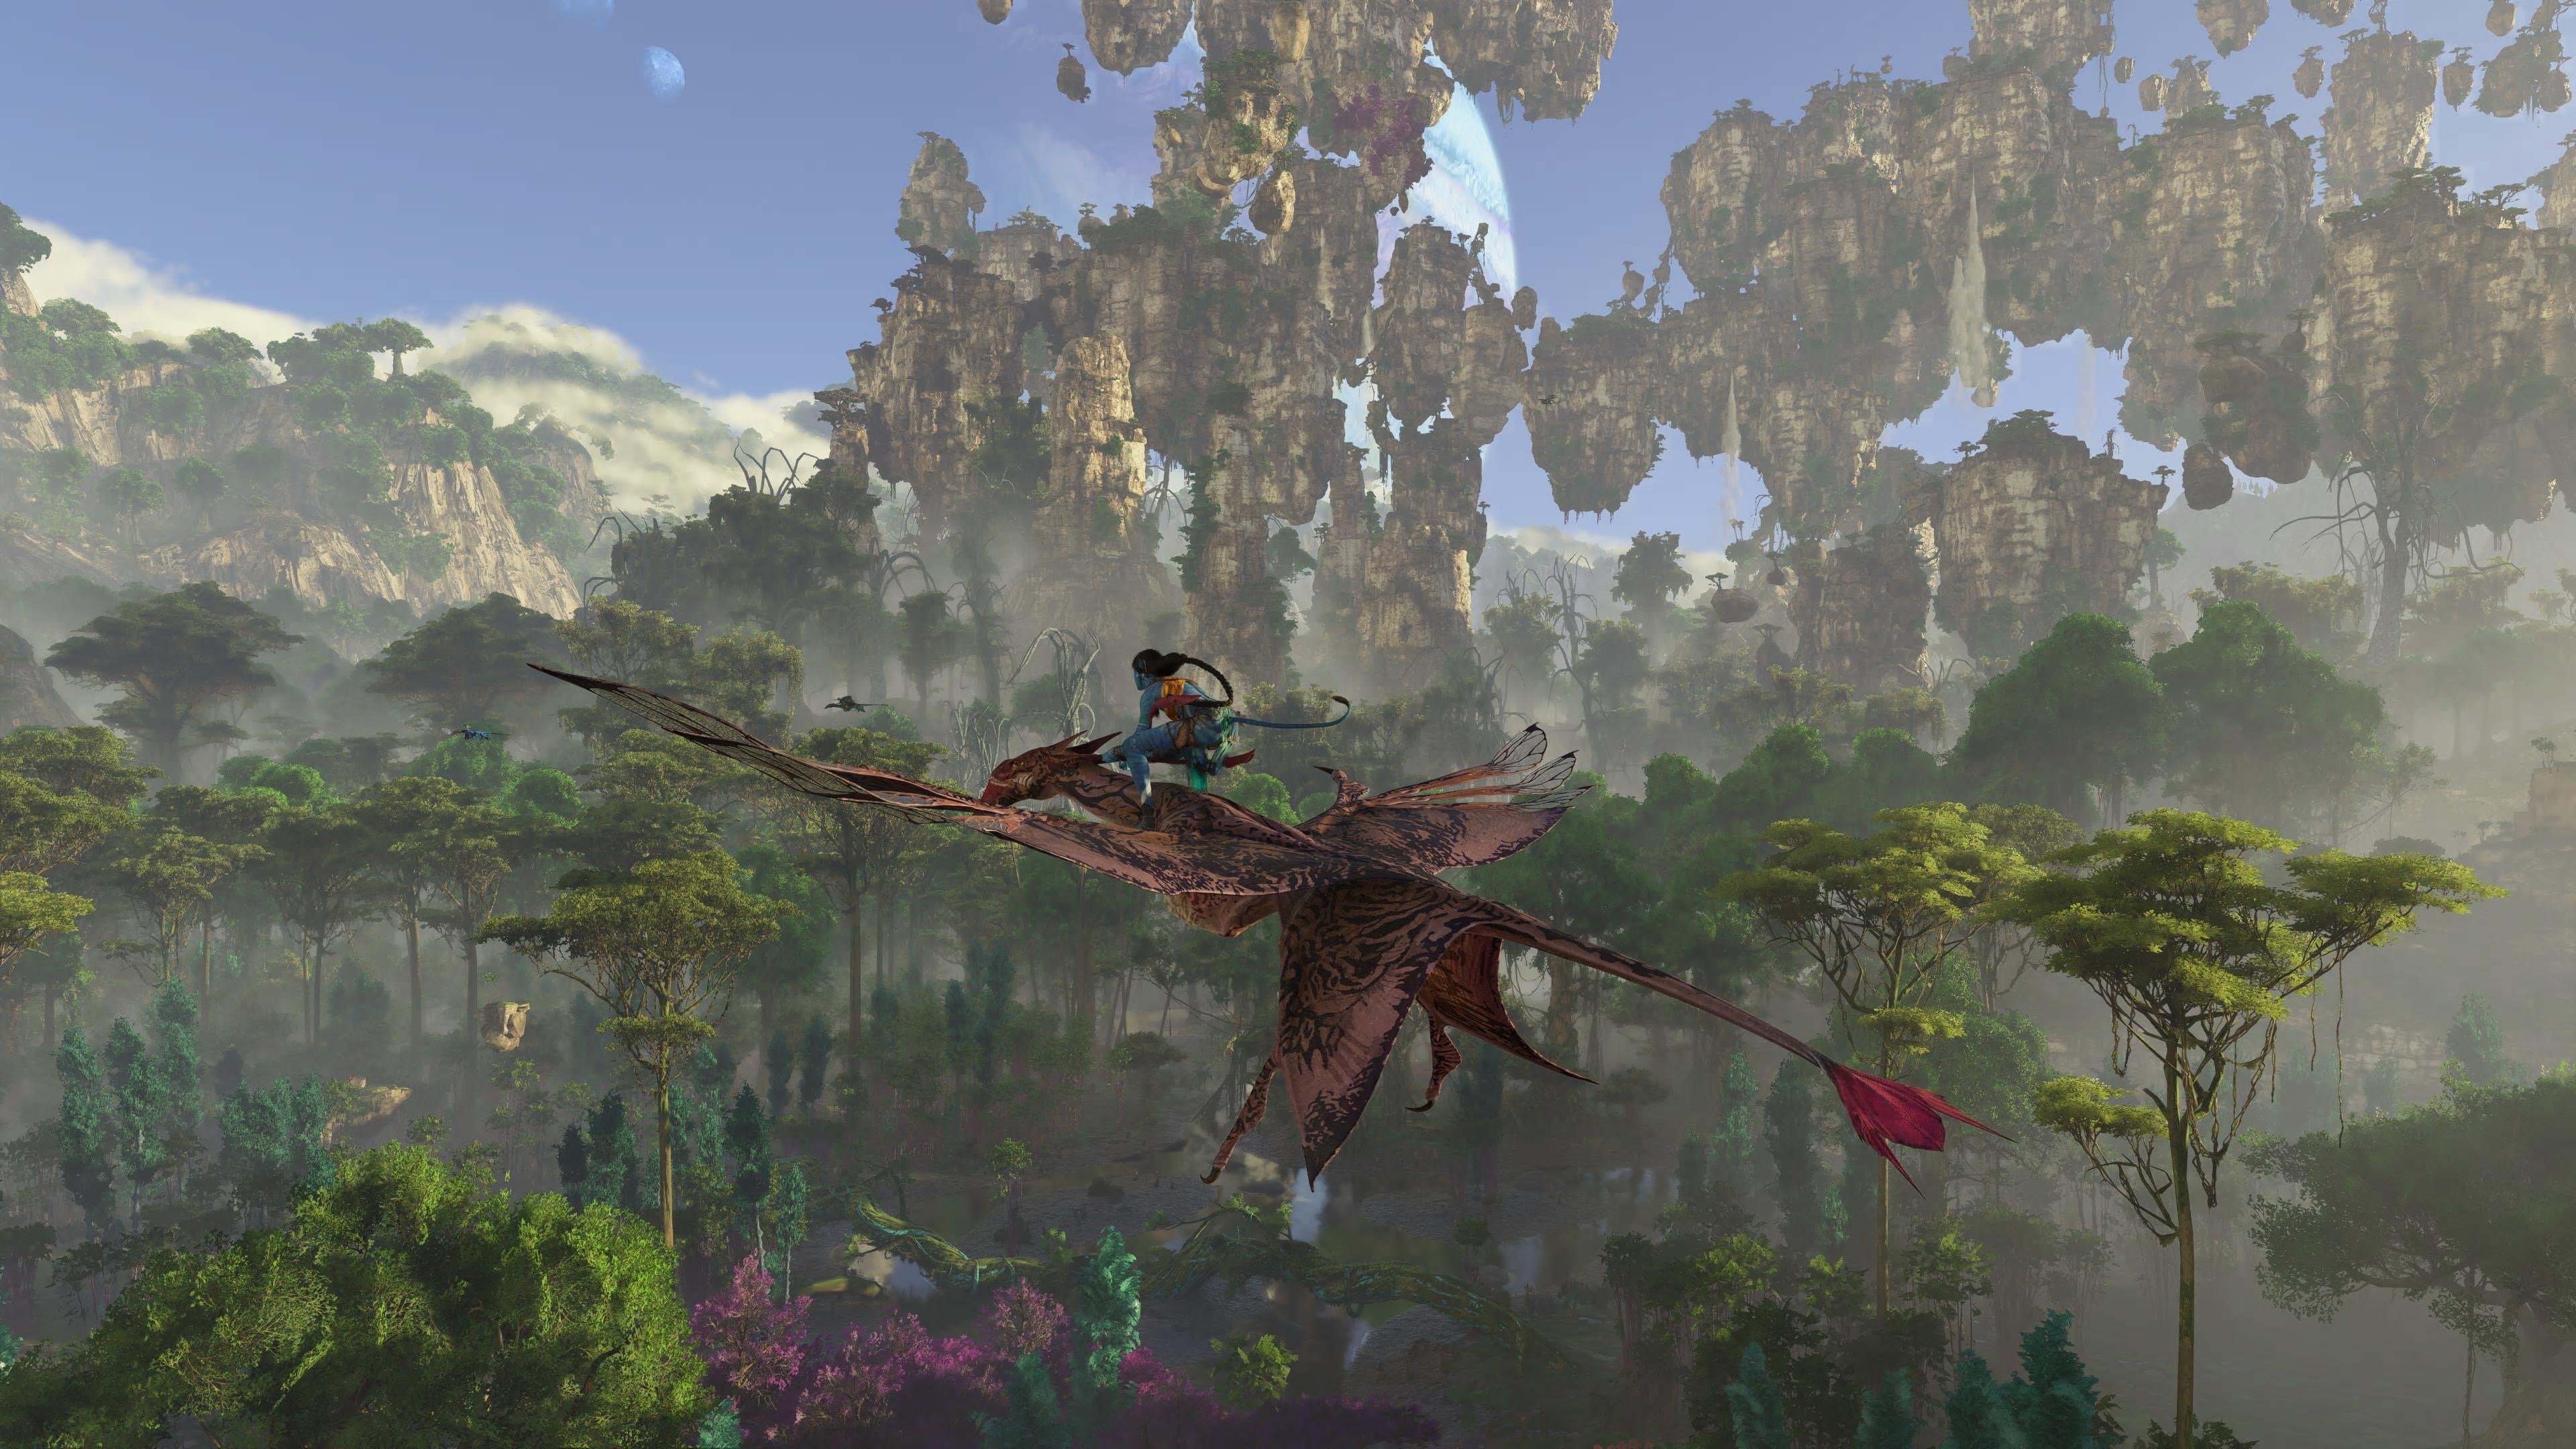
Games continue to get more stunning and one of the most impressive-looking releases possibly ever is Avatar: Frontiers of Pandora.
This shouldn’t come as much of a surprise given just how impressive the Avatar films have looked, but even in a game setting this fantasy world will have you stunned on many occasions. With so much to explore, who doesn’t want to share their experiences with friends?
Fortunately, Avatar: Frontiers of Pandora has a photo mode so that you can capture those special gaming moments and even create a fresh new desktop wallpaper of the highest quality. So you can be ready to snap the most beautiful locations in the game, here is a step-by-step look at using Avatar: Frontiers of Pandora’s photo mode.
How to use photo mode in Avatar: Frontiers of Pandora

The good news is you can use photo mode at any time while playing Avatar: Frontiers of Pandora, and even better news is it’s extremely easy.
To use the Avatar photo mode:
- Open up the in-game menu
- Now press left to enter the System menu
- Choose photo mode
That’s it! Now you should have the freedom of the camera to take any shots you choose whether it’s you with friends or some of the stunning landscapes you’ll find around Pandora.
In photo mode, you’ve got all the controls you’d expect to zoom in and out, rotate and pan your camera to get the best angles. You can also remove the hud so none of Avatar: Frontiers of Pandora’s options get in the way of your new image.


Published: Dec 7, 2023 12:26 am