When you build an outpost in Starfield, you will immediately see a menu with tons of different building options, and this can, of course, feel daunting given the numerous resources you can harvest.
Luckily, Outpost Transfer Containers allow for seamless and hands-off resource acquisition, and utilizing them properly will save you tons of time.
What is an Outpost Transfer Container?
An Outpost Transfer Container enables you to transfer resources that have been harvested from an outpost directly to your ship without having to leave the cockpit.
This is not just a quality of life or convenience thing—imagine carrying 400kg of Tungsten to your ship’s cargo hold manually. Any resources stored in your ship are counted as being in your inventory when you access a Workbench of any kind in Starfield. However, resources from outposts are not. If you’re serious about developing a decent resource line from outposts, then Outpost Transfer Containers are an absolute must.
If you’re very serious, you can even build links between different outposts that allow you to transfer resources to and fro, meaning you can pick up all your resources in one stop. Let’s not get ahead of ourselves, though.
First things first—the Transfer Container.
How to build an Outpost Transfer Container
There are a few steps that you need to complete in your Outpost before you can start working on a Transfer Container. While you complete the requirements, you should also make sure that you have the materials needed to get a Transfer Container in your Starfield Outpost.
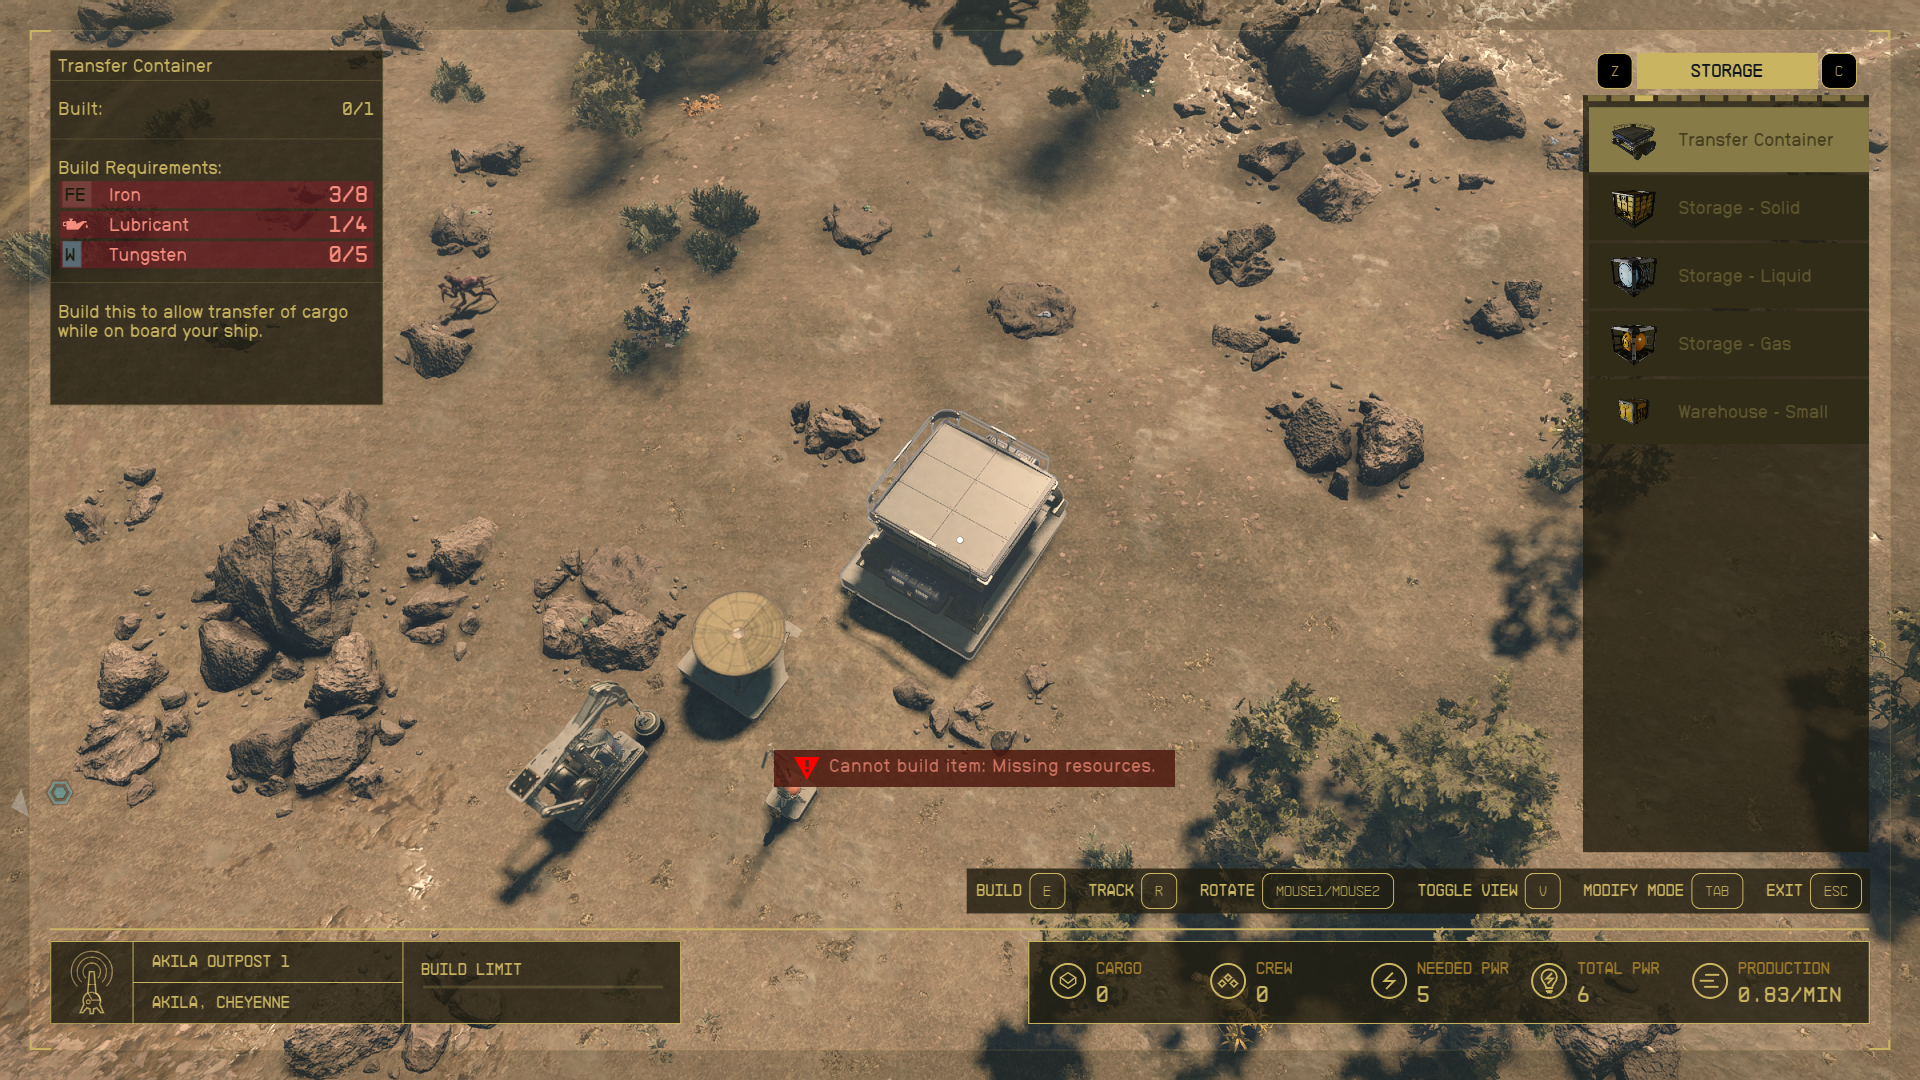
To build a Transfer Container, you will need:
- Iron (eight)
- Lubricant (four)
- Tungsten (five)
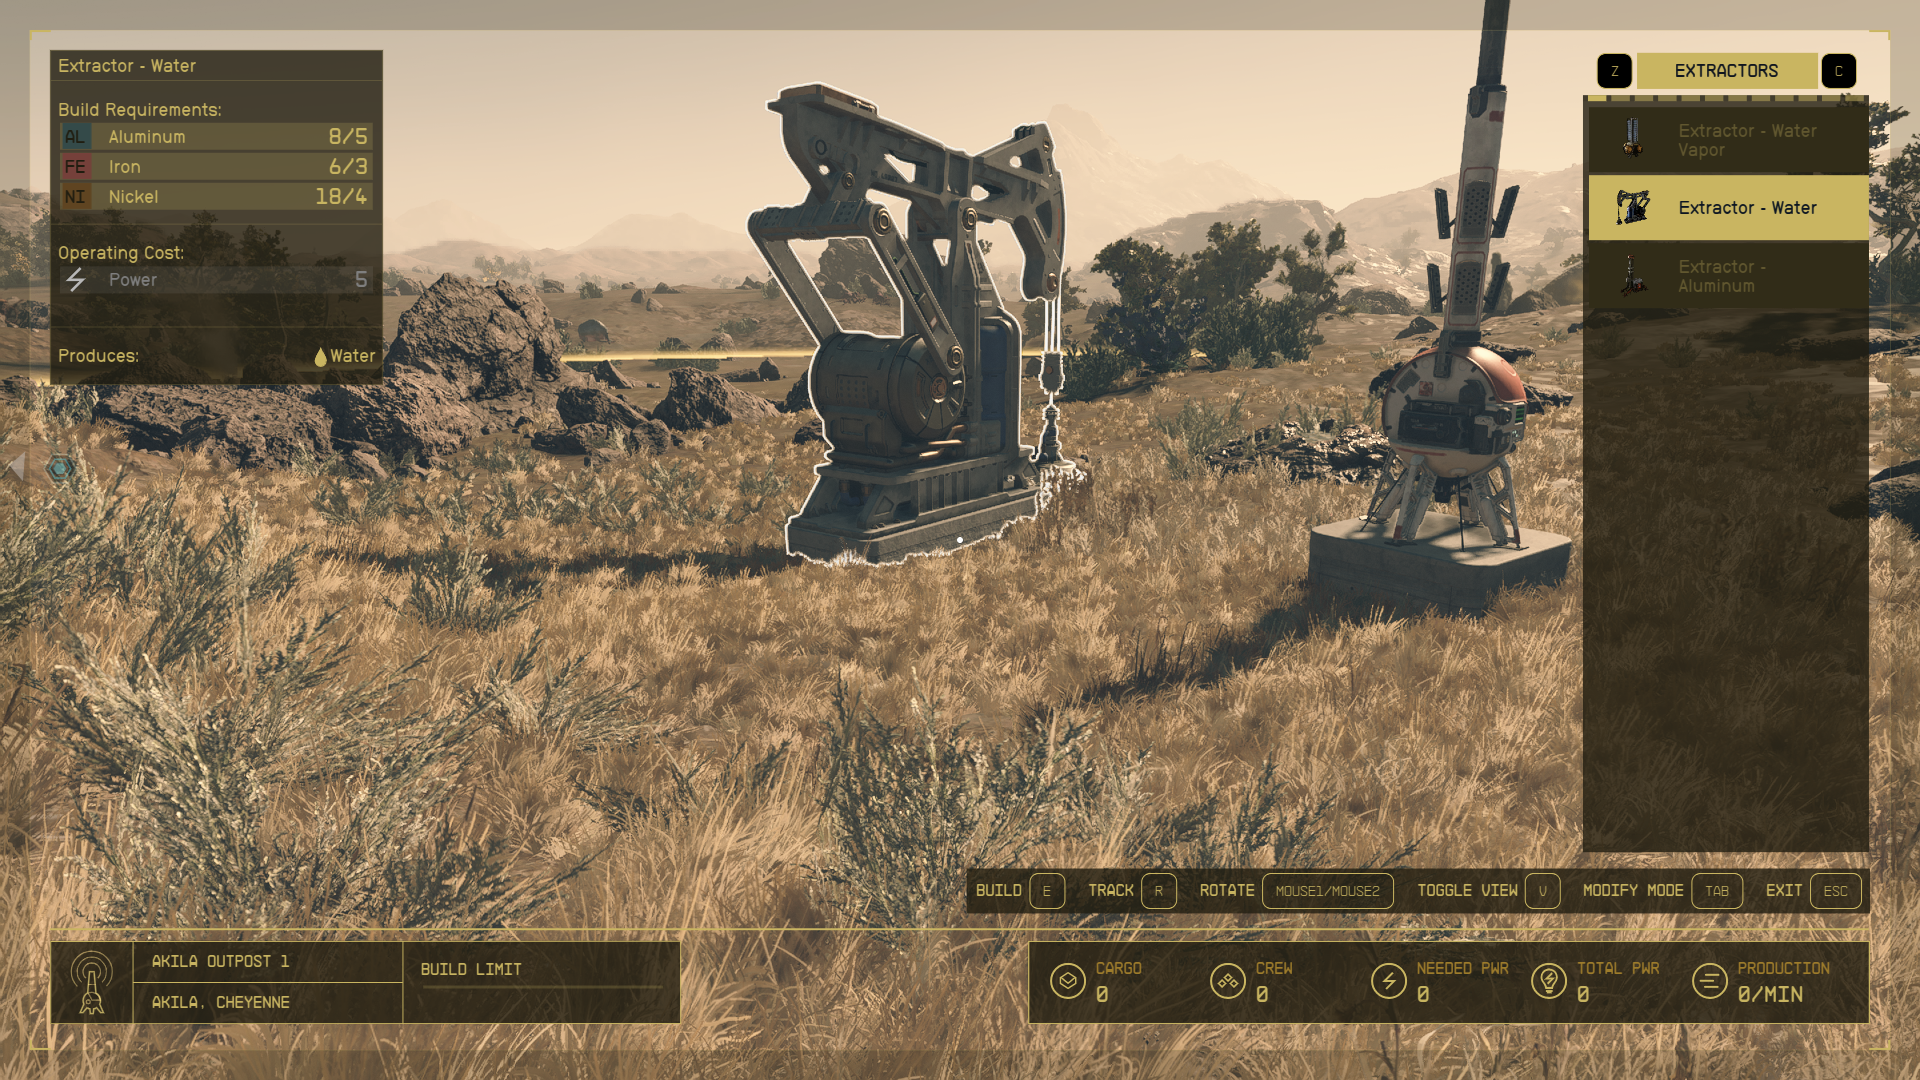
Before building an Outpost Transfer Container, you’ll need an Extractor. There are tons of different Extractors, but thankfully, only relevant ones will appear in the build menu. Each Extractor requires different resources to build.
Next, your Extractor needs to be powered. There are tons of different power sources you can build, and different Extractors will require different amounts of juice. Hovering over it will display a numerical requirement for power. Tab over to Power in your building menu, and build any power source that reaches or exceeds this number. You do not need to connect your power source to your Extractor in any way, as power will automatically flow between the two.
Now, we just need to build a Transfer Container and connect it to our Extractor. Find the Storage tab and select the first option.
These resources should not be difficult to obtain and can be bought in almost any city or found on many different planets. While you have the Transfer Container highlighted, you can press R to track the required resources, which will highlight them whenever you encounter them, so you won’t have to keep double-checking what it was you needed.
Once you’ve created your Transfer Container, you must connect it to your Extractor before it can be used. Doing so is very simple, which means it’s very easy to forget. Highlight the Extractor and select Create Output Link. A red line will appear. Point the line to the Transfer Container, which will turn the line green. Once it’s green, select Create Output Link again, and you’re all set.
You should now be able to utilize the Transfer Container from your ship’s cargo hold. If you cannot, and you’ve double-checked that you’ve built everything correctly, it means that your ship is too far away.
It is unlikely, but the Landing Point for the outpost may be too far away for your ship to access the Transfer Container. To avoid this happening, I landed my ship in an area before building an outpost there so I could preview the distance.
If you’ve already built an outpost and don’t want to start over, you can simply build a Landing Pad near the Transfer Container. Doing so will require eight Aluminum and 40 Iron. The necessity for Landing Pads can be avoided altogether by building near Landing Points, but they will allow for greater freedom in Outpost locations.
How to use an Outpost Transfer Container?
Right, so you’ve got your Transfer Container, you’ve got your ship, you’ve got your 1000 kilograms of Iron sitting in an Extractor. Now what?
To actually utilize an Outpost Transfer Container and transfer resources directly from an Extractor to your ship’s Cargo Hold, follow these simple steps:
- Land your ship at the desired outpost.
- Stand up, but do not exit your ship.
- Open your ship’s Cargo Hold inventory (there is a terminal in your ship’s cockpit to do so. In The Frontier, it is just behind the captain’s chair on the left).
- If your ship is docked at an outpost with an Outpost Transfer Container, you can now swap between your ship’s inventory, your own inventory, and the outpost’s inventory.
- You can transfer specific items from your outpost to your ship by selecting them or transfer all resources by following the in-menu prompt.
If you’ve landed at an outpost, opened your cargo hold, and don’t have the option to access your outpost’s inventory, it is most likely caused by a lack of power, a lack of an Output Link, or your ship being too far away from the Outpost Transfer Container.
How to transfer items from ship to outpost in Starfield
Once you set up your Transfer Container in your outpost, you’ll be able to transfer items from your ship to your outpost in Starfield. This process won’t be available right away, however, since you’ll also need to build a Landing Pad first.
After building your Landing Pad, follow the steps below to start transferring items from your ship to your outpost.
- Land on your Outpost and go to your Transfer Container.
- Choose Transfer.
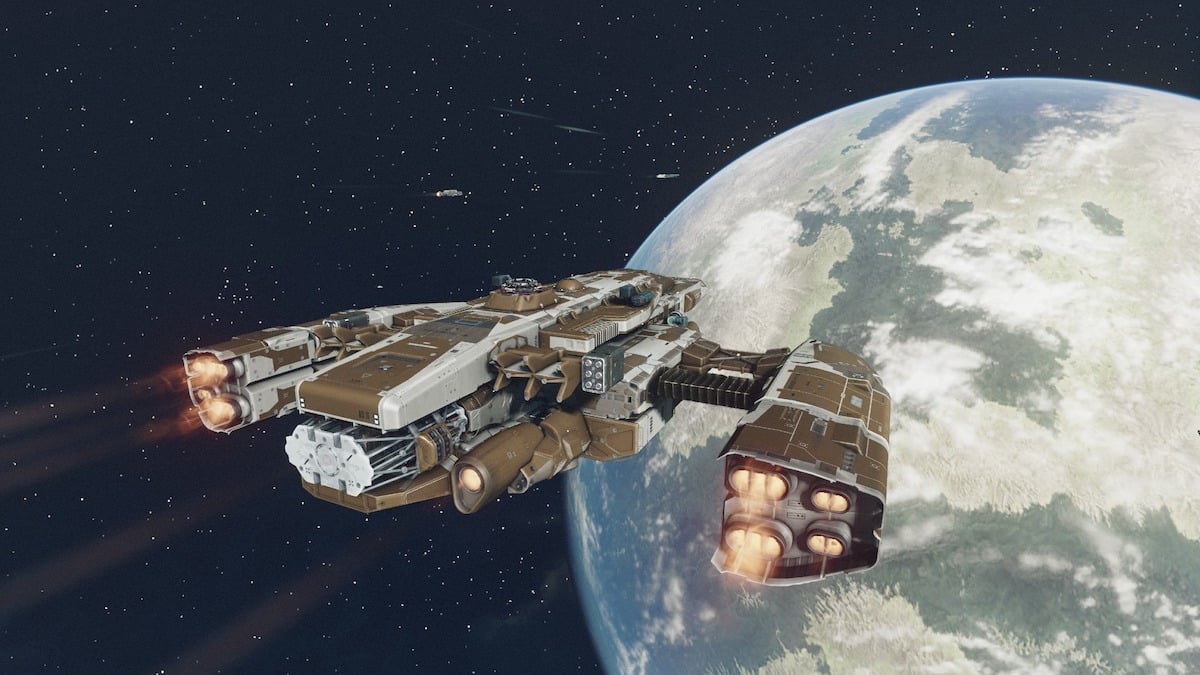
- Select your Ship (Razorleaf in my case).
- After switching to your ship, choose an item and select Transfer Container.
Streamlining your Outpost operations in Starfield will save you time by ensuring you get the most amount of resources with little to no effort. Transferring resources between Outposts and connecting Outposts with Cargo Links in Starfield will be your key to becoming the richest adventurer in space.


Published: Sep 9, 2023 03:09 pm