The third Mega Token in Roblox The Hunt is located in PRESSURE. If you already have the previous two Mega Toakens, you’re in the right place. Here’s a complete guide on How to get PRESSURE Mega Token in Roblox The Hunt.
Table of contents
PRESSURE Mega Token Pre-requirements

Before you even attempt to get this rather difficult token, make sure you have the mage tokens from the following The Hunt games (in order from top to bottom):
- SpongeBoB Tower Defense Game
- Untitled Tag Game
If you don’t have the Mega Tokens from both games (from top to bottom), you won’t be able to find the PRESSURE Mega Token. If you have the two tokens, then you can continue reading.
How to find PRESSURE Mega Token in Roblox The Hunt
Finding the PRESSURE Mega Token consists of three parts:
- Finding four notes (in the game’s lobby before even entering the main game)
- Decoding Radio signals (First game)
- Finding 30 Intensity Increase items (Final Game)
Finding the lobby notes is easy, but then the game kicks the… ahem… PRESSURE to 11 (at least, until you learn what you need to do, and mentally prepare yourself). You do have checkpoints after each part, though, which is nice. Honestly, the first time we tried this, it seemed impossible, but after some practice, getting the Mega Token only became a matter of time.
After you finish the first game, you get to the second, shorter part of the game. While the second part is more difficult, if you make it past the first one, you’ll likely finish the second one to and grab that Token.
This isn’t easy, and you will die a lot. Just remember, the more you play, the better you’ll get. Try not to worry too much, and take occasional breaks if you need to.
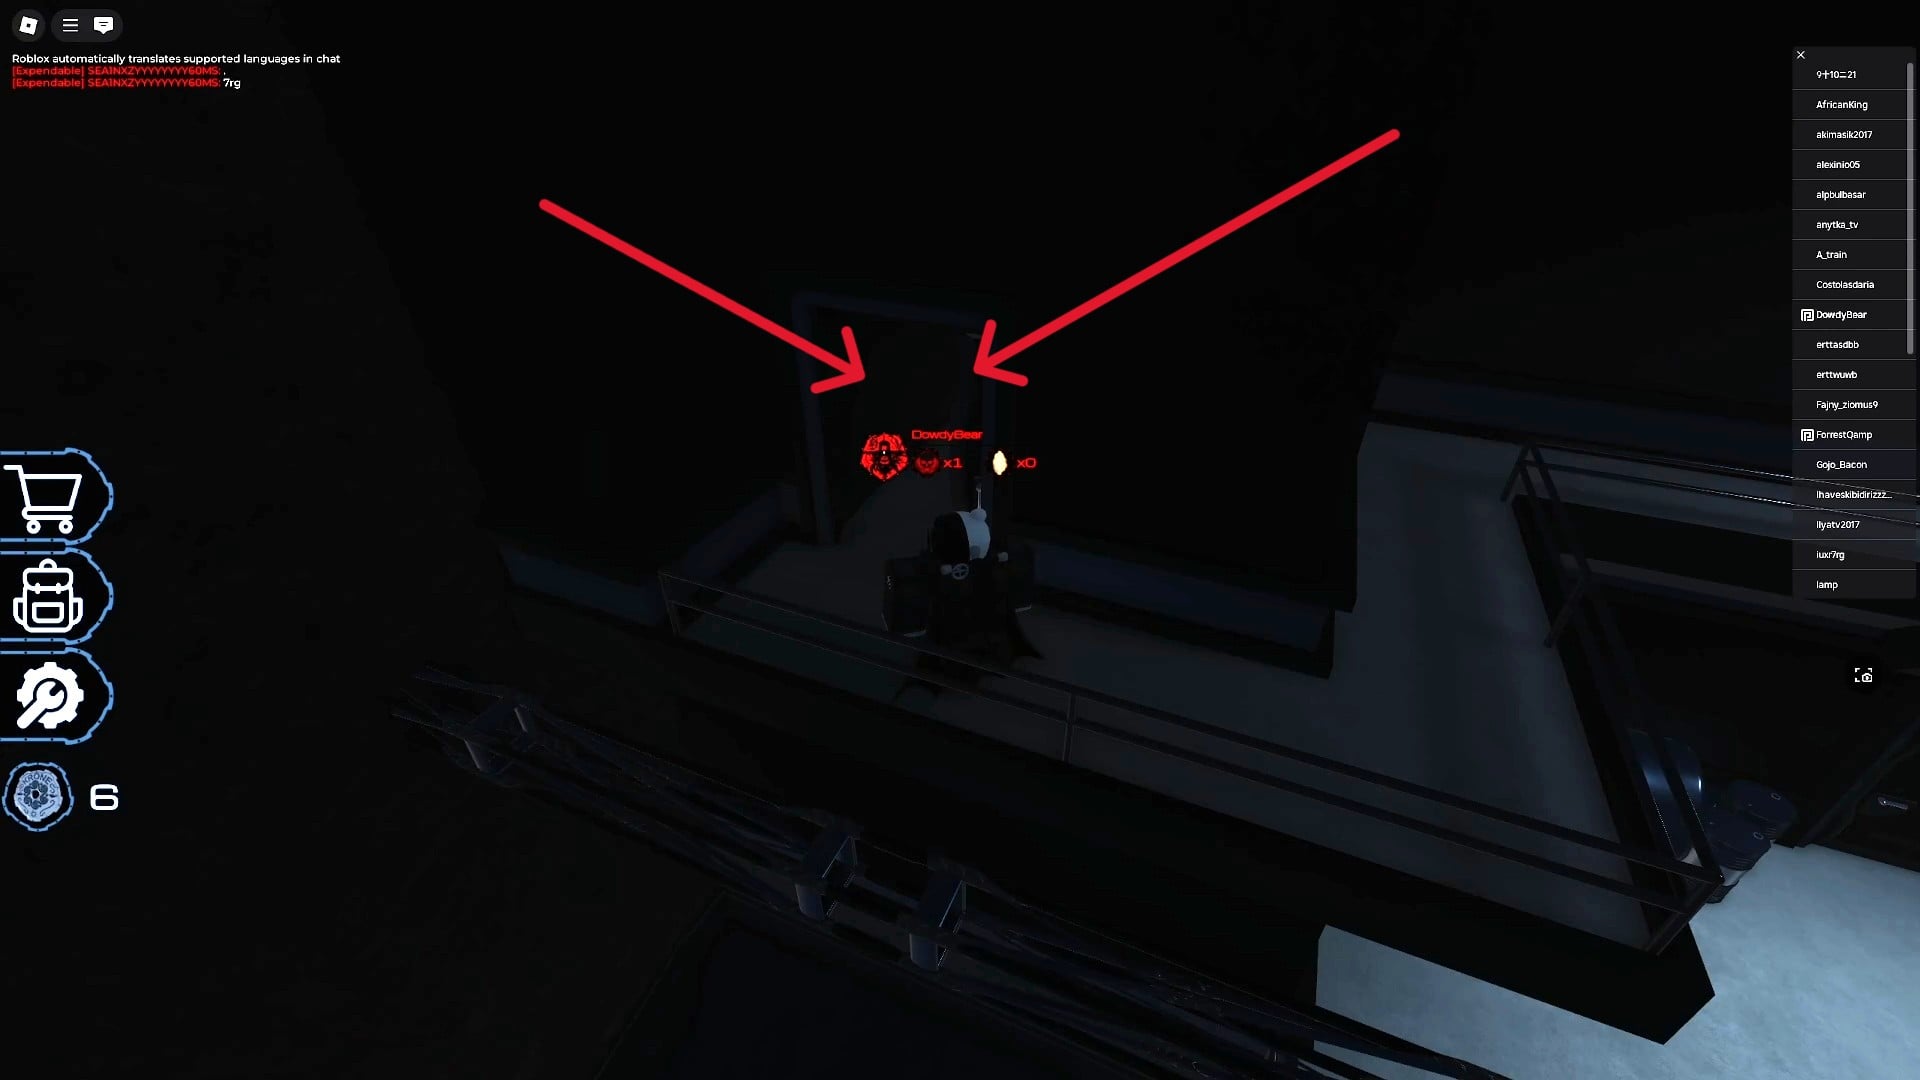
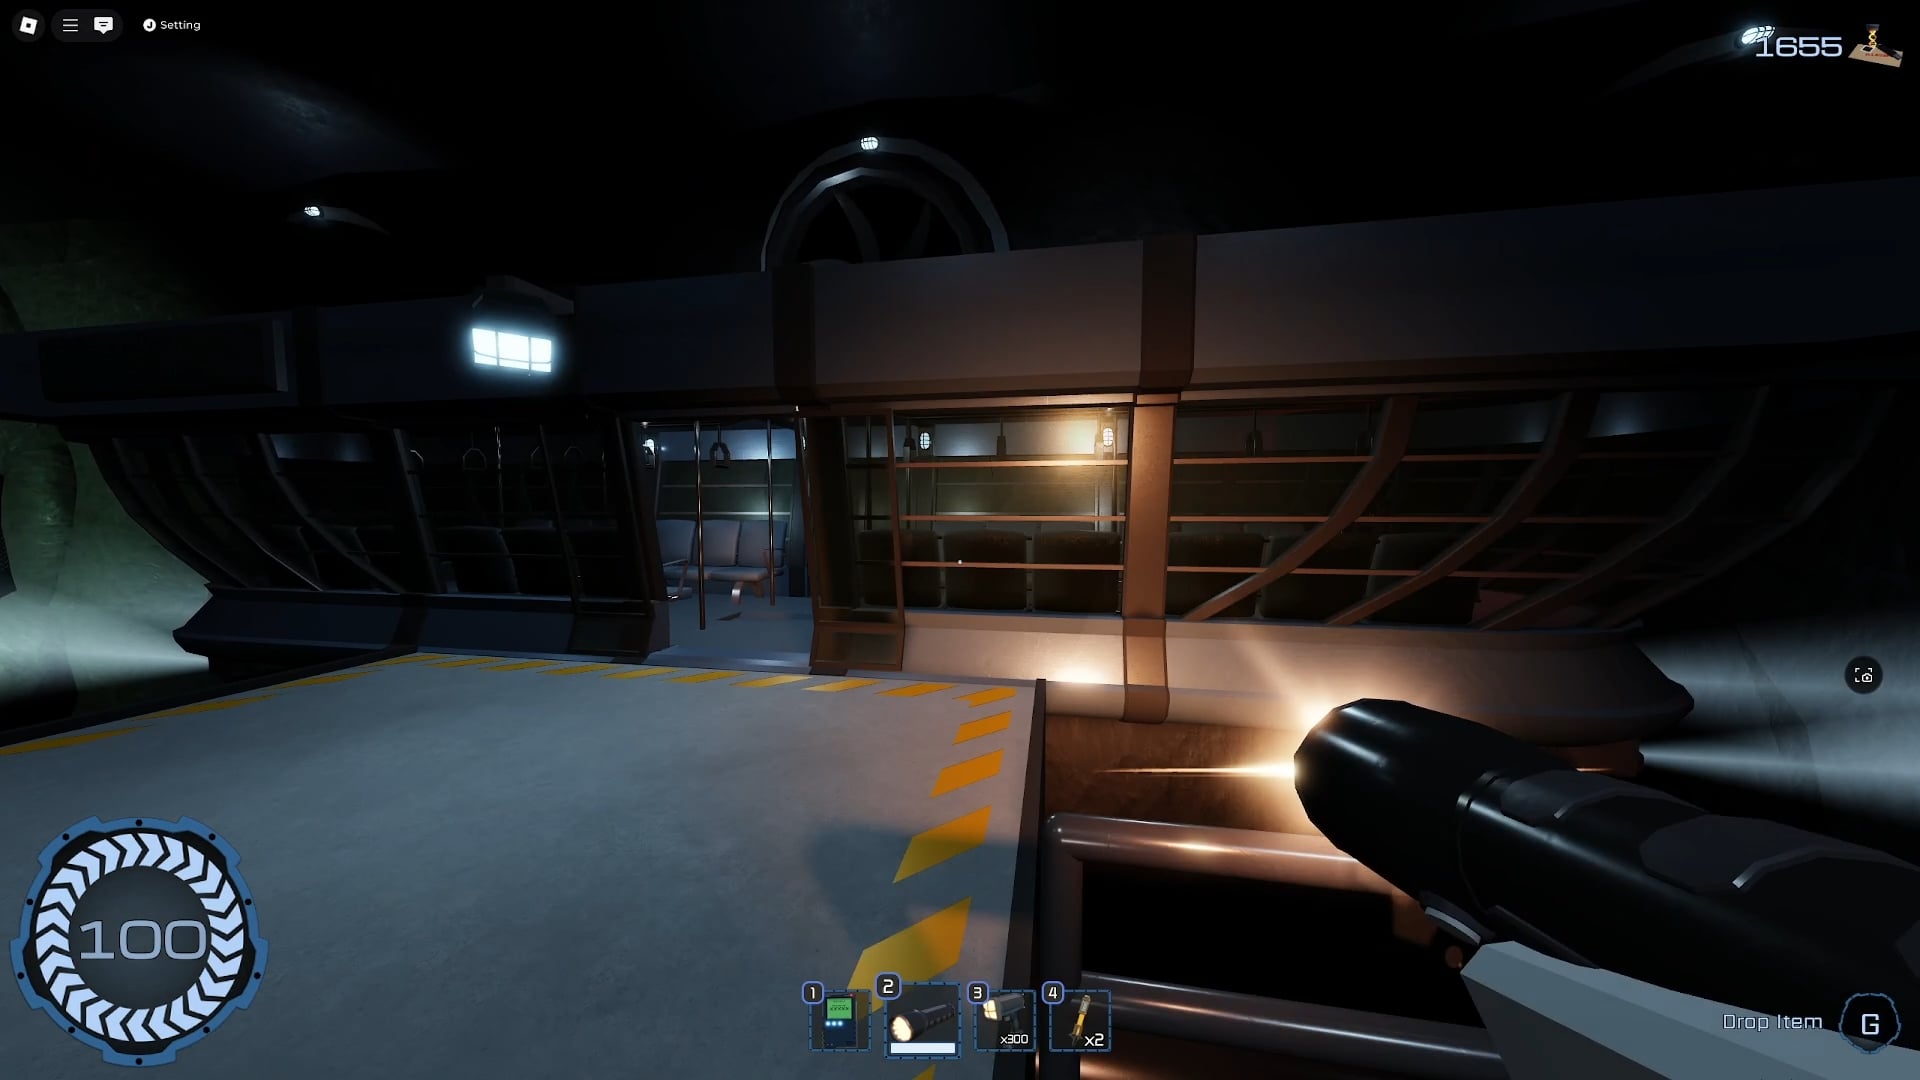
PRESSURE Game Lobby Notes locations
When you log into PRESSURE through The Hunt lobby, you’ll get a chance to spawn from The Hunt event. Pick this option. Make sure you write down (or screenshot) all the codes from the notes you collect. From this point, we’ll guide you to each of the four codes:

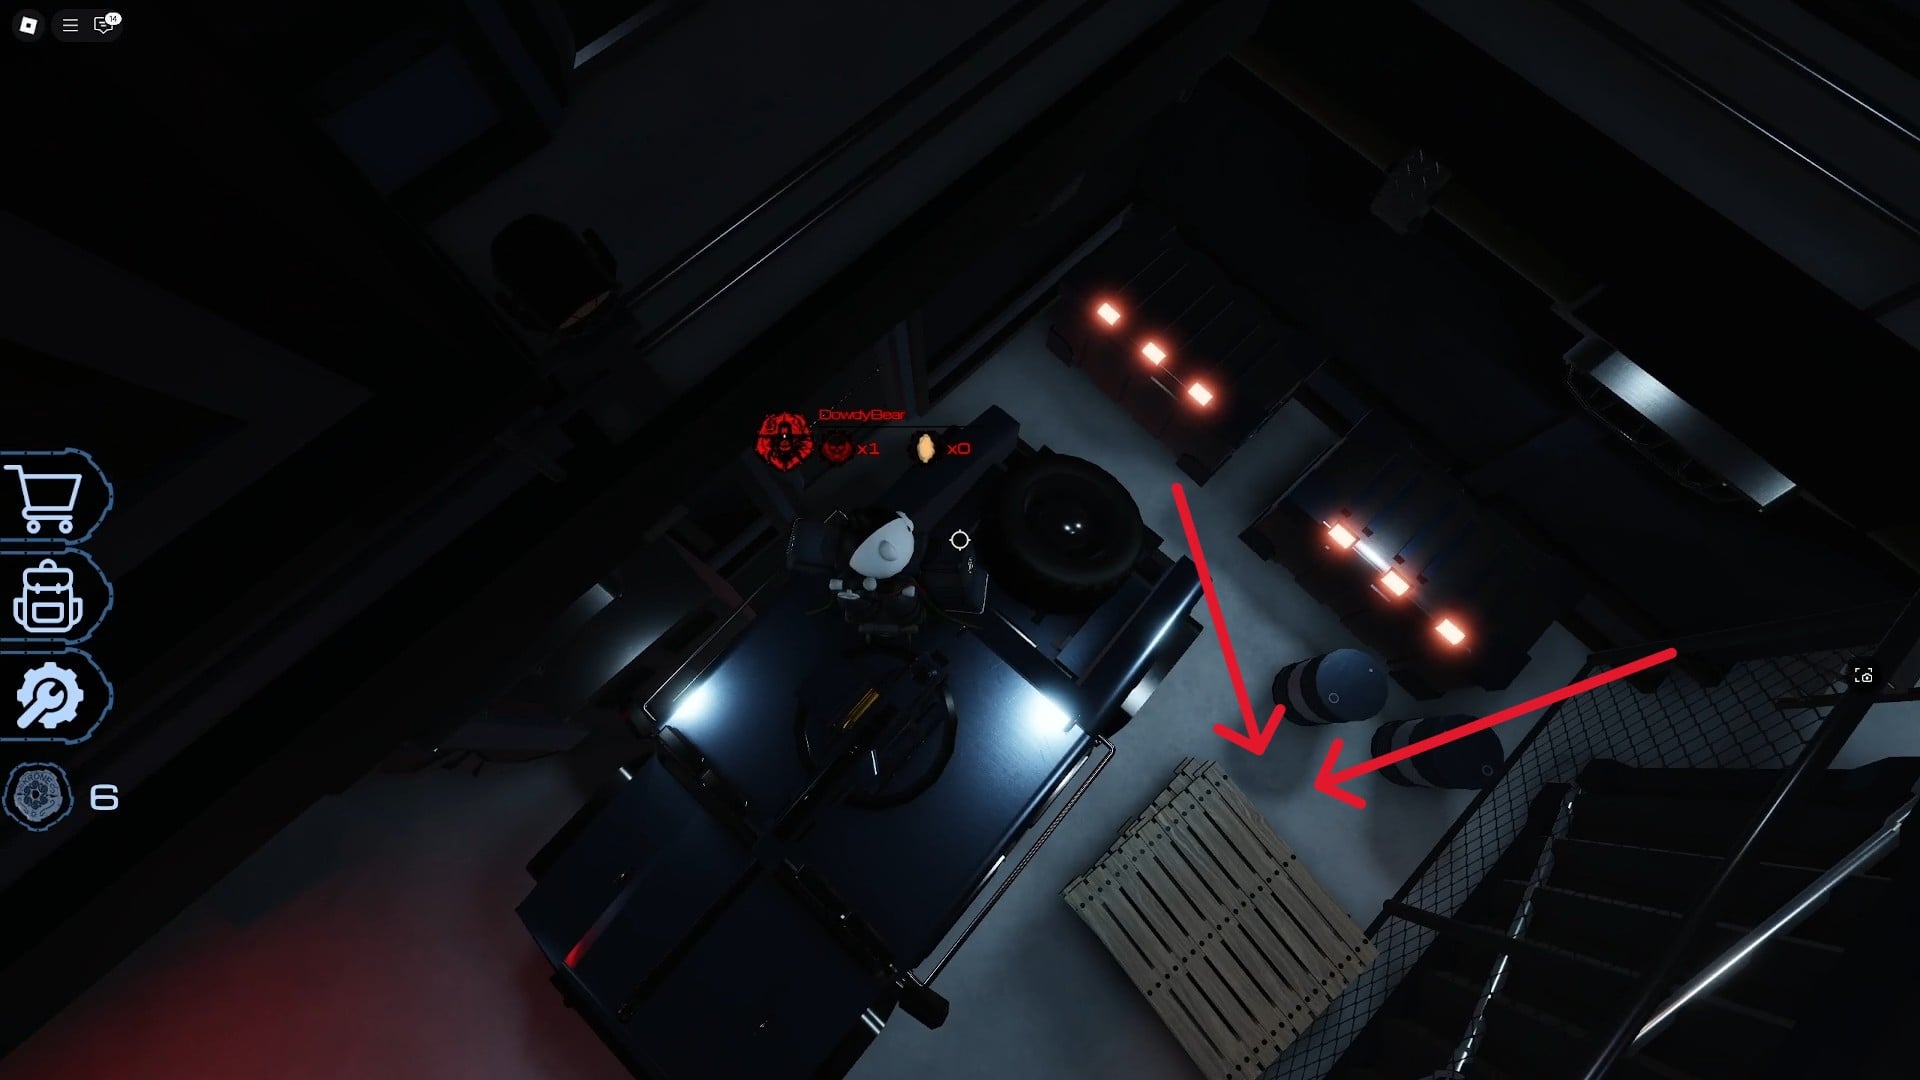

- First note: From the Hunt spawn, go to the left and climb up to the catwalk. From there, either take a walk along the metal pipe holding the lights or the opposite catwalk all the way to the other end of the room. There is a door at the very end. Inside the door is a nightstand, and the note is on top of it
- Second note: From the Hunt spawn area, walk towards the main spawn area (there should be a lot of players standing there). Inside, look for a neon green sign that says “Endless”. Enter the door and immediately turn left. A note is hidden behind a truck between a box and the wall.
- Third note: From the Hunt spawn area, walk towards the main spawn. From there, follow the purple line. When the purple line turns diagonally towards the left, keep going straight towards a fenced area. Check behind a vehicle inside this area, and you can spot the third note.
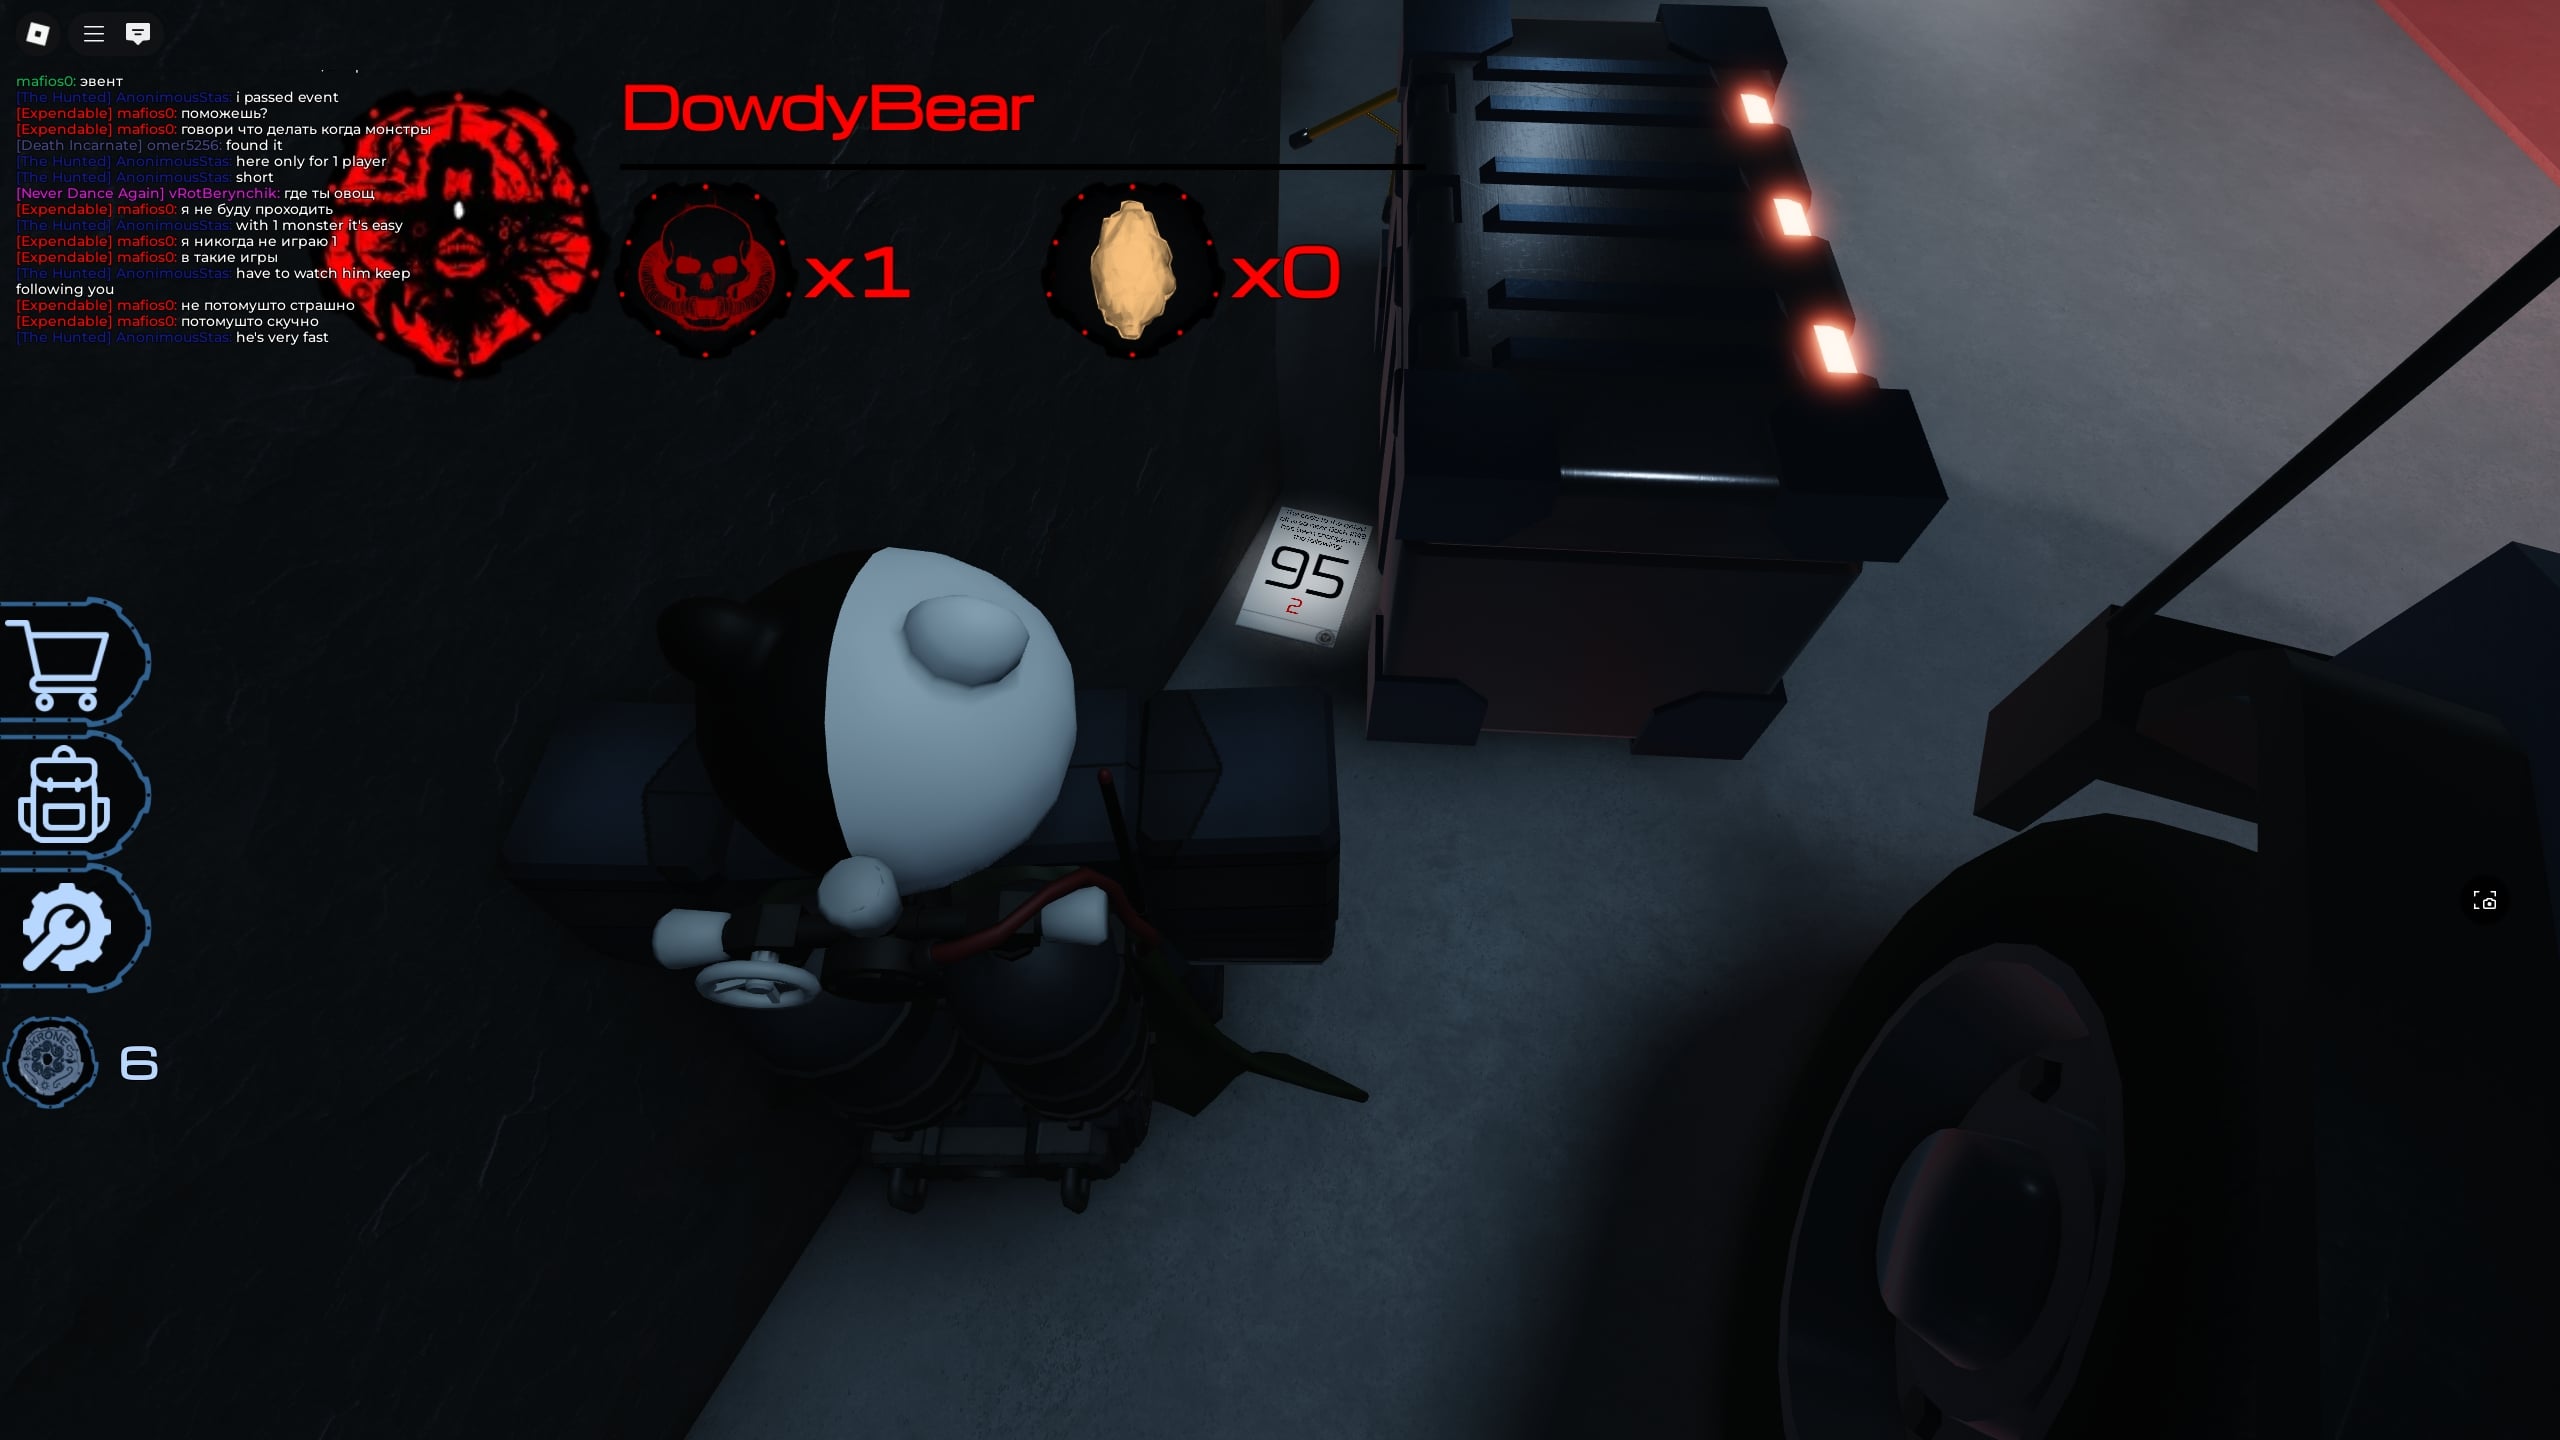
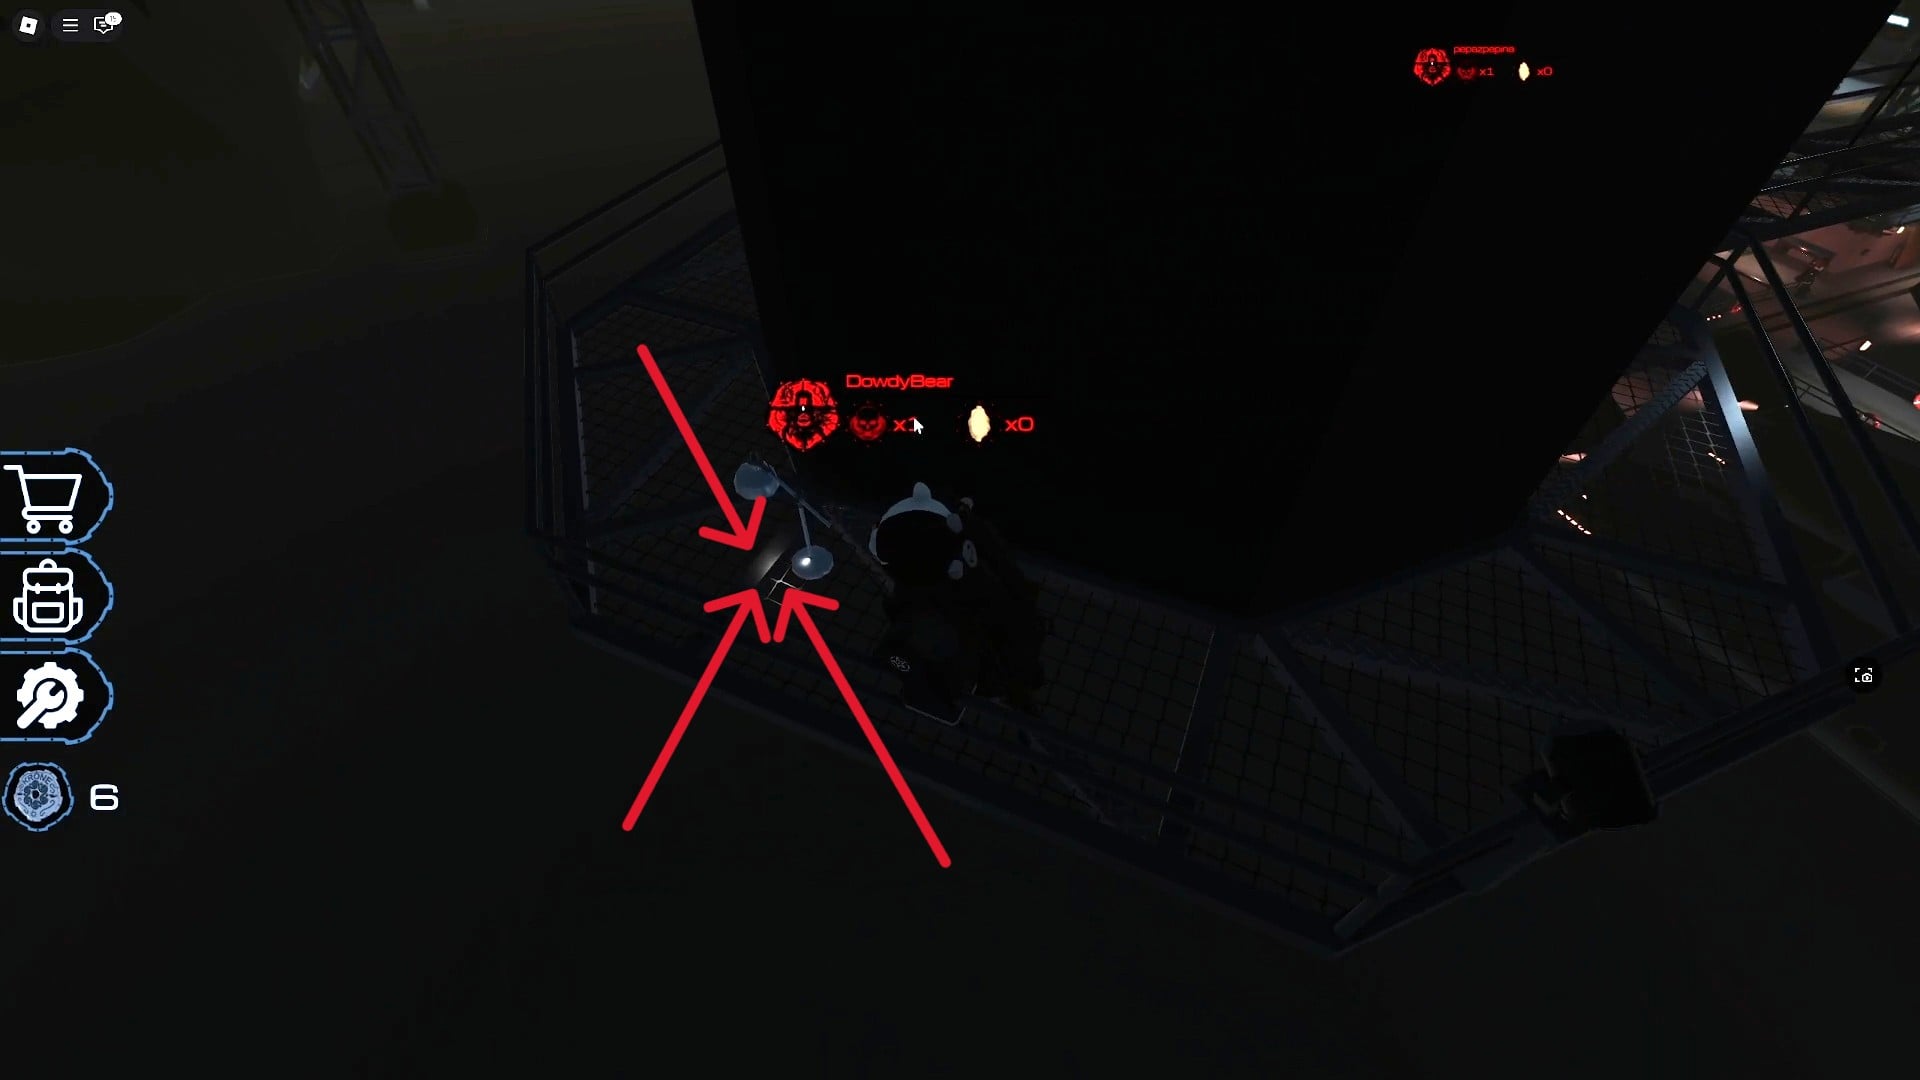
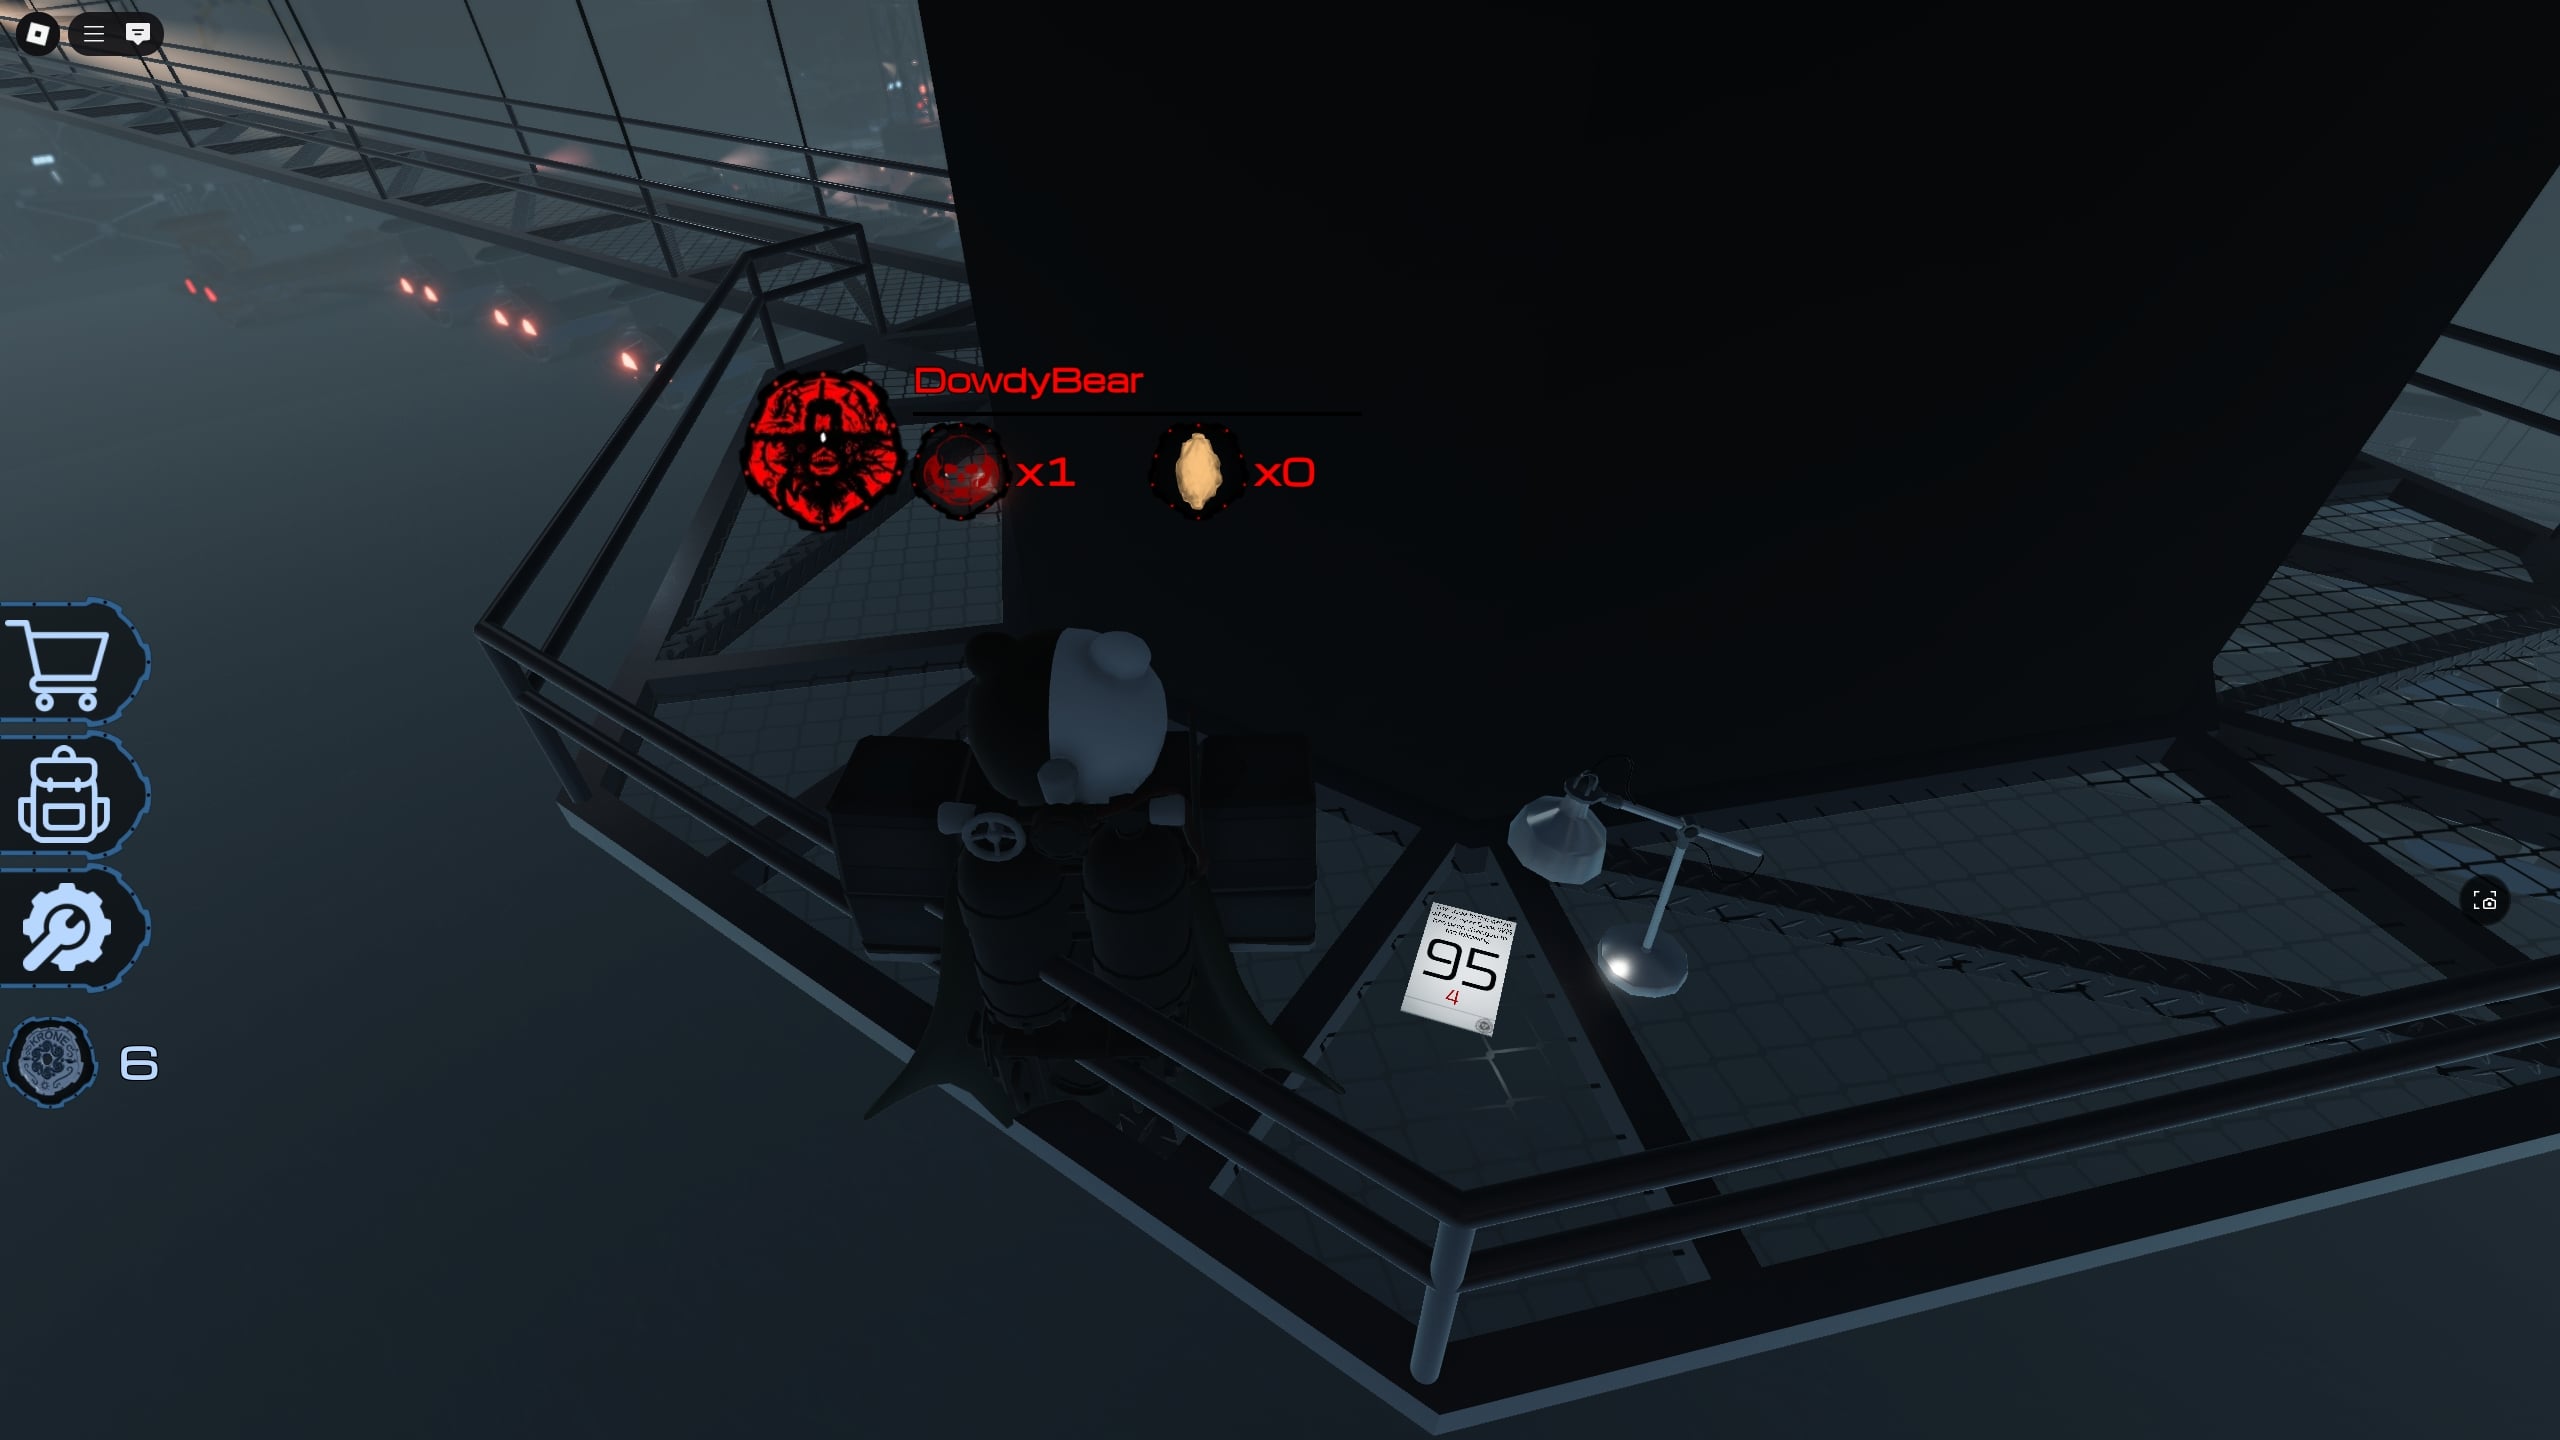
- Fourth note: This one is pretty easy. Head to the main spawn area and follow the red line (the one that leads downstairs). When you get down, look for a neon green sign that says “Lower Level Funnel”, and go inside through the dark door. When you exit the other side, you’ll be on a catwalk. Walk all the way on the catwalk to the pillar in the distance. A desk lamp on the floor is just behind the pillar, illuminating the final note.
Decoding Radio Signals
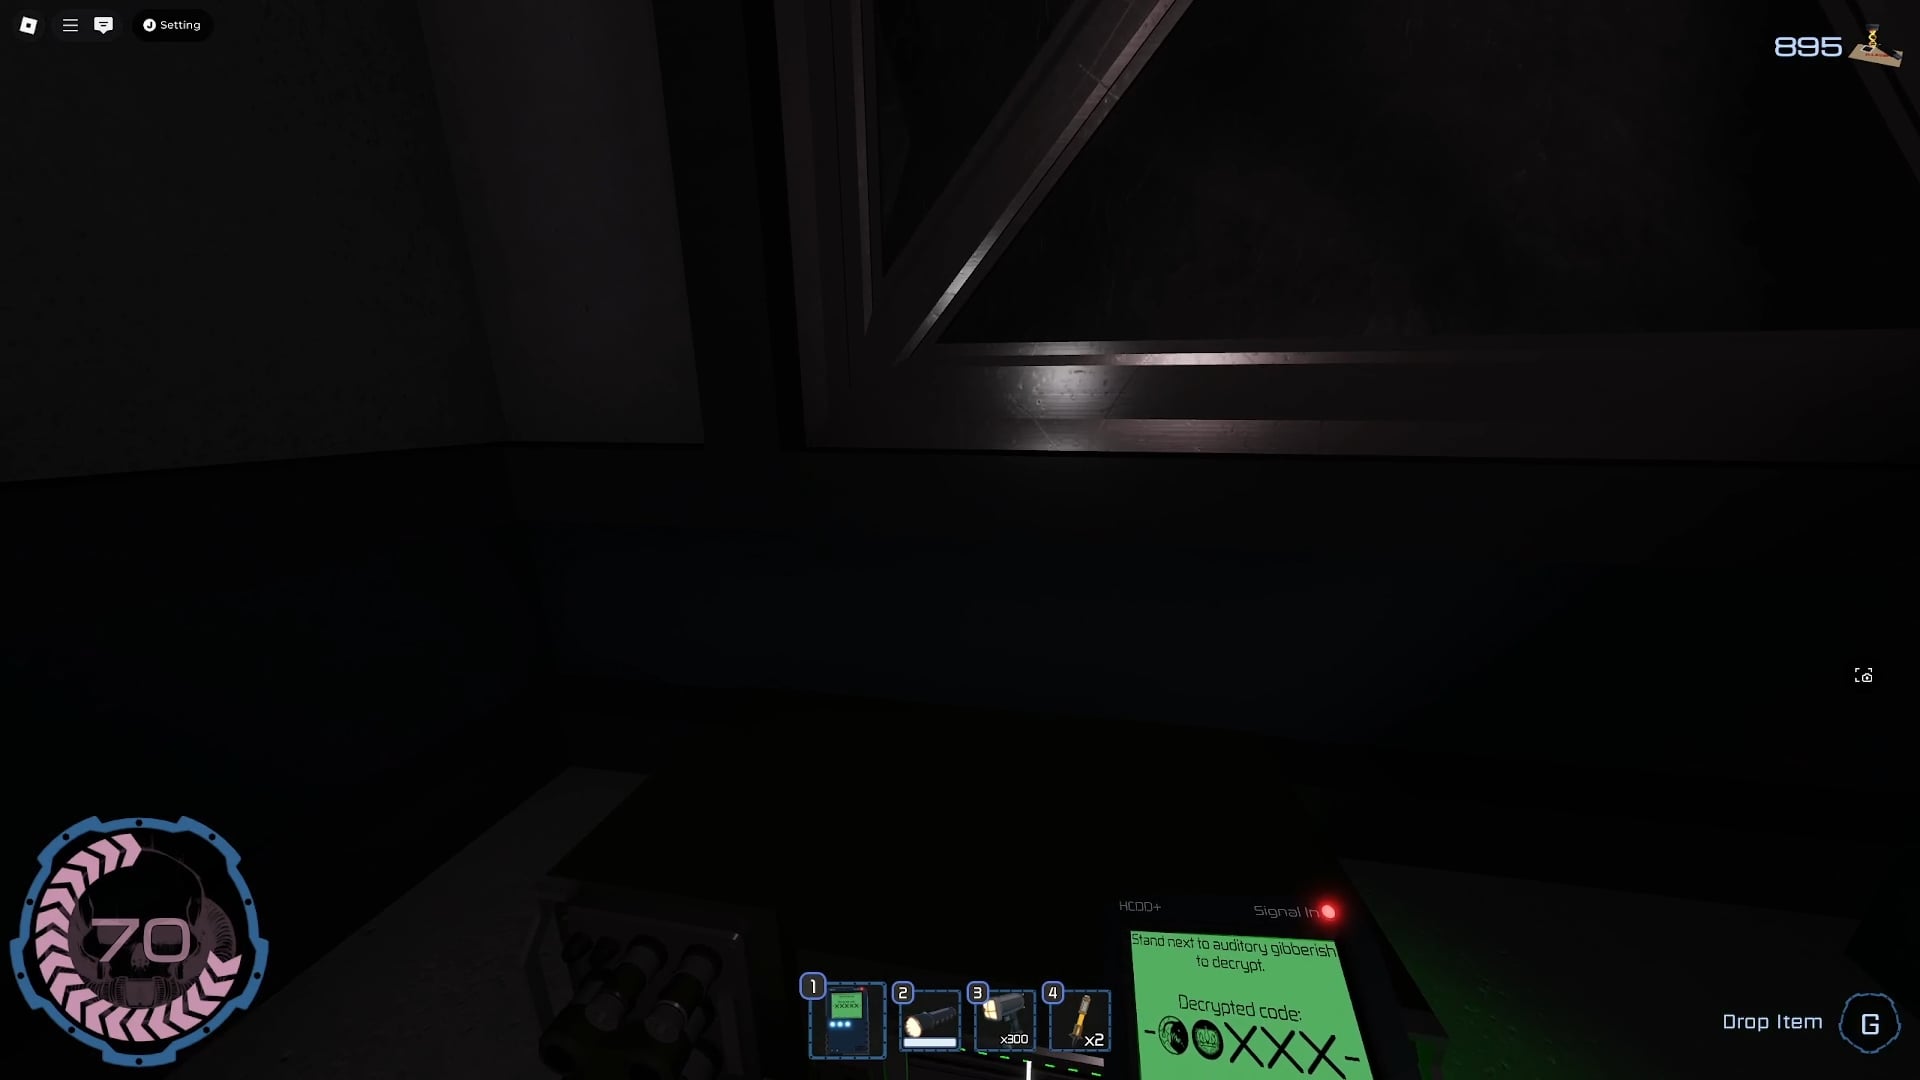
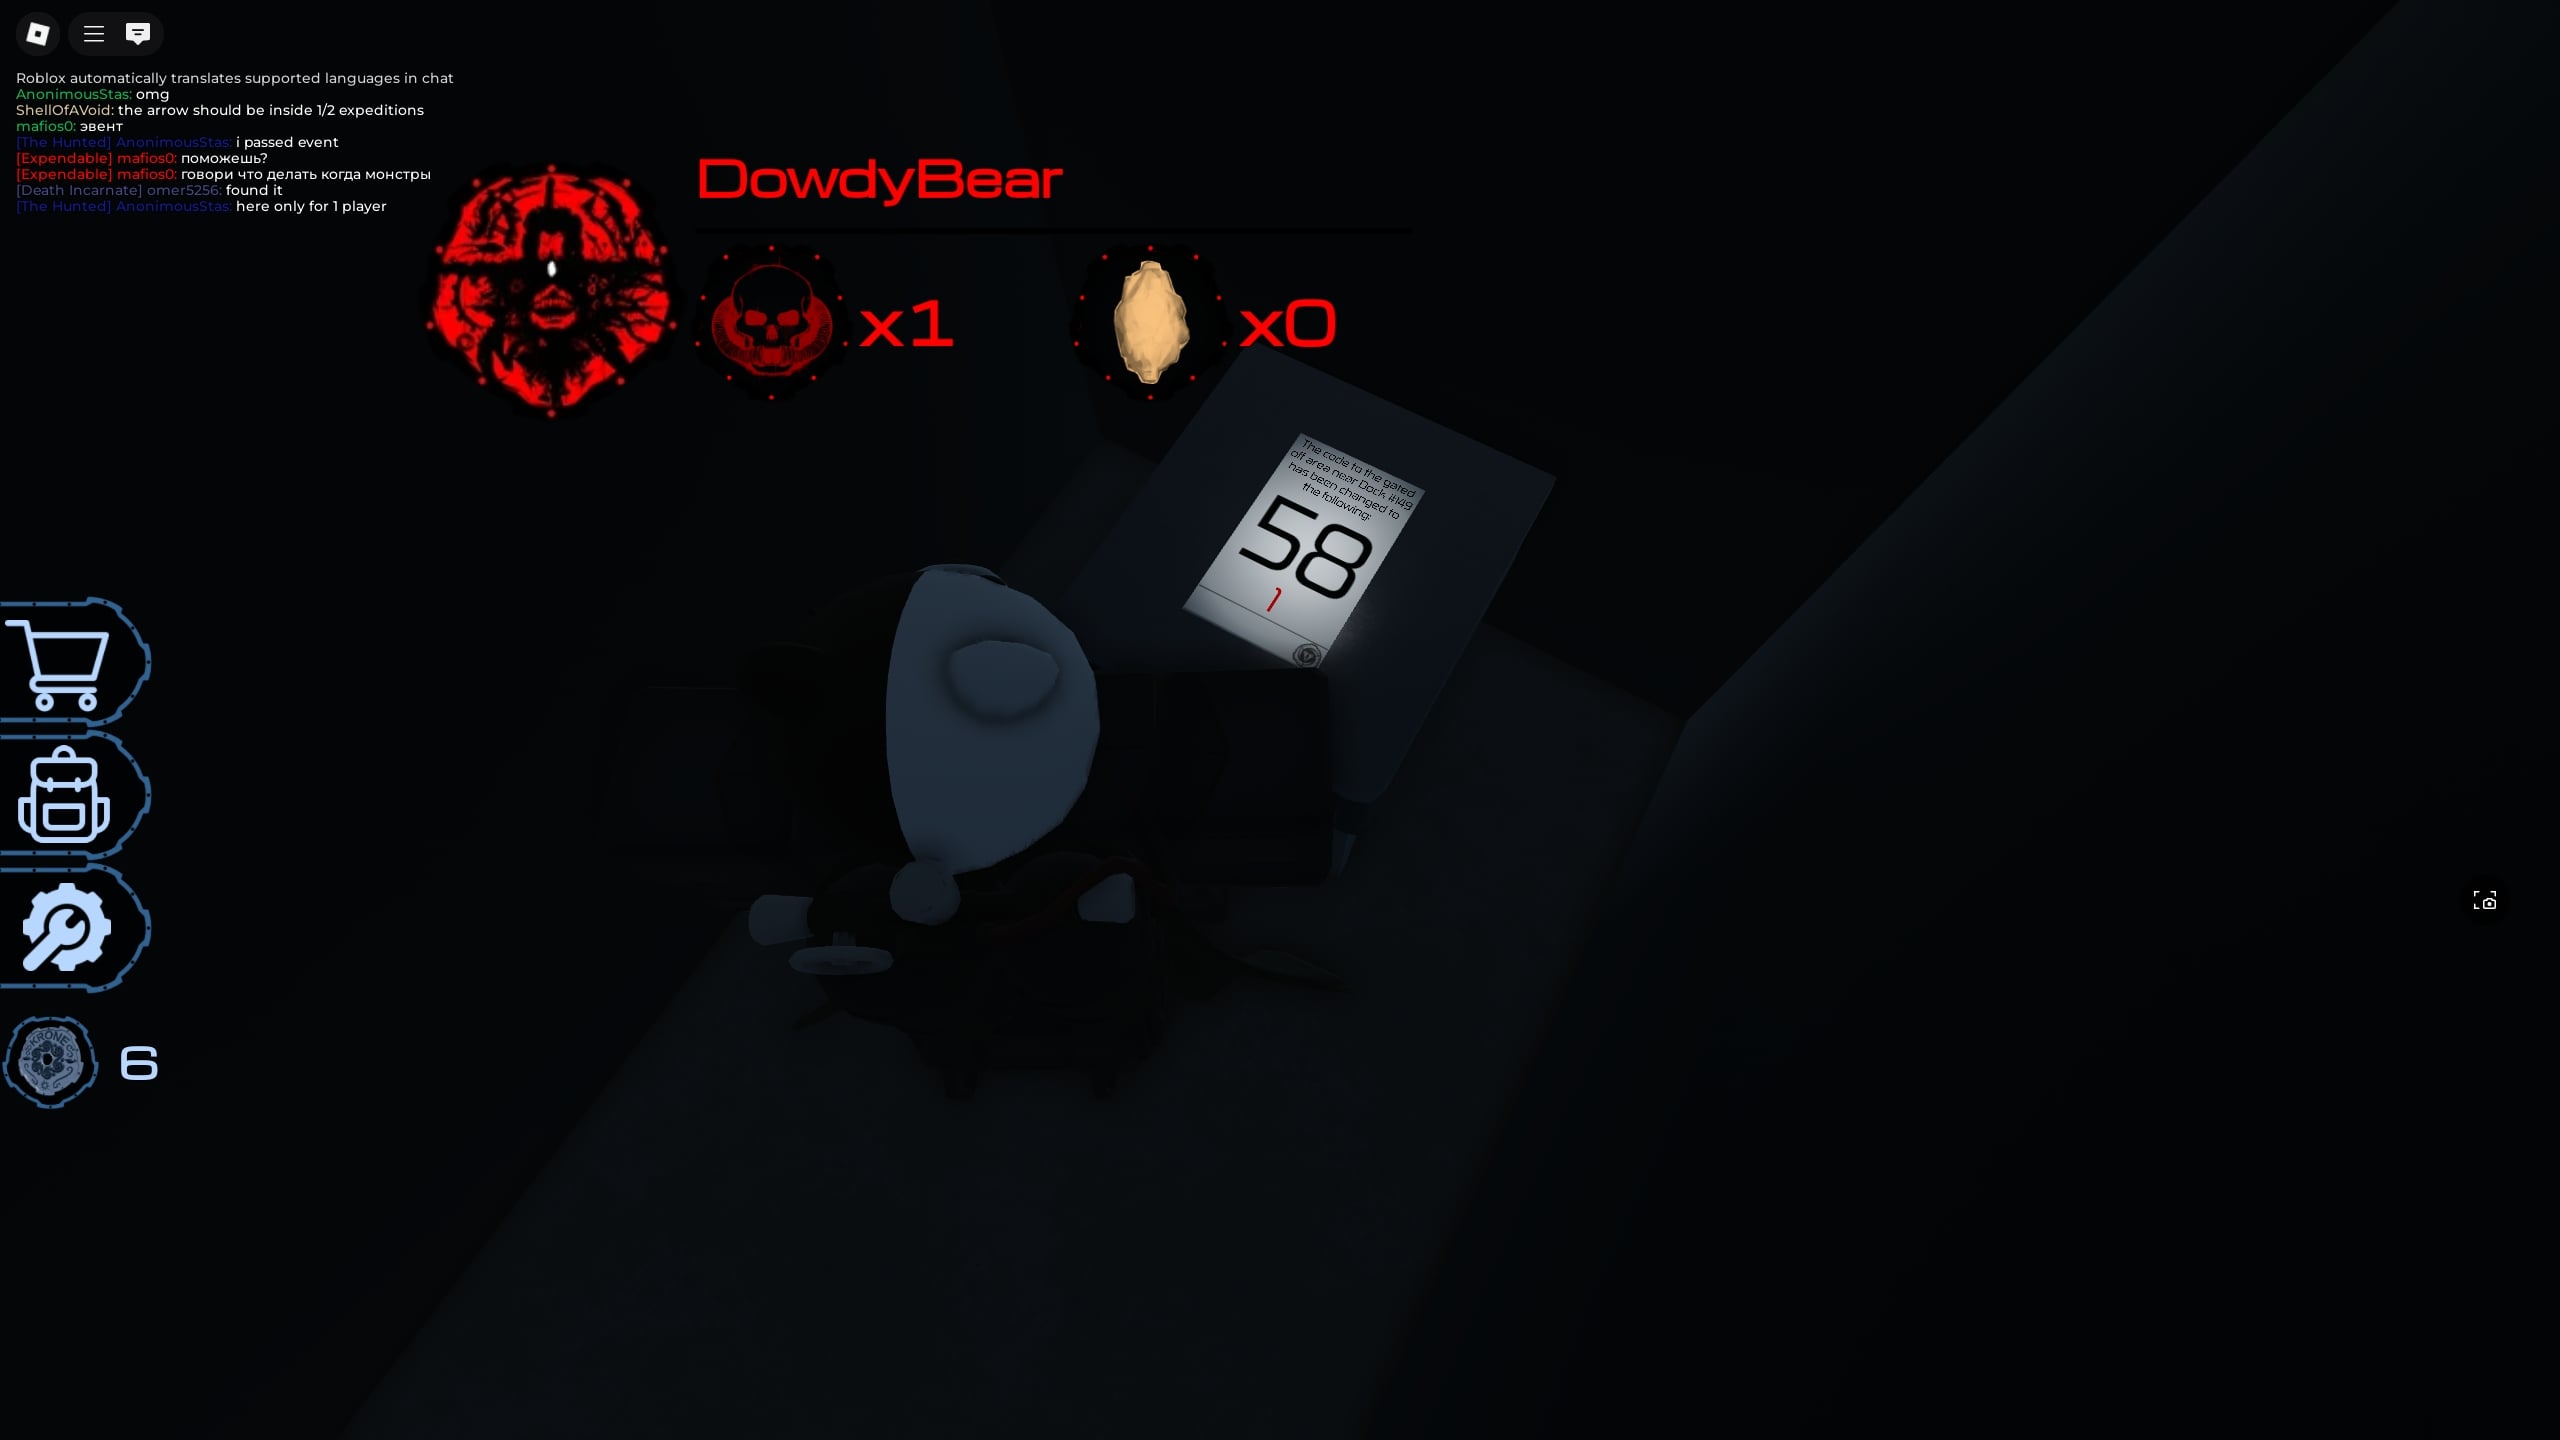
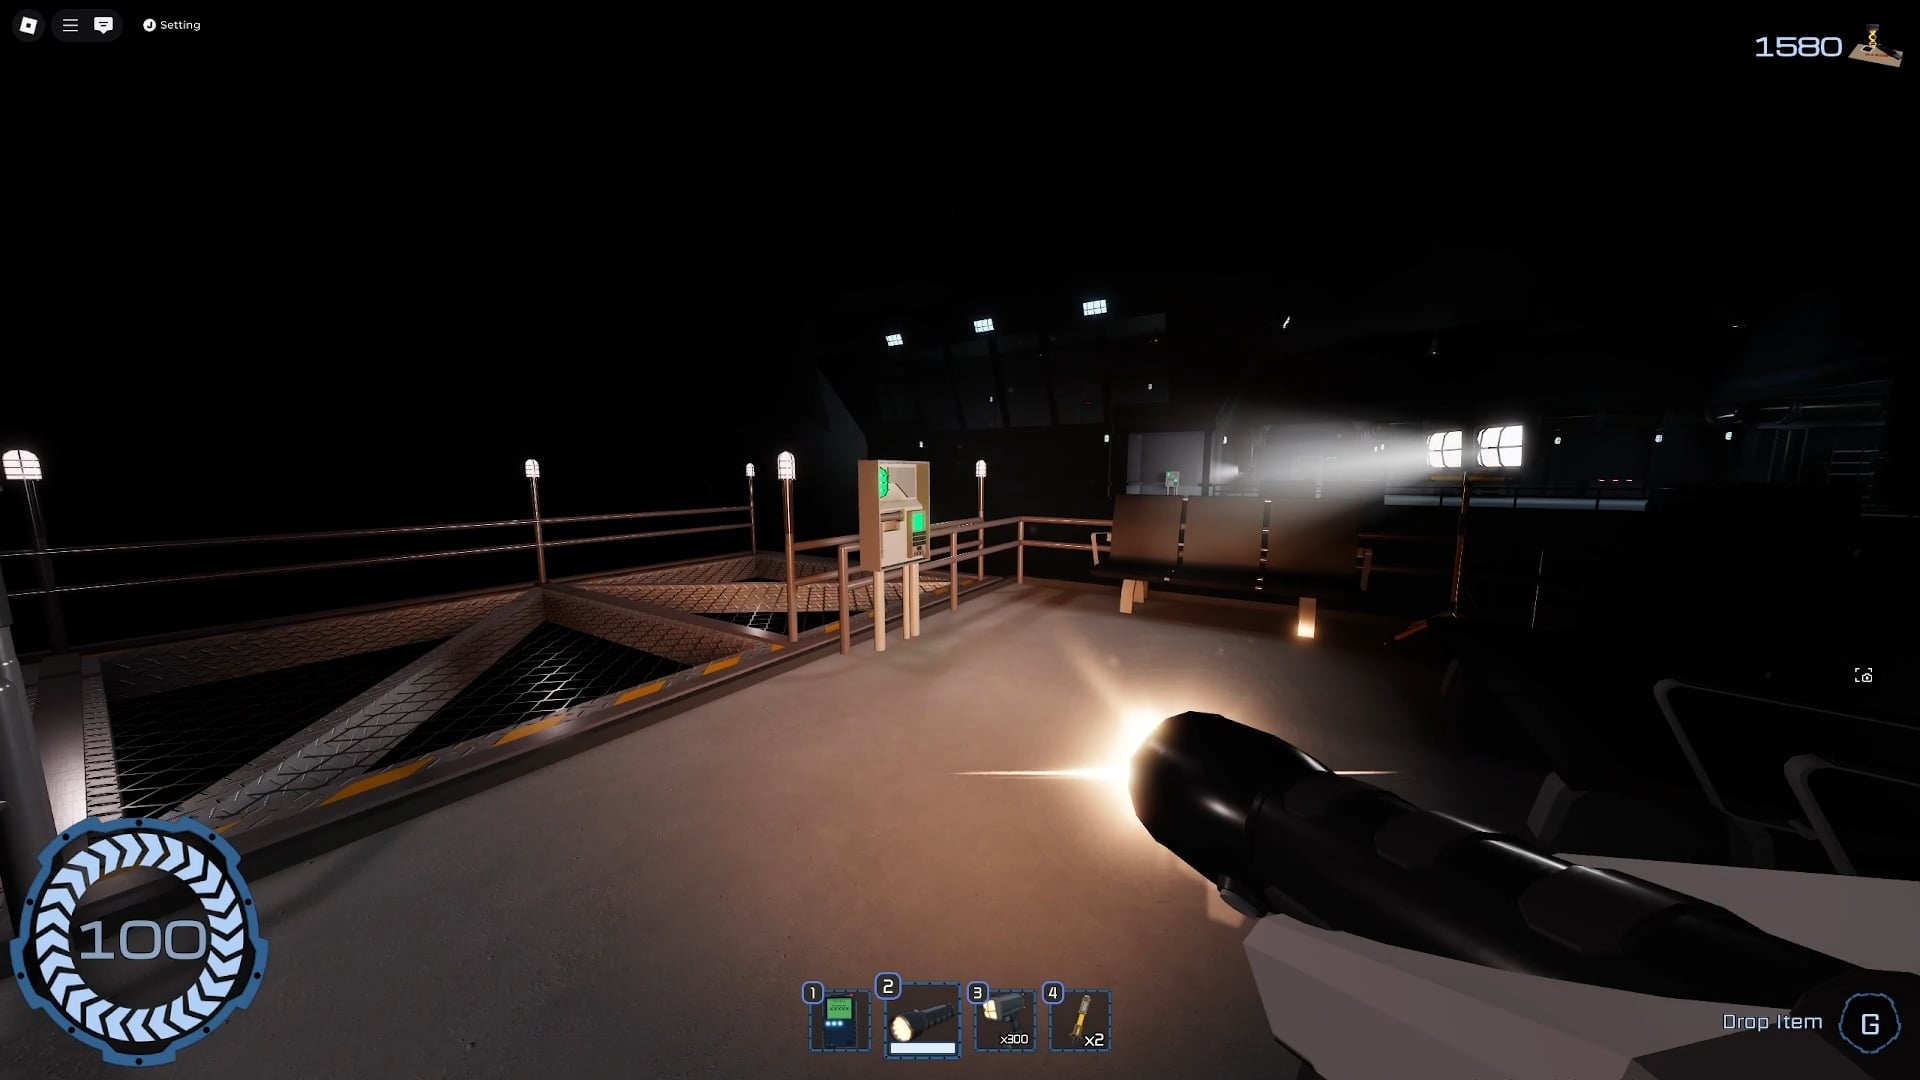
Enter The Hunt by taking one of the submarines (It needs to be a one-player game). When you arrive, go to where the paper with the code is (like you’re playing a normal game) and collect it, but don’t start the game just yet. There is a set of stairs next to the paper you just collected. Take it and follow the path until you get to a locked door. Enter the code using the notes you got in the previous step to open the locked door. Inside, you’ll find the Decoder. This is key to finishing the game, which can officially start now. Thankfully, at least you don’t ever have to get the Decoder again (even if you leave the game), so at least there’s that.
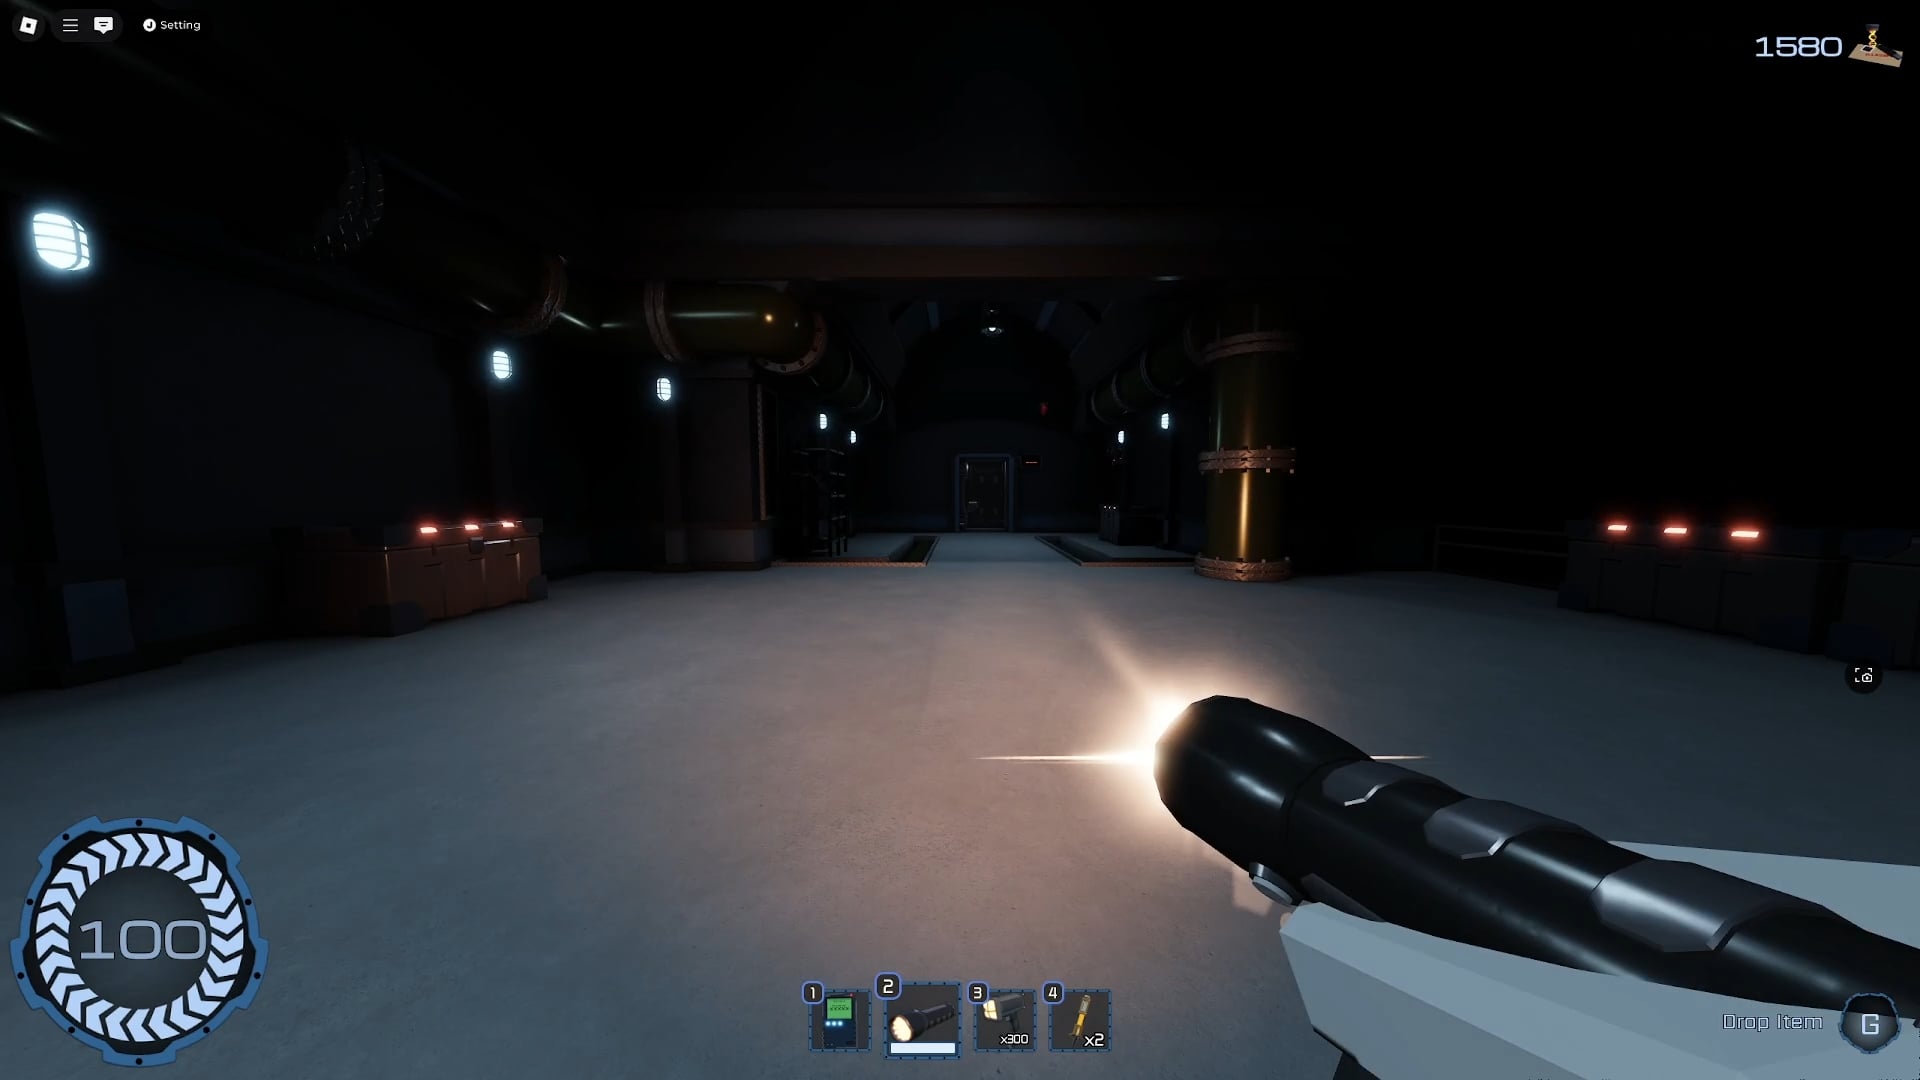
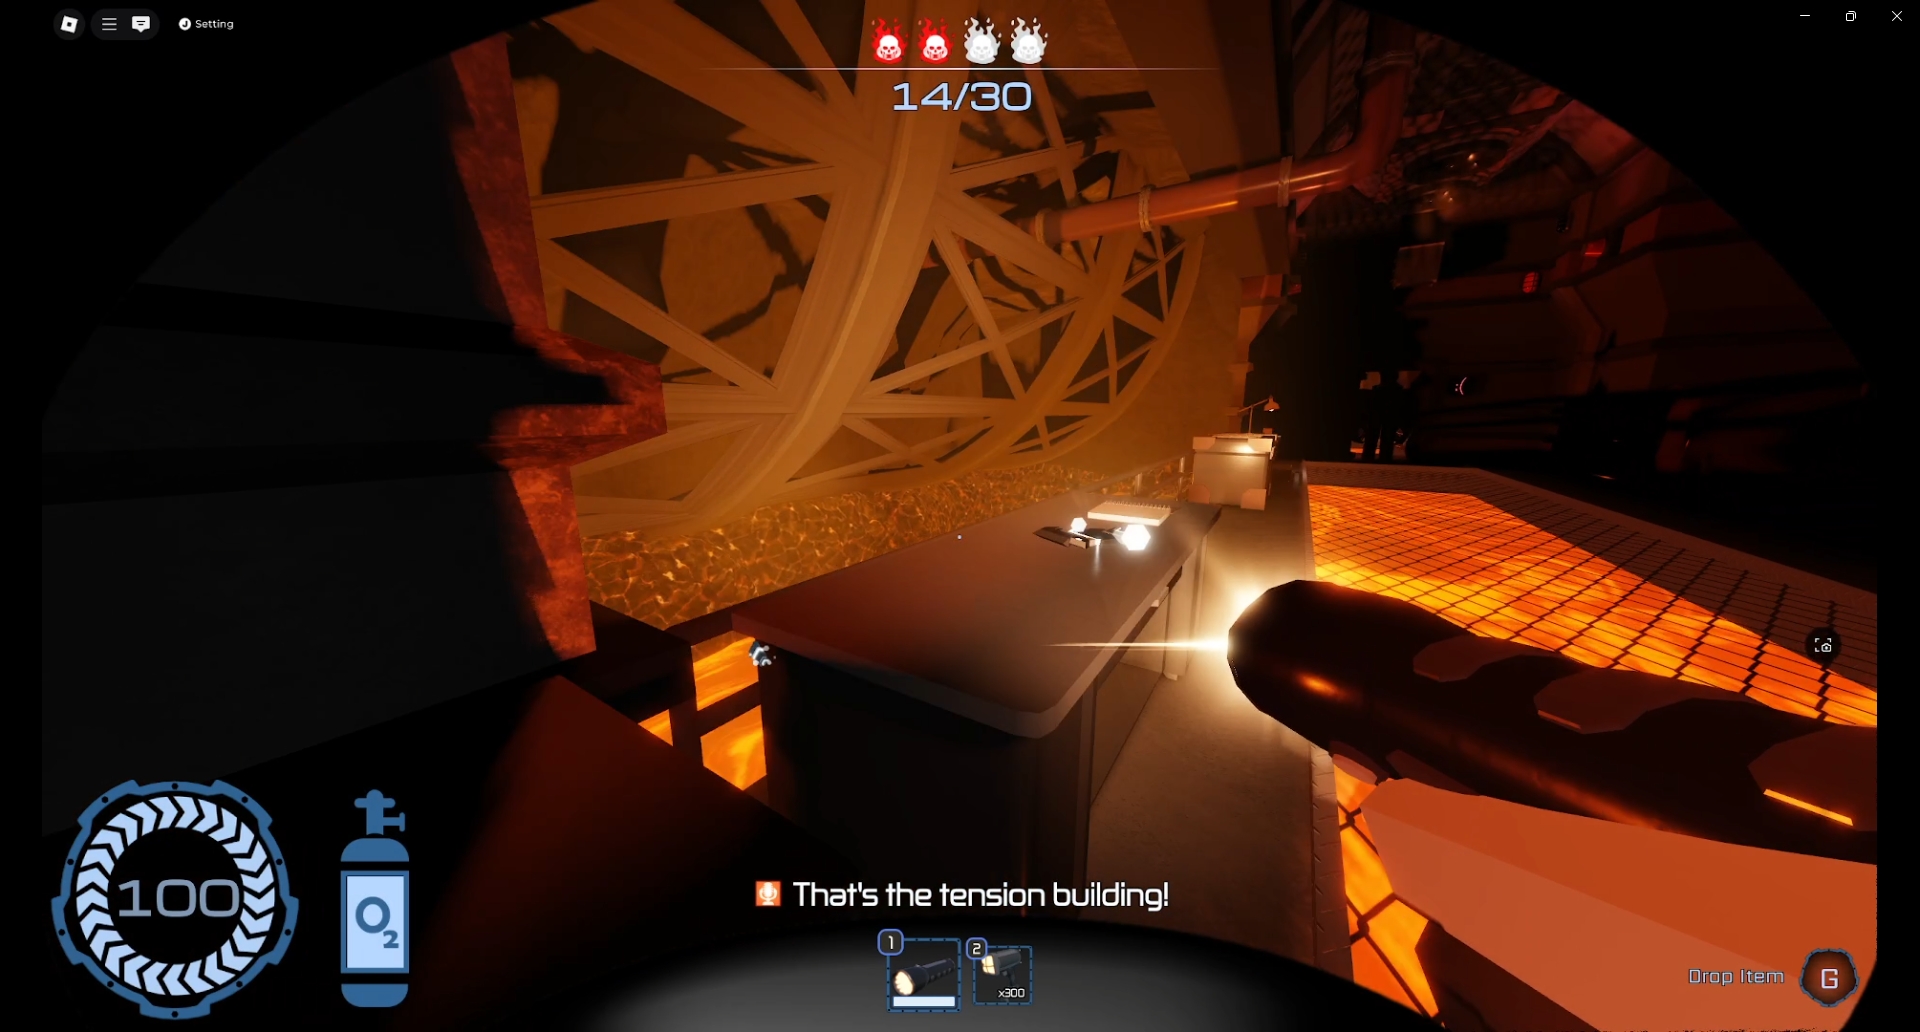
Enter the main area and start the game using the paper we collected earlier. You need to move through 40 rooms (well, about 36, to be exact) and find five radio stations scattered throughout the area.
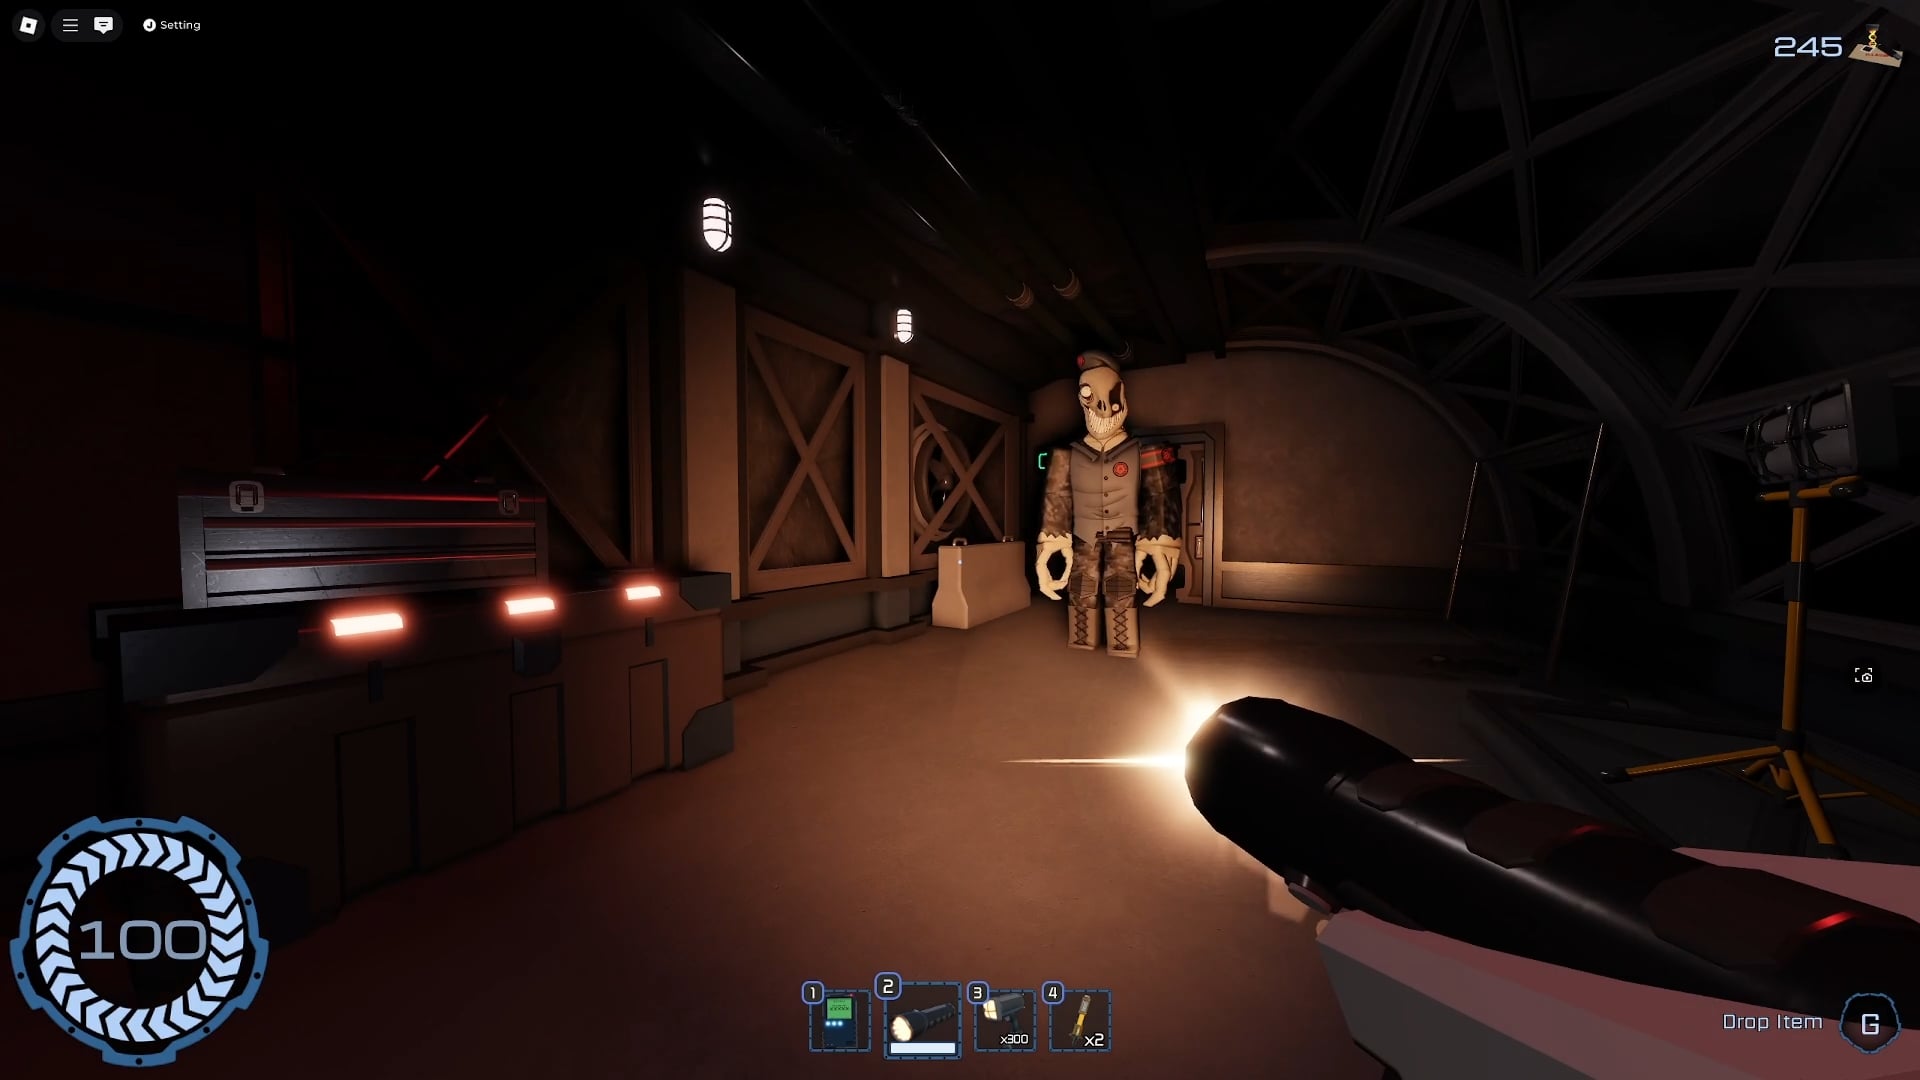
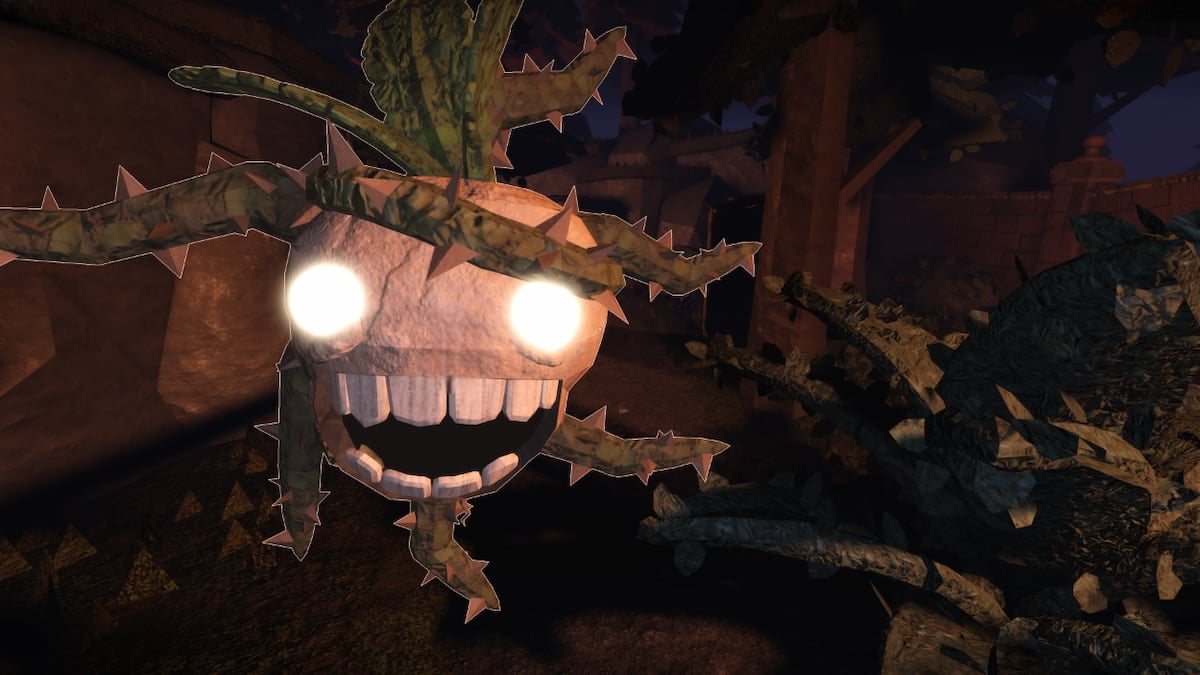
Of course, this would be easier if you didn’t have a giant marine-like monster chasing you around. The monster follows Doctor Who Weeping Angel Logic, meaning that as long as you are looking at him, he can’t move. Sounds terrifying, right? Well, it is but… once you accept this, it gets easier.
The trick is to move in reverse. Shine your flashlight at him and move backward; simple as that. Does this get awkward? Of course, but the rooms are relatively safe, you can still loot stuff while you move backward and keep your eyes on your admirer, and you can even go through doors like this. Trust us, once you get used to this, it seems more manageable. If you get a bit too far from the guy, he will disappear and appear in a vent nearby. These may catch you by surprise but are usually easy to predict.
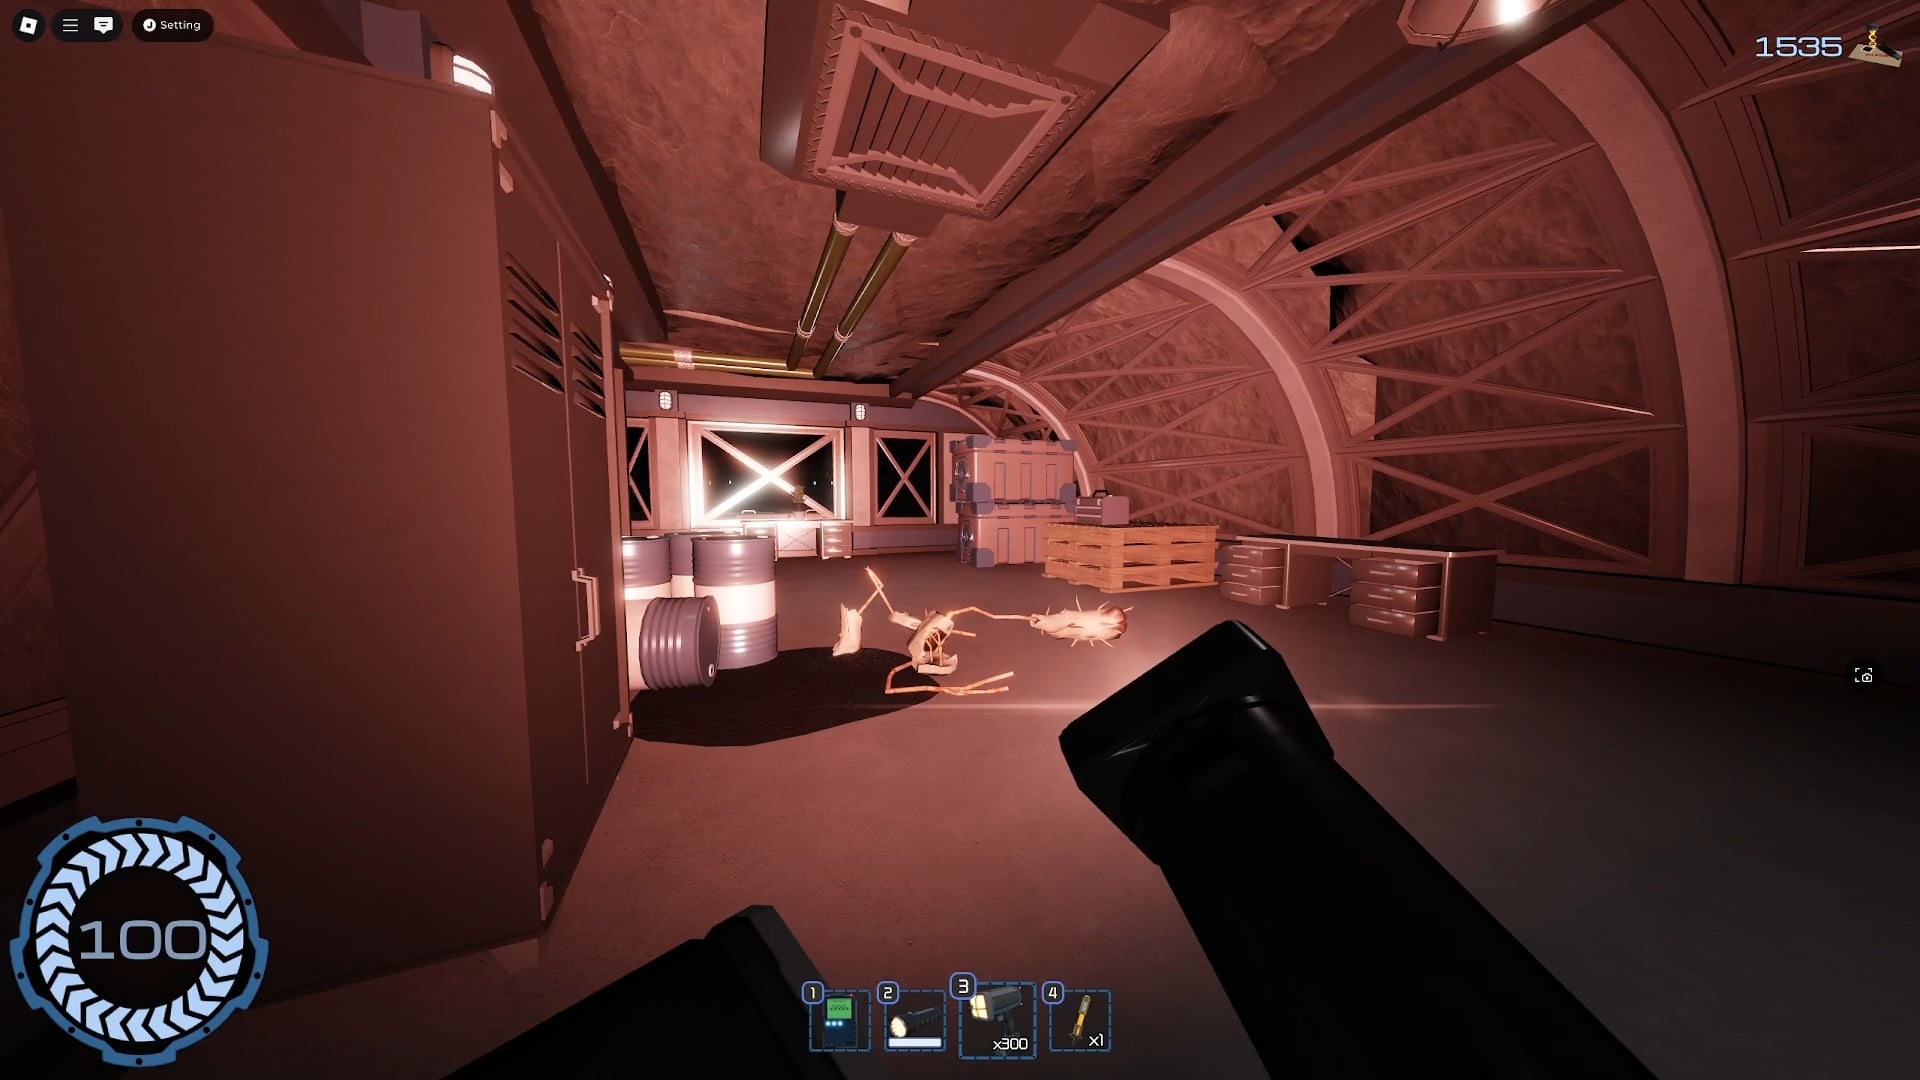
Other than him, there are also weird, concrete-like monsters around. It’s hard to keep track of them, since you always need to be looking at your pursuer, but if you do manage to see them coming, shine them with your ultra-violet flashlight. Alternatively, just take a hit. Hits from the concrete monster hurt but not nearly as much as a hit from the marine guy.
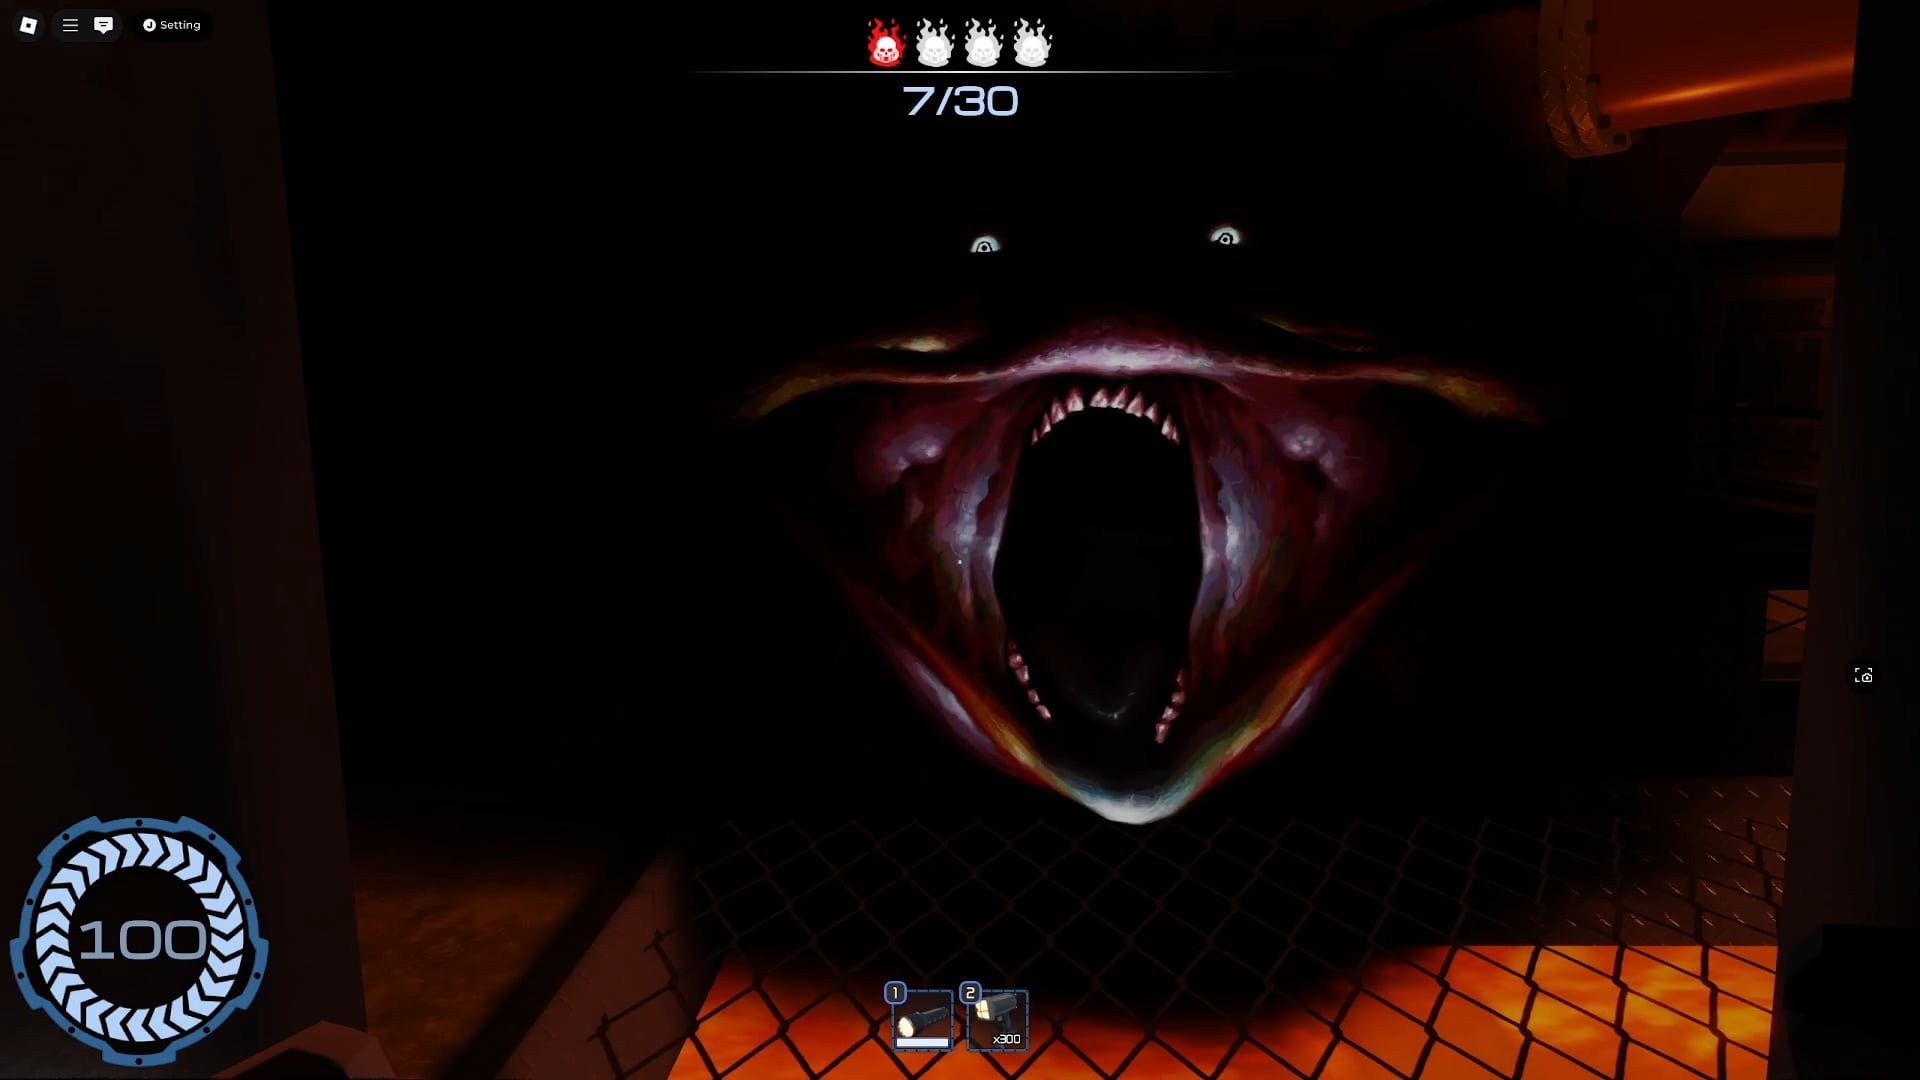
Finally, there is the floating orb-thingy. If you see or hear the marine guy hide in a locker, follow his example. This means an orb-like monster is coming, and if it sees you, it’s game over, just like that. Thankfully, there are hidable lockers everywhere. In fact, when you see the guy hide, you still have a few seconds to look around for items, but don’t get too courageous. Just hide in a locker, wait for the orb enemy to pass, and continue on your merry way.
While you are going through all the rooms, try to open every drawer and Item Locker you can (but don’t be too risky). Even though you don’t need items that give you money, you can find Adrenaline Shots, which give you health. This is useful if you get hit by the marine guy or the concrete monster.
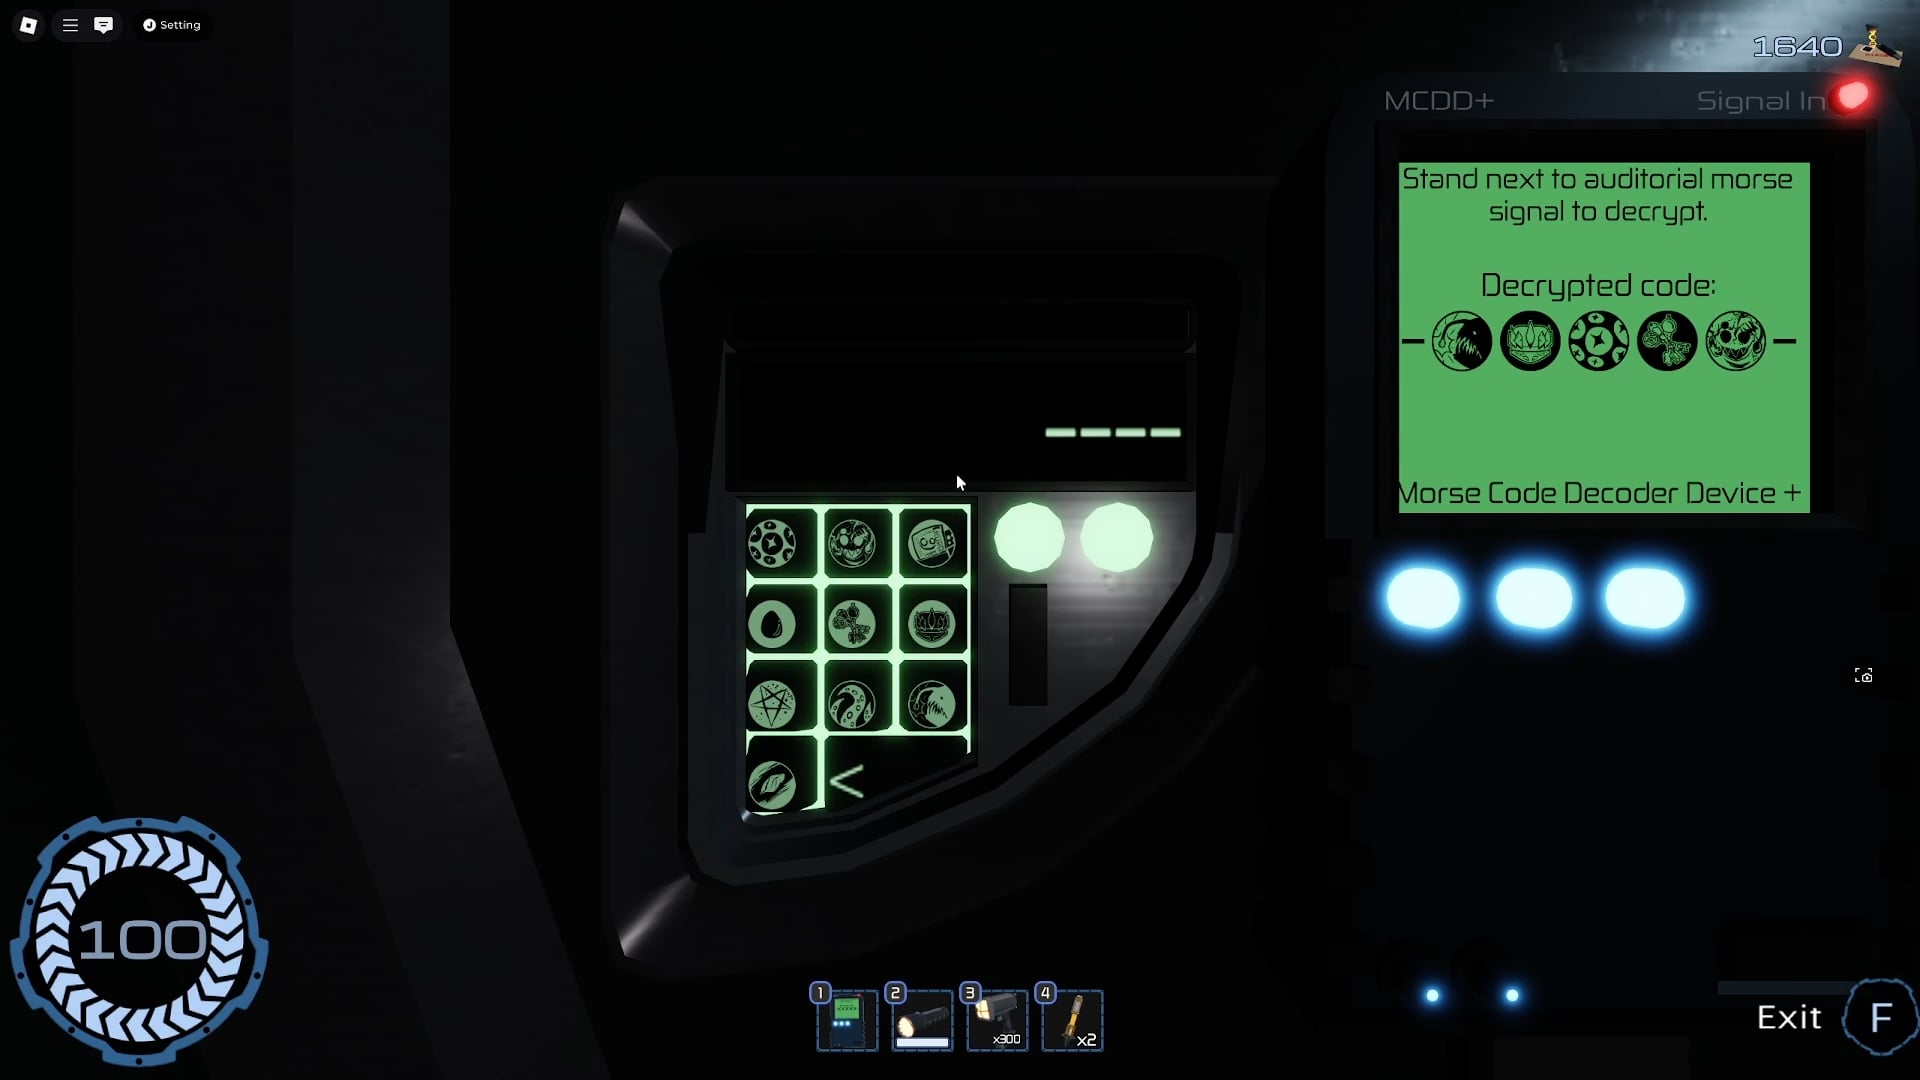
Once you understand all these things, it’s only a matter of moving through the 40 rooms, collecting five radio decoders along the way, and finishing the stage. When you get to a radio, tune it in until you can clearly hear the other side talking. The red bars will turn green when you find the right frequency. Then, grab your Decoder and stand close to the radio. Your Decorder will say “Decoding” and after a few seconds, one of the asterisk symbols will turn into a different symbol. You need to repeat this for four more radios.
If at any point you die, you’ll need to repeat this game from the beginning (minus gathering the notes in the previous step and grabbing the Decoder). This can get pretty intense, even when you learn about the enemy behavior because they can go through walls, spawn from thin air, and ruin your run. All we can say here is: practice. Thankfully, even if you die, restarting the entire thing is pretty easy.
Once you have all the codes, make your way to the end of the stage where the bridge is. Activate, cross, and then return the bridge to normal (you don’t want any enemies following you). Instead of going straight, you need to take the door on the right side. Go through here, down some stairs, and eventually you’ll get to a locked door to enter the symbols you decoded using your Decoder. Punch in these codes, and you’ll enter the tram station. Board the tram, and congratulations, you’ve finished the first part. Even if you die during this next bit, you won’t have to repeat the first game.
Here’s the thing… now comes the easier part.
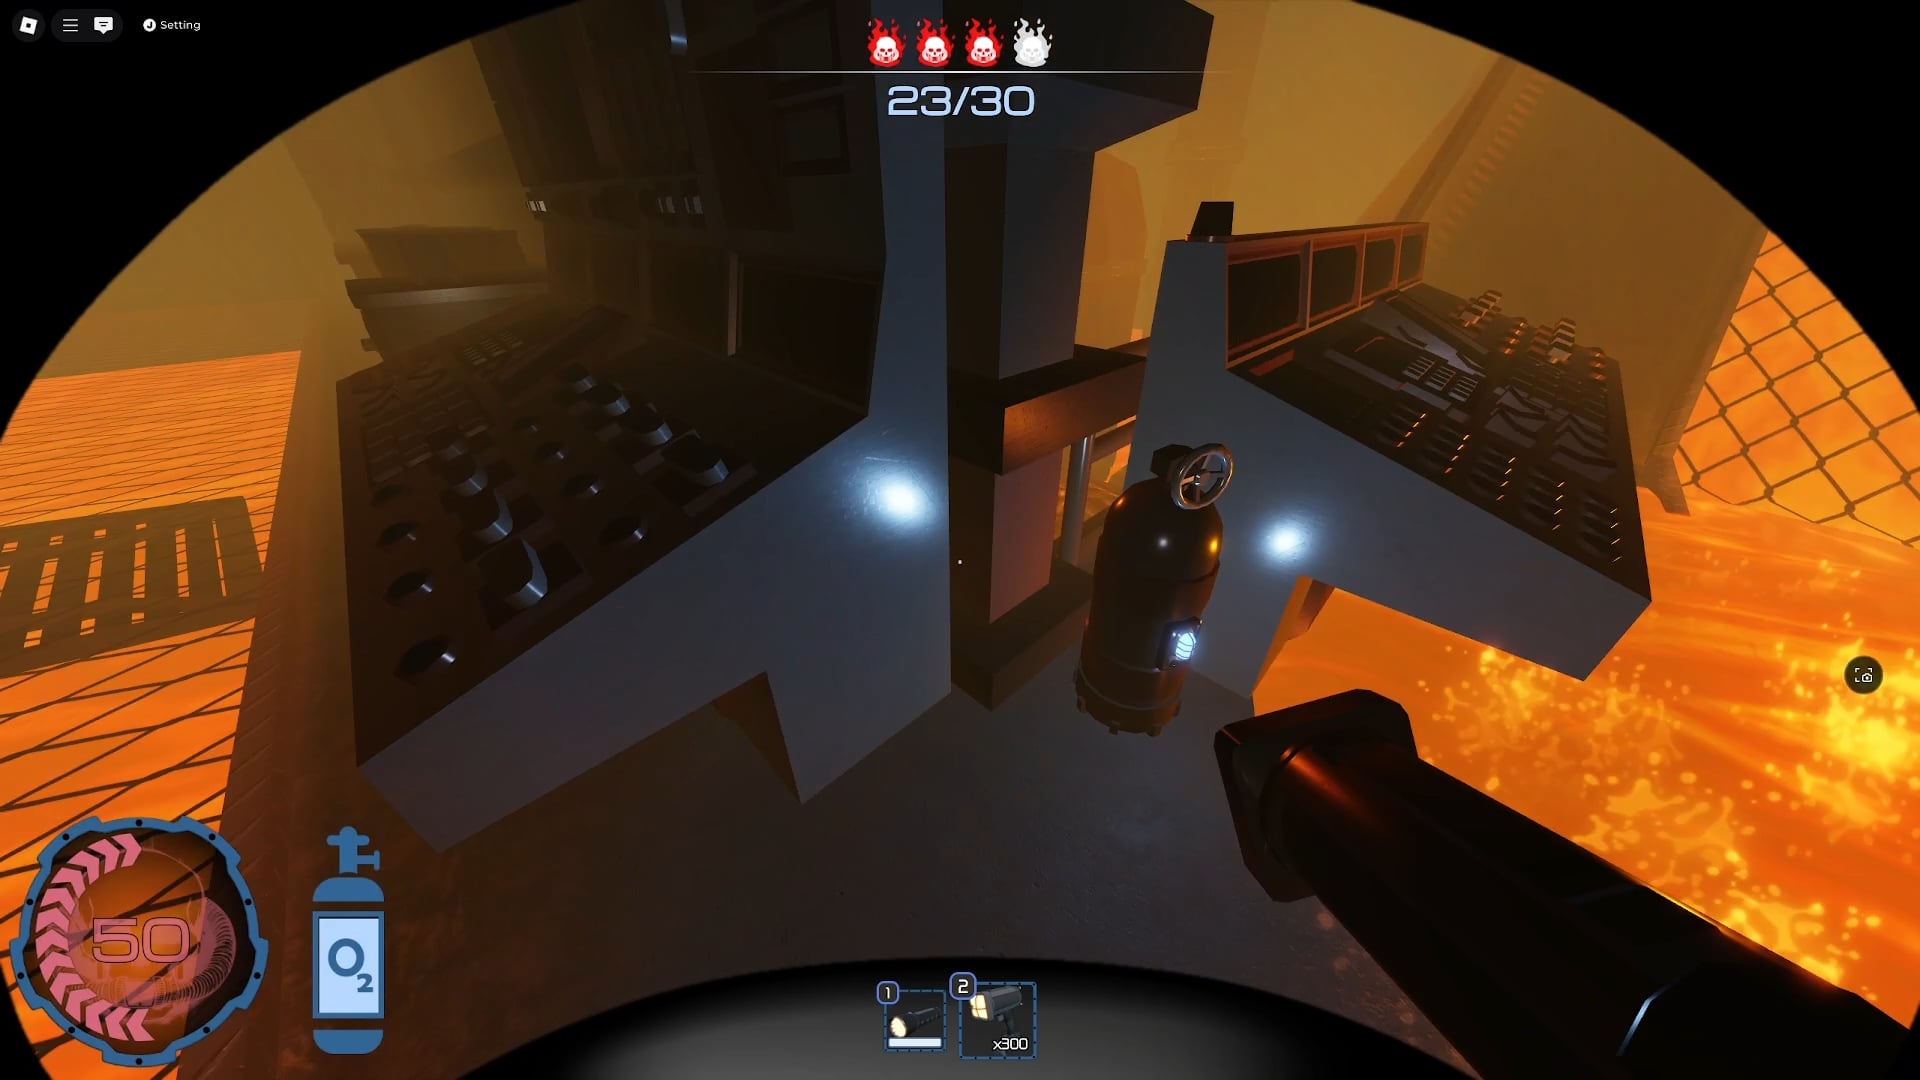
Finding 30 Intensity Increase items
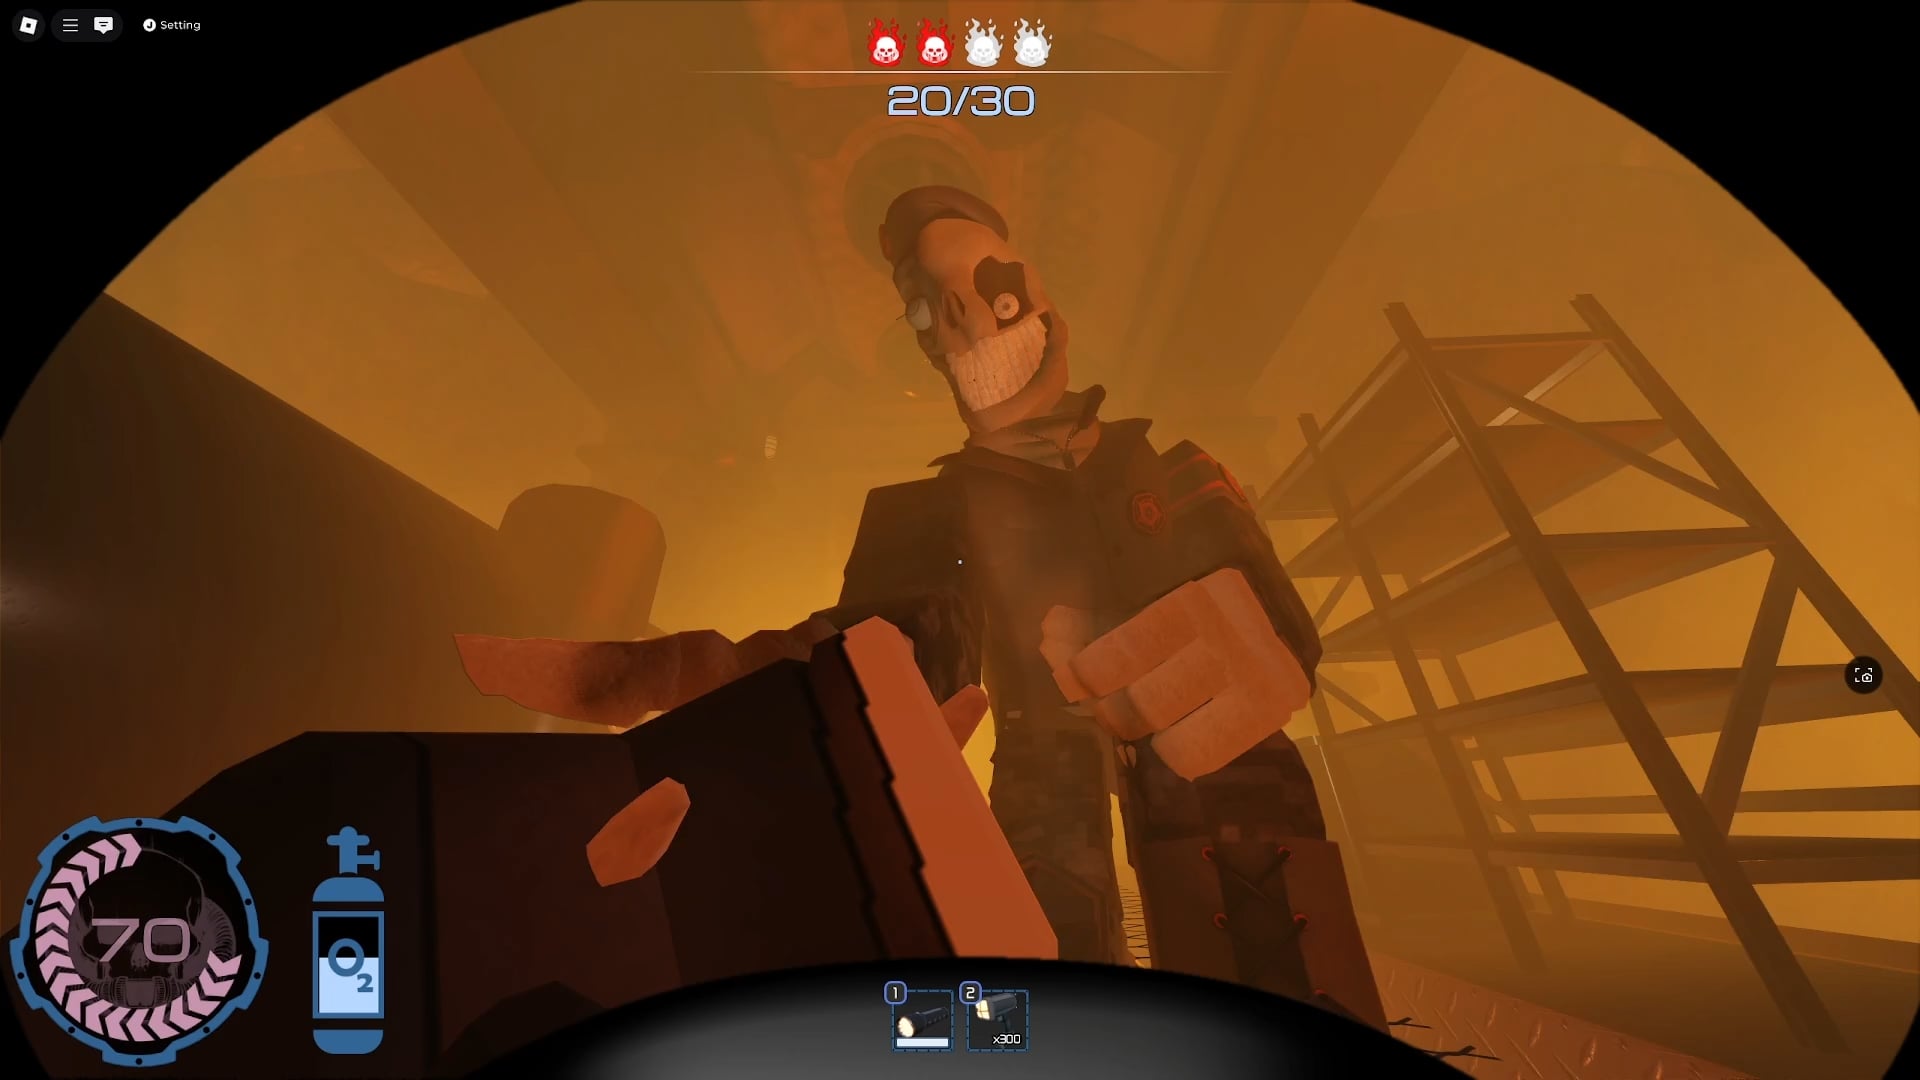
The goal of this game is to grab 30 Intensity Increase items. You grab the first one to start the event. However, unlike the previous game, the enemies are a bit more aggressive. The Marine guy will move a bit faster, the orb enemy will attack more often and you’ll see the concrete monsters frequently. Thankfully, even with all that, this game is much shorter than the previous one. In fact, you can do the whole thing in 5 minutes.
The same rules apply just like in the first game: keep your eye on the Marine guy, flash concrete monsters and hide when the marine guy hides.
The difference this time is that, instead of looking for radios, you need to collect 30 Intensity Increase items. There are more than 30 of these, and you shouldn’t risk your health just to get one. Just keep moving, and collecting them as you go. They also sparkle, even when inside containers, so they are super easy to spot.
After you collect 15 Intensity Increase items, you’ll get an additional thing to worry about: lack of Oxygen. Thankfully, you can find Oxygen tanks around to refill your air. They aren’t as common as hidable lockers, but we never had to go out of our way to find one.
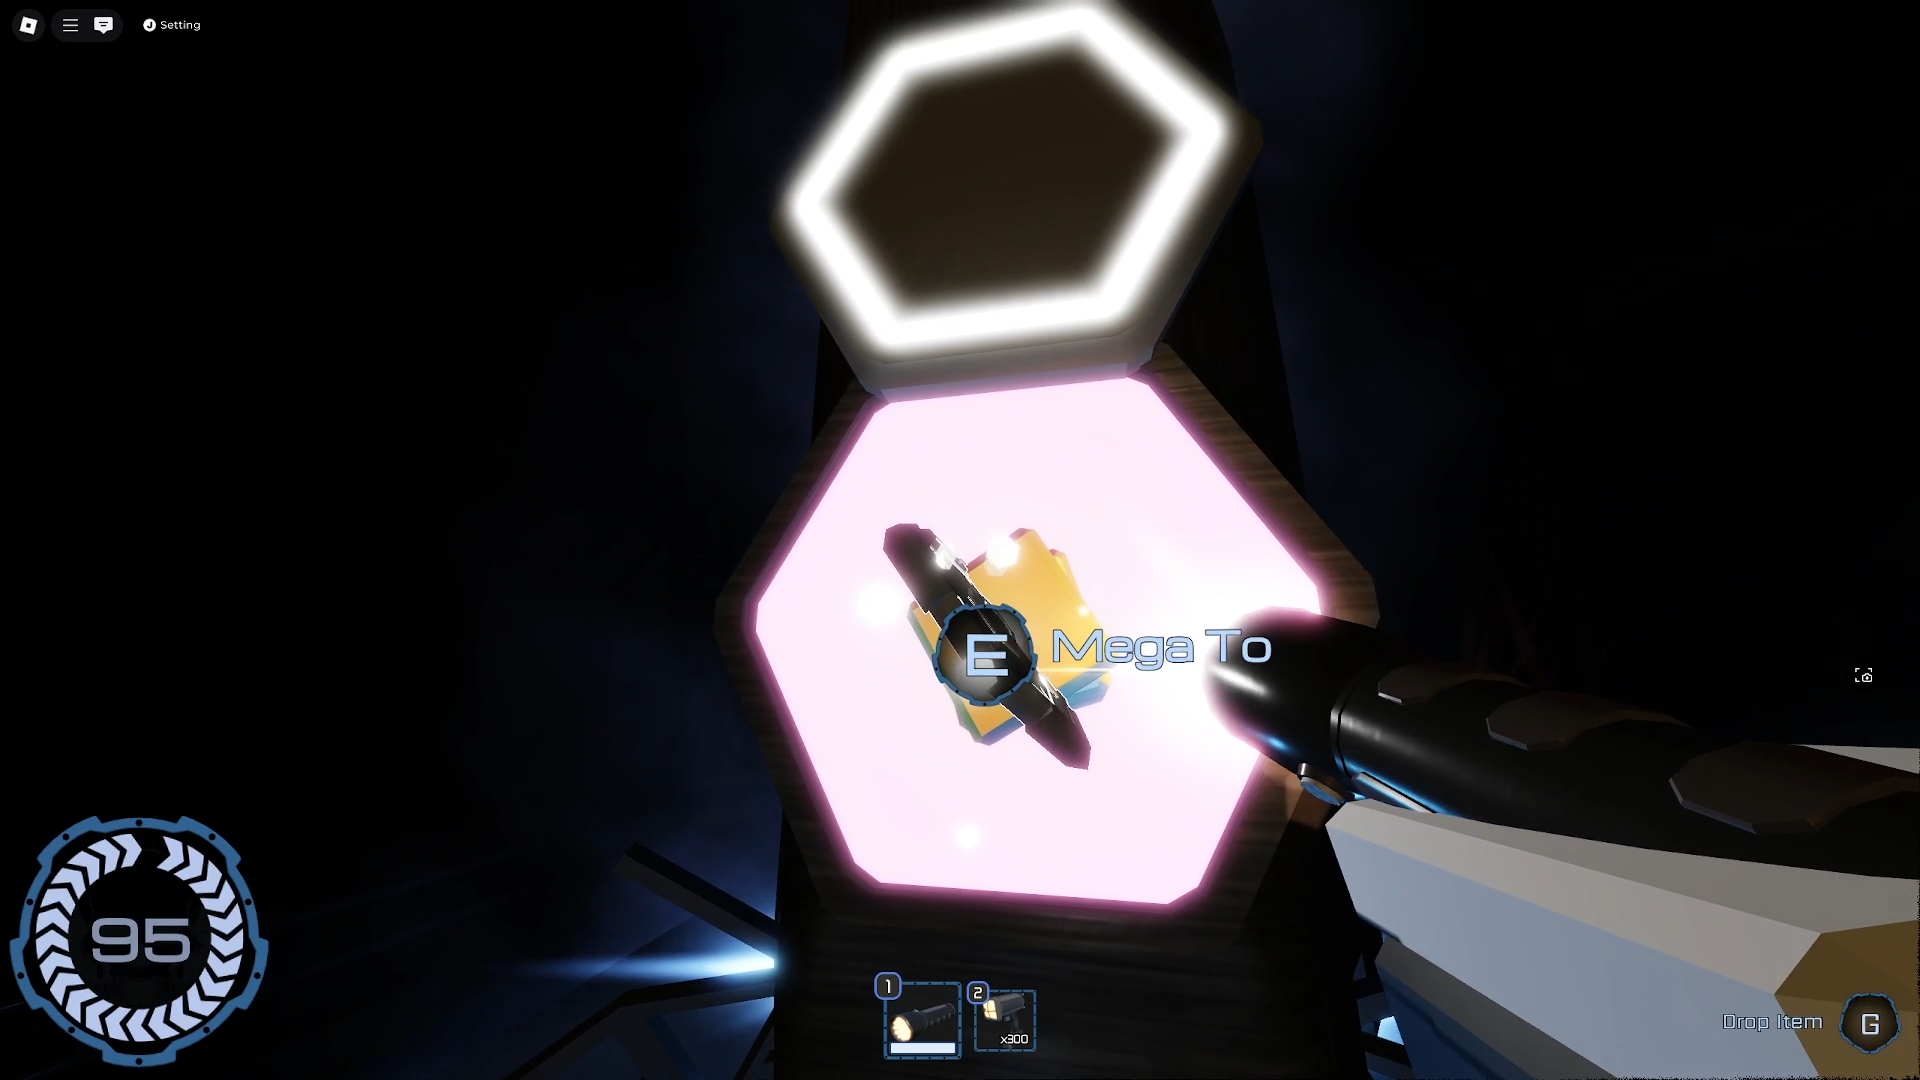
Finally, once you get the 30th item, the game will simply stop. Enemies will stop pursuing you, you’ll stop losing oxygen, it will be over. Simply keep going through the green smiley doors until you find a hole. Drop in, keep going, and you’ll eventually get to the vault where the Mega Token is located. Pat yourself on the back because you completed a very difficult Roblox challenge.
That’s all there is to it. Stay up to date with our guide on How to get all Mega Tokens in Roblox The Hunt Mega Edition. If you still don’t have all the badges, check out the How to get all Roblox The Hunt badges.


Published: Mar 14, 2025 09:04 am