Hogwarts Legacy is filled to the brim with different types of puzzles and secrets for curious adventurers to uncover. Merlin Trials are some of the most abundant puzzles in the game, with there being a grand total of 95 trials for players to complete.
Merlin Trials come in all shapes and sizes; some require you to light braziers in a particular order, while others require you to lure butterflies to certain areas. Most of them are fairly simple when you get the hang of them, but there are a few that may trip you up on your adventures throughout the Wizarding World.

There are 10 Merlin Trials in the Poidsear Coast region, as highlighted in the map above. You’ll need several spells to solve these trials—namely Confringo, Depulso, Wingardium Leviosa, and Reparo, among a few others—so you may have to wait until after you’ve completed your assignments at Hogwarts before you can complete all these trials.
Related: How to solve the chess puzzle in the Poidsear Coast treasure vault in Hogwarts Legacy
Here’s how to solve every Merlin Trial in the Poidsear Coast region in Hogwarts Legacy.
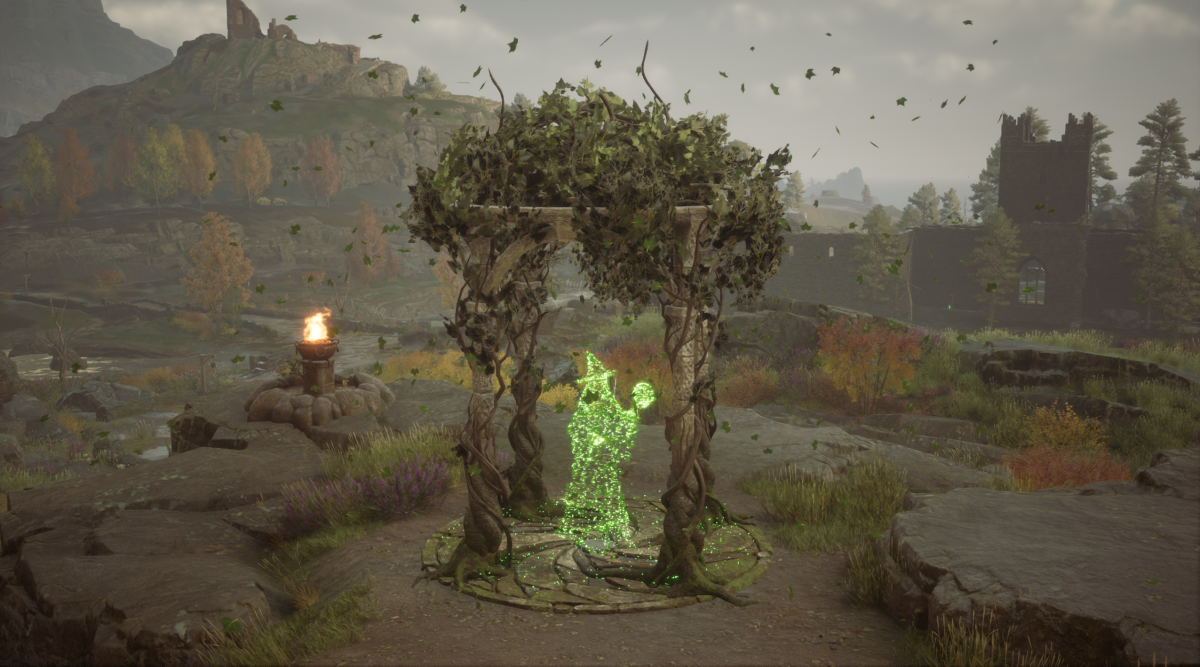
1) North of Poidsear Castle Floo Flame
Get your wands at the ready, wizards and witches. You’ll want to make sure you’re more than familiar with the Confringo spell for this one.
After activating the trial’s platform, three braziers will unlock: a taller brazier directly southeast of the platform, a short one next to a nearby camp, and a medium-height one hidden behind ivy in the mountain. You’ll need to cast Confringo on all three braziers, which will automatically start to sink to the ground when they’re lit. Once they hit the ground, their fires will extinguish. To complete the trial, all three braziers need to be lit simultaneously.
Related: How to solve the Irondale Merlin Trials in Hogwarts Legacy
The best approach is to light the tallest platform, burn the ivy with Confringo to light the second, and then finally light the shortest of the three braziers.
2) West of the Poidsear Castle Floo Flame
The second Merlin Trial is fairly easy once you figure out what you need to do. To start, equip Lumos to your weapon bar and locate groups of green butterflies. Like the moth puzzles at Hogwarts, you’ll need to attract these insects to your wand using Lumos and transport them to the rocks nearby. If you can’t locate the rocks, cast Revelio to highlight them in blue.
There are a total of three rocks that need butterflies: two to the south of the trial’s starting location, and one down the hill to the north from the platform.
3) On the beach, west of Poidsear Castle Floo Flame
This trial is the easiest of all Poidsear Merlin Trials: simply hit the five surrounding rocks with Confringo to complete this puzzle.
4) Next to ruins on the mountain, south of Poidsear Castle Floo Flame
After activating this Merlin Trial, use Revelio to locate three sets of orbs. Then, using either Wingardium Leviosa or Accio (or a combination of the two), pull those orbs to platforms with hollowed-out cores. Once all the orbs have been delivered to the three platforms, the trial will be marked as complete.
5) West of the ruins on the mountain, south of Poidsear Castle Floo Flame
This next Merlin Trial requires the use of Flipendo. Simply activate the trial and then locate three pillars with cubes on top. Each of the cubes will have an image on it. Use Flipendo to line the images up to solve the puzzle.
6) North of the South Poidsear Coast Floo Flame
For the Poidsear Coast’s sixth Merlin Trial, you’ll need Depulso. After you activate the trial, use Depulso on the giant stone sphere next to the puzzle’s starting location. From there, let it roll down the hill and toward the wooden platform. You’ll need to strike it again with Depulso a second time, but only once it’s on the wooden planks close to the cliff’s edge. If you don’t time this spell correctly, the sphere will fall into the pit, and you’ll likely need to reload a save before you can try again.
7) Mountain peak ruin, south of the Phoenix Mountain Cave Floo Flame
This one’s another butterfly trial, so make sure Lumos is equipped to your weapon bar.
To complete this puzzle, you’ll need to escort three sets of butterflies to three different rocks. Two of the rocks are on either side of the ruins, while the third is directly in front of the puzzle’s starting platform. The butterflies are close to the rocks and are hard to miss, although one horde is down the path leading up to the puzzle.
8) East of the Hedge Maze, south of the Phoenix Mountain Cave Floo Flame
For the eighth trial, you’ll need to use an older spell: Reparo.
After you activate the trial, three nearby statues will fall apart. The first statue is directly in front of the trial’s starting platform, while the second is surrounded by piles of rocks to the southwest of the platform. The third statue is up the hill to the north. Revelio will help you find these statues if you can’t immediately locate them.
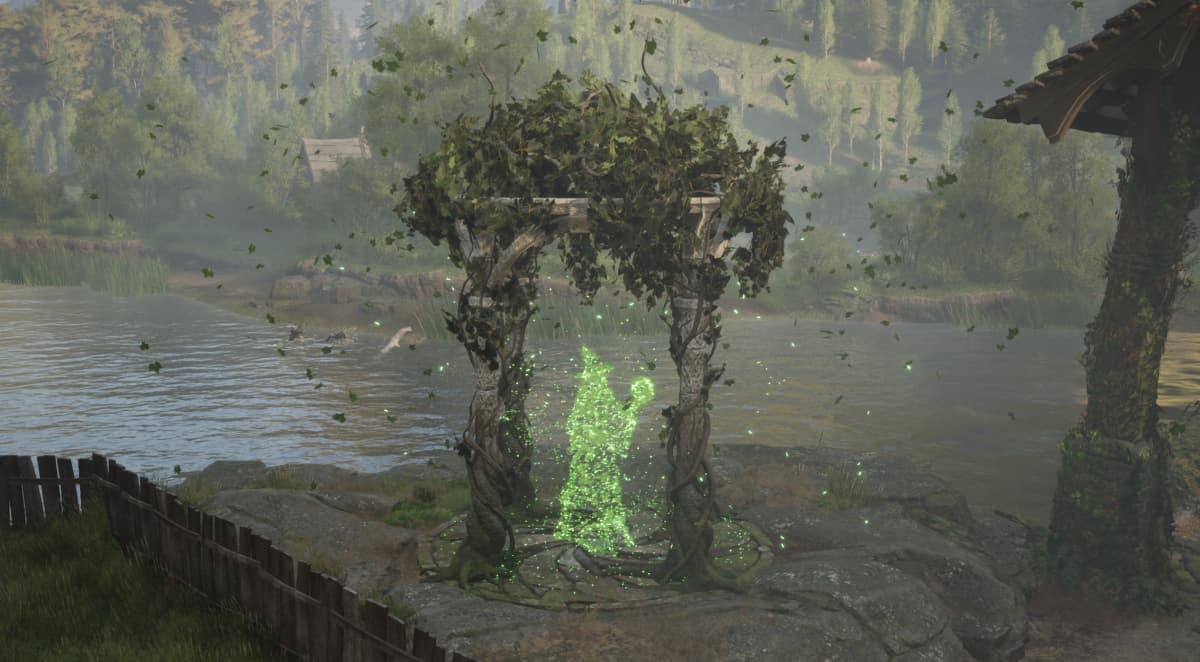
9) West of the Marunweem Bridge Floo Flame
The ninth Merlin Trial in the Poidsear Coast region is another stone ball puzzle. Starting the trial will unlock the ball, which you’ll need to push into a hollowed-out platform. The platform can be found to the southeast of the trial’s starting location, and you’ll need to destroy the wood planks covering it.
Related: How to solve all North Ford Bog Merlin Trials in Hogwarts Legacy
After doing so, simply cast Depulso or Wingardium Leviosa on the ball and escort it to the platform.
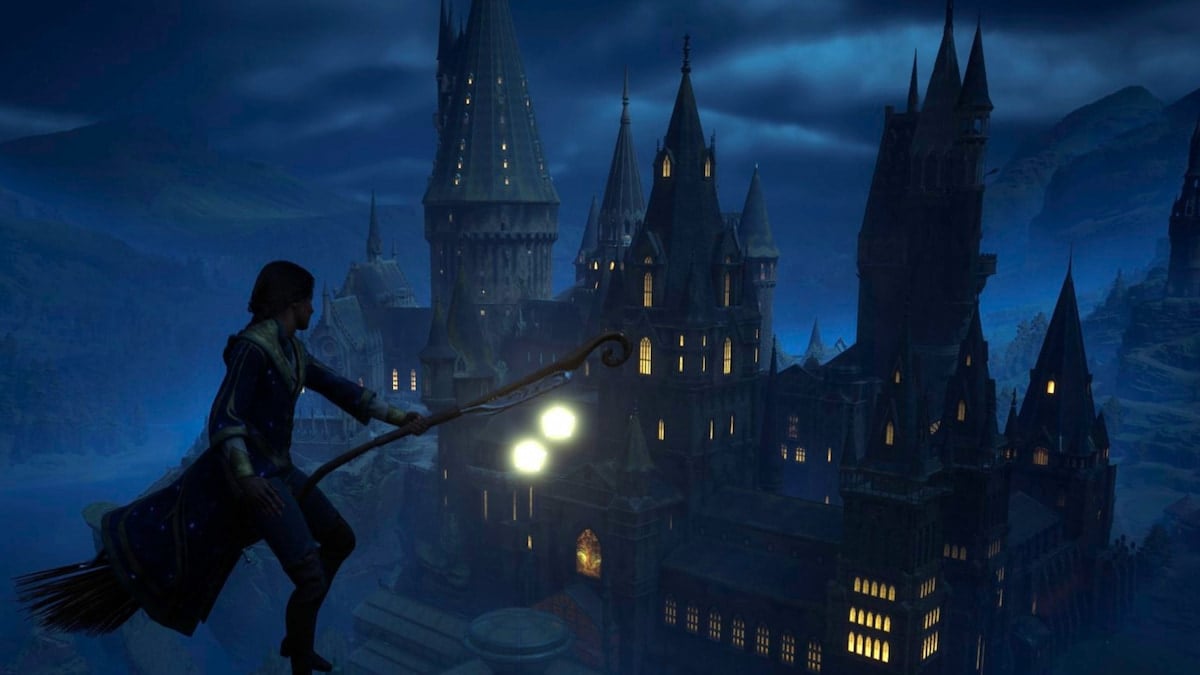
10) South of the Tomb of Treachery Floo Flame
The final Merlin Trial looks tricky, but you can easily game the system with the help of a broom.
After you activate the trial, simply hop on your broom and fly to which of the pedestals located in the water. Fly close to the pedestals—almost as if you were going to land on them—and each one will be marked as complete.

Published: Feb 15, 2023 05:20 pm