Call for reinforcements with the Helldiver 2 ping or flag places of interest at the beginning of the mission to loot up on supplies before heading into treacherous territory. Here is everything you should know about the Helldivers 2 ping system.
How to ping in Helldivers 2

Pinging in Helldivers 2 is relatively simple once you learn the button. All pinging actions are executed with R1 (PS5) or Q (PC). You can ping using the mini-map or by placing markers on the planet, visible from your and other Helldivers’ perspectives. Simply press R1 or Q to place a marker on an area you’re interested in. This can be the direction of the main objective, a secondary objective, an Outpost or a Nest. You can also ping players toward the direction of a Minor Place of Interest (visible via the golden beam).
The ping system can tell you and other players if there’s an enemy nearby. This clears any confusion and limits visual clutter once a ping has been placed. Pinging enemies, Outposts, Nests, and objectives will tell everyone (including yourself) what you are looking it. This is incredibly helpful for those who aren’t using a microphone to communicate with their fellow Helldivers in a public match.

You can add detail to your pings, too. Simply hold R1 or Q to open the Communications wheel. Here, you have multiple options to communicate with other Helldivers as if you were using a microphone. You can freely move around with the wheel open, using the right analog stick or the mouse cursor to select a command. There are eight available commands you can use:
- Location marker: Place a location marker to pinpoint where you want to go.
- Wait: Tell the team to stay still to avoid patrols or defend an area.
- Yes: To confirm other pings.
- Thanks: For Helldivers covering your ass.
- Need supplies: Ask for a Supply Drop.
- Sorry: For accidental friendly-fire incidents (unless you’re GantzTheDemon)
- No: To disagree with location pings.
- Follow me: Take command of your team for them to group up and attack or retreat.
How to place map markers on Helldivers 2

Press the DualSense touchpad on PS5 or Tab on PC to bring up the mini-map. Use the d-pad directional buttons or right-click on the mouse to move around the mini-map. You can only drop a single marker onto the mini-map. This is labeled as M1. You can also ping the extraction zone, secondary objectives, Nests, and Outposts to clearly see them on your radar and in your vision after exiting the mini-map.
Pinging is also helpful for solo players. While you won’t be using the ping system to tell any Helldivers in the server where you’re going, what you’re attacking, and if you’re interested in exploring the map, a ping is helpful to pinpoint Supply Drops, Minor Places of Interest, secondary objectives, or the extraction zone. You can use this throughout a mission, and it is especially useful if you don’t have armor or a Radar Station to reveal map markers.
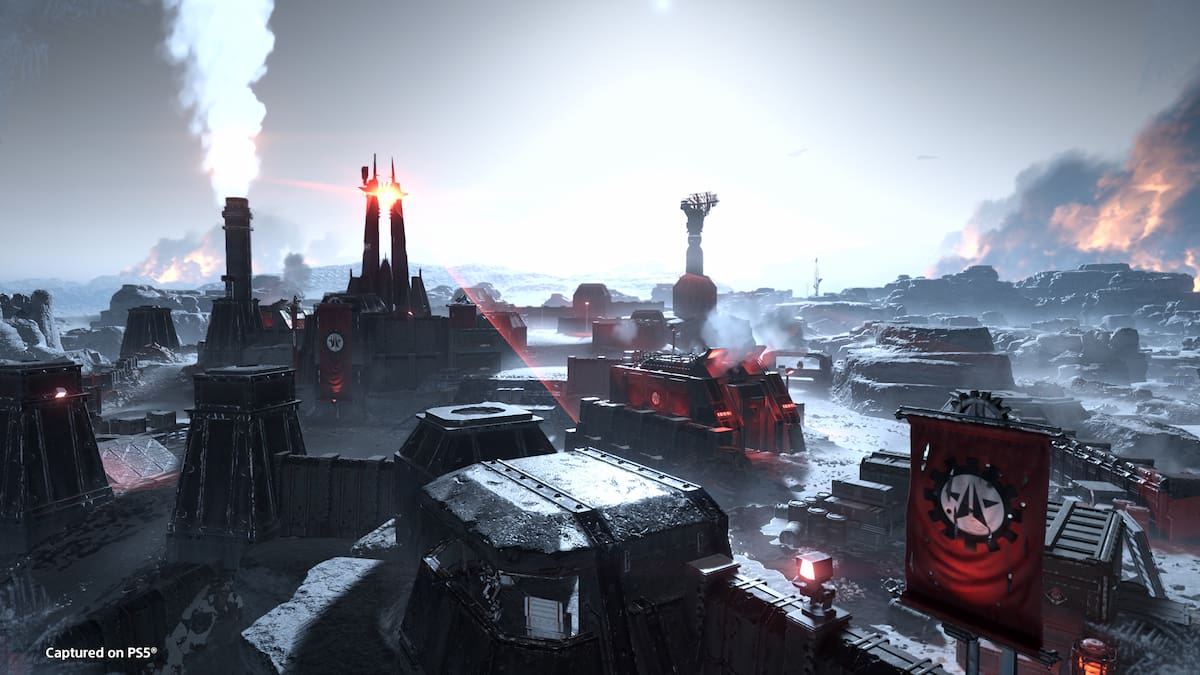
Pinging markers on the mini-map will also announce the direction of the ping, telling others where the enemy or place of interest is. The mini-map is incredibly helpful for locating Outposts and Nests (identifiable by the red dots on the map) at the start of a mission.






Published: Feb 24, 2024 3:10 PM UTC