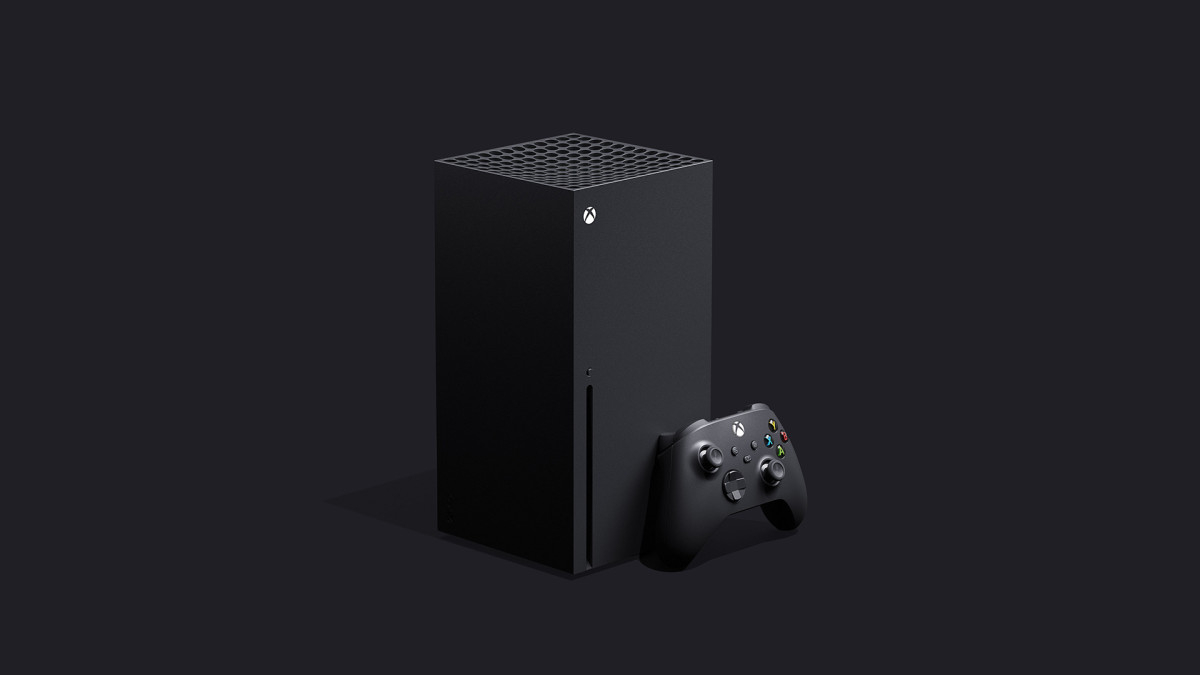
With the latest Xbox consoles sold out worldwide, gamers will soon get their hands on their new devices.
Recommended Videos
Often consoles can be placed on the ground or in a variety of locations that may cause them to collect dust or dirt from their surrounding locations. A build-up of dust can cause the system to slow down and weaken its performance as well as being dangerous due to its ability to cause overheating.
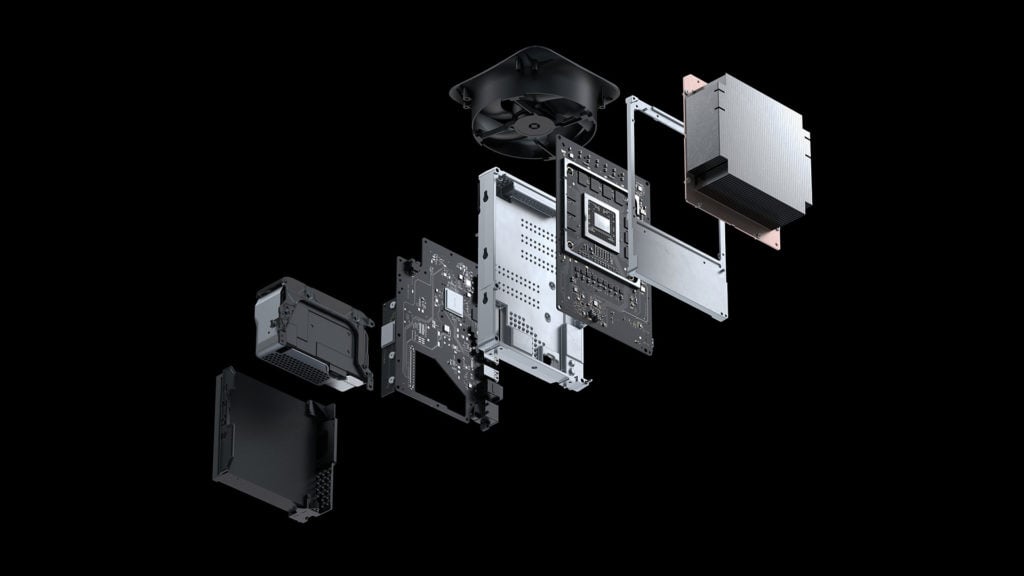
Thankfully for Xbox Series X owners, there’s a simple way to take the console apart and clean out the inside components to prevent any dust build-up that may occur.
Here is the easiest way to clean the Xbox Series X
- Remove any exterior dirt or build-up that may be located on the fan grills around the console.
- Once you have assured these are clear, proceed to remove the two stickers from the back of the console. The large one is located above the connection ports, and the warranty sticker can be found below.
- As you remove these, you will notice two screws beneath that will require a T8 screw bit to remove.
- Remove these screws and unclip the back of the case starting at the bottom to reveal the contents inside the console.
- You will notice that there are interior grills that may need to be cleaned. You can also get it under the heatsink without taking any more components out to clean any build up from there, but it is worth continuing to get the best results.
- At the top of the base below the fan, you will see three more screws. Remove these screws and the fan will pop out, allowing you to clean all the dust that has built up on the blades or inside the top of the case.
- Next, you will want to turn the case upside down, locating the clip holding the base plate to the case. Once you have found this clip remove it to reveal the remaining screws beneath the plate.
- Once you have unscrewed these you will be able to take out the coverings for the optical drive, allowing you to completely remove it from the case.
- Finally, if all the screws are removed, you can take all the remaining components out of the case as they are joined together, allowing you to get completely around the case and all components ensuring that are cleaned adequately.
It is important to remember how you took the console apart to put it back together. If necessary, you can follow these steps in reverse to reassemble the console.
Dot Esports is supported by our audience. When you purchase through links on our site, we may earn a small affiliate commission. Learn more about our Affiliate Policy


Published: Nov 10, 2020 02:16 pm