Destiny 2’s Episode Echoes brings back Failsafe, with the Exodus Black AI coming to the H.E.L.M. as players explore Nessus. As part of the seasonal storyline, she’ll grant players a proximity sensor, which allows them to track specific items as part of the Rising Chorus quest.
Failsafe’s Proximity Sensor is essential during the second week of Act One of A Rising Chorus. She asks players to recover samples to advance the story and track down another specimen. Here are all the locations on Nessus that you need to scan as part of Destiny 2‘s seasonal storyline.
How to deploy Failsafe’s proximity sensor in Destiny 2

Failsafe’s proximity sensor appears as a buff on the left side of your screen. This tells you how much closer you’re getting to the target location, and it also comes with complementary Failsafe beeping to aid you. It’s unclear if these locations change between players.
Failsafe Proximity Sensor locations: Exodus Black, Glade of Echoes, and Hallows
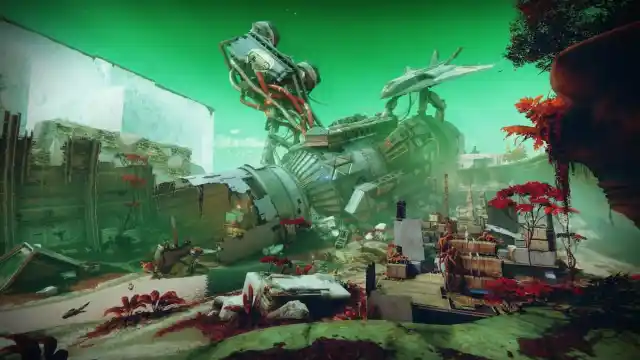
Your first location is the Exodus Black on Nessus, so drop there and follow the proximity bar to find a scannable object. To us, this was inside a cylinder close to a Vex wall, after the entrance to the Rift Lost Sector.

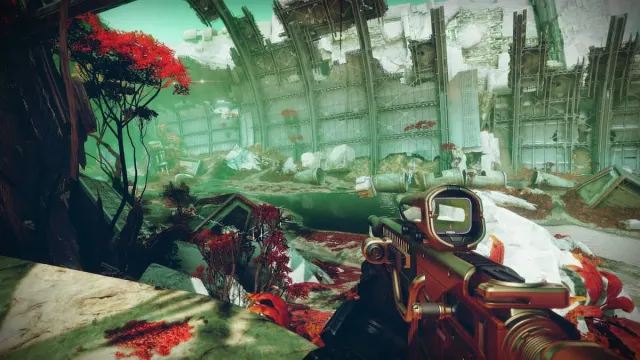
After that, you must go to the Glade of Echoes. Head there from the Exodus Black and you can find another scannable object in a cave-like part of the crash site, just past the entrance to the Carrion Pit Lost Sector. It’s just before the path to the remains of the ship, which you must take for the Exodus Crash Strike.

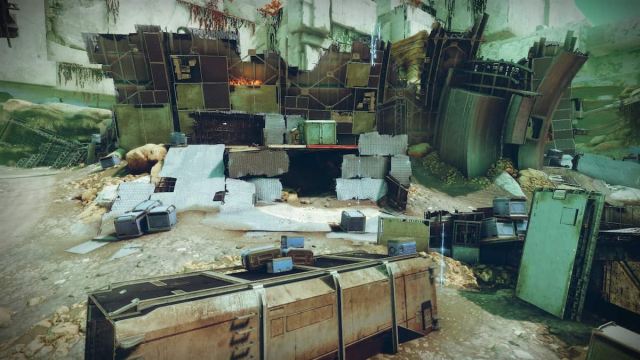
The last object you need to find with Failsafe’s proximity sensor is on the Hallows. Turn around and, instead of heading to the Exodus Black area, take the path on the left to get to the Hallows. Your target is inside the area with the Vex globe on your left. Head straight, then take the first right to find it. You’ll also find a Specimen nearby, above a ledge.
This should clear this section of the mission, sending you back to Failsafe. She’ll ask you to find Specimen NES:002-C on a Breach Executable mission, then deposit it in a specific room in the Exodus Crash Strike.


Published: Jun 18, 2024 9:39 PM UTC