
The first act of the Destiny 2 Episode, Echoes, begins with us focusing on Nessus and Failsafe. We’ll be working alongside Failsafe throughout this Episode, and the main quest you get at the start is called A Rising Chorus: Act 1.
These quests take you through various activities you’ll be working on while exploring Nessus and going through the seasonal activity Arena: Breach Executable. There are a lot of mysteries to unravel to learn about what the Vex are up to on Nessus and how it ties into a new developing threat in Destiny 2.
How to complete Rising Chorus Act 1 in Destiny 2
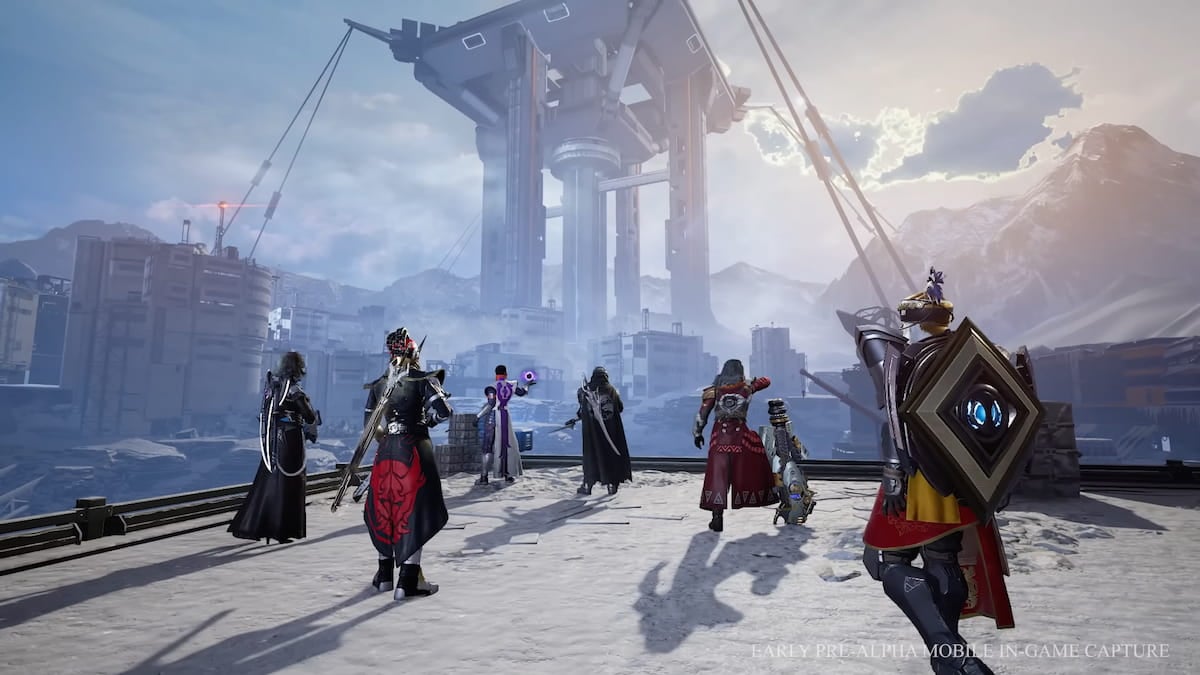
There are 25 steps to complete this quest, and it’s the first act of this Episode. We can expect more tasks to do to keep us occupied throughout this Episode in Destiny 2. For now, we have a handful of things we can do, and they focus on what’s happening on Nessus and what the Vex are doing with the planet. It’s time to group up and lead an investigation team alongside Failsafe to learn what’s happening. Still, this is only the beginning of what’s next in Destiny 2.
A Rising Chorus: Act 1, step 1
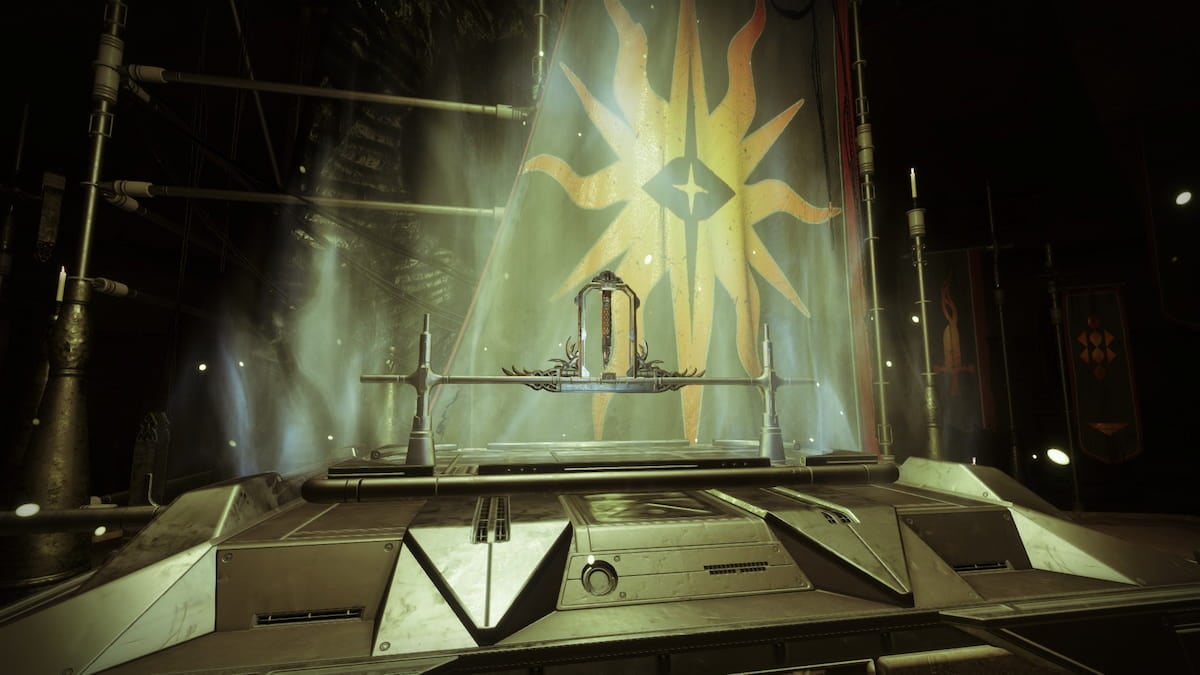
The first step is to complete the first mission, where you land on Nessus to help Failsafe. This has you bringing Failsafe back to the H.E.L.M., where they can speak with Osiris and Saint-14. After you’ve done this, Failsafe has you go through the first seasonal activity, Arena: Breach Executable. Upon completing it once and obtaining the rewards from this quest, Failsafe hands you this quest as a reward, along with a way to obtain samples for the next step.
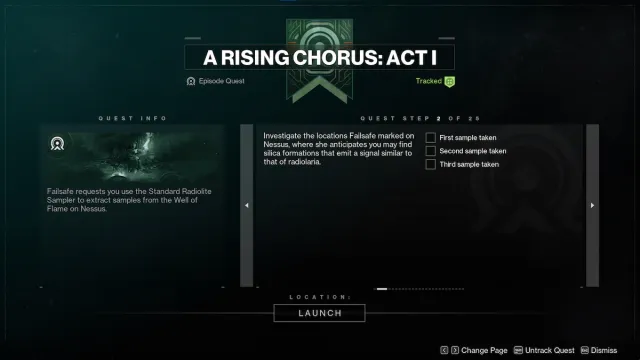
A Rising Chorus Act 1, step 2
The next step is to track down three samples for Failsafe. These samples emit a signal similar to that of radiolaria. Each location is marked on your map while on Nessus, and you can make your way to these locations at any time. When you arrive to obtain a sample, interact with it to pick it up. You’ll need to do this at each marked location.
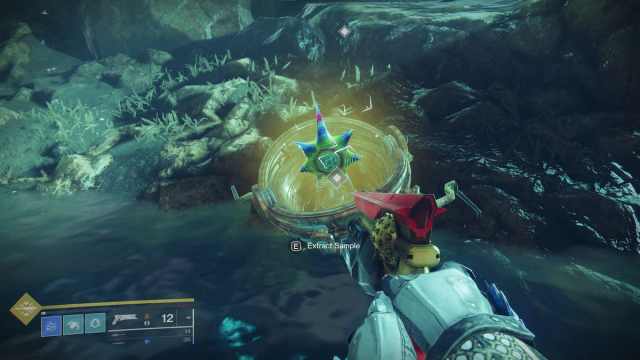
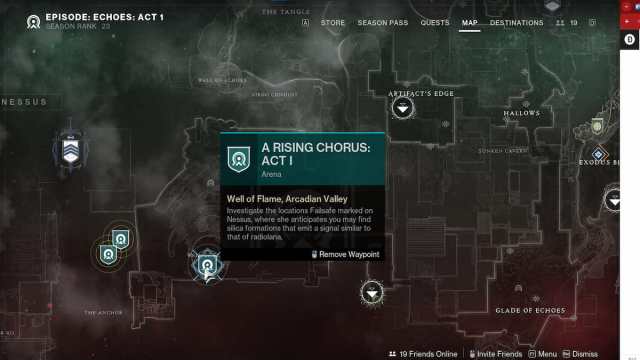
A Rising Chorus, Act 1, step 3
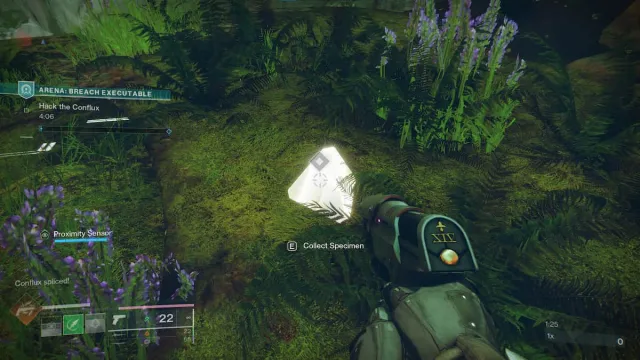
A Suppression Field traps you immediately after you collect the final specimen for Failsafe. A unique object appears a short distance away from you. All you need to do is defeat the nearby Vex that appeared to take you out and grab the sample in The Well of Flame. A waypoint should be marked above it.
A Rising Chorus, Act 1, step 4
After collecting the sample, return to the H.E.L.M. and give Failsafe the unknown specimen. They’ll be able to process this and provide you with more thorough information about it. They’ll begin analyzing it after you interact with Failsafe next to the Wartable.
A Rising Chorus, Act 1, step 5
Shortly after giving Failsafe the unknown sample you found, they’ll discuss it with you. Failspeak shares that Nessus is transforming, as are the Vex. What exactly does that mean? Failsafe can’t be for certain. They know what’s happening will be big, but it won’t happen immediately.
A Rising Chorus Act 1, step 6
Once the conversation with Failsafe has finished, the next step won’t unlock. Instead, Failsafe needs to analyze the sample you provided them and plans to report back later. We can expect to return to Failsafe next week and work through the next steps of this quest in Destiny 2.
A Rising Chorus Act 2, Step 7
We’re back with another week of Destiny 2 tasks. Make your way to the H.E.L.M. to speak with Failsafe and learn what you’ll be working on next.
A Rising Chorus Act 2, Step 8
Failsafe needs you to make your way to Nessus and wants you to place down a proximity sensor in the Exodus Black region of the planet. You have to use your proximity readings to track it down and progress the quest. When you arrive, there’s a small icon you can interact with to complete the scan for Failsafe. After the scan, expect a Vex ambush.
A Rising Chorus Act 2, Step 9
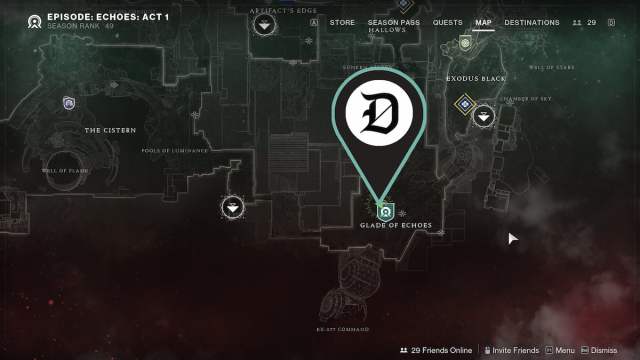
The next area you need to visit is in the Glade of Echoes region, south of your current location. You can use your Sparrow to reach it and watch your HUD to narrow down the precise location Failsafe needs you to scan. You receive another Vex ambush once you complete the scan.
A Rising Chorus Act 2, Step 10
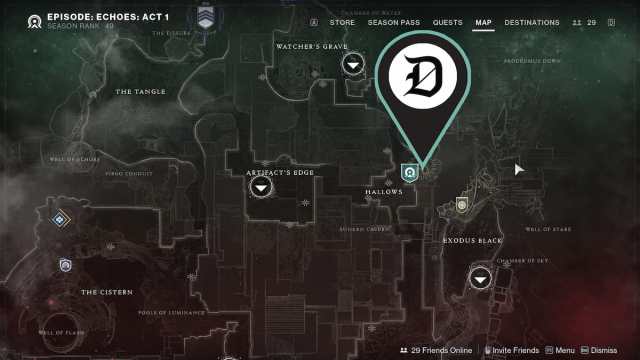
For the next location, Failsafe needs you to head north and make your way to the Hallows. Call your Sparrow again to make your way there, and repeat the process. Thankfully, no Vex ambush this time.
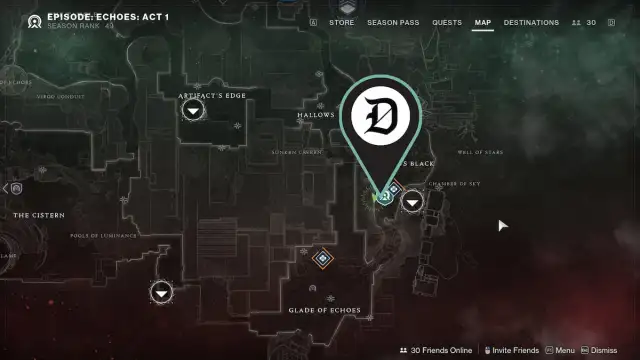
A Rising Chorus Act 2, Step 11
On top of the rocks of the final scan location is a Specimen Failsafe wants you to grab. Look up from your current location and obtain the Specimen. It should look like a glowing mote on the cliffs.
A Rising Chorus Act 2, Step 12
After you obtain the new sample, the next step is to launch the Exodus Crash Strike and deliver the specimen to the terminal in the mainframe room. You need to work through the end of this Strike to complete it.
A Rising Chorus Act 2, Step 13
It’s time to return to Nessus through the Breach Executable for the next step. Here, your task is to track down the NES002-C sample for Failsafe and bring it back to her on the H.E.L.M. Like to the previous steps in this series of tasks where you had to use the proximity detector on your HUD to find the proper location to scan, do the same to find the NES002-C sample.
A Rising Chorus Act 2, Step 14
The next thing to do is to return to the H.E.L.M. and present Failsafe with the sample you discovered. She’ll be pleased with your work, but she will need some time to operate on it, and will report back to you after it’s finished.
A Rising Chorus Act 2, Step 15
Speak with Failsafe on the H.E.L.M., where Ikora will update you on what her agents have discovered following the death of the Witness and the aurora coming out from the Traveler. She encourages you to continue working with Failsafe.
A Rising Chorus Act 2, Step 16
Now that you’ve finished talking with Ikora and Failsafe, the tasks you must complete this week are finished. Return to the H.E.L.M. to learn what happens next.
We’ll be updating this guide when the next quest steps are available.


Published: Jun 18, 2024 04:24 pm