After you complete The Edge of Fate campaign in Destiny 2, your next order of business (apart from completing side quests, like Dark Academia) is to jump into the Fabled difficulty. The Fabled world tier is at 150 Power, and allows you to get Tier 2 gear consistently.
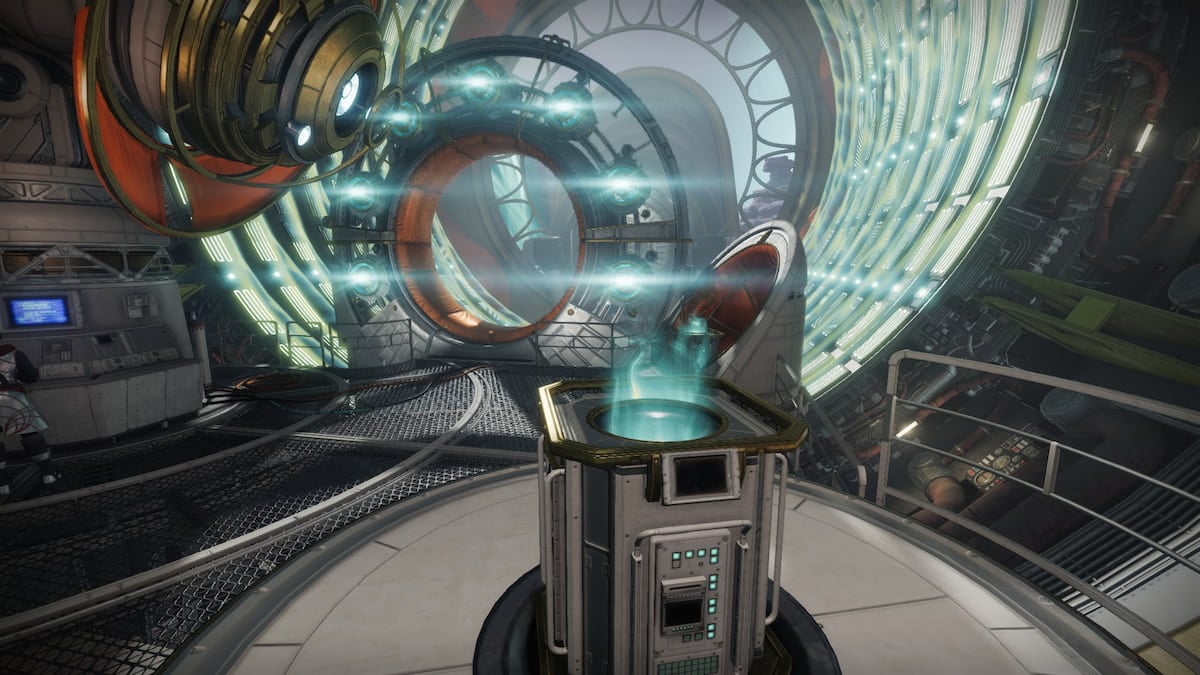
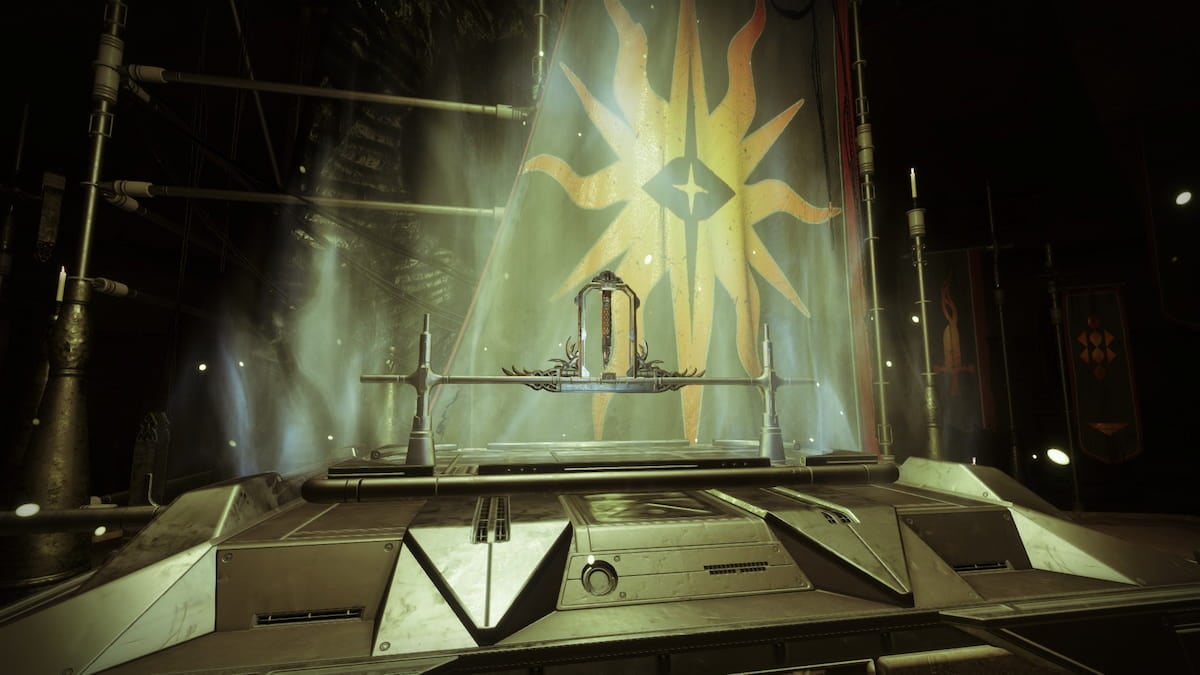
Once you jump into the Fabled Kepler, you can pick up the Explore Kepler: Fabled quest at the Altar of Relativity. It requires you to collect a total of six Strangelets, including four that you’ve already seen before and two new ones.
Here’s how to complete the Explore Kepler: Fabled quest and collect all Strangelets in Destiny 2.
Table of contents
Explore Kepler: Fabled quest walkthrough in Destiny 2
Replay four campaign missions
The first four Strangelets are tied to the same campaign missions you played before. There are four red markers on the map that lead to the mission start banners. Go there and complete all missions as normal. After each mission, head back to the Altar of Relativity and insert the Strangelet.
This step is a bit of a drag, as these missions are nothing new. At the very least, you can shorten traversal and puzzle time by transforming into the Matterspark, now that you can do that anywhere with no time restrictions.
Find two secret Strangelets
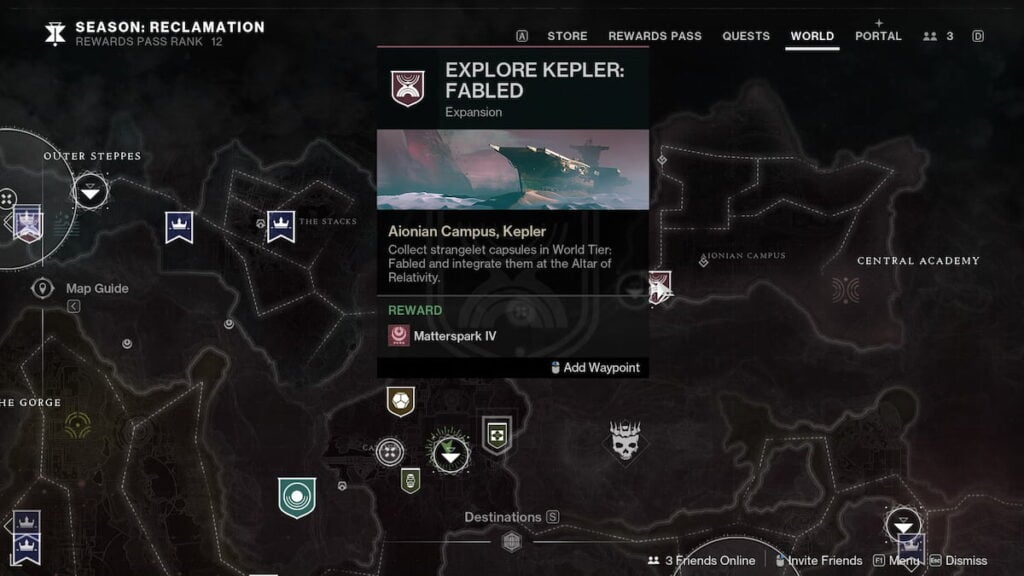
The last two Strangelets are hidden in the open world. You can see two large search areas in the Outer Wastes (top left) and Curtilage Divide (bottom right) areas of the map.
Outer Wastes
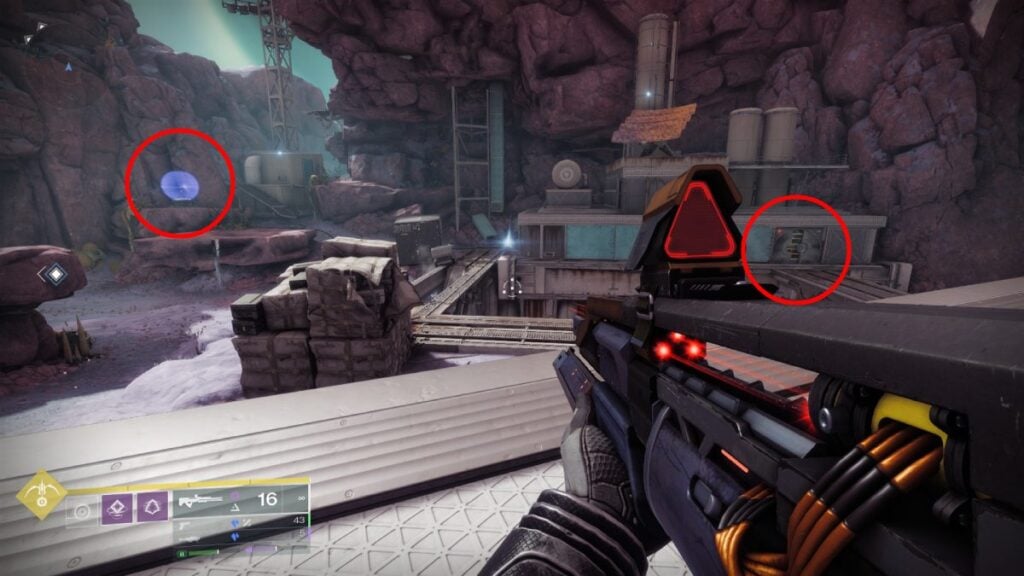
In the Outer Wastes search area, you can see the Strangelet shielded with a fallen barrier on a ledge. There’s also a facility on the far side with a door, protected by lasers. Behind that door, there’s a target for the Relocator.
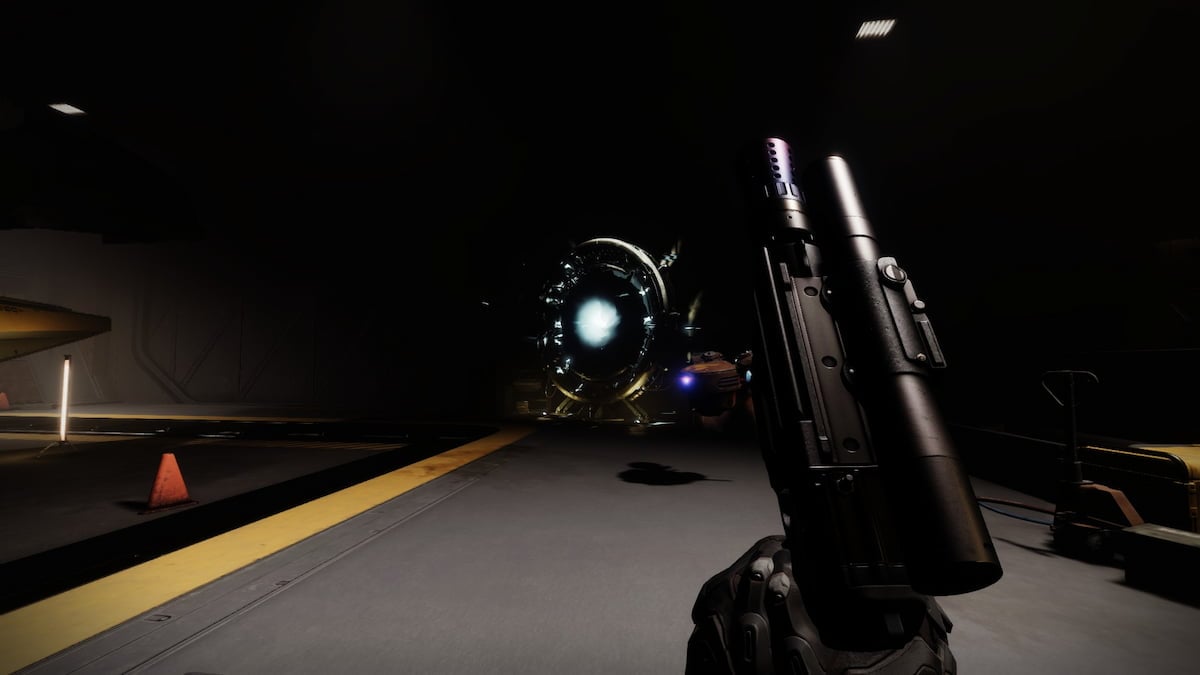
Go past the facility to find a Relocator cannon and a portal next to the mission beacon. Fire the Relocator at the target behind lasers, then return to the portal. Inside the facility, jump down the hatch and use Matterspark to reach a Fallen terminal. Interact with the terminal, then head back.
You probably noticed there’s a rally banner spot now. Rally and activate the signal beacon using the terminal next to it. This kicks off a fight with the Eliksni. You must kill two Captains and a Walker before the six-minute timer expires. Collect the Strangelet and deliver it back to the Altar.
Curtilage Divide
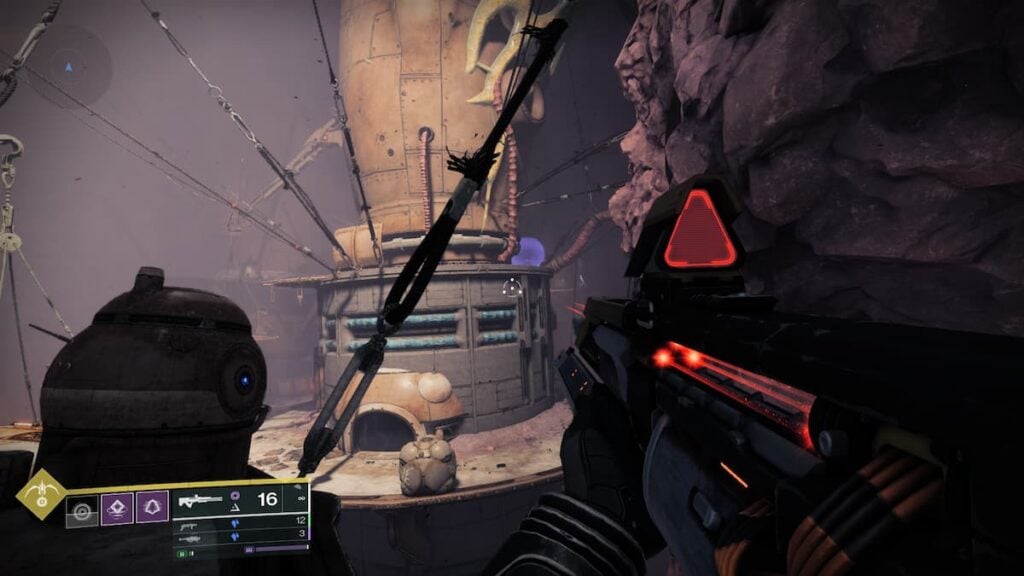
The next one is a bit trickier. Head to the Curtilage Divide by going south from the area’s landing zone until you reach the room with cables and hanging platforms. On top of the middle structure, there’s the Strangelet blocked with the shield.
While standing on the Strangelet and looking at the back of the room, there are three locations you should note:
- Lasered door in the bottom right. That’s where the Relocator is.
- Matter Realignment across the room.
- A small room at the top of the area.

Go to the lasered door, disable the barriers, and get the Relocator. Bring it to the Matter Realignment spore and grab the ability. Move the platforms between you and the Strangelet to form a bridge. Carry the Relocator to the room at the top and fire it at the target inside (the portal is on the final platform). Inside, interact with the terminal to activate system purge.
Now, go back to the Strangelet, rally to the banner, activate the system purge below it, and prepare for another fight. This one doesn’t have a timer, but you must defuse occasional splinter mines that the boss spawns around the room. Defeat the boss and deliver the Strangelet to the Altar.
Defeat The Archon on Fabled difficulty
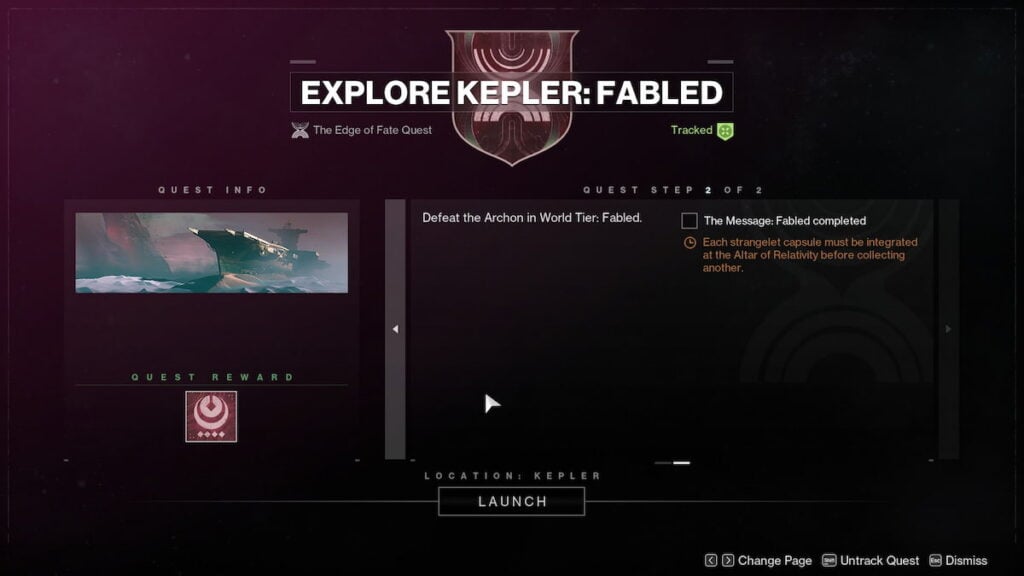
The final step in the Explore Kepler: Fabled quest is to defeat The Archon in the final mission of The Edge of Fate campaign on Fabled difficulty. It’s a lengthy mission with three boss fights, and the combatants are stronger than in most other activities on Fabled difficulty.


Published: Jul 18, 2025 03:51 am