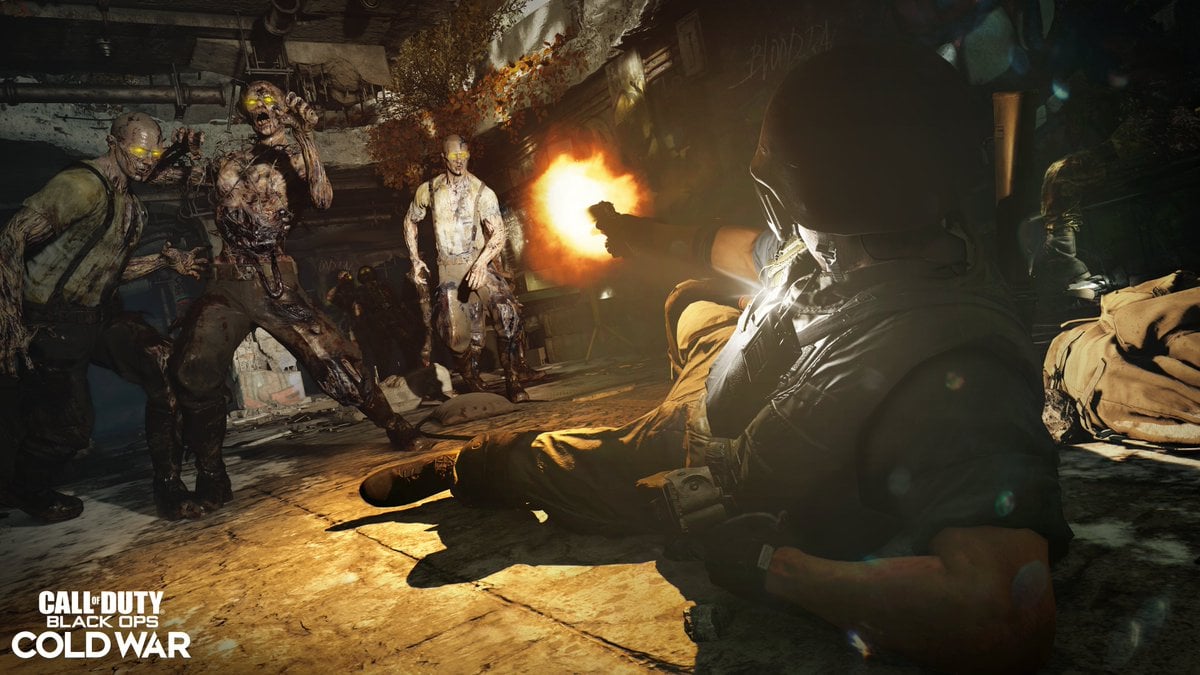
The Zombies game mode has become a staple of the Call of Duty franchise since its introduction in World at War, which was released in 2009. Though the game mode is quite different from what you may be accustomed to in multiplayer and battle royale modes, it’s become an excellent alternative to test how long you can survive against all odds.
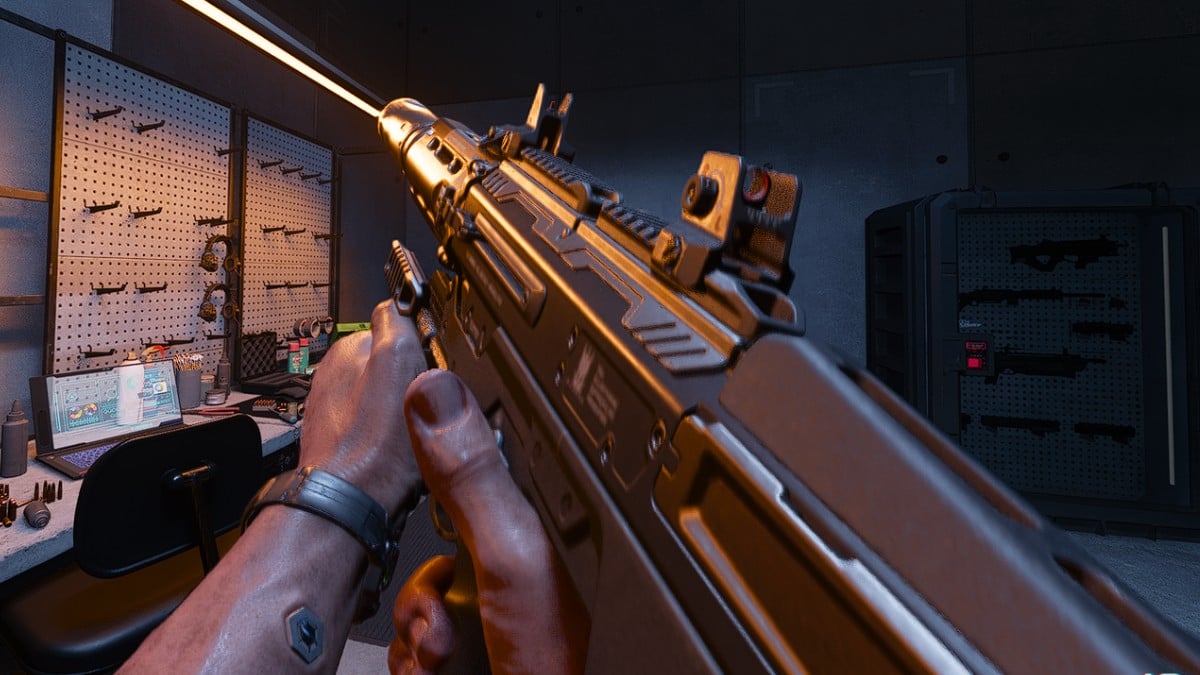
CoD developers also enjoy hiding Easter eggs inside Zombies maps—and the D.I.E. Shockwave Wonder Weapon is just one of many. As its name may suggest, the weapon is only obtainable while playing the Die Maschine map and you’ll need to jump through a few hoops to unlock it (if you don’t get one from the Mystery Box).
If you’re dedicated enough, you can also upgrade it in four different ways. These upgrades will require you to complete extra side missions. While it may sound like a hefty time investment, taking down your first zombies with your upgraded D.I.E weapon will be a one-of-a-kind experience.
Here’s how you can unlock the D.I.E. Shockwave Wonder Weapon and get each of its elemental upgrades.
How to unlock the D.I.E. Shockwave Wonder Weapon on Die Maschine
Before proceeding to unlock any of the weapon’s upgrades, you’ll need to get your hands on it first. Turning on the power and building the Pack-a-Punch machine in the Dark Aether are going to be the first steps you’ll need to complete.
Turn on the power
Turning on the power is relatively easy since you’ll just need to follow the purple arrows starting from your spawn location. Each purple arrow will direct you to a blocked path, which you’ll need to unlock by spending some of your cash.
Following the purple arrows and moving through every obstacle will lead you to a room with the power button. Look above the consoles to find the power button and press it to turn it on.
Activate the terminals
Once you turn on the power, you’ll notice two labeled terminals in the Particle Accelerator room. Activate both of them to proceed.
Step into the Dark Aether portal
Activating both of the terminals will grant you access to the Dark Aether portal, which you’ll need to enter.
Head over to Medical Bay or Weapons Lab
You’ll need to race against a timer to get the Pack-a-Punch machine part from either the Medical Bay or Weapons Lab. If you take long enough, you’ll be teleported back and have to fight against zombies before activating the portal again.
Once you teleport through the portal, look for the Medical Bay or Weapons Lab, which will be marked on your map. Search for the Machine Part after getting to whichever area it’s in for that specific game and collect it for future use.
Go to the Particle Accelerator Room
After picking up the Machine Part, you’ll need to rush over to the Particle Accelerator Room while staying in the Aether realm.
With the Machine Part in your hands, you’ll be able to forge the Pack-a-Punch machine. Doing so will make it appear in the real world. You’ll get the chance to use it once you return to reality.
Kill the radioactive zombie
Completing the procedure above will cause a radioactive zombie to respawn in a following round. This zombie is quite mobile and even splits into two. Defeating this zombie will award you with a golden keycard.
You’ll need to pick up the keycard to get closer to holding the D.I.E. weapon in your hands.
Make your way to the Weapons Lab
You should be familiar with the directions by now and it should take you less than a minute to get to the Weapons Lab.
Look for the drawer that’s blinking with a red light and insert the keycard. Doing so will unlock the D.I.E. remote control.
Go to the Living Room
With the remote control in your inventory, you’ll need to head over to the Living Room and place it in the door that doesn’t collapse with a melee hit. There’s a skeleton holding the D.I.E. weapon behind that door and you’ll tear it down with the help of the D.I.E. remote control.
Place it on the door and start leading zombies near it. The device will suck the zombies inside to charge the trap you placed and you’ll need to discharge it manually to tear down the door.
You’ll then find the weapon in the hands of a skeleton laying on the floor and you can pick it up for free.
How to unlock all four upgrades for the D.I.E Shockwave Wonder Weapon on Die Maschine
The base D.I.E. weapon is already intimidating enough, but no one would pass up on the opportunity to make it even more powerful. There are a total of four upgrades and each changes your weapon for the better.
The electric D.I.E. upgrade
After you activate the Pack-a-Punch machine, a portal will spawn under the stairs in the Particle Accelerator. You’ll want to enter through this portal, which will start a time-based side quest. Completing it will unlock the electric upgrade for your weapon—and you don’t even have to do it in all one go.
The portal in question may spawn instantly and you may need to play through a couple of rounds more for it to appear.
Once you teleport to the other side, though, you’ll need to search for glowing crystals, which you’ll be able to suck up to supercharge your D.I.E. weapon. Head back to the Particle Accelerator room and look for a box that will be placed in the same place as the portal you activated to get to the side quest.
You’ll need to shoot this little box three times after sucking up three glowing crystals. Doing so will be enough to unlock the upgrade. Pick up the D.I.E. Electrobolt to complete the electric upgrade.
The fire D.I.E upgrade
After picking up the base D.I.E. weapon, head outside to the Crash Site and look for a crashed plane’s frontal remains. Approach from the back and shoot the box you’ll see until it opens.
This will trigger another Dark Aether portal, which will also spawn outside. Entering the portal will teleport you next to the same plane’s remains, but they’ll start floating slowly. Once the plane lifts high enough, you’ll be able to collect the fuses underneath.
Make your way to the Weapons Lab and look for Deadshot Daiquiri. Place the fuses into the plasma cutter. This will cut the box in half and you’ll be ejected out of the Aether Portal.
Head over to Pond and the Thermophasic upgrade will be waiting for you inside a box that will be on top of a mini truck.
The cryofreeze D.I.E. upgrade
The cryofreeze upgrade is one of the more time-consuming ones since you’ll need to play around with a few mechanics. Head over to the top of the Penthouse and shoot down a box that will be resting on one of the pillars with your D.I.E. weapon.
The box will break when it touches the floor and leave an empty vial behind. Pick up the vial and try to drag a radioactive zombie to where you picked it up. The tree next to the portal has a mushroom-like item attached to its side and you’ll need to get the radioactive zombie to shoot it to create a chemical reaction.
A voice queue will get triggered to indicate that you successfully started the reaction. Once the mushroom starts glowing, you’ll need to place the empty vial beneath it. You’ll need to wait a little bit before the vial gets filled, but then pick it up when it’s full.
Head over to the Medical Bay with the full vial in your inventory. Look out for the Speed Cola machine since the box you’ll be opening is close to it. Use your vial to freeze off the chains on the small box.
This will open the box and grant you the Cryo-Emitter upgrade for your D.I.E. weapon.
The Nova-5 D.I.E. upgrade
Head over to the top floor of the Mezzanine area of the map and get closer to the left edge. You’ll notice a canister that’s stuck on the side of the map that you can’t get to. But you can use your D.I.E. weapon’s suction mechanic to draw it near you. Pick it up afterward and make your way to Deadshot Daiquiri, located in Weapons Lab.
Place the canister and get ready to fight a Plaguehound. As you kill it near the canister, you’ll see that its essence will get sucked into it. You should hear a quote if you successfully complete this stage. You can then go ahead and pick it back up. Its name should change to Plaguehound Gas at this point.
Get back to the plane area close to the Crash Site and place the Plaguehound Gas at the top of the final box. Take a few steps back and shoot it to make it explode. As the smoke blows over, you’ll be able to pick up the Nova-5 upgrade for your D.I.E. weapon.







Published: Nov 17, 2020 06:29 pm