
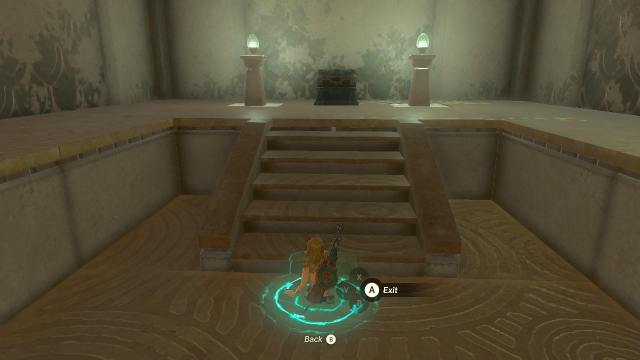
Orochium Shrine is one of the first shrines you’ll encounter when heading into Hyrule’s snowy depths. As far as Shrines go in The Legend of Zelda: Tears of the Kingdom, this is up there among the most confusing, at first glance.
When you first get a look at the location, things are immediately clear as to what you need to do. I know I spent a few minutes scouting the terrain before putting together a plan of attack, and I’d suspect this is where most players are at.
Fortunately, if you’re looking to get things done as soon as possible then there is a simple order you can use to get the job done.
How to solve the Orochium Shrine in Zelda: Tears of the Kingdom
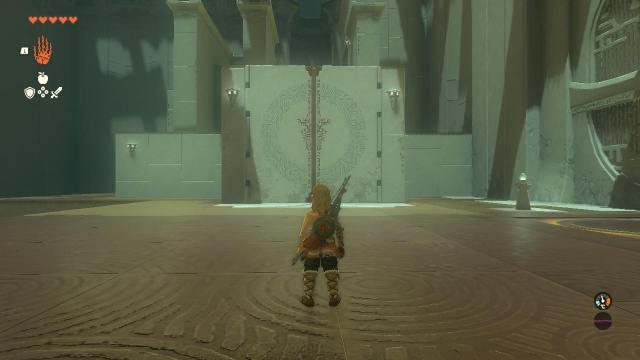
Orochium Shrine is quite the intimidating looking Shrine when you first enter, however, once you get situated it’s easier. You’ll first want to head straight forward and use Ultrahand to pull open the massive gates directly in front of the entrance.
Now with them open, instead of going forward head around the structure’s left side taking out the enemy, and rising to the top with Ascend.
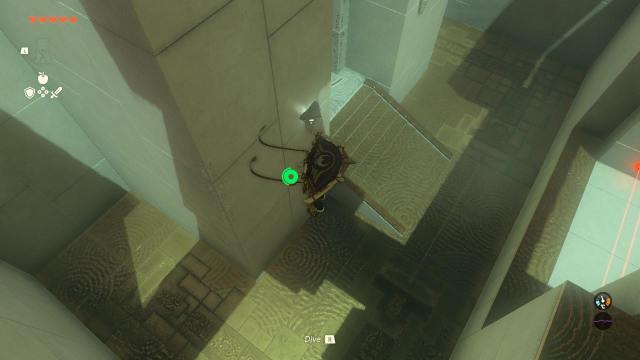
Climb the ladder then crouch and walk through until you see the large dropoff with an enemy below. Use a falling attack to quickly take out this foe then head around the path and give his pal the same fate. This will give you access to the Shrine’s chest.
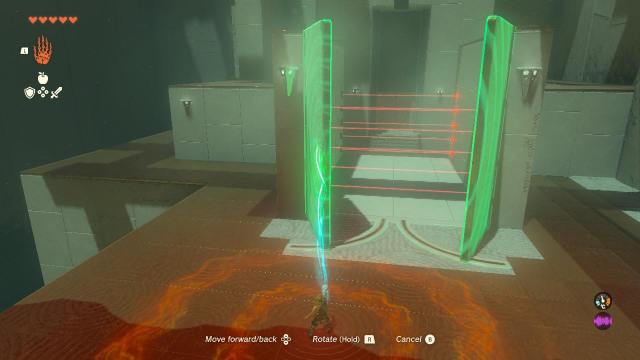
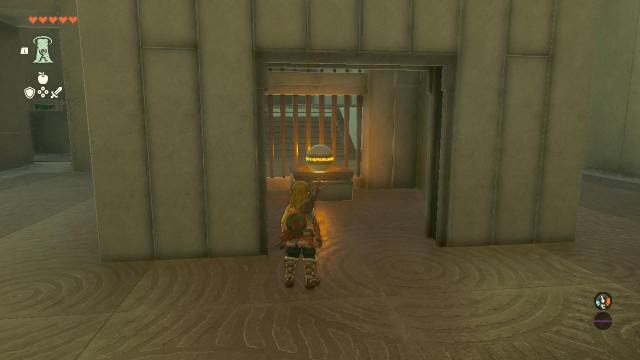
From here, use Ultrahand once again to open the middle doors and walk directly into the closest laser. This will drop you through a trap door.
Related: How to complete the Susuyai Shrine in Zelda: Tears of the Kingdom
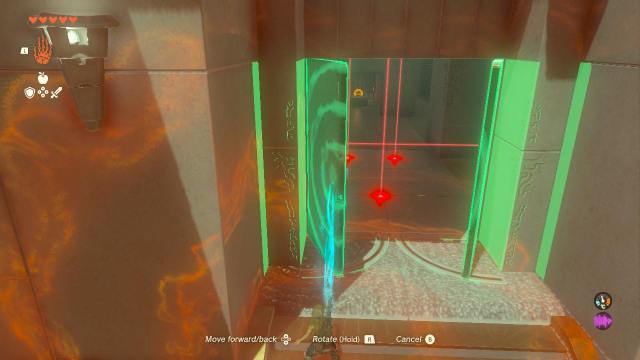
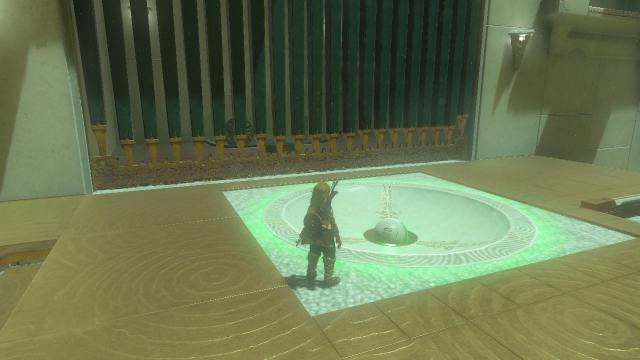
Avoid the other lasers until you’ve reached the end of this corridor where there is a chest containing a key. Now, use Ascend to head up to the Shrine’s center chamber, take out the enemies around the caged ball, and finally use your key to open the cage.
With Ultrahand, pick up the ball and carry it back to the lifting platforms behind you so that you can head up to the Shrine’s highest point. From here you’ll need to place the ball in its slot so that you can open the door to expose a glider.
Now, with Ultrahand again, pull the glider onto the track, attach the ball with Ultrahand, and activate the fans to send it towards the Shrine’s entry. You’ve probably guessed what to do from here, but if you haven’t simply unstick the ball and place it in its final slot.
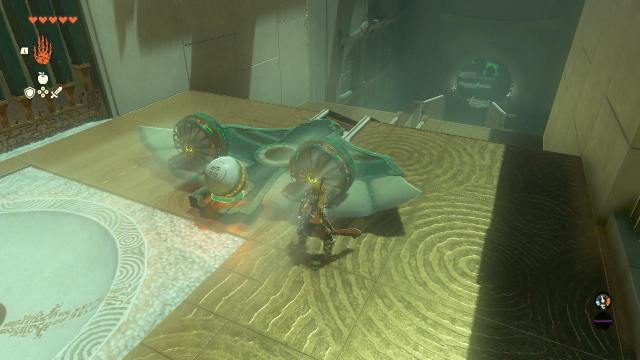
You’re done! This should give you access to the Shrine’s final room and the reward that awaits.


Published: May 14, 2023 09:23 pm