
Poppy Playtime: Chapter 4 takes a step back from the platforming and dips its toes into puzzle-solving. Sorting power cells while running from monsters isn’t the only thing you need to worry about, as your progress is hindered by terminals you need to crack by finding the code.
Thankfully, there aren’t many puzzles in Poppy Playtime, and these codes are easy to crack once you find their clue. So, here are all the codes and the puzzle solutions you need to progress and beat Poppy Playtime: Chapter 4.
Table of contents
All keypad codes in Poppy Playtime: Chapter 4
Cell Block puzzle

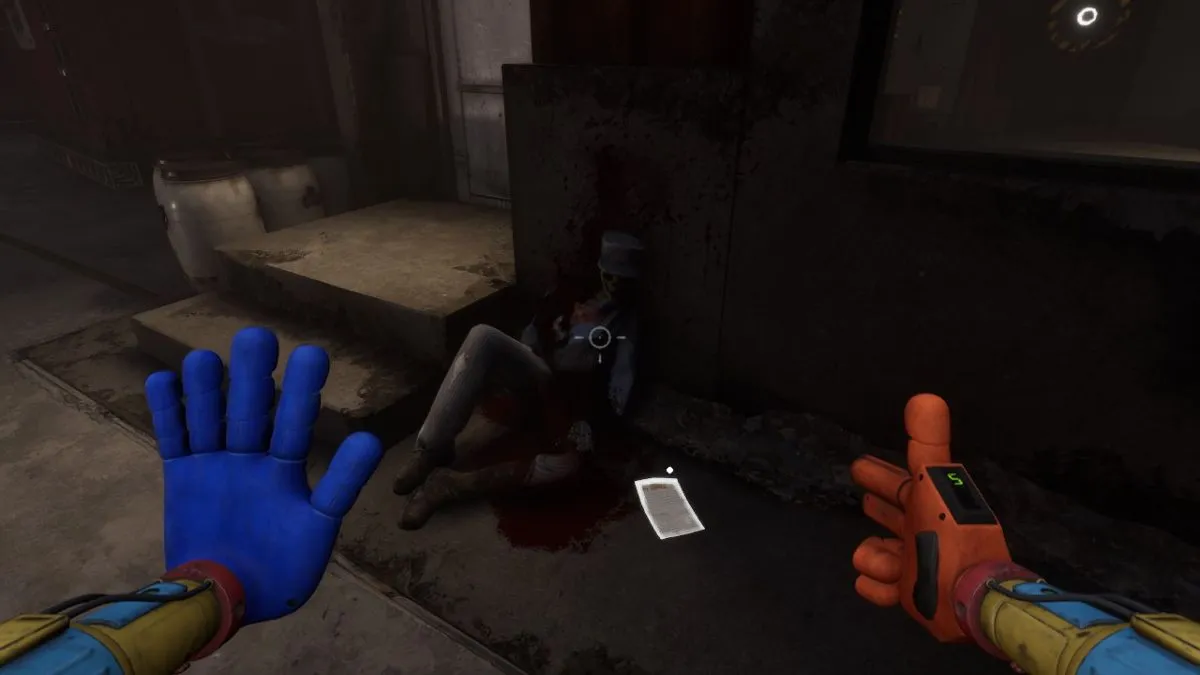
The first puzzle takes place immediately after surviving the encounter against a Nightmare Critter and Mini Huggy mob inside the Prison Block. You will find a Control Room on the upper deck where a hangman game on the white board gives the clue to solving this puzzle. The hangman reveals the answer is “CELL.” Look at the Assignments list next to the hangman game to see what number corresponds to each letter of the word “CELL.” This translates to:
- C – 3
- E – 2
- L – 5
- L – 5

Input 3 2 5 5 into the terminal and press the red button to unlock the door at the other side of the Control Room. You can move onto the next Cell Block where another puzzle resides.
Red Smoke puzzle

You need to clear the red smoke that’s filled the Prison Block, as being in it for too long will cause hallucinations and kill you from prolonged exposure. So, how do we solve this? The answer you’re looking for is on the calendar in the Control Room of the upper deck. The hint is on the yellow post-it note with the word “CAGE” on it.
Look at the calendar and find each letter to create “CAGE,” then take the number each letter corresponds to. You should end up with this solution:
- C – 3
- A – 6
- G – 4
- E – 2

Therefore, the code you need to input on the terminal is 3 6 4 2. The glass case will lift, inviting you to press the big red button. The red smoke dissipates, clearing the Cell Block. You can move on from this area by jumping through the open window to the left of the terminal. There’s no reason to go back downstairs.
Prison Yard puzzle

The next puzzle takes place inside the Prison Yard. This is shortly after meeting Doey the Doughman. Trapped on the other side, collect four levers to unlock the door and reach Doey. One of the levers is inside the locker on the upper level. The clue here is on the whiteboard next to the locker. This tells us that we need to look at the four towers in each corner of the Prison Yard. This key tells us the order, which corresponds to the number written on each tower.

Each tower starts with the number three, therefore we need to look at the second number when the tower has two digits. Based on the key provided, here is the solution:
- Blue – 3
- Green – 0
- Yellow – 2
- Red – 1
Therefore, the code you need to obtain a lever is 3 0 2 1. Input this to get one of the four levers you need to escape the Prison Yard.
Secondary Labs puzzle

The final puzzle Poppy Playtime: Chapter 4 throws at you is inside the Doctor’s Domain. This is by far the hardest puzzle in the series, giving you five deceased experiments you need to look for while dealing with the persistent red smoke. The Operating Room gives you everything you need to start the puzzle. It also acts as the start and end goal, being the main location you’ll spend most of your time in. What’s crucial here (if you want to know how to solve the puzzle without skipping straight to the five digit code) is learning the layout of the map.
The goal is to use the Dispenser in the rooms free from the red smoke to replenish your gas mask. You need to locate all five experiments dotted around this sector and interact with them (with “E”). Doing so adds their experiment number to their corresponding monitor back at the Operating Room.
We recommend running out for an experiment one at a time, otherwise you’ll run out of oxygen in your gas mask. Take your time and remember the layout. This will reduce the chances of panicking and it will keep your oxygen between 30 to 60 as you explore.

Return to the Operating Room after interacting with all five experiments. The clue to solving this puzzle is in the Secondary Lab Instructions. This points you to the anatomy chart in the room (there’s one near the Dispenser). The chart shows the anatomy of a man, with numbers on the body parts. These are:
- Head
- Arm
- Hand
- Leg
- Foot
You need to match each body part to one of the experiments. Each number of the code corresponds to the final digit of the experiments. Here is the solution:
- Head – 3
- Arm – 5
- Hand – 1
- Leg – 9
- Foot – 8
If you just want the code, then you can input 3 5 1 9 8, skipping the entire puzzle, and move on to the one-versus-one against Baba Chops.


Published: Feb 1, 2025 4:50 PM UTC