
Put names to those unfamiliar faces in Shadows of Doubt by making good use out of the Government Database.
Here is how to access the Government Database in Shadows of Doubt.
Shadows of Doubt: Government Database location
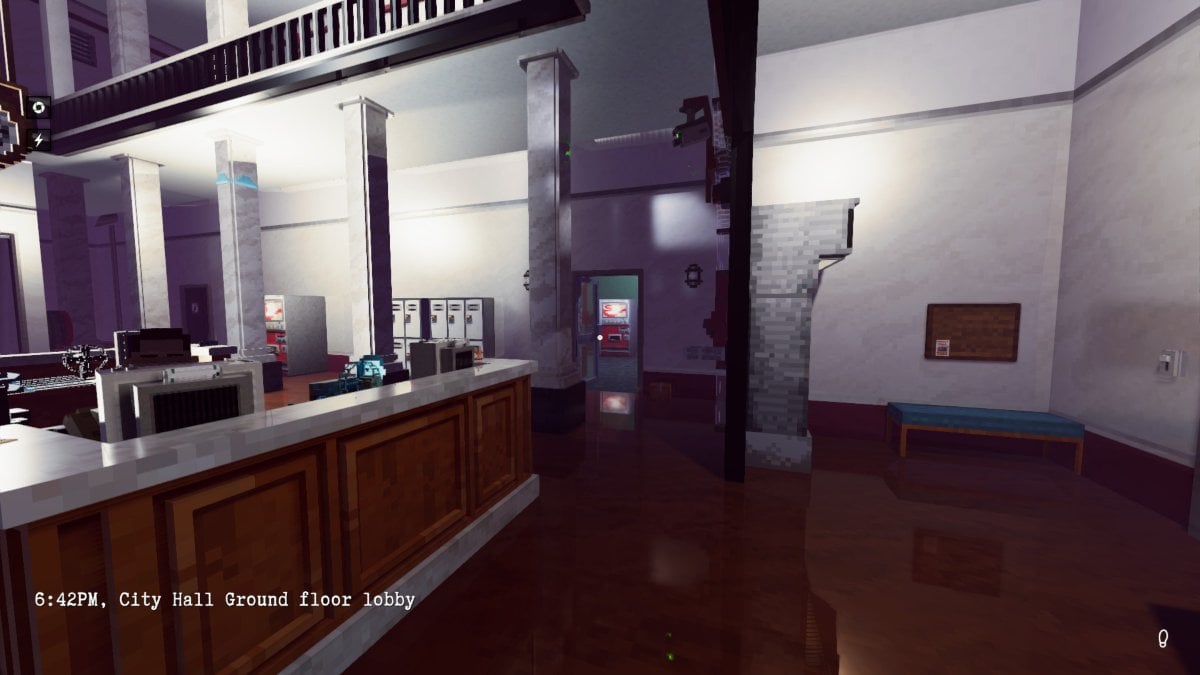
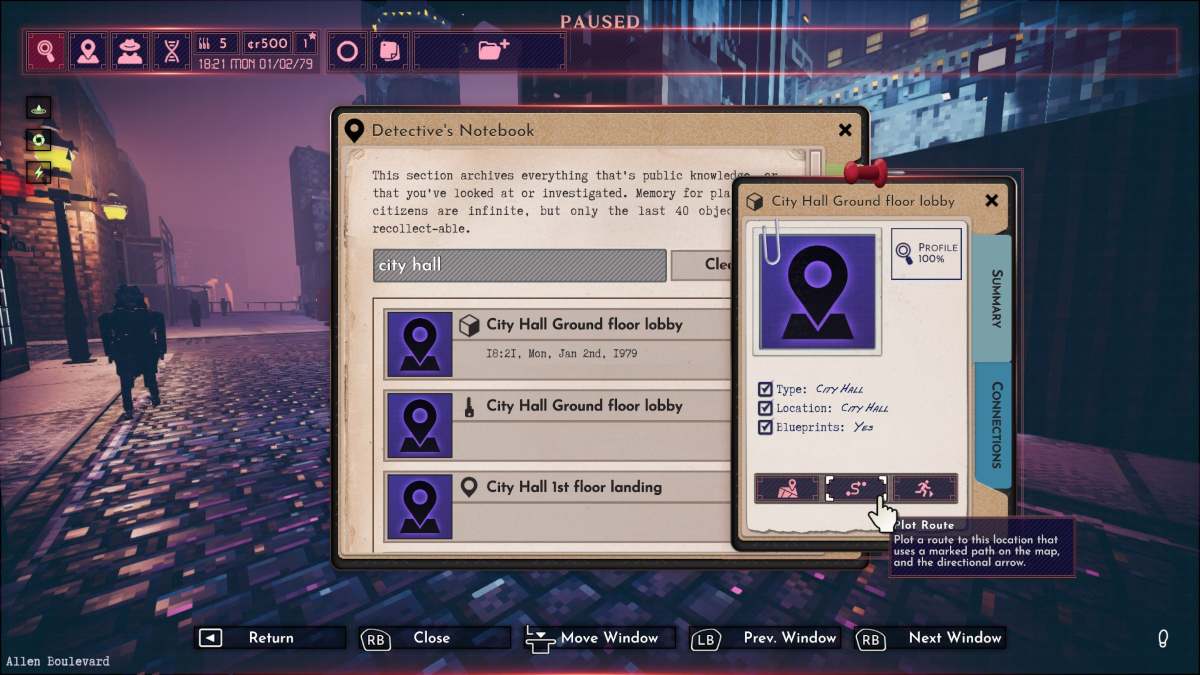
The Government Database is located exclusively inside the employee lounge of City Hall. Whether you’re playing on the default world—crafted by the developer—or have created a world seed for yourself, the City Hall is an important location in every city. If you’re uncertain where to find it, you can search “city” on your detective tab via the Detective Notebook (magnifying glass icon). Select any City Hall location to see its summary, then hit “Plot Route” for arrows to lead you to the destination.
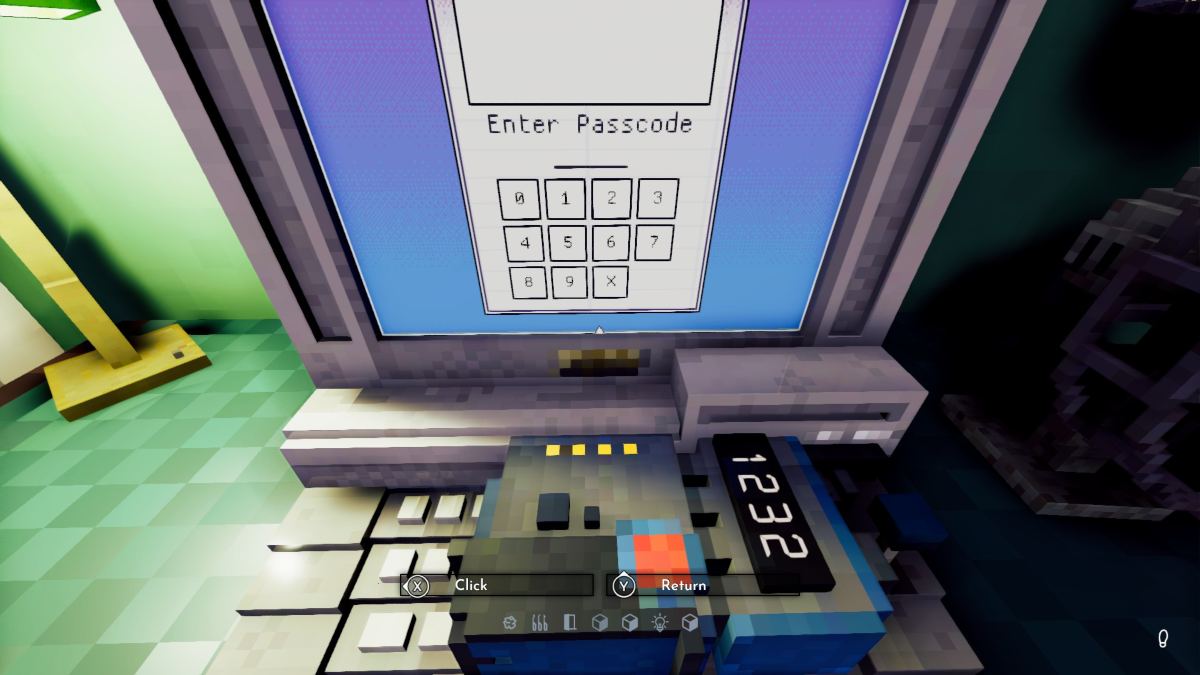
Once inside City Hall, head into the side room in the lobby, next to the front desk where you’d normally pick up or drop off case files. The Government Database is inside the Micro Cruncher in this room. Thankfully, this area isn’t restricted, so head on in and look for the passcode to access the PC. This computer shows surveillance cameras inside City Hall alongside the Employee and Government Database.
How to access the Government Database in Shadows of Doubt

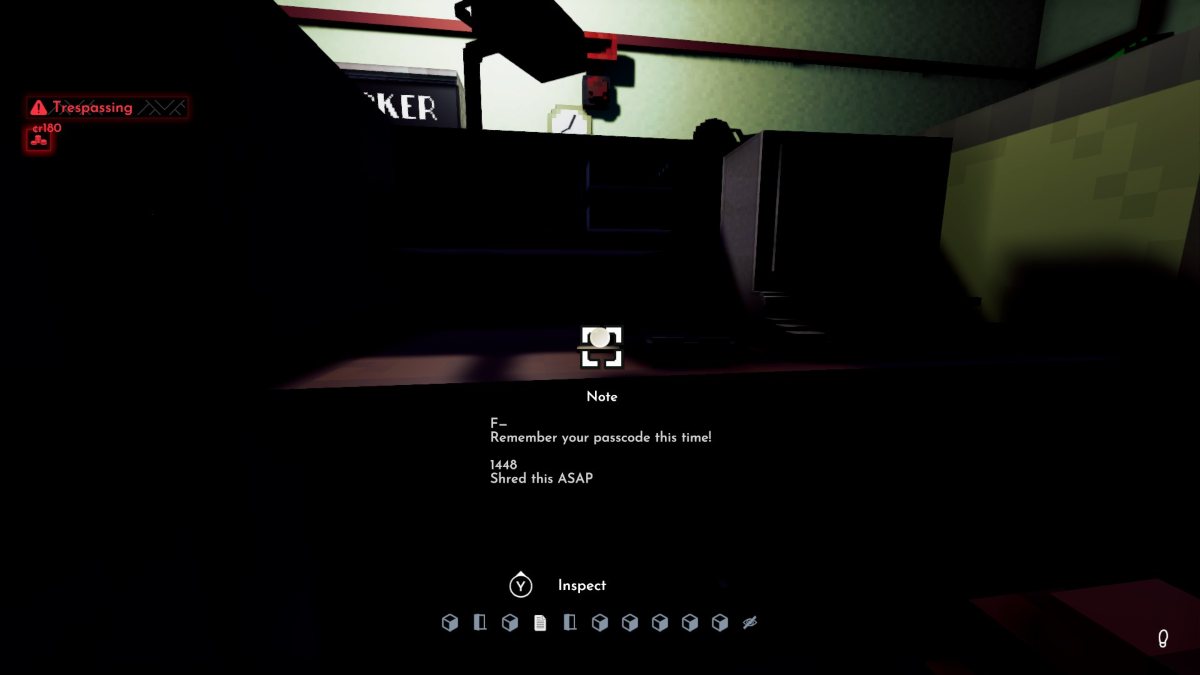
If you’re generating your own city, it’s highly likely you won’t be able to access the Micro Cruncher. While the default map has a passcode reminder on a post-it note nearby, this handy note doesn’t appear across all procedurally-generated worlds.
As you cannot access the Government Database so easily, you now have two options. You can either:
- Pay 75 credits to purchase a Codebreaker from the City Hall vending machine and use it on the Micro Cruncher.
- Break into the Employee-Only lounge and log into an employee Micro Cruncher: This is a restricted area where cameras and staff will be on the lookout for trespassers. You need to look for an employee code at one of the cubicles to access the nearest PC. You will alert officials in the area if you are too loud (this can include printing off citizen profiles or turning on a Micro Cruncher).
The problem with the second option is that the method is rather convoluted (especially at the beginning of a new playthrough). So it’s best to save up for a Codebreaker to unlock the Micro Cruncher in the unrestricted zone, rather than risk being arrested or shot at on your first day as a private investigator.
How to use the Government Database: Beginner’s tips and tricks
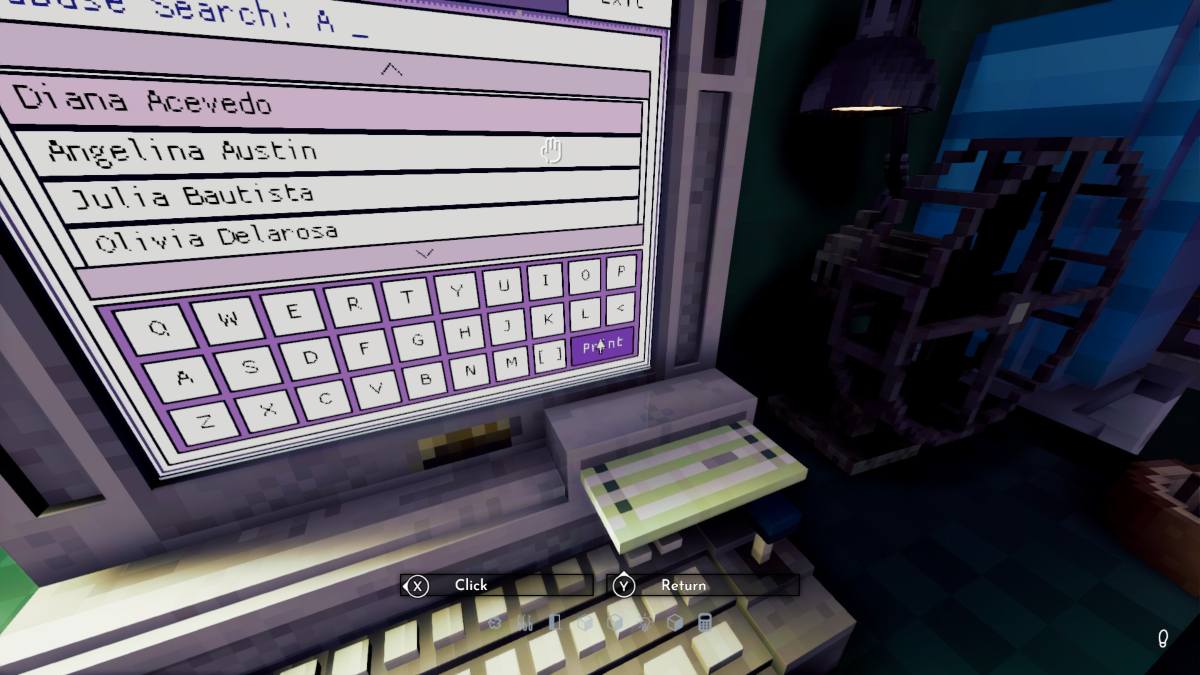
The Government Database provides the profile for every citizen inside your city. This is incredibly handy throughout your cases and should be accessed as soon as possible. While it’s incredibly tedious, we recommend going through the database alphabetically, loading up every profile, and manually printing out each citizen’s profile to save their basic information for future cases. You only need to open the profile and close it for their data to be catalogued.
This saves a lot of time in the long run, as it gives you each citizen’s name, address, blood type, and appearance details. While you can only make note of their name and address, you can also pin their details to your detective board for any ongoing investigations.
You can also take your own notes via the post-it note icon next to your case names. You can use the most basic information from an ongoing case, like fingerprints and footprints, to build a suspect list through the Government Database. This, alongside surveillance footage, victim or criminal memos, and workplace notes can narrow your search to the perpetrator.
The Government Database is an excellent place to start every investigation as it can help identify your fellow residents. Names, faces, and addresses can quickly be gathered, opening future dialogue with possible witnesses to the crime.


Published: Sep 13, 2024 03:47 pm