Act I is surprisingly short when you realize how quickly you can solve the fuse puzzle in Post Trauma. Three fuses to find and a ton of switches to flip, the underground station invites you to work this puzzle out if you want to move onto the next Act, where the perspective swaps to first-person.
Here’s how to solve the fuse puzzle in Post Trauma.
Table of contents
Post Trauma: All fuse locations

Roman delves deeper into the underground station, finding two train tracks guarded by walls of strange mannequins. There are four places of interest on this platform, each having a number and letter graffitied next to the entrances. These are relevant to the puzzle.
Walking out of 3D, Roman jumps down onto the tracks to reach the other side. There’s a locked door that requires a keycard to open (labelled 1C) on the side you started on. Across the gap is another passage marked 2B, which leads back to where you started (the shutter you used the crowbar on) and a keypad (3A).

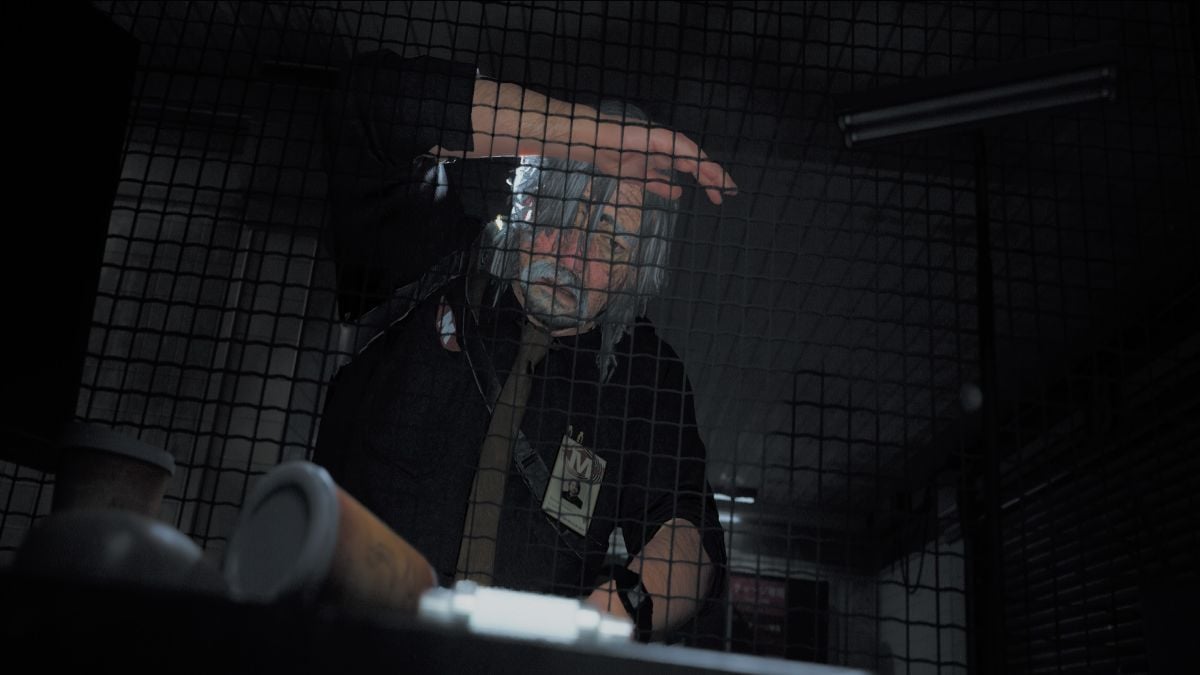
Entering 2B, something is hatching above you, but this won’t activate until you pick up the fuse behind the grate, at the window of the locked office next to it. Enter the room to the left of the locked door (with the enemy in the ceiling directly in front of it). There is a microwave and kettle in this break room with two mannequins. Open the fridge, pick up the ice block, and use it on the kettle to melt the ice, giving you the first fuse.

Then, head over to the vending machines right outside, past the “thing” growing in the ceiling. There is a mannequin hand poking out of one of these machines with a fuse in its palm. After picking this up, exit through the door next to the machine (this brings you back to the start).
Immediately turn right to find the vending machine that fell from the ceiling (before your first monster encounter). You can pick up a metal wire and use it on the grate at the locked office room (where the ceiling creature is). This will give you the third and final fuse.

The monster will drop from the ceiling, revealing a white humanoid creature that crawls on the ground and has slow attacks. You need to go into the far right room of 2B, that’s also to the right of where the monster spawned in. Insert the three fuses in this room and turn your attention to the panel of switches that’s connected to the fuse box.
Post Trauma: Fuse puzzle solution

The fuse puzzle shows a row of switches, labelled with A, B, C, and D. You should turn on the correct number of switches by referring to the letters and digits written all over the platform. These are: 3A, 2B, 1C, and 3D. Therefore, you need to flip three A, two B, one C, and three D switches to solve this puzzle and get the Employee Keycard. Make sure you flip both double switches (AB and DA). You can then use the keycard at the door beside 1C.








Published: Apr 24, 2025 08:37 pm